

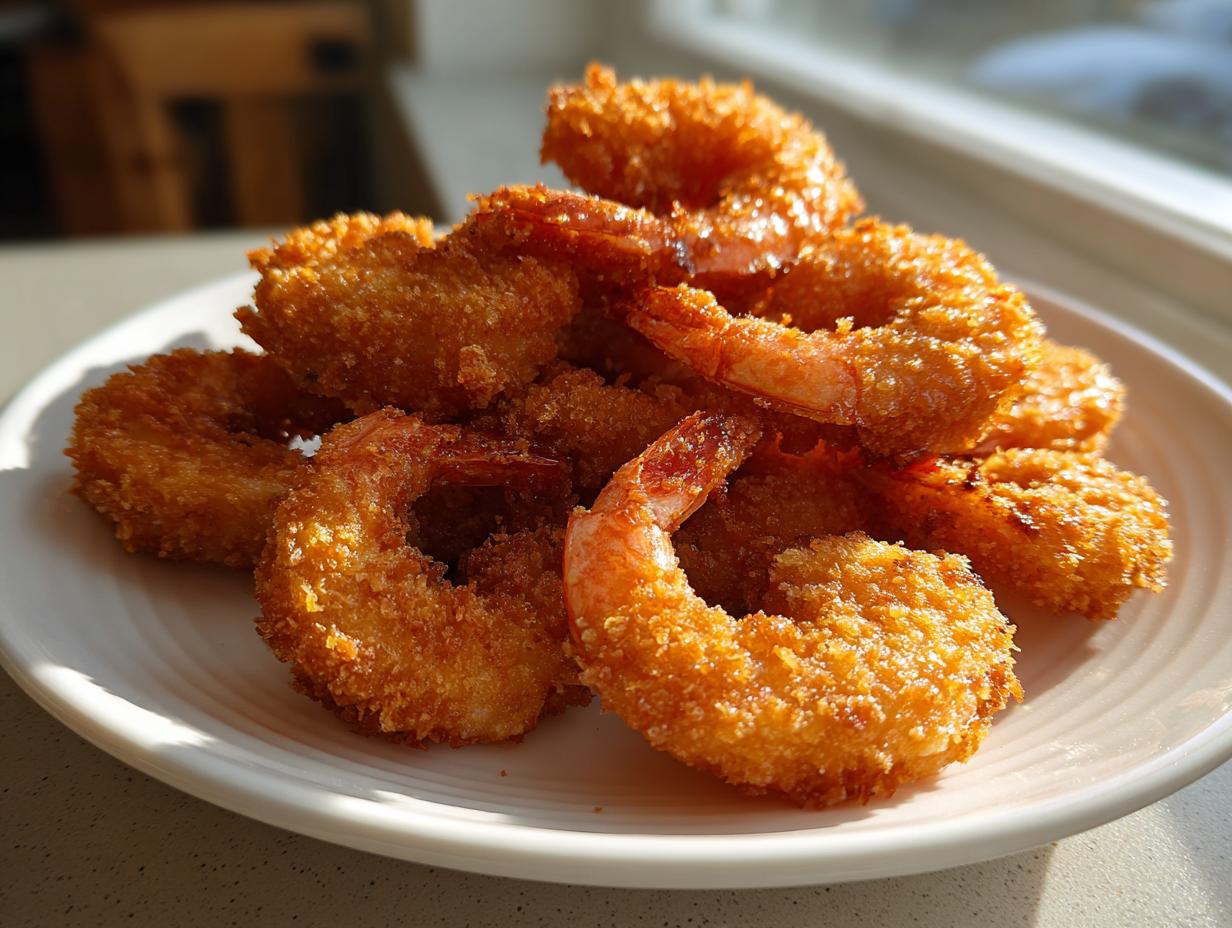
I don’t know about you, but when I crave seafood, only that incredible, shattering crunch of restaurant-quality shrimp will do. Forget soggy coatings or bland interiors; we’re chasing the perfect texture here! That’s why I swear by this specific method: The Crispiest Panko Fried Shrimp, featuring that magical buttermilk marinade we talk about. This isn’t just another fried shrimp recipe stuffed into your feed; it’s optimized. Our founder, Leo Grant, built this whole site around taking complex meals and streamlining them for busy evenings, and this recipe is the perfect example—maximum flavor impact with minimal evening stress. Check out more about our mission over at our story. Trust me, once you try the buttermilk soak, you won’t go back.
- Why This Buttermilk Marinade Makes the Best Fried Shrimp
- Ingredients for Golden Crunchy Fried Shrimp
- Step-by-Step Instructions for Perfect Fried Shrimp
- Tips for the Crispiest Fried Shrimp Every Time
- Making Southern Fried Shrimp Variations
- Serving Suggestions for Your Fried Shrimp Appetizer Recipe
- Storage and Reheating Crispy Fried Shrimp
- Frequently Asked Questions About Perfect Fried Shrimp
- Nutritional Snapshot for This Shrimp Recipe
Why This Buttermilk Marinade Makes the Best Fried Shrimp
I know you see ‘marinade’ and think, “That adds time to my process,” right? Wrong! When we’re optimizing for perfection, marinating isn’t optional; it’s non-negotiable for juicy results. That’s part of the Dishicious philosophy—we streamline the process to guarantee the best output. The buttermilk shrimp marinade is essential because the lactic acid in buttermilk works wonders! It gently breaks down the muscle fibers in the shrimp way better than a plain water or egg wash ever could. This is the secret to truly tender seafood.
Plus, the slightly thick, acidic nature of the marinade gives the dry coating something fantastic to grab onto. This creates the ultimate foundation for our crispy exterior. Mastering that adherence is a key part of the best fried shrimp technique.
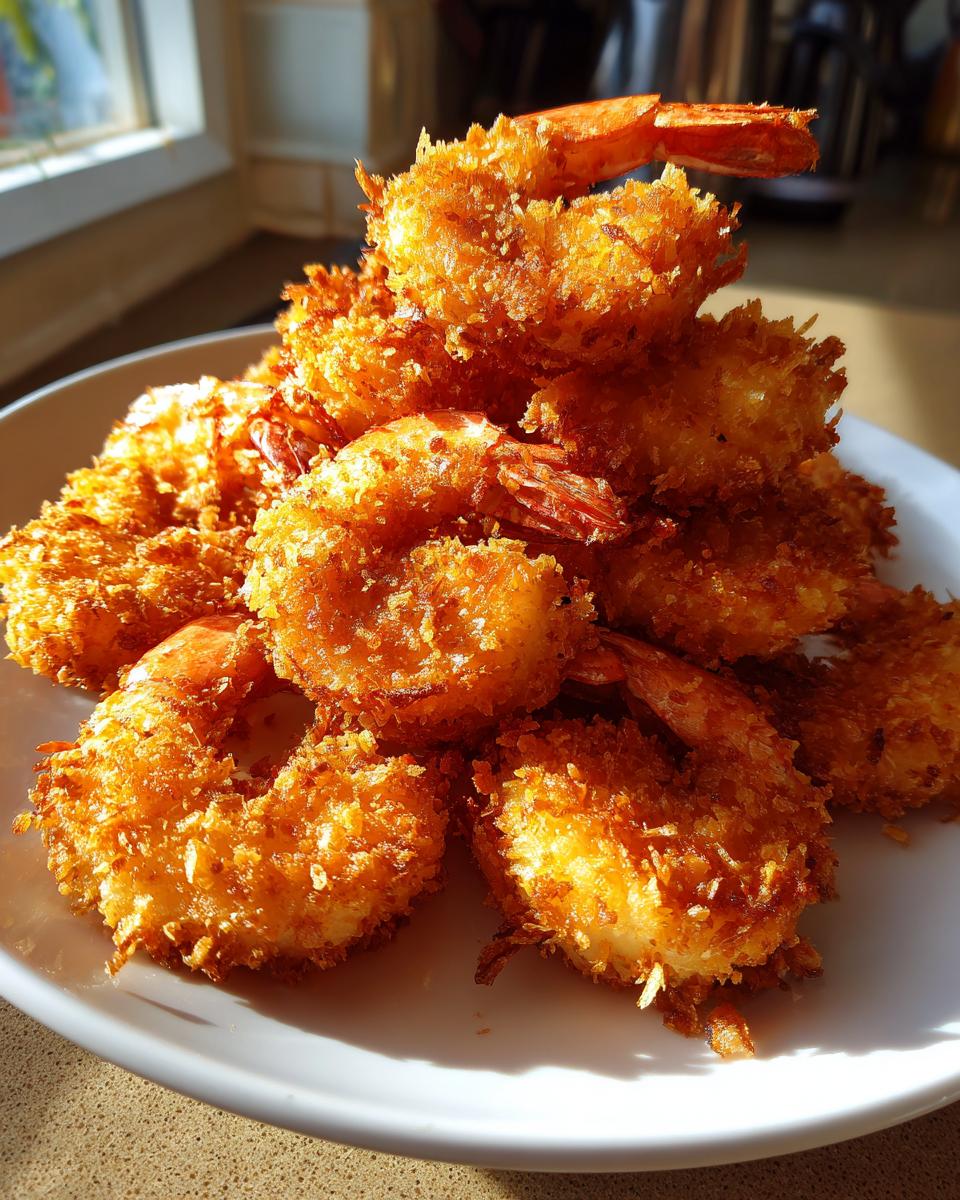
Achieving Restaurant Style Fried Shrimp Texture
Why buttermilk over what everyone else does? Because that slight thickness means your flour and panko mixture doesn’t clump up or slide off while it waits for the hot oil. It creates little microscopic pockets of buttermilk that turn to steam when they hit the heat. That steam pushes outwards, giving you that light, airy crunch instead of a dense, heavy coating. You want delicate crunch, not bread armor! This simple step is what separates okay shrimp from restaurant style fried shrimp that sells out immediately.
Ingredients for Golden Crunchy Fried Shrimp
Okay, let’s talk about what goes into this magic. When you’re looking for that truly unbeatable crunch, every ingredient matters, but one stands out above the rest for that signature texture. We keep this list short because we believe in clean, effective cooking. You’re going to want jumbo shrimp if you can find them; they hold up best to frying!
Here is everything you need for this crispy fried shrimp batch. Don’t skip the buttermilk—it’s crucial!
- 1 lb large or jumbo shrimp, peeled and deveined (Make sure those tails are off unless you like holding onto them!)
- 1 cup buttermilk (The thicker, the better for that marinade soak.)
- 1 teaspoon salt
- 1/2 teaspoon black pepper
- 1 cup all-purpose flour
- 1/2 cup panko breadcrumbs (This is non-negotiable! Panko is what gives you those airy, golden spikes of crunch.)
- 1/4 cup cornstarch (Our little helper for extra crispiness!)
- 1 teaspoon paprika
- 1/2 teaspoon garlic powder
- Vegetable oil, for frying (Use something with a high smoke point, like canola or peanut oil for high-heat stovetop frying.)
See? Simple ratios that deliver massive impact. When the ingredients are this straightforward, the technique has to be spot on, which is why we move right into the steps next!
Step-by-Step Instructions for Perfect Fried Shrimp
Alright, this is where the real project management comes in—we need efficiency and precision to nail that spectacular texture! These steps guarantee you get beautiful, big, fried shrimp that are cooked perfectly through while maintaining that stunning outer crunch. No soggy messes allowed around here! If you need a fast main dish, you can easily turn this recipe into a quick seafood dinner by doubling the batch.
Marinating and Preparing the Panko Coated Shrimp
First things first: the soak! Get your shrimp into that buttermilk mixture with the salt and pepper. Give it a good toss so every piece is coated. Pop that bowl in the fridge for a good 30 minutes—don’t rush this! That time is working hard to make the shrimp tender. While that’s chilling, whisk together all your dry components: the flour, panko, cornstarch, paprika, and garlic powder. This is your golden ticket to that beautiful exterior.
When you are ready to coat, work one batch at a time. Pull the shrimp right out of the buttermilk, let the excess just drip off for a second (we don’t want milky clumps!), and then gently toss it into the dry mix. Here’s the trick for amazing adherence: don’t just drop it in. Press it! Seriously, gently pat and press the dry mixture onto the panko coated shrimp so it really sticks before it hits the oil. That pressing action locks the crust on tight.
Frying Technique for Crispy Fried Shrimp
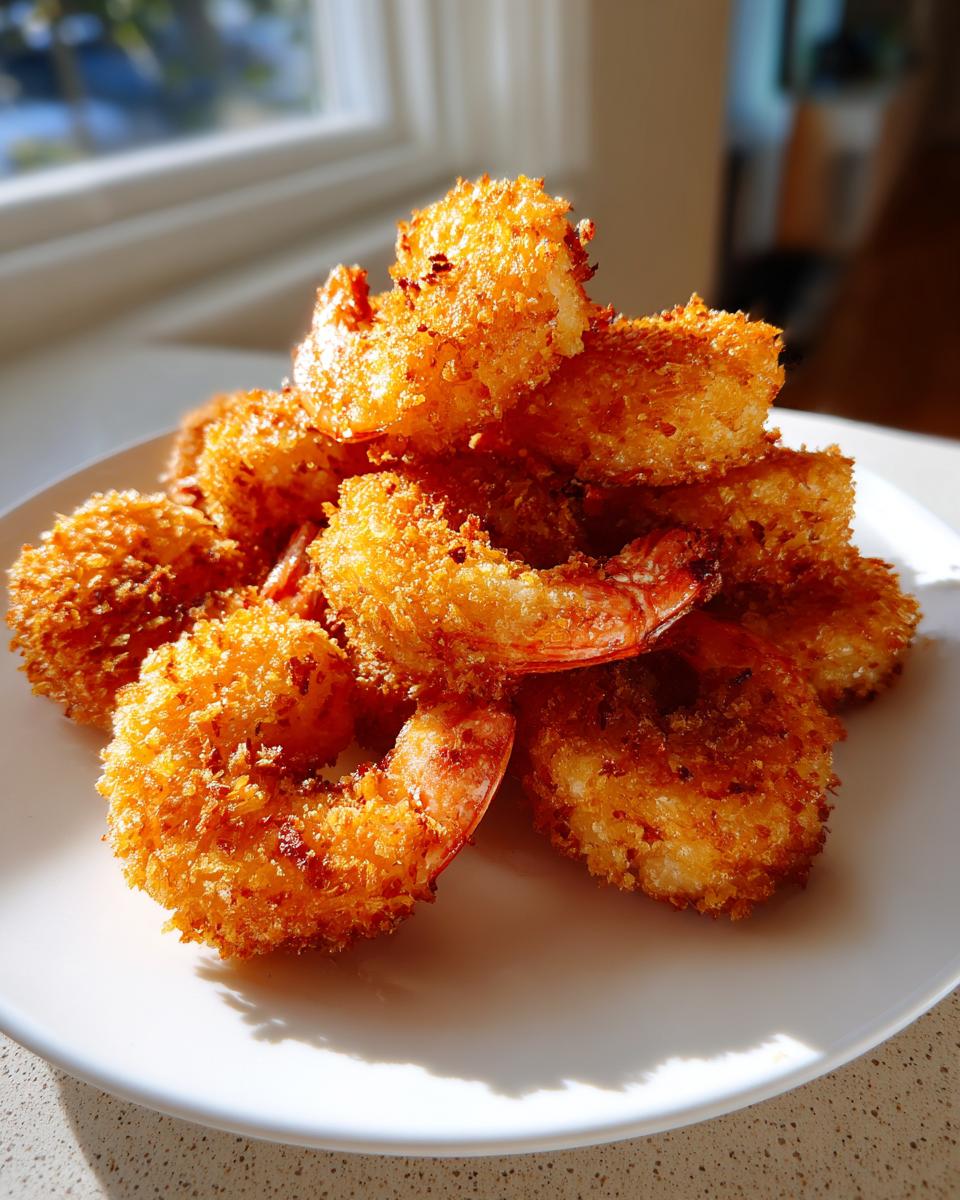
Now that we have perfectly coated shrimp, we need the heat ready to go. Heat up about two inches of oil in a heavy pot until it hits exactly 350°F. I cannot stress this enough: you absolutely need a thermometer! This is the cornerstone of the best fried shrimp technique. If it’s too cool, the coating gets greasy; too hot, and the outside burns while the middle stays raw. Safety first, always!
Carefully drop the shrimp into the oil, but please, for the love of crunch, do not crowd the pot. Fry in small, happy batches. They cook incredibly fast—just 2 to 3 minutes on each side until they are gorgeously golden brown. Once they look perfect, lift them out gently with a slotted spoon and place them right onto a wire rack. A rack drains the oil much better than a paper towel ever could, keeping that underside crispy!
Tips for the Crispiest Fried Shrimp Every Time
Okay, we nailed the marinade, and we got the coating pressed on tight, but if you want these babies to be truly legendary—that shimmering, golden crunchy shrimp everyone raves about—you need these final pro-tips. Think of these as the last little tweaks that take your seafood from great to *wow*. Remember, Leo approached recipes like managing a project, so trust me when I say these details are the critical success factors!
If you’re making these for a party, you can find more easy snack ideas over at our appetizers section. But seriously, try this next trick:
If you have an extra 15 minutes before the oil is hot, put those coated shrimp on a baking sheet and stick them in the freezer for a quick chill. It doesn’t have to freeze solid, just get cold! This acts like a second lock on the crust, setting it up perfectly so it doesn’t blow off or get soggy when it hits the hot oil. That’s the kind of simple engineering that guarantees crunch!
Oil Temperature and Draining for Homemade Fried Shrimp
Let’s talk physics, because that’s what guarantees crackling texture in your homemade fried shrimp. I cannot stress this enough: keep that oil between 340°F and 350°F. Seriously, if you don’t have a reliable thermometer, go get one—it’s the single best tool for deep frying accuracy. If the oil dips below 340°F, your shrimp spend too long mingling with the hot fat and soak up all that oil, making them taste heavy instead of light and airy.
And after they come out golden? Ditch the paper towels for the draining step! Paper towels trap steam underneath the hot shrimp, and steam is the sworn enemy of crispiness. Always pull them out with a slotted spoon and move them straight to a wire cooling rack set over a sheet pan. Keeping them elevated allows air to circulate all the way around your beautiful, crunchy bites. That one little switch makes a world of difference!
Making Southern Fried Shrimp Variations
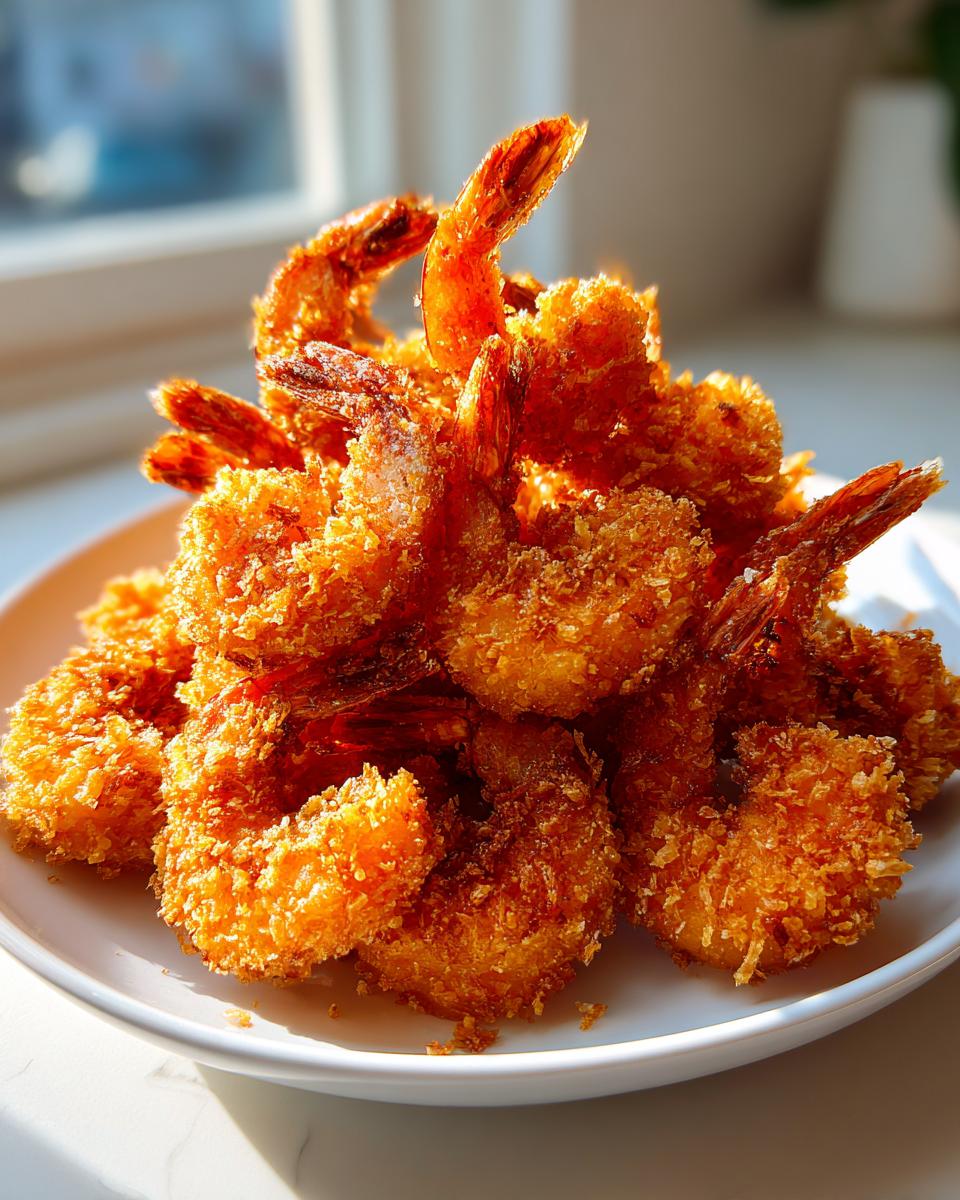
Now, I know some of you are die-hard fans of that classic, intensely seasoned, slightly dusty crunch you get from traditional Southern fried shrimp recipes. While my Panko method is designed for maximum, airy shatter, we can definitely lean this recipe toward that comforting, coastal style without losing all our hard work building that initial texture!
For those craving that authentic Southern vibe, we need to tweak the spice blend in our dry mix. Forget that light dusting of paprika and garlic powder for a moment. We’re going in with some heat!
First, swap maybe a quarter cup of that all-purpose flour for something with a bit more grip, like fine-ground cornmeal. It gives that lovely, slightly textured crust that Southern seafood is famous for. Don’t use too much, or you lose the Panko light fluffiness, but a little bit of cornmeal adds that familiar savory depth. You can check out a great traditional version over at Miss in the Kitchen if you want to compare notes.
Next, ramp up the seasoning in that flour mix, friends. Add a good half teaspoon of cayenne pepper—taste it first, of course!—and maybe a pinch of dried thyme. The buttermilk marinade already does half the work tenderizing, but the dry dredge has to bring the flavor for this Southern style. Once they come out of the oil, skip any fancy glaze and serve these beauties with a thick, creamy dipping sauce, like the one I whip up whenever I need a creamy garlic sauce on the side. It’s a perfect balance of rich spice and cool, tangy dip!
Serving Suggestions for Your Fried Shrimp Appetizer Recipe
You’ve gone to all this trouble—you’ve marinated, you’ve pressed, you’ve nailed the oil temperature—you can’t just dump these golden beauties on the plate plain! Presentation is everything, especially when you’re serving these up as an impressive appetizer shrimp recipe for company. The salty, rich crunch of the fried shrimp really begs for something cool, creamy, or sharp to cut through it.
My immediate go-to, which every casual gathering revolves around, is a fantastic dipping situation. Seriously, the sauce can make or break the whole experience. If you want a quick win that everyone raves about, you need a solid creamy component. I often pair these with the easiest sauce I know—you can find my recipe for that creamy garlic sauce, and it balances out the savory shrimp perfectly.
But don’t stop at just one dip! A great spread involves variety. Think about offering a spicy option, maybe a horseradish cocktail sauce or even a slightly sweet chili sauce for a different kind of kick. Think cool and tangy versus creamy and rich. You want people reaching for another round!
If you’re pivoting this from an appetizer to a full, satisfying meal—especially if you followed the tips to make this a substantial easy shrimp recipe—you need sides that won’t weigh everyone down. We want to keep that light, delicious feeling going. Forget heavy mashed potatoes here! Think bright and crisp sides that call back to that coastal vibe. Coleslaw is perfect, especially one with a vinegar-based dressing instead of heavy mayo. A simple side of seasoned French fries or even some lightly dressed green salad works wonders.
The key takeaway is contrast. Contrast the heat of the shrimp with a cool dip, contrast the richness with something acidic or fresh. It makes every single bite of your perfectly cooked seafood feel new and exciting!
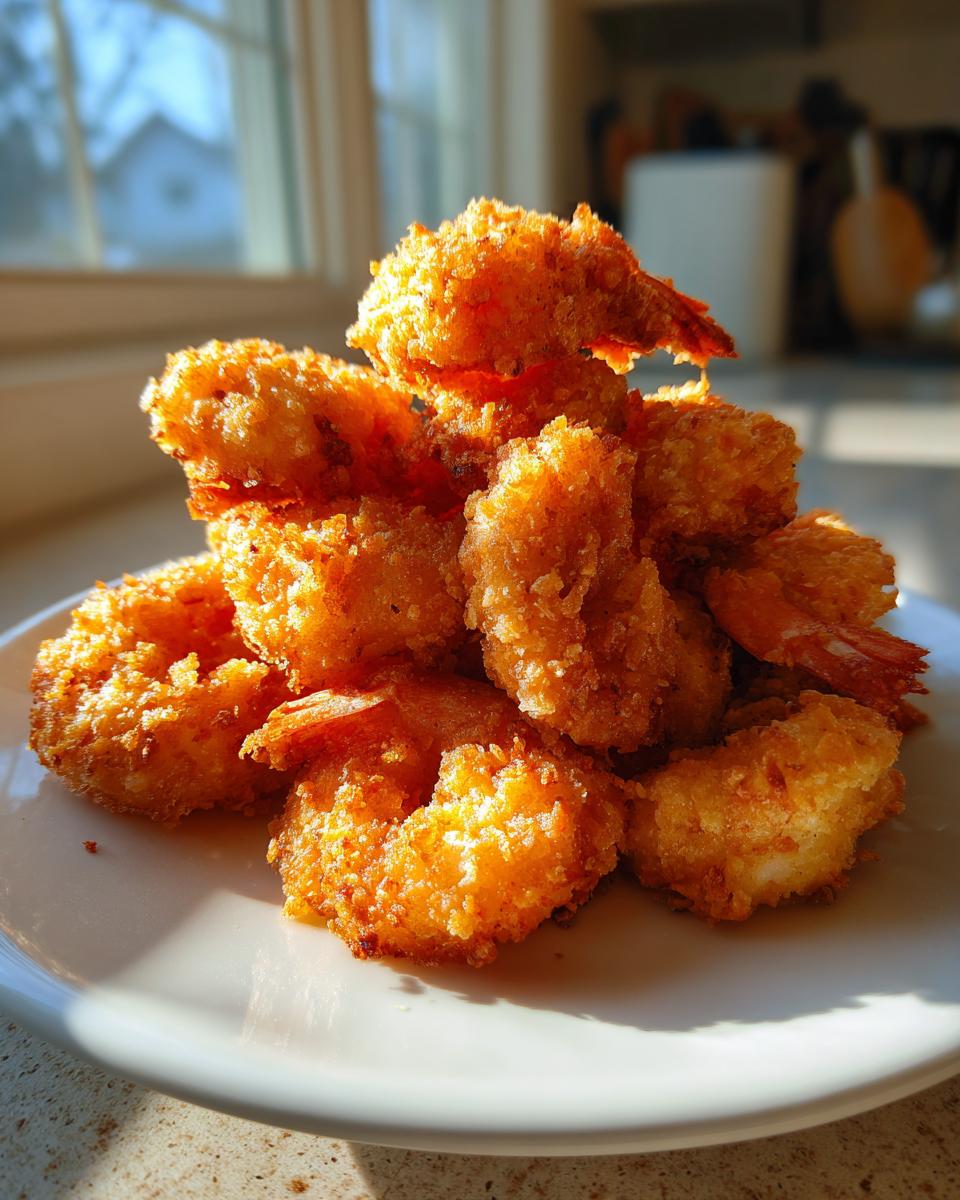
Storage and Reheating Crispy Fried Shrimp
Listen, if you manage to have any fried shrimp leftovers—and that’s a big ‘if’ because they are addicting—we need to handle them smartly. The absolute enemy of crispy fried food? The microwave. Never, ever put that crunchy perfection in the microwave. It generates steam instantly, and that steam turns your gorgeous crust into sad, soggy sponge material. We are not doing that! That defeats the entire purpose of mastering the buttermilk marinade and getting that crunch in the first place.
When you store leftovers, keep them in a single layer if you can manage it, maybe on a plate lightly covered with a paper towel inside an airtight container. This helps cut down on condensation, which equals sogginess. But truly, the magic is in the reheating phase. We treat the reheating process like a second-chance frying session!
If you want to bring those beauties back to life and recapture that golden, crunchy texture, you have two fantastic options that keep the integrity of what we built. I find these methods work brilliantly for reviving leftovers.
The Air Fryer Method for Ultimate Crunch
If you own an air fryer, this is absolutely the fastest and most effective way to resurrect your shrimp. It mimics deep frying but uses circulating super-hot air, which is exactly what we need to dry out the crust without steaming it. It’s brilliant efficiency, which I know Leo Grant over here appreciates!
Set your air fryer to about 375°F. Toss the cold shrimp in just a tiny spritz of oil—not too much, just enough to wake up the coating. Then, you’ll air fry them for about 5 to 7 minutes. Give the basket a gentle shake halfway through. You’ll pull out shrimp that are piping hot, tender inside, and crunchy enough to fool you into thinking they just came out of the pot. We have a fantastic recipe for air fryer shrimp if you want more dedicated air fryer time!
The Oven for Larger Batches
If you made a truly massive batch and need to reheat a lot at once, the oven is your friend. It’s less direct heat than the air fryer, but it works wonders if you give it time to preheat properly. Set your oven temperature high—around 400°F—and place the shrimp on a wire rack set over a baking sheet. Again, the rack is crucial so air can circulate underneath and prevent steaming!
Let them bake for about 8 to 12 minutes, depending on their size and how cold they were coming right out of the fridge. You’ll want to check them around the 8-minute mark; give them a light flip or jostle them around. Once they look golden again under the broiler, they are done! You’ve successfully saved those delicious leftovers!
Frequently Asked Questions About Perfect Fried Shrimp
You know, as someone who approaches cooking like optimizing a system, I always end up with a million little questions buzzing in my head when I try a new technique. I’ve answered a few things people always ask me about achieving that truly beautiful, crunchy result. Here are the quick answers to help you troubleshoot or plan! If you are looking for ways to plan this out as a full meal instead of just a snack, make sure you check out our tips for quick, easy dinners!
Can I use regular breadcrumbs instead of panko?
You technically can, but honestly? It’s going to change the texture completely. Regular breadcrumbs absorb way more moisture than Panko does, and they tend to steam rather than creating that lovely, spiky, airy crunch we worked so hard to achieve with the buttermilk marinade. If you absolutely have to substitute, you might want to mix 50% regular breadcrumbs with 50% extra cornstarch to try and lighten the load, but please, try to grab the Panko first! It makes such a huge difference in getting that golden crunchy shrimp look.
Can this be made in an air fryer?
Yes! And if you want to avoid deep-frying altogether, this is an excellent alternative. We actually covered the specifics in the reheating section because it works so well there, but you can definitely cook them from raw this way, too. Remember to prep the shrimp well, chill them if you can, and toss them with just a light spritz of oil before air frying at about 390°F until golden. It won’t be *exactly* the same as deep-fried, but it’s fantastic, simple, and certainly a much healthier route for an easy shrimp recipe!
What oil is best for frying shrimp?
When you are doing stovetop frying, you need high heat stability, plain and simple. You want a neutral oil that won’t smoke out your kitchen before the shrimp are done. My top recommendation is peanut oil because it handles heat like a champ and has a nice, clean flavor. Canola oil is an excellent, more budget-friendly second choice that works just as well for our high-temperature needs. Just make sure you have enough—we need at least two inches of oil depth for proper submersion!
Can I make this a quick seafood dinner instead of an appetizer?
Absolutely! Anytime you are making an appetizer dish, you can scale it up in volume to make it a full quick seafood dinner. Since the frying time itself is only about 3 minutes per batch, the actual cooking is lightning fast. To turn this into a complete meal, just serve it up with something fresh. A simple vinegar-based coleslaw is perfect because its acidity cuts right through the richness of the fried coating. Or, keep it classic Southern style and serve it alongside some seasoned French fries and maybe some quick grilled corn on the cob. Easy peasy, done faster than takeout!
How long do I need to marinate the shrimp?
We recommend at least 30 minutes for basic tenderizing action. However, if you planned ahead, you can leave the shrimp in that buttermilk bath for up to two hours in the fridge. Any longer than that, and the acid might start breaking down the texture too much, making the shrimp mushy, which is the opposite of what we are trying to achieve on the inside! Thirty minutes gives you perfect flavor infusion without risking the texture.
Nutritional Snapshot for This Shrimp Recipe
I know some of you are super organized and like to track things, which I totally respect—it’s all about knowing what you’re putting into your body! Because this recipe is optimized for flavor and crunch, it does involve frying, so you’ll see those numbers reflect that. Remember, these estimates are based on our standard recipe yield (4 servings) and assume a serving size of about 6 shrimp per person.
Think of this as a delicious indulgence for a treat night or when you’re satisfying those serious seafood cravings! If you’re ever planning a low-carb night, you can always check out other options over at our appetizers section—but honestly, nothing beats this crunch!
Here’s the estimated breakdown:
- Serving Size: 6 shrimp
- Calories: 350
- Fat: 18g (with 3g being saturated fat)
- Carbohydrates: 25g
- Protein: 24g
- Sugar: 2g
It brings a great amount of protein to the table, which is wonderful! Just keep in mind these numbers are estimates derived from the standard ingredients listed. They don’t account for what you serve it with, like a side of fries or a creamy sauce, so factor those delicious additions in if you’re counting strictly!
PrintThe Crispiest Panko Fried Shrimp with Buttermilk Marinade
Make restaurant-style crispy fried shrimp at home quickly. This easy recipe uses a buttermilk marinade and panko coating for a golden, crunchy texture every time.
- Prep Time: 15 min
- Cook Time: 10 min
- Total Time: 55 min
- Yield: 4 servings 1x
- Category: Dinner
- Method: Stovetop Frying
- Cuisine: American
- Diet: Low Lactose
Ingredients
- 1 lb large or jumbo shrimp, peeled and deveined
- 1 cup buttermilk
- 1 teaspoon salt
- 1/2 teaspoon black pepper
- 1 cup all-purpose flour
- 1/2 cup panko breadcrumbs
- 1/4 cup cornstarch
- 1 teaspoon paprika
- 1/2 teaspoon garlic powder
- Vegetable oil, for frying
Instructions
- Place the peeled and deveined shrimp in a bowl. Pour the buttermilk over the shrimp, add salt and pepper, and toss to coat. Cover and refrigerate for at least 30 minutes, or up to 2 hours. This step tenderizes the shrimp.
- In a shallow dish, whisk together the flour, panko breadcrumbs, cornstarch, paprika, and garlic powder. This is your dry coating mixture.
- Heat about 2 inches of vegetable oil in a deep, heavy-bottomed pot or Dutch oven to 350°F (175°C). Use a thermometer to monitor the temperature.
- Working in batches, remove the shrimp from the buttermilk, letting excess drip off. Dredge each shrimp thoroughly in the dry coating mixture, pressing gently to make sure the coating adheres well.
- Carefully place the coated shrimp into the hot oil, ensuring you do not overcrowd the pot. Fry for 2 to 3 minutes per side, until golden brown and cooked through.
- Remove the fried shrimp with a slotted spoon and place them on a wire rack set over a baking sheet to drain excess oil. Sprinkle lightly with salt immediately after removing from the oil.
- Serve the crispy fried shrimp hot with your preferred dipping sauce.
Notes
- For extra crispiness, place the coated shrimp on a tray and chill them in the freezer for 15 minutes before frying.
- Maintain the oil temperature between 340°F and 350°F for the best results. If the oil is too cool, the shrimp will absorb too much oil and become soggy.
- This recipe works well as an appetizer or a quick seafood dinner.
Nutrition
- Serving Size: 6 shrimp
- Calories: 350
- Sugar: 2
- Sodium: 550
- Fat: 18
- Saturated Fat: 3
- Unsaturated Fat: 15
- Trans Fat: 0
- Carbohydrates: 25
- Fiber: 1
- Protein: 24
- Cholesterol: 180