
If your morning routine involves scraping limp, almost-steamed potatoes off the bottom of your skillet, trust me, I get it. That’s the worst! We’re here to fix that right now. My goal, just like the whole idea behind Dishicious, is always maximum flavor with minimum fuss. You shouldn’t need complex equipment or an hour of your time just to get decent breakfast potatoes on the table. This skillet method is the streamlined project I developed to guarantee ultra-crispy, golden exteriors and fluffy centers, every single time. Forget the soggy mess; we’re aiming for breakfast perfection here, nice and easy.
- Why These Are the Best Skillet Breakfast Potatoes (Crispy & Flavorful)
- Essential Ingredients for Perfect Breakfast Potatoes
- Step-by-Step Instructions for Crispy Skillet Breakfast Potatoes
- Alternative Cooking Methods for Your Breakfast Potatoes
- Tips for Success with This Easy Potato Side Dish
- Serving Suggestions for Savory Breakfast Sides
- Storage and Meal Prep Potatoes
- Frequently Asked Questions About Breakfast Potatoes
- Estimated Nutritional Data for Breakfast Potatoes
Why These Are the Best Skillet Breakfast Potatoes (Crispy & Flavorful)
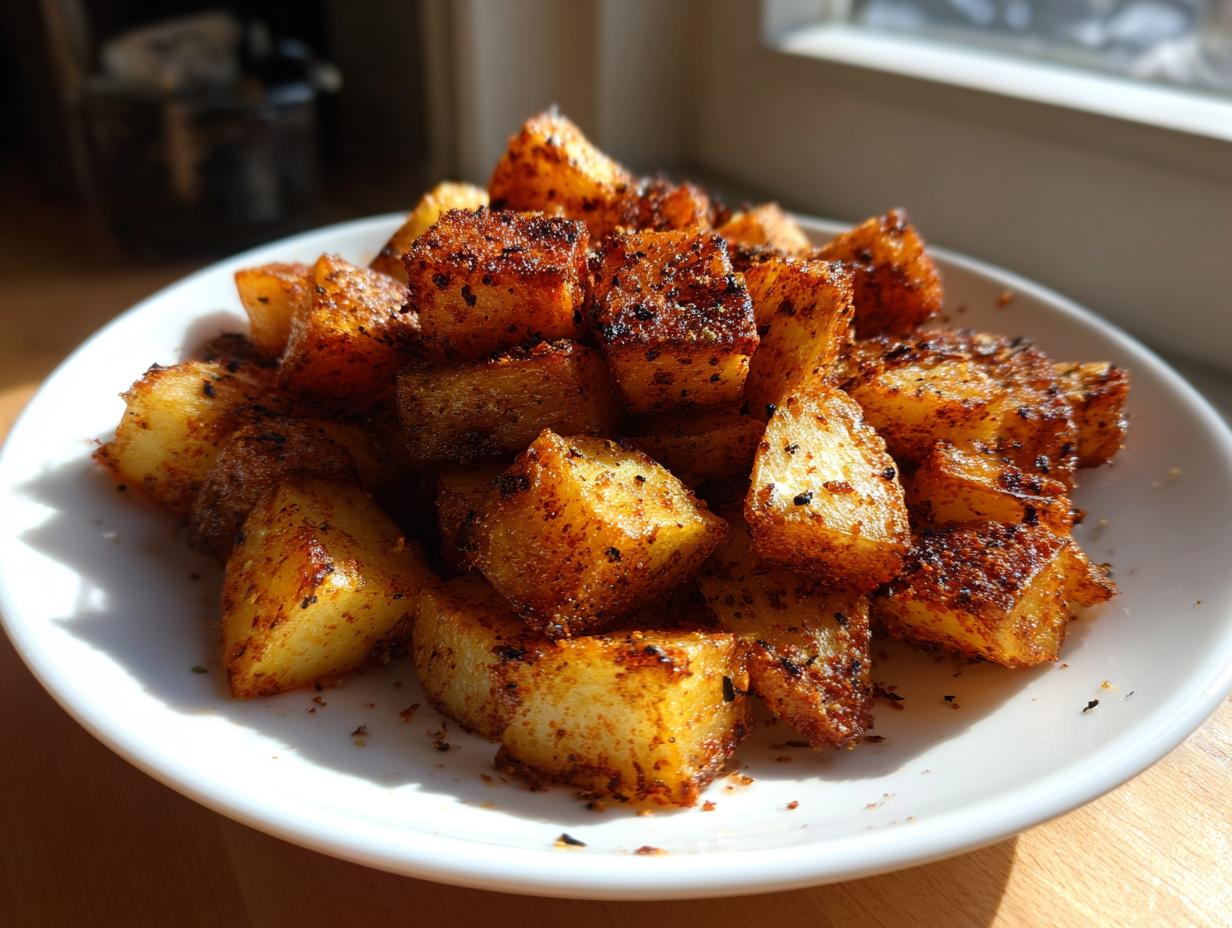
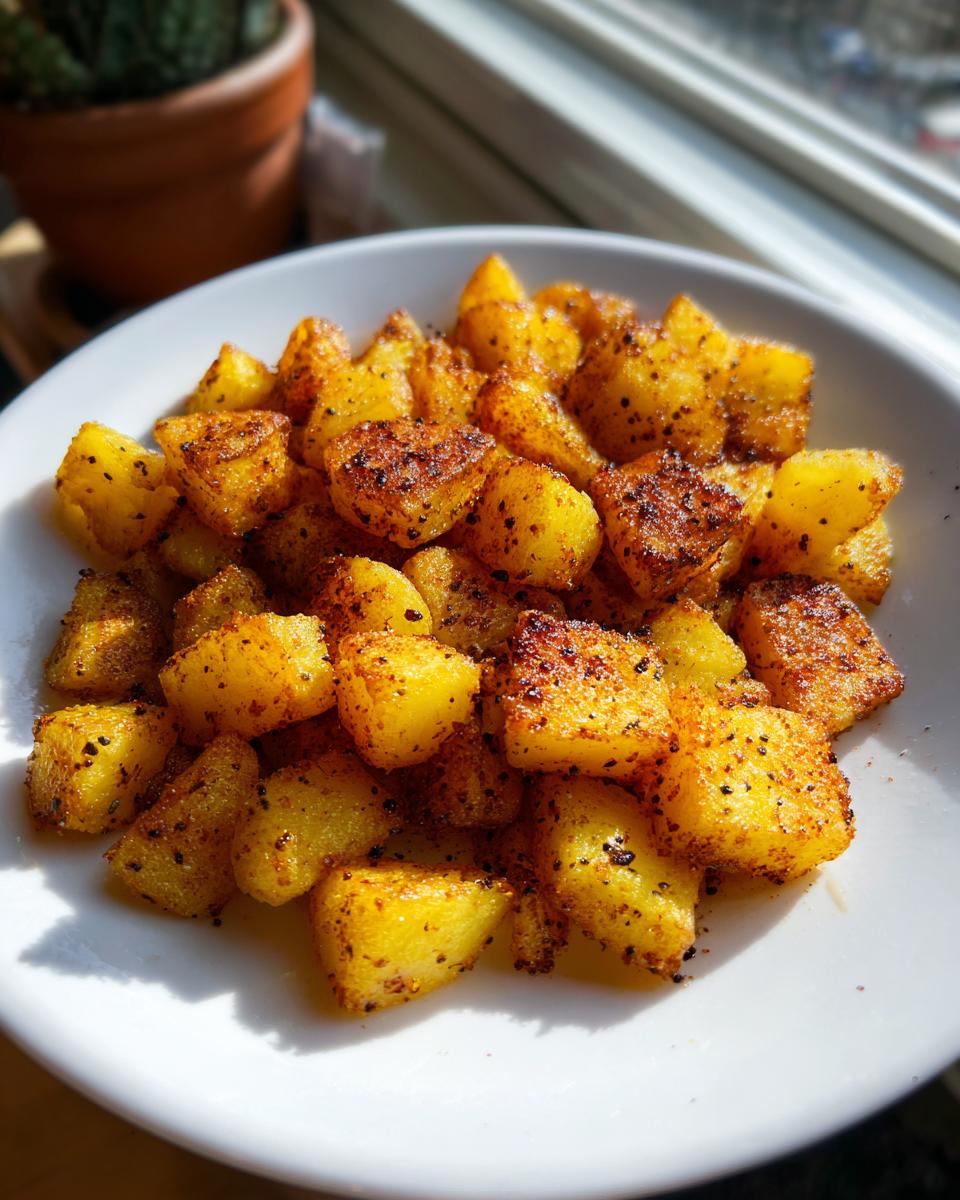
What makes these breakfast potatoes the ones you’ll always come back to? It’s all about that texture contrast we all crave. We’re hitting that perfect ratio of Fluffy Inside Crispy Outside Potatoes without needing an oven preheat.
- Guaranteed golden brown potatoes, even if your stove runs a little cool.
- Deep, savory flavor from simple spices that pop beautifully when fried.
- They stay crispy longer than your average pan-fried spuds!
Achieving Golden Brown Potatoes Every Time
You simply cannot skip rinsing those diced potatoes! That cloudy starch on the outside is the enemy of crispiness; it turns into mush when it hits the hot oil. Running them under cold water until the water’s totally clear, and I mean bone dry afterwards, is the absolute secret move here. That simple step guarantees you’ll see that beautiful golden brown color!
Essential Ingredients for Perfect Breakfast Potatoes
Okay, let’s look at what you need for these no-fuss, fantastic breakfast potatoes. I kept the ingredient list super short because Leo, our founder here, is all about efficiency, right? You probably have 90% of this stuff already. We aren’t hunting down specialty herbs or anything bizarre—this is just pure, satisfying breakfast goodness.
- 2 lbs Russet potatoes, diced into exactly 1/2-inch cubes
- 3 Tbsp olive oil or avocado oil
- 1 tsp salt
- 1/2 tsp black pepper
- 1 tsp garlic powder
- 1/2 tsp paprika
- 1/4 tsp onion powder
- Optional: 1/2 cup diced onion (if you have five extra minutes!)
Ingredient Notes and Substitutions
Choosing the right potato makes a huge difference. For that fantastic fluffy middle and crispy shell, Russets are your best friends. They have the starch content that fries up beautifully! If you try Yukon Golds, they’ll still be good, but Russets give you that classic diner texture.
Oil choice matters a lot, too! Since we are cooking these over medium-high heat to get that sear, you need something that won’t smoke out your kitchen. Stick with olive oil, or even better, avocado oil. This is truly an Easy Potato Side Dish because every single item listed here is standard fare. No weird substitutions needed!
Step-by-Step Instructions for Crispy Skillet Breakfast Potatoes
Okay, this is where we put the plan into action! The timings here are super important if you want those gorgeous, fully cooked but crispy breakfast potatoes. I always use my heavy cast iron for this—it holds heat so much better than thinner pans. Make sure your pan is properly heated before anything goes in; that initial sizzle sets the tone for the texture.
We want to work quickly but deliberately through the steps. If you’re doing onion, get that softened first. Then, you add your potatoes and you HAVE to let them sit! Patience is critical here, seriously. Don’t touch them for almost ten minutes while they build that incredible crust. You can peek sometimes, but keep the lid off so the steam escapes!
The Secret to Starch Removal for Crispy Breakfast Potatoes
I know I mentioned rinsing them earlier, but I need you to know this isn’t optional for getting that perfect crust. Think about it: starch is what makes things sticky or doughy. If that excess starch stays on the potato cubes, they steam each other right in the pan instead of frying! You need to rinse them until the water coming off is crystal clear—it’s like washing the dullness away. Then, dry them completely, and I mean *completely*, with paper towels before they ever meet hot oil. This is non-negotiable if you want that famous crunch!
The Cooking Technique for Flavorful Morning Potatoes
When it comes to cooking, timing is everything for these Flavorful Morning Potatoes. Once the potatoes are in that hot oil, you need to leave them alone for a solid 8 to 10 minutes. That’s how you develop the first layer of golden crust. They should look deep brown on the bottom! After that first flip, you keep cooking but start stirring them every few minutes. You’re aiming for deep color on all sides, and they should yield easily when you poke them with a fork.
Once they’re tender and beautifully colored—usually around 25 minutes total cooking time—toss in all your dry spices. That last minute of cooking toasts the garlic and onion powder just enough to make the whole kitchen smell amazing before you serve them right off the heat! For more skillet tips, check out my recipe for crispy garlic skillet potatoes.
Alternative Cooking Methods for Your Breakfast Potatoes
Now, listen, I’m obsessed with the skillet method because it’s fast and gives you those deep, fried flavors, but I know some mornings you just need to dump and go! If you’re looking for a slightly hands-off way to make great breakfast potatoes, we certainly have a couple of other routes you can take without losing that crucial crispy texture.
The oven is fantastic if you’re cooking for a huge crowd, and the air fryer is just genius for cutting down on oil while still getting a great crunch. We use the skillet as our main technique here, but these backups are perfect for meal prep days or when you don’t want to babysit the stove.
Quick Morning Potatoes in the Air Fryer
If you want truly Quick Morning Potatoes, fire up that air fryer! It handles starch removal like a champ, just make sure you dry those potatoes really well before you toss them—even air fryers don’t love steam.
Toss your seasoned, dried potato cubes with just a teaspoon or two of oil—way less than the skillet requires! Spread them in a single layer in the basket. I usually blast these bad boys at 400°F (200°C). You’ll cook them for about 15 minutes, giving the basket a good shake halfway through. You’ll get that beautiful crispy finish, almost like they were deep-fried, without all the heavy oil. You can check out some great oven tips at this link, and for the air fryer specifics, this guide is fantastic!
Tips for Success with This Easy Potato Side Dish
I’ve definitely made my share of less-than-perfect batches of these over the years, so I’ve learned a few things the hard way! If you follow the recipe exactly, you’ll be fine, but these extra tips are the little nudges that turn good breakfast potatoes into truly professional, unforgettable sides.
The number one mistake people make? Overcrowding the pan. Seriously, if you dump all 2 lbs of potatoes in there at once, they are forced to steam. Remember Leo’s philosophy: efficiency means doing it right the first time! If you have to cook in two batches, just toss the first batch in a low oven (keep it warm at about 200°F) while you cook the second batch. It takes an extra five minutes, but you guarantee that incredible crust on every single piece!
Also, make sure your oil is hot enough before the potatoes go in—you want that immediate sizzle, not a slow simmer. If the oil isn’t hot, the potatoes soak it up instead of searing, and that leads straight to greasy, soggy potatoes. We want the hot oil kissing the starch-free surface to immediately create that signature crunch.
If you ever want to explore another famous potato dish, check out my guide on how to make creamy, fluffy mashed potatoes right here on the site. But for savory breakfast sides, mastering this crispy sear is key!
Serving Suggestions for Savory Breakfast Sides
Honestly, as amazing as these breakfast potatoes are, they are usually just supporting actors, right? They are here to make the star of the show—whether that’s eggs or pancakes—taste even better. I love using them as the ultimate foundation for a hearty meal. They soak up a little runny yolk or melted butter without collapsing, which is exactly what you want.
When I’m making these for a big Sunday brunch, I always have a big platter hot and ready. They make the perfect bed for perfectly cooked eggs. If you haven’t mastered your eggs yet, you absolutely have to check out my guide on how to make fluffy scrambled eggs—it’s a game-changer.
Here are a few of my favorite pairings for turning these simple potatoes into a show-stopping plate of Savory Breakfast Sides:
- Eggs Any Style: Over-easy, poached, or even a perfectly soft-boiled egg lets you dip that crusty potato right into the yolk. Heaven!
- The Classic Meat Partner: Crisp bacon or smoky sausage links. The saltiness from the meat really balances the savory seasonings on the potatoes.
- The Sweet Counterpoint: Don’t knock it till you try it! A little bit of sweet, fluffy pancake alongside these savory potatoes is the best of both worlds. It’s why we love brunch so much!
- Veggies for Color: If you quickly sautéed some tomatoes or wilted some spinach in the pan right before seasoning the potatoes, it adds color and cuts through the richness.
No matter what you pair them with, these potatoes bring the satisfying crunch necessary to elevate any morning plate. They are simply the best side dish for a full breakfast spread, hands down.
Storage and Meal Prep Potatoes
One of the things I love most about this recipe is how well these breakfast potatoes hold up for the days following. Leo here, the founder, is all about making your life easier, and that means having a fantastic side dish ready to go! If you make a big batch, you’ve essentially done half the work for tomorrow’s breakfast. This tackles that whole ‘Meal Prep Potatoes’ goal head-on.
The key thing to remember when storing them is that they are going to lose that perfect crispiness as they sit in the fridge. That’s just physics. Cold potatoes, even perfectly cooked ones, get a little limp. But don’t panic! We aren’t throwing them out; we just have to wake that crispiness back up when we reheat them.
You can store leftovers in any airtight container. I try to use a shallow container if possible, just so they don’t stack up too high and get compressed. They should last easily three to four days in the fridge. If you are making them specifically for meal prep, try to let them cool down completely on a baking sheet before you seal them up; this prevents condensation inside the container, which is basically the enemy of crispness.
When you’re ready to eat them, forget the microwave! It will make them steamy and soft, which is exactly what we worked so hard to avoid. Trust me on this one; you want to bring that golden crust back to life.
For the best results, spread the cold potatoes in a thin layer on a baking sheet. Pop that sheet into a hot oven—like 400°F (200°C)—for about 8 to 10 minutes. They heat through and the exterior crisps right back up. If you’re feeling lazy, the air fryer works just as well, maybe even faster, working at about 375°F (190°C) for 5 to 7 minutes. You get that satisfying crunch back without having to cook them all over again. It makes future breakfasts so much simpler!
If you want some other great meal prep strategies, especially for busy mornings, check out the guide on my easy high-protein breakfast cookies. And for more tips on planning meals ahead, this article about making meals easier is a great read!
Frequently Asked Questions About Breakfast Potatoes
We’ve talked a lot about technique, but the kitchen is always full of questions, isn’t it? I tried to gather the most common burning questions people have when they are striving to make the perfect batch of breakfast potatoes. Getting the texture right can trip people up, but once you know the tricks, you’re set for life!
Can I use sweet potatoes for these breakfast potatoes?
You absolutely can! Sweet potatoes are delicious, though they are a bit different than Russets. Russet potatoes have more starch, which is what helps us build that amazing, dry, shatteringly crispy exterior we’re looking after. Sweet potatoes have more sugar, and they tend to soften up quicker and caramelize a bit more, rather than turning super crunchy.
If you use sweet potatoes, just keep a closer eye on them! They might take a few minutes less overall, and they might not get quite as ruggedly browned as the Russets do. But for a wonderfully flavorful morning side, they are still a great choice!
How long do I need to cook the potatoes before flipping them?
This is the question that separates the truly crispy potatoes from the mushy ones! You absolutely cannot rush the first phase. I insist you let those diced potatoes sit completely undisturbed on the hot skillet for at least 8 to 10 minutes on that first side. Don’t peek, don’t shake, don’t even breathe on the pan too hard! That time allows the heat to penetrate through the potato and essentially fry that bottom layer into a solid, golden-brown crust. Once that crust is formed, flipping them won’t break them apart, and they’ll cook beautifully for the rest of the time. If you flip too early, you end up with soft, oily potatoes instead of our target Golden Brown Potatoes.
What makes these the best side dish compared to just boiling them first?
That’s a smart question, and maybe you’ve heard of people pre-boiling potatoes before frying or roasting them—that trick works wonders for oven roasting! But for this specific skillet method, we actually skip any pre-cooking. Why? Because boiling introduces moisture *back* into the potato after you’ve worked so hard to dry out the starch!
To get our Fluffy Inside Crispy Outside Potatoes in the skillet, we rely on the heat of the oil and the dryness we achieved from rinsing and toweling them off. Boiling them first makes them too soft and guarantees a less crispy result when you finish them in oil. This recipe is designed as a one-step, fast process using raw, dry potatoes to maximize that crisp texture!
Can I add different spices besides garlic and onion powder?
Oh, please do! Think of the listed spices as the baseline for a great, simple seasoned potato, but they are totally customizable. Those spices are reliable, but sometimes you need a little flair! If you love heat, a pinch of cayenne pepper in with the salt and pepper works wonders.
For something a little brighter in your Quick Morning Potatoes, smoked paprika is just gorgeous, like we list in the recipe, but you could swap that out for a dash of dried thyme or even a little smoked salt instead of regular salt. Just remember the golden rule with added seasonings: add them in the last minute of cooking so they toast gently and don’t burn while the potatoes finish cooking through.
Estimated Nutritional Data for Breakfast Potatoes
You know, I’m not a nutritionist—I’m just a home cook trying to get something delicious on the table without the fuss! But since we’re talking about balancing out our eating, I wanted to give you a quick snapshot of what these breakfast potatoes generally look like per serving, based on the quantities in the recipe.
Keep in mind these numbers are estimates. If you use more oil or decide to skip the optional onions, that will certainly adjust the totals. This data is just a helpful guide for you when planning out your morning feast!
- Serving Size: 1 serving
- Calories: 250
- Fat: 12g
- Carbohydrates: 33g
- Protein: 4g
- Fiber: 4g
- Sugar: 1g
- Sodium: 350mg
See? Not bad at all for what tastes this great! It’s a genuinely satisfying side dish that gives you energy for the day. Just remember, like everything else, moderation is key, but these are certainly a great savory option!
PrintEasy Crispy Skillet Breakfast Potatoes
Make perfectly crispy breakfast potatoes in a skillet. This easy recipe delivers golden exteriors and tender interiors, ideal for any morning meal.
- Prep Time: 10 min
- Cook Time: 25 min
- Total Time: 35 min
- Yield: 4 servings 1x
- Category: Breakfast
- Method: Skillet Cooking
- Cuisine: American
- Diet: Vegetarian
Ingredients
- 2 lbs Russet potatoes, diced into 1/2-inch cubes
- 3 Tbsp olive oil or avocado oil
- 1 tsp salt
- 1/2 tsp black pepper
- 1 tsp garlic powder
- 1/2 tsp paprika
- 1/4 tsp onion powder
- Optional: 1/2 cup diced onion
Instructions
- Rinse the diced potatoes under cold water until the water runs clear. This removes excess starch, which helps them crisp up. Dry the potatoes completely with paper towels.
- Heat the oil in a large, heavy-bottomed skillet (cast iron works best) over medium-high heat. Add the diced onion, if using, and cook for 3 minutes until softened.
- Add the dried potatoes to the hot skillet in a single layer. Do not overcrowd the pan; cook in batches if necessary.
- Cook the potatoes undisturbed for 8 to 10 minutes until the bottom side is golden brown and crispy.
- Flip the potatoes and continue cooking, stirring occasionally, for another 10 to 15 minutes until all sides are golden brown and the potatoes are tender when pierced with a fork.
- Sprinkle the salt, pepper, garlic powder, paprika, and onion powder over the potatoes. Toss to coat evenly.
- Cook for 1 more minute until the spices are fragrant. Serve immediately as a perfect side dish.
Notes
- For extra crispiness, soak the diced potatoes in ice water for 30 minutes before rinsing and drying them thoroughly.
- Use high-heat oil like avocado oil for the best results when aiming for a golden brown finish.
- This recipe works well for meal prep; reheat in an oven or air fryer to restore crispness.
Nutrition
- Serving Size: 1 serving
- Calories: 250
- Sugar: 1
- Sodium: 350
- Fat: 12
- Saturated Fat: 1.5
- Unsaturated Fat: 10.5
- Trans Fat: 0
- Carbohydrates: 33
- Fiber: 4
- Protein: 4
- Cholesterol: 0