
Let’s be honest: traditional rolled fondant is often the bane of a home decorator’s existence. It tears, it tastes like sweet glue, and getting that perfect, smooth finish feels like a Herculean effort. That’s exactly why I engineered this project—to eliminate the headache and deliver reliable results, fast. This is my go-to solution for creating pliable, fantastic-tasting Marshmallow fondant, perfect for sculpting custom graduation caps or wrapping a beautiful cake for a big event. At Dishicious, we cut out the complexity. I approach recipes like project management: streamline the steps, nail the core ingredients, and guarantee the output. You’re going to love how easy this sweet, homemade fondant is to work with.
- Why This Marshmallow Fondant is Your New Go-To for Cake Decorating
- Essential Ingredients for Perfect Marshmallow Fondant
- Step-by-Step Instructions to Make Marshmallow Fondant
- Tips for Coloring and Working with Marshmallow Fondant
- Troubleshooting Common Marshmallow Fondant Issues
- Serving Suggestions for Your DIY Cake Decorating Projects
- Storage and Reheating Instructions for Marshmallow Fondant
- Frequently Asked Questions About Homemade Fondant
- Nutritional Estimates for Your **Marshmallow Fondant** Batch
- Share Your **Marshmallow Fondant** Creations
Why This Marshmallow Fondant is Your New Go-To for Cake Decorating
When you need to cover a graduation cake or make those sharp edges on a school logo, you need control. This **Marshmallow fondant** delivers performance without the fuss of the professional stuff. Trust me, you won’t go back to the store-bought tubs after trying this reliable batch.
- It’s surprisingly pliable right out of the gate, perfect for rolling thin.
- The taste is leagues better than traditional fondant—it’s not overly sweet, making it a truly tasty easy frosting alternative.
- We’re talking about achieving quality **homemade fondant** results in under 20 minutes total. It’s efficient design at its best!
Essential Ingredients for Perfect Marshmallow Fondant
The brilliance of this recipe is keeping the ingredient list short and focused. We aren’t hunting down obscure items; we are using pantry staples to execute a flawless result, which is core to the Dishicious philosophy. For those vibrant school colors you need for a diy cake project, make sure your vanilla extract is high quality—it really shines through when there are so few ingredients!
Ingredient Clarity and Notes
- 10 oz miniature marshmallows (Yes, minis melt faster—streamlined process!)
- 2 tablespoons water
- 3 cups confectioners’ sugar, plus more for dusting (This must be sifted!)
- 1 teaspoon vanilla extract
- 1 tablespoon vegetable shortening (for mixing) plus more for your hands.
This list ensures you have enough **homemade fondant** to cover a standard 8-inch round cake perfectly.
Step-by-Step Instructions to Make Marshmallow Fondant
In project management, you break down the big goal—a perfectly smooth finished product—into manageable, controlled stages. That’s exactly what we’re doing here. We move quickly, but we pay attention to timing, especially during the melt phase. Don’t confuse fast with sloppy; this process is designed for maximum efficiency and reliable results for your cake decorating projects.
Melting the Marshmallows for Smooth Marshmallow Fondant
First task: Get those marshmallows ready. Toss the 10 oz of mini marshmallows and 2 tablespoons of water into a microwave-safe bowl. Microwave on high for just 30 seconds, stir it up—even if it doesn’t look totally melted—and then repeat in short 15-second bursts. You must stir well between each heating cycle. We don’t want hot spots or burned sugar, which ruins the smooth texture we are aiming for with this **Marshmallow fondant**.
Combining Ingredients for Homemade Fondant Dough
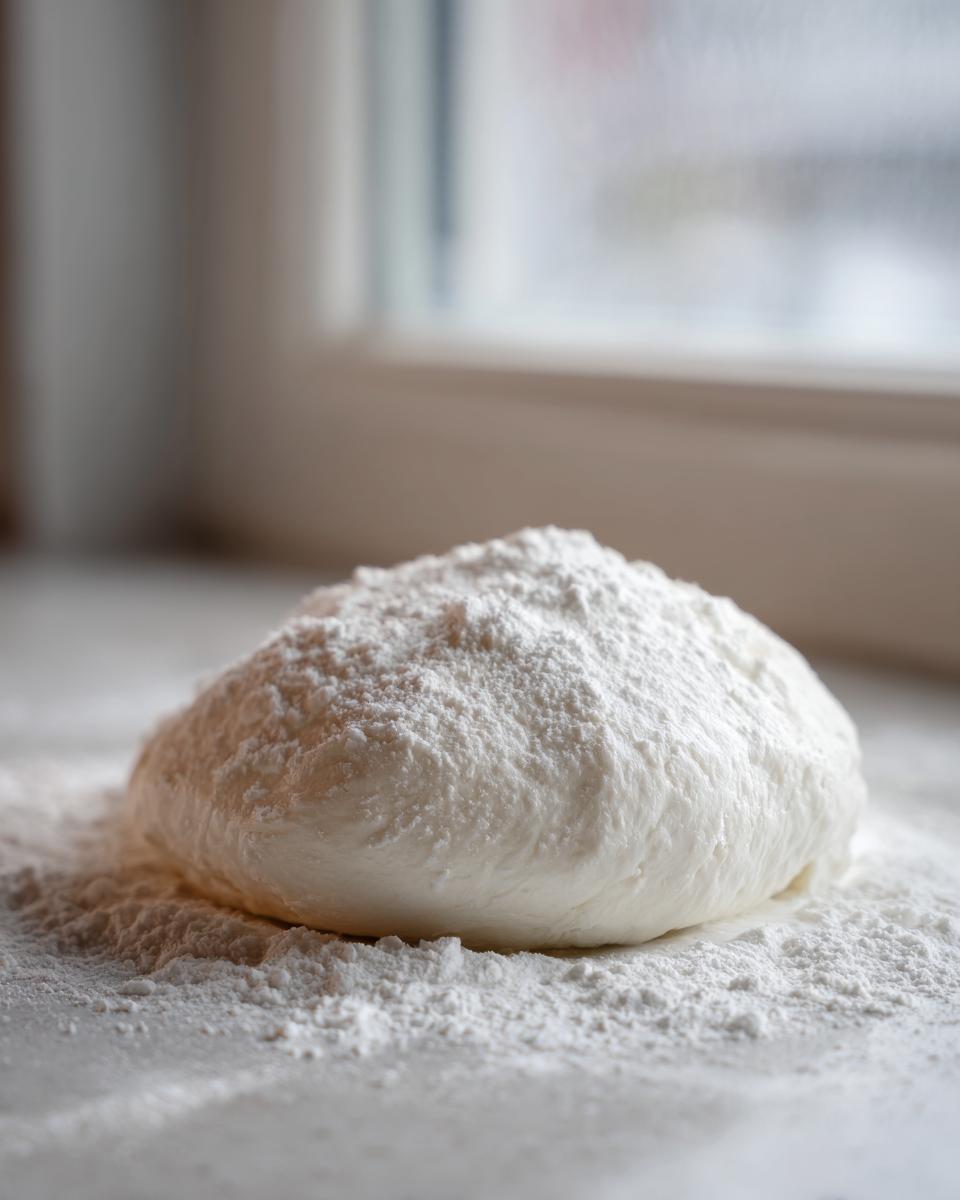
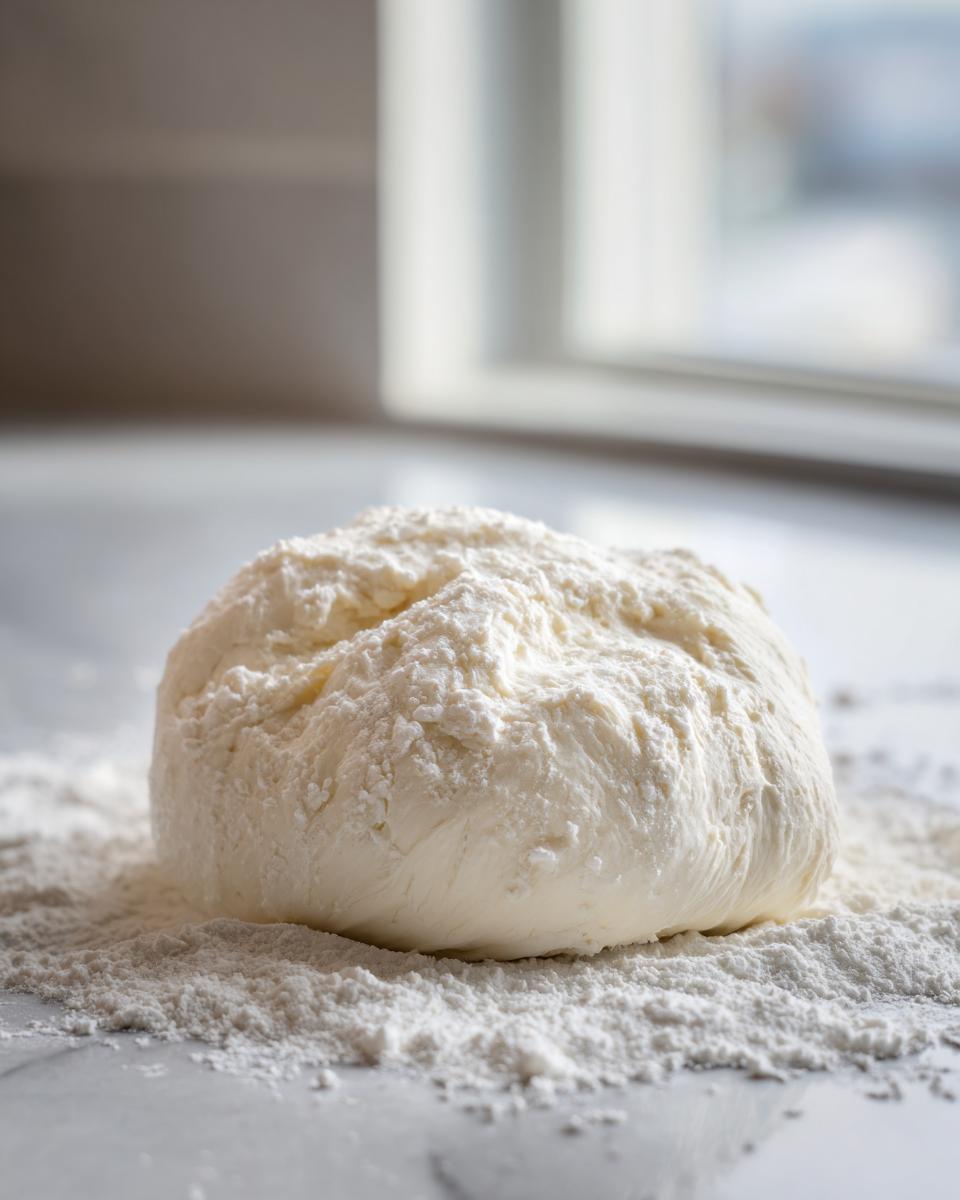
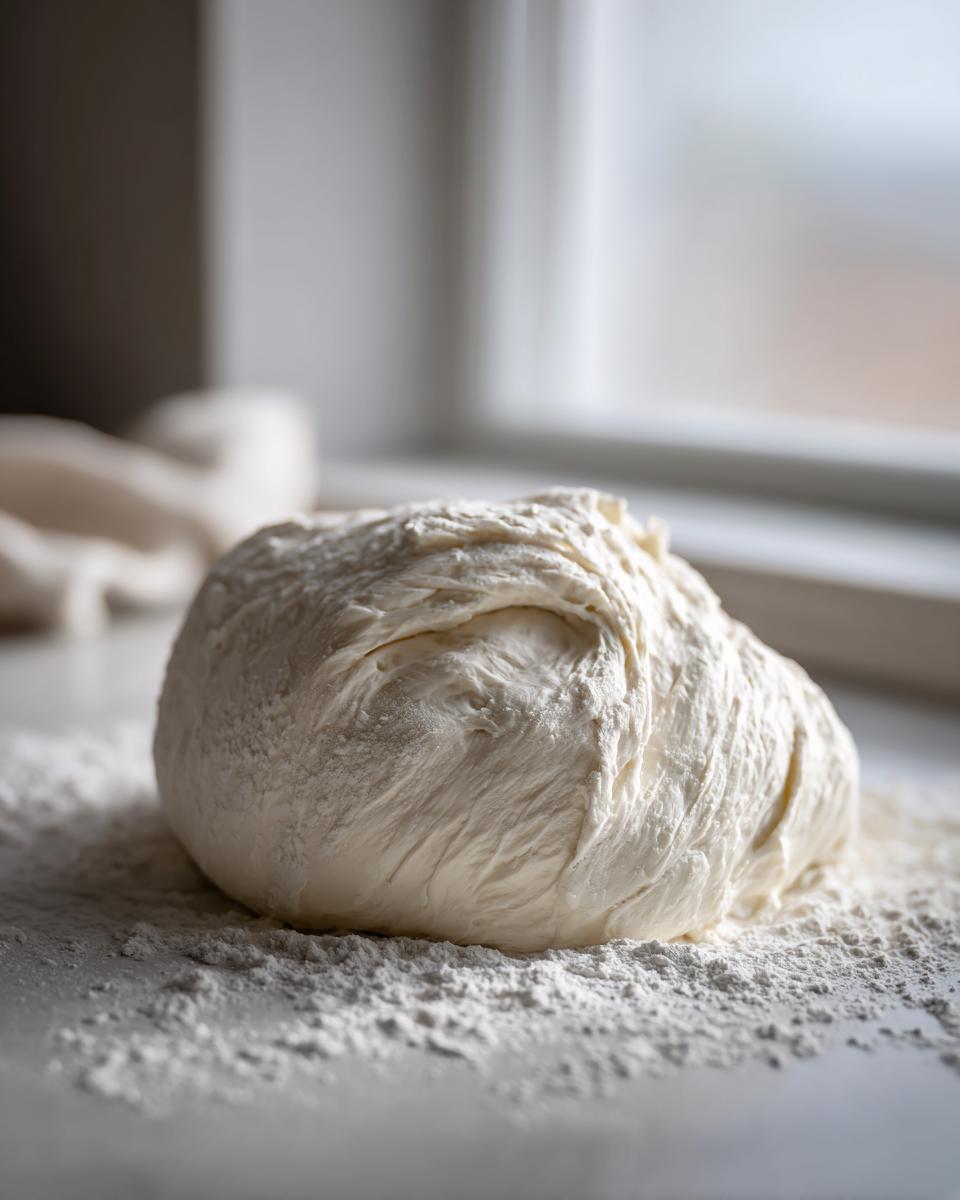
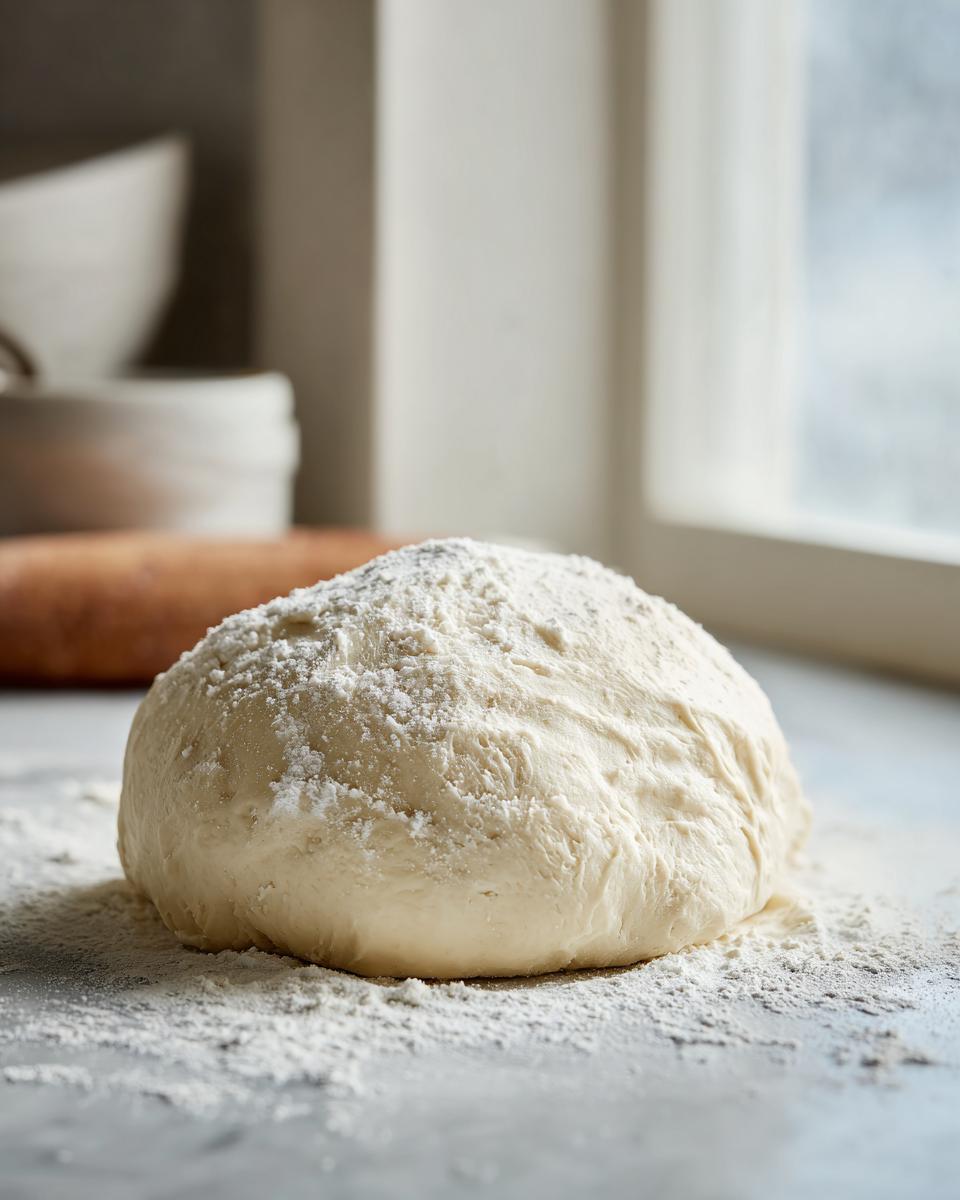
Once everything is fully melted and silky smooth, it’s time to build the dough structure. Sift 2 cups of your powdered sugar into a large bowl—or, if you have one, use your stand mixer with the paddle attachment; it saves your arm! Pour that glorious melted marshmallow mix and the vanilla right over the sugar. Start mixing on low speed until they just come together. Then, slowly add the last cup of sugar until you have what looks like a shaggy, messy ball. That’s the perfect stage before we move on.
Kneading Your Marshmallow Fondant to Perfection
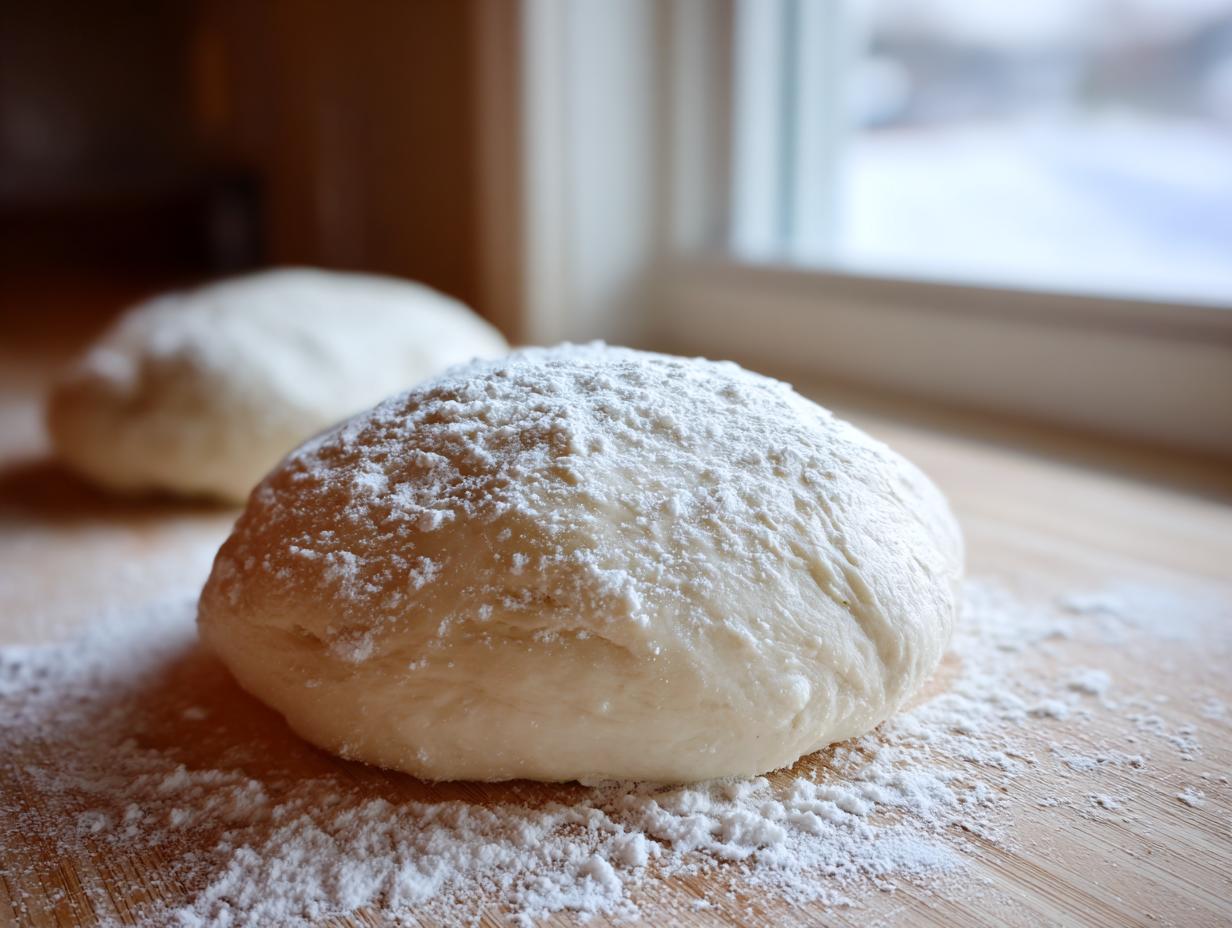
Now for the hands-on part. Turn that shaggy mass out onto a surface that you’ve dusted heavily with more powdered sugar. This is where the shortening comes in—grease your hands lightly. Why shortening? It stops the sticky sugar from bonding permanently to your skin! Knead that dough until it’s silky and doesn’t stick anymore. If it’s still fighting you, add a light dusting more sugar. Finally, wrap it up tight in plastic wrap. This **homemade fondant** needs to rest at room temperature for at least 30 minutes before you try rolling it out for those detailed diplomas or caps.
Tips for Coloring and Working with Marshmallow Fondant
Okay, this is where the fun really starts, especially when you’re tackling detailed **cake decorating** like school colors for graduation. If you need to dye your **Marshmallow fondant**, you have to add the gel food coloring right into the melted marshmallow mixture—that’s before you add *any* of the powdered sugar. Adding coloring later just doesn’t mix in evenly; you’ll get streaks, and we want professionalism!
Gel coloring is your best friend here because liquid coloring adds too much moisture and can ruin the consistency. Trust me on this one; a little bit of gel goes a really long way. Once it’s rested and you’re ready to roll it out, work quickly! If that lovely piece of fondant starts firming up while you’re working on it, a quick 5-second trip back into the microwave will bring it right back to pliable life. You can find some great inspiration for quick fixes and other simple recipes over on our brunch page if you need a break!
Troubleshooting Common Marshmallow Fondant Issues
Even with the most streamlined process, sometimes things get a little sticky—literally. That’s where applying my project management troubleshooting skills comes in handy! When your **Marshmallow fondant** acts up, don’t panic; we just need a targeted adjustment. It’s usually an issue of moisture balance, which is easy to correct.
If your dough is sticking like crazy while you’re kneading it—even after using shortening on your hands—it means you skipped the ideal sugar dusting on your surface. Fix: Dust your counter and hands heavily with more confectioners’ sugar and knead it in until it smooths out. Don’t overdo it, or it gets tough!
Now, what if you let it rest for that required 30 minutes and it’s turned hard as a rock? It happens, especially if the air conditioning is blasting! If the fondant becomes too stiff, you have two easy options. You can either knead in just a few drops of water—I mean seriously, use an eyedropper—or, my preferred quick fix, microwave the whole piece for about 5 seconds. This slightly melts the marshmallow structure and makes it workable again without turning it into a sweet puddle.
If you notice cracking while you’re rolling it thin for those sharp graduation edges, that means it’s slightly too dry. Apply a tiny bit of shortening to your hands and knead it in gently. That little bit of fat restores the pliability immediately. See? No crisis, just a quick fix in the sequence!
Serving Suggestions for Your DIY Cake Decorating Projects
Alright, you’ve got this gorgeous, smooth sheet of **Marshmallow fondant** resting and it’s ready for action. This is where the real fun of efficient diy cake decorating shines! Since this is a fantastic **easy frosting** alternative, it’s designed to handle complex shapes beautifully. Forget wrestling with a flavorless commercial product; this tastes good enough that everyone will actually want a piece of the decoration!
The primary use, especially for big events, is covering a cake. You roll it out thin—I mean really thin, almost translucent—and drape it over your chilled buttercream or ganache layer. The result is that super sharp, professional look for graduation cakes or birthday tiers. If you’re working on smaller details, like sculpting those tiny graduation caps or rolling out thin strips for a diploma border, this recipe holds its shape perfectly after it sets up a little.
For those intricate details, roll out small colored batches and let them sit for about 10 minutes before shaping. They firm up just enough to keep those sharp corners crisp! And hey, if you end up with extra, this stuff rolls out great for making decorative cookies or even dipping some simple homemade treats if you have leftovers from your weekend baking session.
Storage and Reheating Instructions for Marshmallow Fondant
Once you’ve finished your latest masterpiece—whether it’s a tiered wedding cake or a simple batch of school-colored decorations—you need to store the leftover **Marshmallow fondant** correctly. This isn’t like buttercream; we don’t want to treat it like a dairy product that needs constant chilling. Treating it right ensures it’s ready for your next diy cake project without hassle.
The main enemy of this sweet dough is air. Air dries it out and makes it crack when you try to roll it next time. So, make sure you wrap it up incredibly tightly in plastic wrap—I mean seal it like you’re shipping something fragile! Then, keep it stored at room temperature. Never put it in the fridge! The cold humidity will make the sugar weep, and you’ll end up with a sticky mess.
Now, let’s talk about revival. When you pull that tightly wrapped ball out next week to make those final touches, chances are it will be stiff. Don’t panic; this is normal and expected. Just like we do when melting it initially, give it a very, very short burst in the microwave—think 5 seconds max. You just want it to lose its stone-cold rigidity. Then, take it out and start kneading it again. The vegetable shortening on your hands will help soften those outer layers. A few solid minutes of kneading should bring that pliable texture right back, ready for rolling!
Frequently Asked Questions About Homemade Fondant
When I first started optimizing my recipe process, I had a ton of questions about how this **Marshmallow fondant** behaved compared to other options. It’s all about managing expectations in cake decorating, right? Here are the most common queries I get about making this sweet, reliable dough from simple marshmallow recipes.
Can I make Marshmallow fondant ahead of time?
Yes, absolutely! While the recipe requires a 30-minute rest right after kneading to let it relax, you can certainly make this **homemade fondant** a day or two ahead of time. Just make sure you wrap it *extremely* tightly in plastic wrap, just like I detailed in the storage section. Keep it at room temperature, and remember you might need that quick 5-second microwave boost to take the chill off before you roll it out for your big diy cake project.
Is this Marshmallow fondant as strong as gum paste?
That’s a great structural question. Think of it this way: this **Marshmallow fondant** rolls thinner and is much more pliable than gum paste, which is why it’s fantastic for covering large surfaces smoothly. However, gum paste is engineered to dry rock-hard, making it better for ultra-fine, delicate structures like standing sugar flowers. For things like graduation caps or simple diplomas, our fondant will hold its shape perfectly once it sets up—it just won’t get brittle like gum paste. It’s a perfect balance of pliability and structure for 95% of home decorating needs!
How does the taste of this Marshmallow fondant compare to store-bought?
This is my favorite comparison to make! Honestly, traditional store-bought fondant tastes intensely sweet and often chemical-y. My **Marshmallow fondant** tastes predominantly like vanilla and marshmallow—it’s softer, chewier, and genuinely pleasant. Because we use fewer stabilizers and more real sugar and vanilla, your guests will actually enjoy eating the decoration instead of peeling it off the cake. That superior flavor is a huge win for any home baker!
Nutritional Estimates for Your **Marshmallow Fondant** Batch
As a home cook focused on getting projects done efficiently, I know nutrition labels can be a bit overwhelming! In the spirit of keeping things simplified here at Dishicious, I want to note that while I factored in all the ingredients to generate basic estimates for this batch, those numbers are truly just a starting point.
The exact figures for total calories or sugar will shift depending on the brand of marshmallows you grab or the exact type of confectioners’ sugar you use. So please take these values as a general guide only. If you are making detailed **cake decorating** elements like school colors for a graduation cake, just treat this as a delicious, fun component, and don’t stress too much over the specific macros!
Share Your **Marshmallow Fondant** Creations
We spent the time streamlining the process, getting the melting time right, and mastering the kneading so you can focus only on the fun part: creating something beautiful! Now that you’ve mastered making this reliable **homemade fondant**, I really want to see what you came up with.
Did you nail those sharp corners for your graduation cake? Are those school colors vibrant and smooth? Don’t keep your success a secret! I encourage you to jump down into the comments section below. Let me know how this **Marshmallow fondant** performed for your project. Give the recipe a rating so other busy home cooks know this simple method works flawlessly!
If you captured any photos of your finished **cake decorating**—especially if you made those tricky little caps or diplomas—I’d love to see them! You can tag us on social media or just share the story of your success right here on the main Dishicious site. You’ve proven that smart cooking means delicious results without the stress. Go show off your work!
PrintEasy Marshmallow Fondant for Cake Decorating

Make pliable, tasty homemade fondant using marshmallows for decorating graduation cakes or other projects. This is an easy frosting alternative.
- Prep Time: 15 min
- Cook Time: 2 min
- Total Time: 17 min
- Yield: Enough for one 8-inch cake 1x
- Category: Dessert Component
- Method: No-Bake/Melting
- Cuisine: American
- Diet: Vegetarian
Ingredients
- 10 oz miniature marshmallows
- 2 tablespoons water
- 3 cups confectioners’ sugar, plus more for dusting
- 1 teaspoon vanilla extract
- 1 tablespoon vegetable shortening, plus more for hands
Instructions
- Place the miniature marshmallows and water in a microwave-safe bowl.
- Microwave on high for 30 seconds, stir, and repeat in 15-second intervals until the marshmallows are fully melted and smooth. Stir well after each heating.
- Sift 2 cups of the confectioners’ sugar into a large bowl or the bowl of a stand mixer fitted with a paddle attachment.
- Pour the melted marshmallow mixture and vanilla extract over the sugar.
- Mix on low speed until combined. Add the remaining 1 cup of sugar gradually until the mixture forms a shaggy dough.
- Turn the dough out onto a clean surface dusted heavily with confectioners’ sugar.
- Grease your hands lightly with vegetable shortening. Knead the dough until it is smooth and pliable, adding more powdered sugar if the dough sticks.
- Wrap the marshmallow fondant tightly in plastic wrap and let it rest at room temperature for at least 30 minutes before rolling it out for cake decorating.
Notes
- If you need to color the fondant, add gel food coloring to the melted marshmallow mixture before adding the sugar.
- If the fondant becomes too stiff after resting, knead in a few drops of water or microwave it for 5 seconds to soften.
- This recipe makes enough homemade fondant to cover a standard 8-inch round cake.
Nutrition
- Serving Size: 1/12 of batch
- Calories: 250
- Sugar: 60
- Sodium: 15
- Fat: 0.5
- Saturated Fat: 0.1
- Unsaturated Fat: 0.4
- Trans Fat: 0
- Carbohydrates: 62
- Fiber: 0.1
- Protein: 1
- Cholesterol: 0