
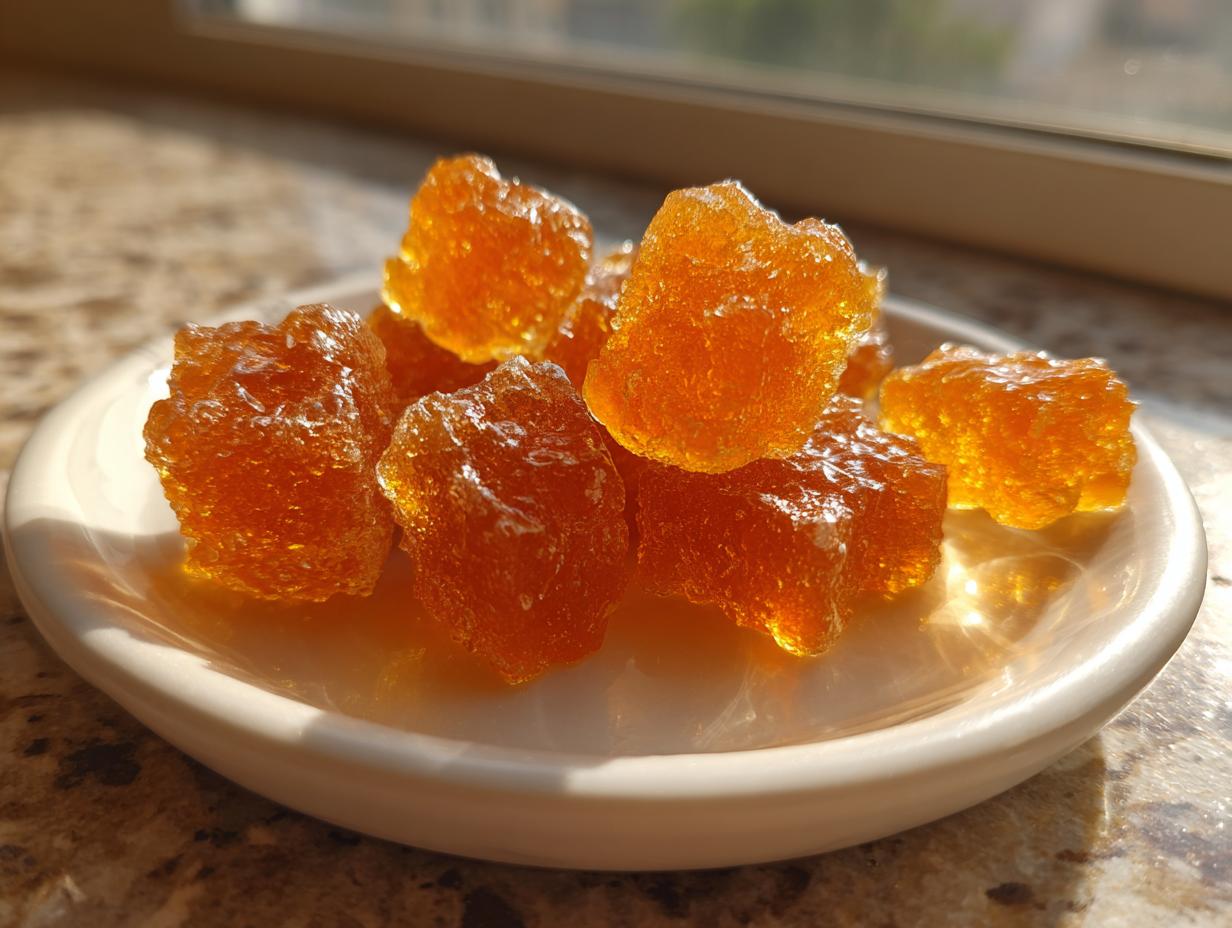
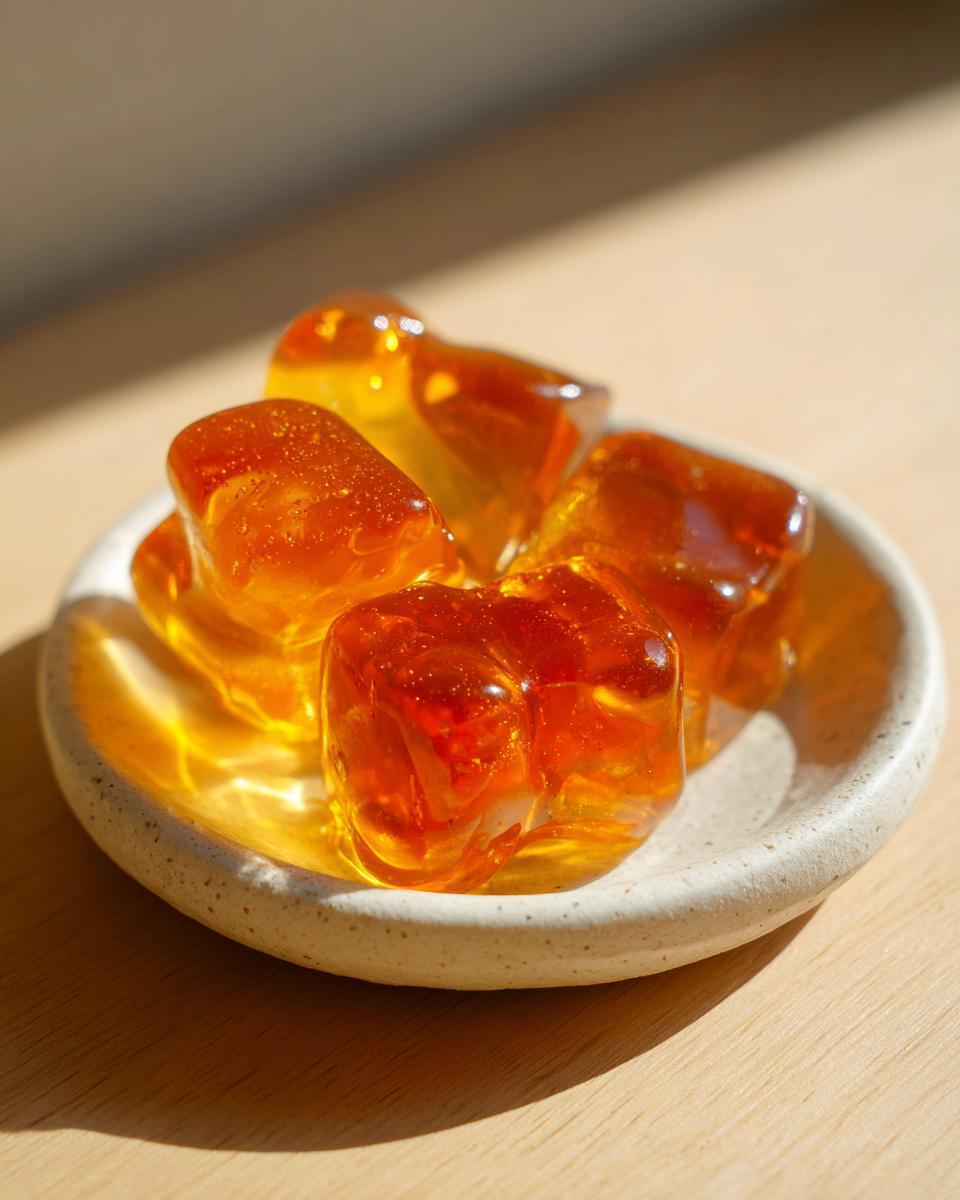
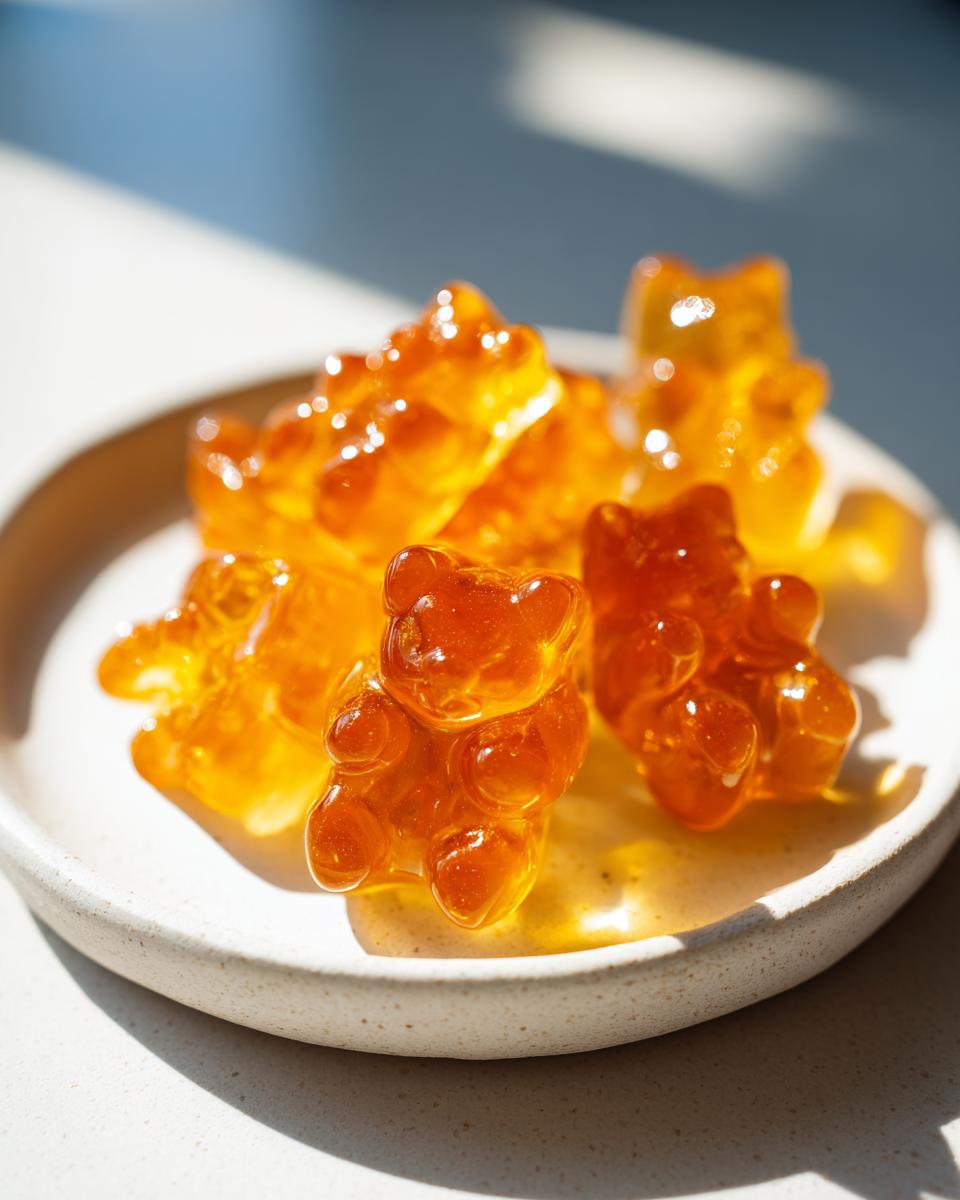
Let’s be honest, sometimes your sweet tooth demands a snack that reminds you of childhood, but your adult brain immediately screams about corn syrup and scary artificial colors. That was my exact dilemma driving me into the kitchen! Finding quality, simple **kid snacks** that didn’t rely on processed junk was a constant project for me here in Chicago. So, I engineered a solution: the perfect batch of **honey gummy bears**.
This recipe is strictly dye-free and uses only pure honey for sweetness. It’s exactly what I look for in modern American cooking—high flavor, absolute minimum effort, and ingredients you can actually pronounce. Forget hunting down obscure additives; we are using a straightforward four-ingredient base to get these fantastic **gelatin snacks** made right in your fridge.
- Why You Need This Simple Honey Gummy Bear Recipe
- Essential Ingredients for Perfect Honey Gummy Bears
- Step-by-Step Instructions for Making Honey Gummy Bears
- Tips for Success with Your Honey Gummy Bear Recipe
- Storage and Shelf Life for Homemade Gummy Bears
- Variations on Dye-Free Honey Gummy Bears
- Equipment Needed for Perfect Honey Gummy Bears
- Frequently Asked Questions About Making Honey Candy
- Nutritional Estimate for These Gelatin Snacks
- Nutritional Estimate for These Gelatin Snacks
Why You Need This Simple Honey Gummy Bear Recipe
I built Dishicious because I needed recipes that fit my busy life, and that absolutely includes what I feed myself and my family. When you’re looking for treats, you shouldn’t have to compromise on quality. These little guys make a snack drawer upgrade easy.
- You control every ingredient—no dyes, no HFCS, just pure goodness.
- They taste distinctly like **honey gummy bears** because that’s exactly what they are!
- They are amazingly simple to set up; the heavy lifting is done by your refrigerator.
If you’re looking for smarter ways to tackle weekly food prep, check out my philosophy on healthy lunch ideas; efficiency starts early!
A Smarter Approach to Homemade Gummy Bears
This recipe is pure efficiency. We aren’t complicating things with fancy sugar processing or complicated cooking techniques. My goal here was to streamline the process so you get fantastic **homemade gummy bears** fast. By ditching the corn syrup and artificial colors found in most store brands, we deliver superior flavor using just honey and quality gelatin. It’s the Dishicious way—simple, reliable, and delicious.
Essential Ingredients for Perfect Honey Gummy Bears
When you’re aiming for a totally pure **honey candy**, precision matters, even if the process is easy. I treat every ingredient measurement like a crucial step in a project plan—get it right, and the outcome is predictable. We are keeping this super clean here, relying only on a handful of basic items. You’ll need just half a cup of cold water to start off the setting process, and four tablespoons of unflavored gelatin powder. Don’t eyeball that gelatin; it sets the entire structure for your final **gelatin snacks**!
The sweetness comes exclusively from a quarter cup of honey. That’s it—no processed sugar sneaking in! We finish the ingredient list with just one teaspoon of fruit extract or juice if you want a tint of color or a slight flavor boost beyond the honey itself. Keep everything organized, and you’re halfway to the finish line before the stove even turns on.
Ingredient Notes and Substitutions for Your Honey Candy
Listen, the gelatin measurement is the most crucial science part of this whole operation. If you find your gummies coming out too soft after the first batch, go ahead and bump that up to five tablespoons next time for a truly firm hold. That’s the tradeoff for making them **healthier candy**!
For your flavoring, if you use a pure juice—like a splash of tart cherry juice—you might get a beautiful natural color coming through. Extracts are great for concentrated flavor without adding extra liquid. Remember, these treats are all about customization, but keep the core honey intact for that signature taste.
Step-by-Step Instructions for Making Honey Gummy Bears
Okay, now we get into the actual assembly. As a project manager, I love seeing a process come together cleanly, and this recipe is shockingly efficient once you know the flow. We are moving quickly, but we’re doing this gently—this isn’t a high-heat recipe at all. Before you start, make sure you have your silicone mold ready to go. If you’re looking for some great finishing dishes after these snacks, check out my favorite dessert recipes, but focus here first!
Blooming the Gelatin: The First Step for Great Gelatin Snacks
This first phase is non-negotiable: we have to wake up the gelatin. Pour your cold water into a small saucepan, then gently sprinkle that unflavored gelatin powder all over the top surface. Don’t stir! Just let it sit there undisturbed for about five minutes. This blooming step is critical; it lets the gelatin absorb the liquid before we apply any heat, which is what ensures your final **gelatin snacks** set up nicely and don’t leave you with gritty bits.
Dissolving and Flavoring Your Honey Gummy Bear Base
Once bloomed, put that pan over very low heat. Now, add your honey. The golden rule here is to stir constantly until both the honey and the gelatin are totally dissolved. I mean *totally* dissolved—no granules left. But listen to me: you absolutely cannot let this mixture boil. Boiling gelatin changes its molecular structure, and you’ll end up with runny goo instead of chewy goodness. Once dissolved, pull it right off the burner and stir in any fruit extract you decided to use.
Molding and Chilling Your Homemade Gummy Bears
This part can be messy, so take your time. Carefully pour that warm liquid base right into your silicone molds. If you’re working with those tiny bear cavities, grab a dropper—it makes filling them so much cleaner and helps avoid drips that stick to the edges. Once all the molds are filled, they need a good, solid rest. Transfer the whole tray directly into the refrigerator and let them chill for a minimum of two hours. They need to be fully firm before you try to pop them out.
Tips for Success with Your Honey Gummy Bear Recipe
Getting these **honey gummy bears** perfect on the first try is all about managing temperature and texture during that brief cook time. Remember, we’re using honey, which is thicker than refined sugar, so you have to stir diligently when heating. Also, if you want your **healthy candy** to have a little extra zip to cut through the sweetness of the honey, mix in about a quarter teaspoon of citric acid right when you are dissolving the mixture over low heat.
Another key optimization: if you find the resulting gummies are just a touch too soft for what you want—maybe they’re not quite the classic chewiness—go ahead and increase the gelatin to five full tablespoons next time. It’s a simple adjustment that locks in a firmer structure every time.
Storage and Shelf Life for Homemade Gummy Bears
Since these are completely natural, we don’t have those preservatives keeping them fresh on the shelf. You must store your finished **homemade gummy bears** in an airtight container and keep them tucked away in the refrigerator. This is important for quality control! When stored correctly, these delicious **kid snacks** stay perfectly firm and tasty for up to a full two weeks. Trust me, they rarely last that long once the kids find them!
Variations on Dye-Free Honey Gummy Bears
The real beauty of keeping homemade treats this simple is how easy it is to switch up the flavor profile without introducing artificial junk. If you want brighter flavors than just honey, think natural! A squeeze of fresh lemon juice works wonders—it adds beautiful tartness that contrasts nicely. You can use strong brewed tea, like hibiscus, instead of water in the blooming step for a deeper color and earthy flavor base.
Try orange extract for a sweeter citrus note, or even a drop of pure peppermint extract if you’re feeling adventurous. For more snack ideas that keep things simple, take a look at my quick guide to appetizers and snacks that fit a busy schedule.
Equipment Needed for Perfect Honey Gummy Bears
You honestly don’t need much gear for this simple project. The absolute must-have is a quality silicone gummy bear mold—silicone is key because it releases so easily. If you’re worried about precision when pouring the liquid into those tiny shapes, grab a small kitchen dropper. That little tool is a game-changer for keeping your area clean and ensuring the cavities fill perfectly.
Frequently Asked Questions About Making Honey Candy
I know when you try something new, you have questions, especially when you’re customizing your own version of **kid snacks**. That’s why I love diving into these little details—it minimizes mistakes and maximizes delicious results. Having the right texture is everything when dealing with **gelatin snacks**!
Can I use maple syrup instead of honey in this honey gummy bear recipe?
That’s a great question about substitution! Yes, you absolutely can swap maple syrup for honey, but be aware that maple syrup has a very distinct, strong flavor that will definitely take over. Structurally, they both dissolve similarly, but you might find the maple version is slightly less sweet overall. It works, but honey is what gives these their signature character.
How do I get my homemade gummy bears to be chewy like store-bought ones?
If you want that classic, super-firm chew, the easiest fix is simply adjusting the gelatin. In the ingredient notes, I mentioned increasing the unflavored gelatin powder from four tablespoons to five tablespoons. That extra gram or two of gelatin will firm up the structure significantly after chilling, making them much more resilient when you chew them. Don’t skimp on the chill time, either—a fully set gummy is a chewy gummy.
If you’re planning your day around snacks and breakfast, make sure to check out my easy easy breakfast and brunch ideas to keep your efficiency high all day!
Nutritional Estimate for These Gelatin Snacks
When we talk about making **healthy candy**, we are focusing on what we leave out—the dyes and the corn syrup! Based on the core ingredients of honey and gelatin, here is what you can generally expect per serving of five gummies. Keep in mind that if you add lots of fruit juice for color, that can shift the sugar count slightly. These figures are definitely a better starting point than any store-bought bag!
- Serving Size: 5 gummies
- Calories: 45
- Sugar: 7g
- Protein: 2g
- Fat: 0g
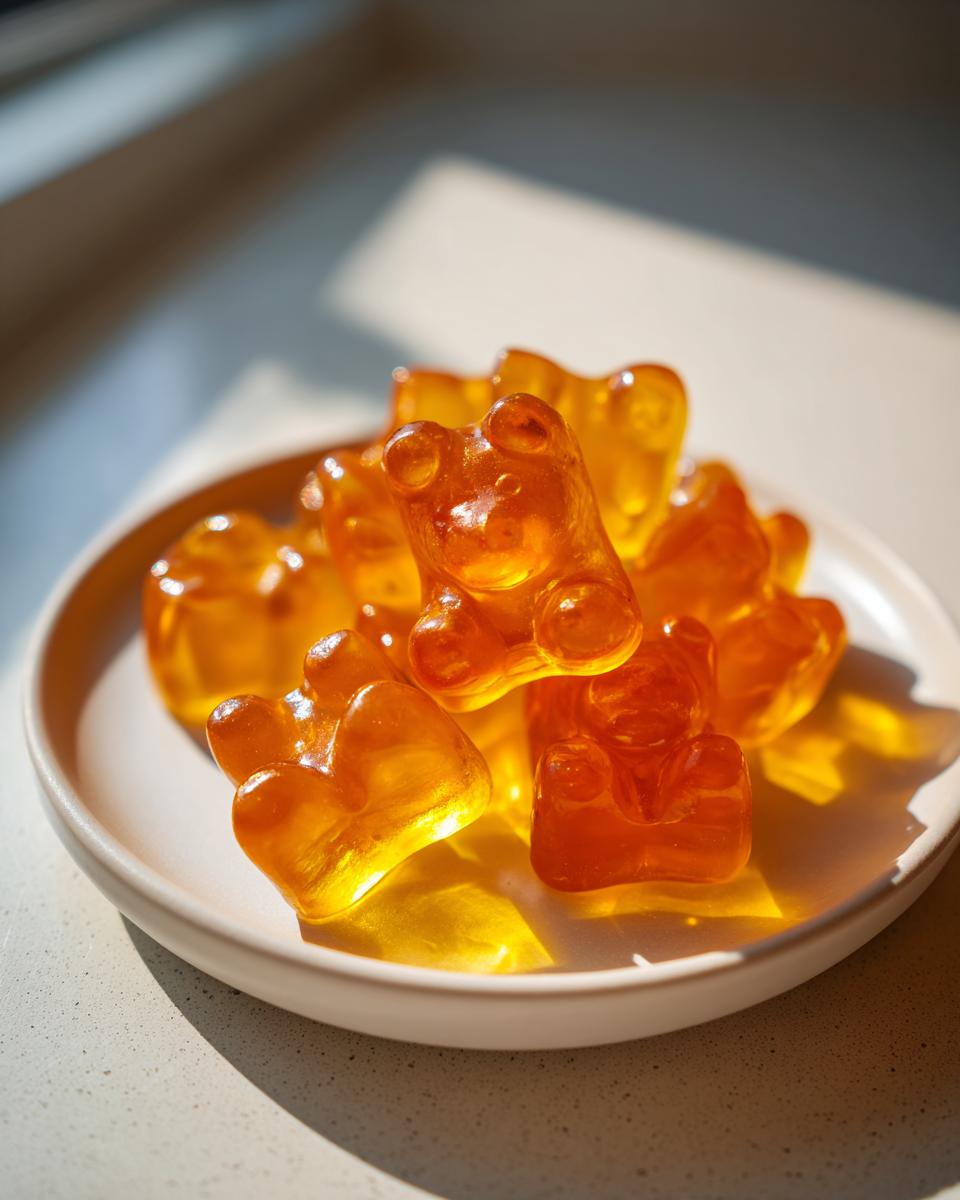
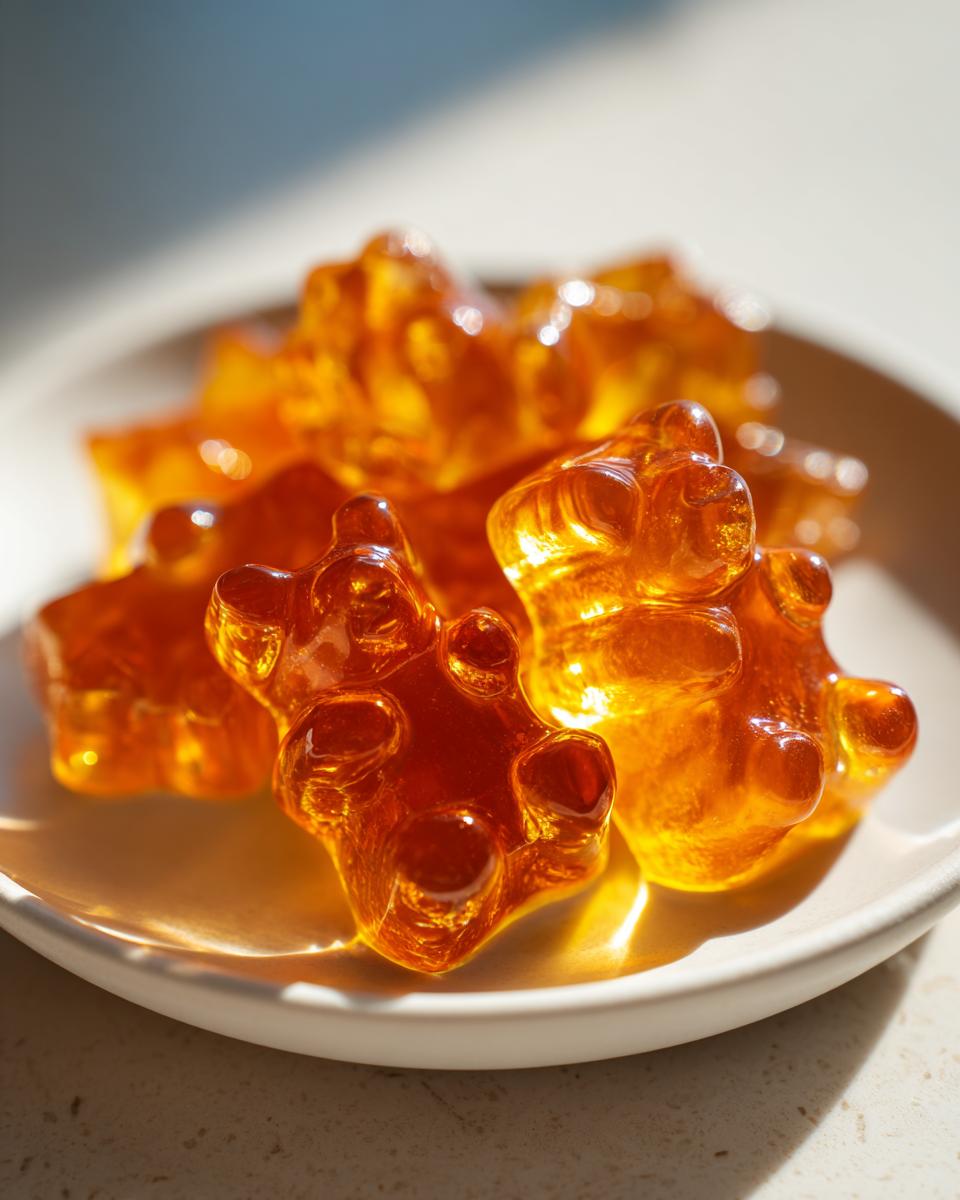
Honey Gummy Bears: Dye-Free Gelatin Snacks
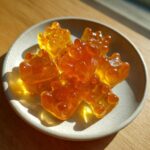
Make simple, homemade gummy bears sweetened only with honey. This recipe avoids corn syrup and artificial dyes for a healthier candy option.
- Prep Time: 10 min
- Cook Time: 5 min
- Total Time: 135 min
- Yield: About 50 small gummies 1x
- Category: Dessert
- Method: Chilling
- Cuisine: American
- Diet: Vegetarian
Ingredients
- 1/2 cup cold water
- 1/4 cup honey
- 4 tablespoons unflavored gelatin powder
- 1 teaspoon fruit extract or juice (optional, for flavor)
- Silicone gummy bear mold
Instructions
- Pour the cold water into a small saucepan. Sprinkle the gelatin powder evenly over the water. Let the mixture sit for 5 minutes to allow the gelatin to bloom.
- Place the saucepan over low heat. Add the honey. Stir constantly until the gelatin and honey are completely dissolved. Do not let the mixture boil.
- Remove the pan from the heat. If using, stir in the fruit extract or juice now.
- Carefully pour the liquid mixture into your silicone gummy bear mold. Use a dropper if needed for precision.
- Place the filled mold into the refrigerator. Chill for at least 2 hours, or until the gummies are firm.
- Once set, gently pop the homemade gummy bears out of the mold. Store them in an airtight container in the refrigerator.
Notes
- For a firmer gummy, you can increase the gelatin to 5 tablespoons.
- If you want a slight tang, add 1/4 teaspoon of citric acid when dissolving the mixture.
- These healthy candy treats last up to two weeks when refrigerated properly.
Nutrition
- Serving Size: 5 gummies
- Calories: 45
- Sugar: 7g
- Sodium: 5mg
- Fat: 0g
- Saturated Fat: 0g
- Unsaturated Fat: 0g
- Trans Fat: 0g
- Carbohydrates: 10g
- Fiber: 0g
- Protein: 2g
- Cholesterol: 0mg