
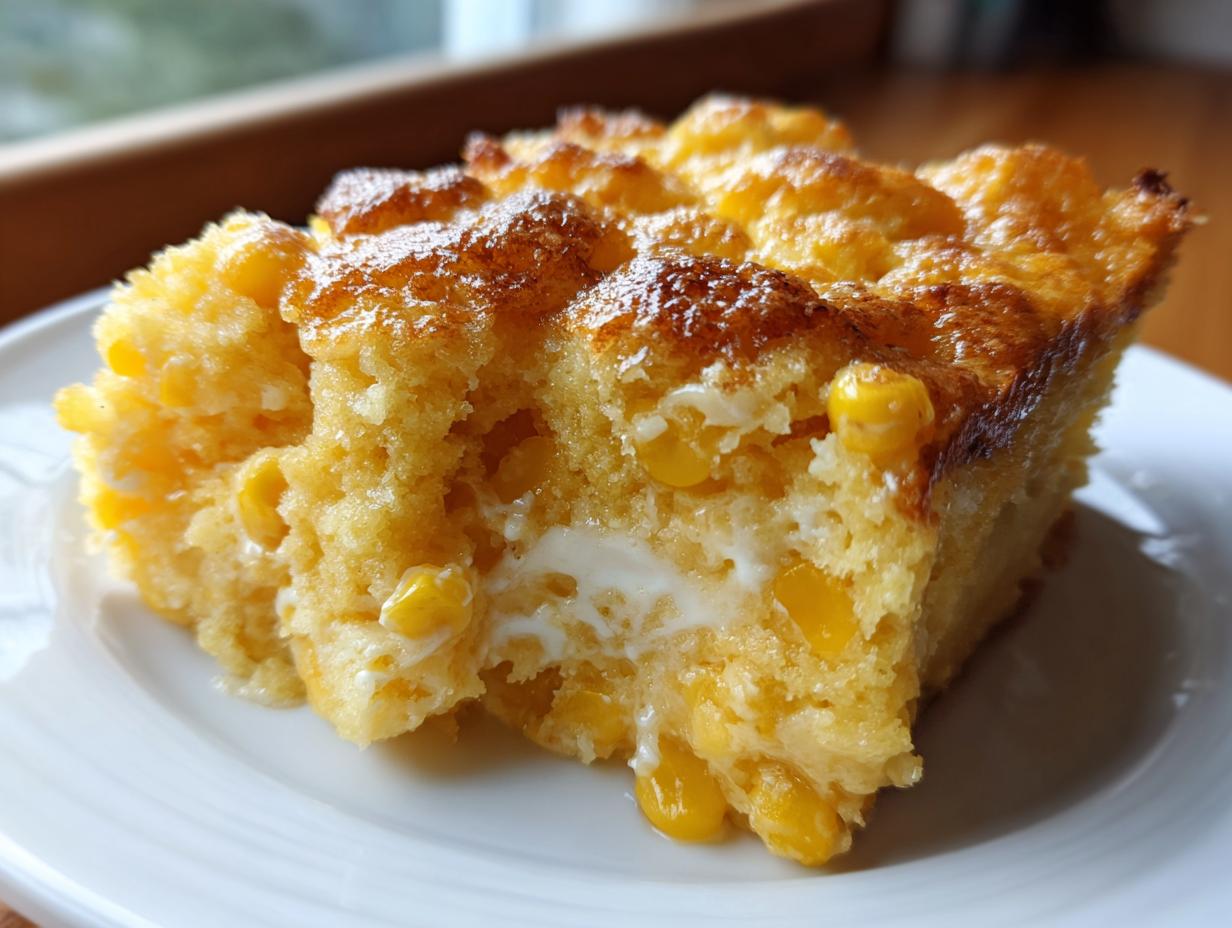
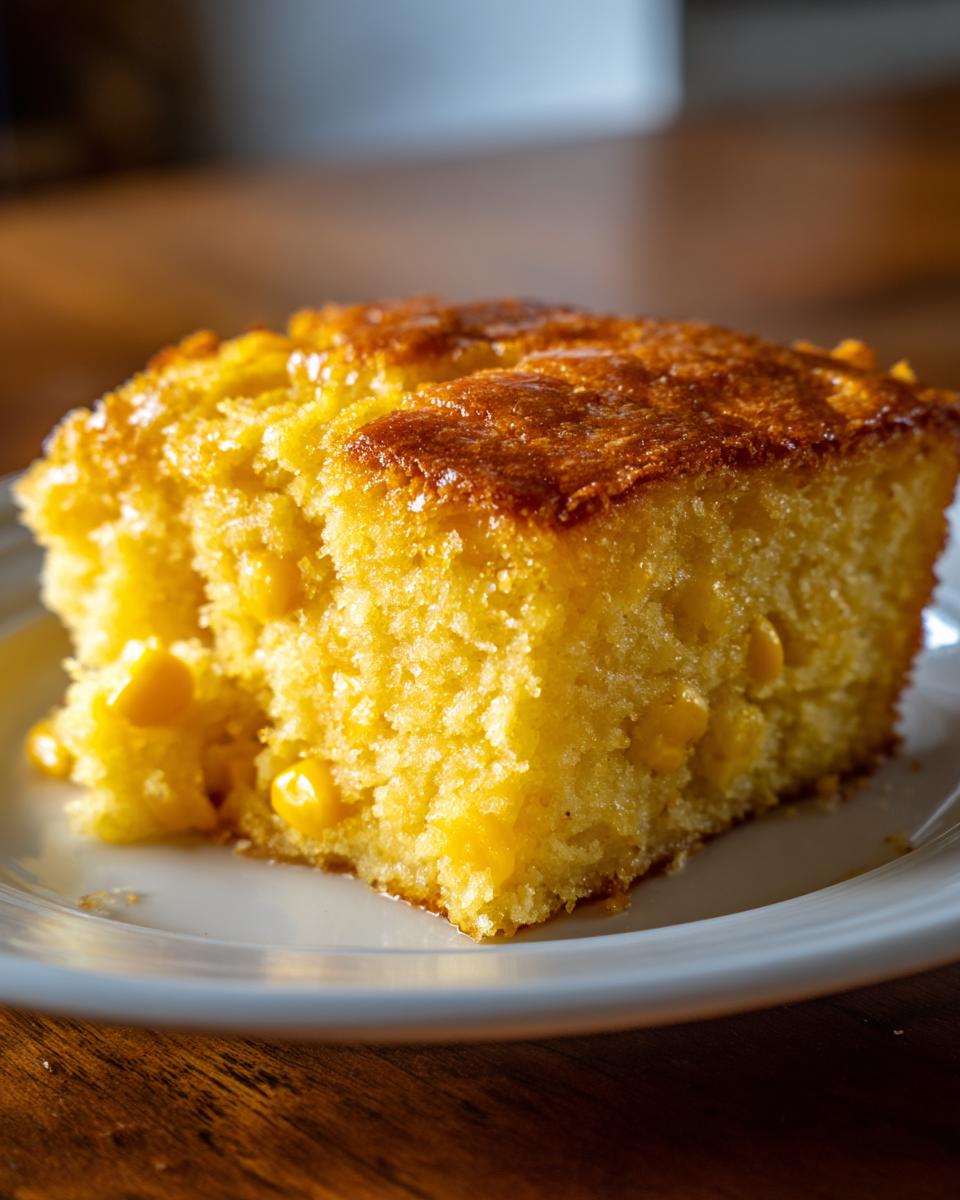
When I think about the absolute best kind of comfort food, it isn’t the complicated stuff; it’s the dishes that taste like tradition but don’t steal your entire Saturday. That’s where this creamy, custard-like baked corn pudding casserole swoops in. Honestly, I engineered this recipe after realizing that every potluck I went to featured some version of soggy, underwhelming corn. No thanks. My project manager brain kicked in, and I streamlined the process until I got the most reliable, rich, and foolproof sweet corn pudding imaginable. This is the side dish that stands up perfectly next to smoky ribs and pulls bragging rights at any backyard gathering. It just works, every single time, transforming pantry staples into pure gold.
- Why This Baked Corn Pudding Casserole Works Every Time
- Essential Ingredients for Perfect Corn Pudding
- Step-by-Step Instructions for Your Creamy Corn Pudding
- Tips for Success When Making Baked Corn Pudding Casserole
- Serving Suggestions for Your Southern Food Corn Pudding
- Storing and Reheating Leftover Corn Pudding
- Frequently Asked Questions About Corn Pudding
- Nutritional Estimate for This Corn Pudding Side Dish
- Share Your Experience Making This Corn Pudding
Why This Baked Corn Pudding Casserole Works Every Time
Look, I don’t have time for dishes that require finicky temperatures or rare items. The beauty of this corn pudding is that it aligns perfectly with the Dishicious philosophy: maximum flavor with minimum fuss. We engineered this specific blend of ingredients to guarantee success, whether you’re a novice cook or just running short on time.
- Lightning Fast Prep: You’ll be shocked—the entire batter comes together in less than ten minutes. Seriously, just whisk and pour!
- That Perfect Texture: We use a blend of whole corn and cream-style corn mixed with just enough cornmeal to create that heavenly, rich custard texture you expect from real southern food.
- The Ultimate Side: This casserole is sturdy enough to hold its own next to heavily sauced smoked meats, making it the ideal potluck plus-one.
Essential Ingredients for Perfect Corn Pudding
When I design recipes, every ingredient has a job, and there’s zero room for substitutions that jeopardize the structure. For this classic baked casserole, we are pulling familiar items right from the pantry. The balance here is key to getting that perfect sweet custard interior that won’t turn watery on you. Trust me on using cream-style corn—it’s non-negotiable for the right mouthfeel. Below are precisely what you need to gather before you start mixing. When you’re ready to move on, check out my thoughts on why this specific combination works so well.
- 1 (15 ounce) can cream-style corn
- 1 (15 ounce) can whole kernel corn, drained
- 1 cup milk
- 1/2 cup granulated sugar
- 2 large eggs, lightly beaten
- 1/4 cup all-purpose flour
- 1/2 teaspoon salt
- 1/4 teaspoon black pepper
- 4 tablespoons unsalted butter, melted
- 1/2 cup yellow cornmeal
Ingredient Notes and Substitutions for Your Corn Pudding
We need that richness that comes from dairy fat, so if you want to take this up a notch from standard milk, I highly recommend swapping it for half-and-half; the results are incredible. The cornmeal isn’t just for flavor; it’s the binder that lets this pudding set up beautifully instead of staying soupy—don’t skip it! Also, make sure your butter is fully melted before you incorporate it so it blends evenly into the batter. This is where all good casserole recipes start: perfect ingredients, perfectly prepared.
Step-by-Step Instructions for Your Creamy Corn Pudding
This is where the efficiency really shines. We’re focusing strictly on sequence to ensure that custard sets perfectly in the oven. First things first: get that oven preheated to 375 degrees Fahrenheit. While it warms up, take a moment to grease your 1.5-quart casserole dish—don’t skimp here, we want easy serving later! Grab a big bowl because we are mixing everything quickly.
- Combine your cream-style corn and the drained whole kernel corn in that big bowl.
- Now, whisk everything wet and powdery together: milk, sugar, those lightly beaten eggs, the flour, salt, and pepper. Keep whisking until it’s totally smooth. Smoothness is key for the custard.
- Next, fold in your melted butter and the cornmeal. Pay close attention here: only stir until everything is just combined. If you overmix this batter, you activate too much gluten and you lose that lovely, tender texture. Stop stirring!
- Pour that beautiful, dense batter right into your prepared dish.
- Slide it into the oven and bake it for 45 to 55 minutes. You’re looking for a top that’s golden brown and set.
Crucially, once it comes out, resist the temptation to dig right in. Let the corn casserole rest for a solid 10 minutes. This brief cooling period allows those starches and eggs to finish setting up, which prevents it from collapsing when you serve those first few magnificent scoops.
Tips for Success When Making Baked Corn Pudding Casserole
Getting that perfect, slightly firm yet creamy set is what separates a good side dish from an unforgettable one. When you test for doneness around the 45-minute mark, don’t just wave a knife around! Gently shake the dish slightly. If the center has just a slight jiggle—like firm Jell-O—it’s ready. If it’s liquid, give it another five minutes. That golden top comes naturally as the sugar caramelizes slightly during the last few minutes of baking.
Also, here’s a smart move for busy days: you can absolutely mix this entire batter up a day ahead. Cover it tightly and save it in the fridge for up to 24 hours. Just pull it out about 30 minutes before you bake so it isn’t ice cold when it hits the preheated oven. This reliability is why this comforting corn pudding remains one of my favorite casserole recipes.
Serving Suggestions for Your Southern Food Corn Pudding
If you’re making this corn pudding, chances are you’re planning a meal big enough for a crowd—or at least big enough to freeze leftovers! This recipe screams classic southern food, so pair it with something smoky and robust. It’s absolutely the perfect side dish for slow-cooked pulled pork or when you’re pulling smoky BBQ ribs off the grill.
The balance of sweet corn and savory seasoning cuts through the richness of smoked meats so nicely. It works just as beautifully alongside grilled chicken or even fried fish if you’re having a lighter meal. Think of this as the crowd-pleasing anchor for any spread of American corn recipes you can bring to the table. It’s hearty, it’s satisfying, and it never needs an introduction!
Storing and Reheating Leftover Corn Pudding
Even though this amazing side dish rarely lasts past the first round of seconds, you might find yourself with leftovers. That’s fine! This baked corn pudding stores remarkably well, which is great because you get a second easy meal later in the week. Once it has cooled completely, cover the dish tightly with foil or transfer the servings into an airtight container. It will keep beautifully in the fridge for about four days. That’s just enough time to reheat it for a few weeknight dinners.
When you’re ready to eat it again, I strongly suggest using the oven to reheat your corn pudding; it maintains that dense, custard-like structure best. Cover the dish loosely with foil and warm it at 350 degrees for about 15 to 20 minutes, just until heated through. If you’re in a total rush, the microwave works, but watch it closely! The texture might soften a little too much, so use short bursts. Nobody wants sad, watery corn pudding!
Frequently Asked Questions About Corn Pudding
I get so many questions about this recipe because everyone wants that perfect, foolproof result. It’s understandable—we all want the best corn recipes on the table! Here are the common issues I hear about when folks try making baked corn pudding for the first time.
Can I use frozen corn instead of canned?
Yes, you absolutely can! If you use frozen corn, just make sure you thaw it completely and drain it really, really well before adding it to the batter. If you don’t drain it enough, you might end up with watery results, and that’s the enemy of a good baked casserole. I prefer canned for consistency, but frozen works in a pinch if you optimize the prep!
Can I mix cheese into this corn pudding?
You definitely *can* add cheese—it’s a great way to give it a sharper flavor profile, though it deviates a bit from the classic sweet profile. If you do, use about 1 cup of shredded sharp cheddar or Monterey Jack. Make sure to stir it in right at the very end with the butter and cornmeal so you don’t overwork the batter. It turns it more into a savory casserole recipe experience.
How do I prevent this corn pudding from becoming watery?
This is the number one issue! The key is twofold: first, drain the whole kernel corn very well. Second, make sure you let the finished casserole rest for that full 10 minutes after it comes out of the oven. That allows the custard to finish setting up. Using the cornmeal binder is also critical in stabilizing these types of casserole recipes.
Can I double this recipe for a 9×13 pan?
You can! If you use a standard 9×13 inch baking dish, you should just double all the ingredients listed. However, the baking time will likely decrease because the batter will be shallower. Start checking it around 35 minutes instead of waiting for the full 50. Test it with a knife until it comes out clean.
Nutritional Estimate for This Corn Pudding Side Dish
So, while this dish is pure comfort and flavor payoff, I always get asked about the details behind the macros. Keeping track of what we eat is part of smart cooking, right? This baked corn casserole is straightforward—it relies on corn, butter, and eggs—so the numbers reflect that honest approach. When I put this recipe together, I wasn’t aiming for low-cal, I was aiming for delicious!
Keep in mind these figures are just an estimate based on the standard ingredient quantities listed. Your final numbers might shift slightly depending on the exact brands of creamed corn or milk you use. But generally speaking, you’re looking at something satisfying that pairs perfectly with your main proteins.
- **Serving Size:** 1 serving
- **Calories:** 280
- **Fat:** 10g (6g Saturated)
- **Carbohydrates:** 42g
- **Sugar:** 18g
- **Protein:** 7g
- **Sodium:** 350mg
- **Cholesterol:** 75mg
Share Your Experience Making This Corn Pudding
Alright, that’s the deep dive on getting this corn pudding just right! Now it’s your turn to put this reliable recipe to the test. Did it meet the BBQ standards? Head down to the comments and leave a rating so others know how flawlessly this batch turned out. We are all about proving that delicious, simple cooking is achievable for everyone. Go enjoy those leftovers! Check out more of our foolproof smarter cooking solutions.
PrintCreamy Baked Corn Pudding Casserole
Make this creamy, custard-like corn pudding casserole, a traditional, hearty side dish perfect for smoked meats and BBQ ribs.
- Prep Time: 10 min
- Cook Time: 50 min
- Total Time: 60 min
- Yield: 6 servings 1x
- Category: Side Dish
- Method: Baking
- Cuisine: American
- Diet: Vegetarian
Ingredients
- 1 (15 ounce) can cream-style corn
- 1 (15 ounce) can whole kernel corn, drained
- 1 cup milk
- 1/2 cup granulated sugar
- 2 large eggs, lightly beaten
- 1/4 cup all-purpose flour
- 1/2 teaspoon salt
- 1/4 teaspoon black pepper
- 4 tablespoons unsalted butter, melted
- 1/2 cup yellow cornmeal
Instructions
- Preheat your oven to 375 degrees Fahrenheit. Grease a 1.5-quart casserole dish.
- In a large bowl, combine the cream-style corn and drained whole kernel corn.
- Whisk in the milk, sugar, eggs, flour, salt, and pepper until the mixture is smooth.
- Stir in the melted butter and cornmeal until just combined. Do not overmix.
- Pour the batter into the prepared casserole dish.
- Bake for 45 to 55 minutes, or until the pudding is set and lightly golden brown on top.
- Let the corn pudding rest for 10 minutes before serving.
Notes
- For a richer flavor, substitute whole milk with half-and-half.
- This casserole is an excellent side dish for your next barbecue.
- You can prepare the batter up to 24 hours ahead and keep it refrigerated before baking.
Nutrition
- Serving Size: 1 serving
- Calories: 280
- Sugar: 18
- Sodium: 350
- Fat: 10
- Saturated Fat: 6
- Unsaturated Fat: 4
- Trans Fat: 0
- Carbohydrates: 42
- Fiber: 2
- Protein: 7
- Cholesterol: 75