
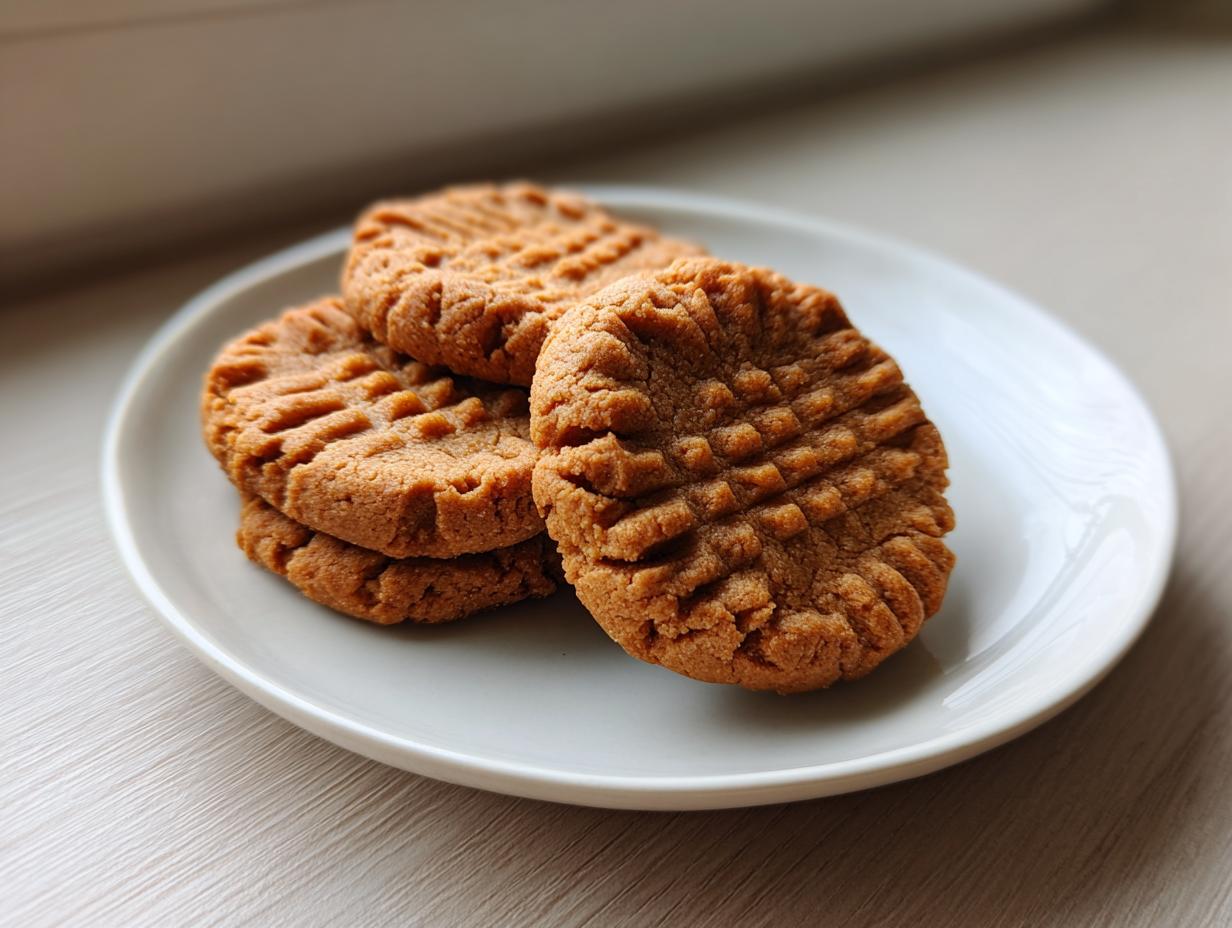
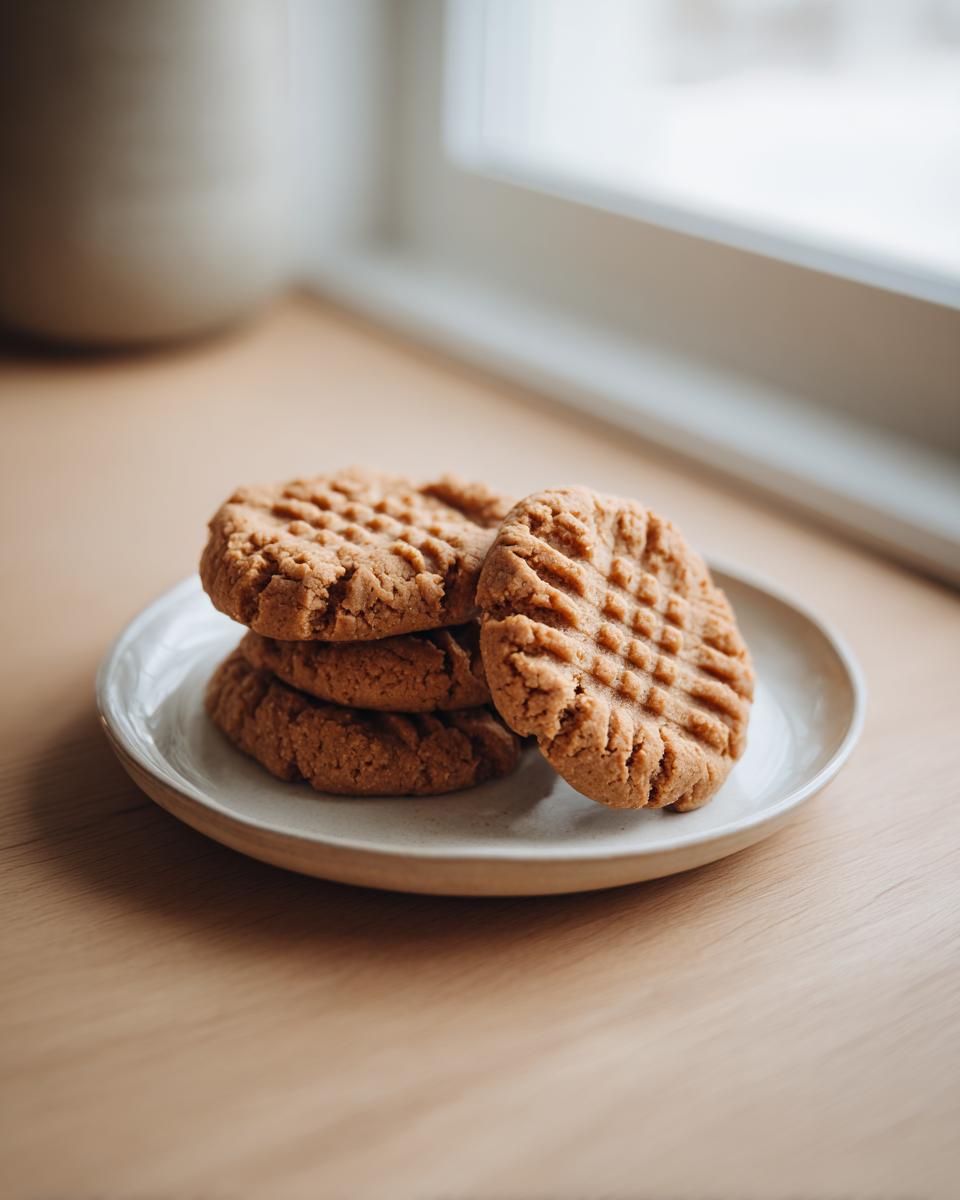
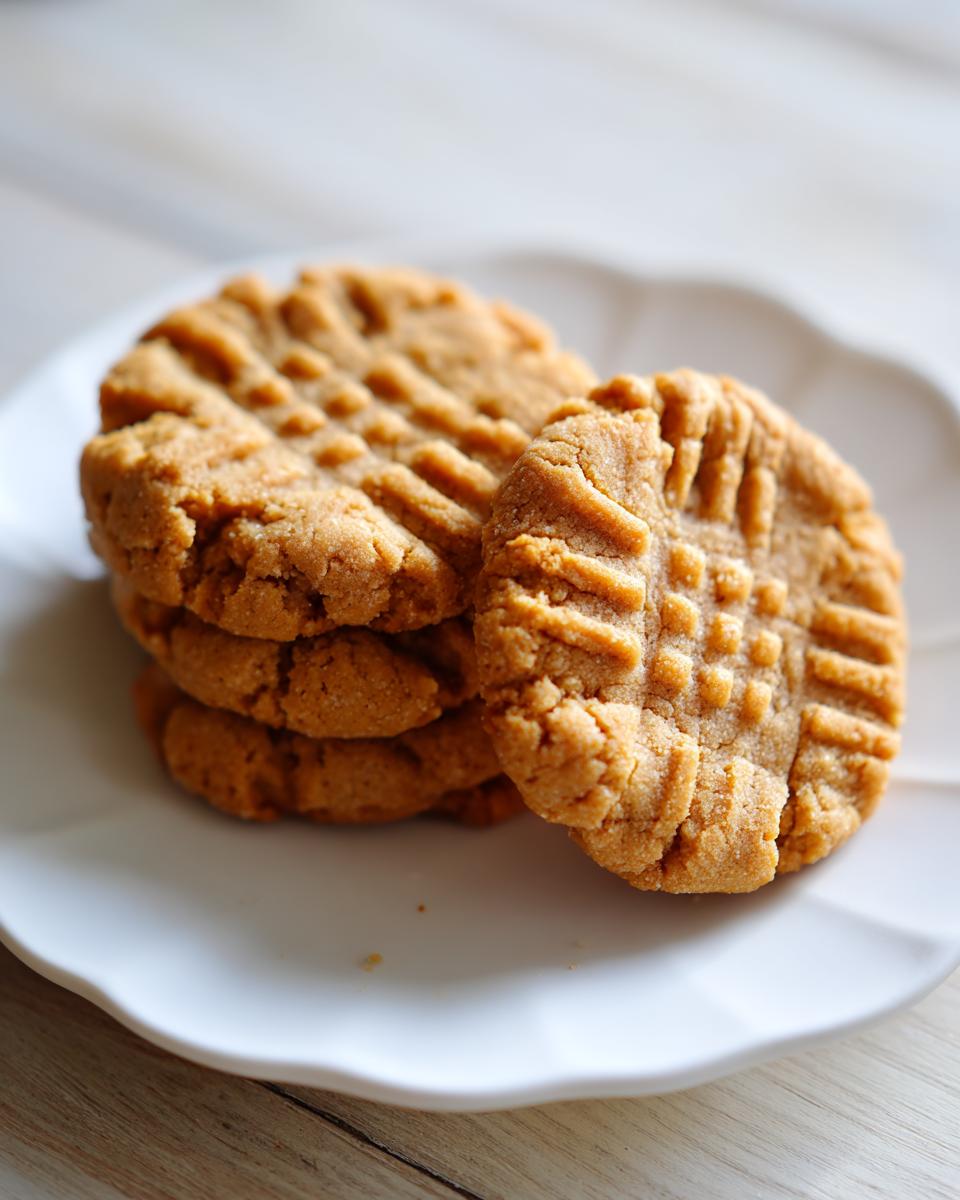
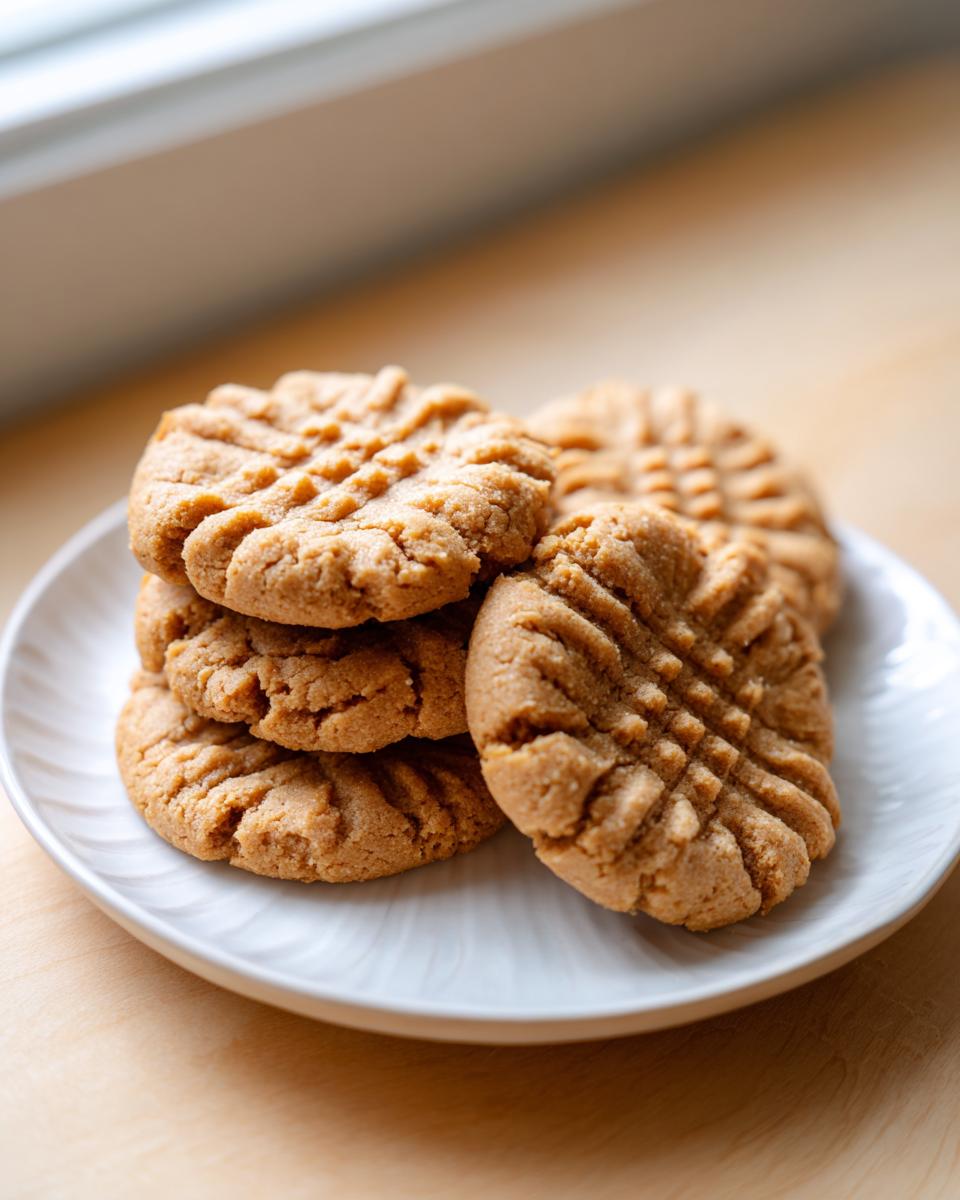
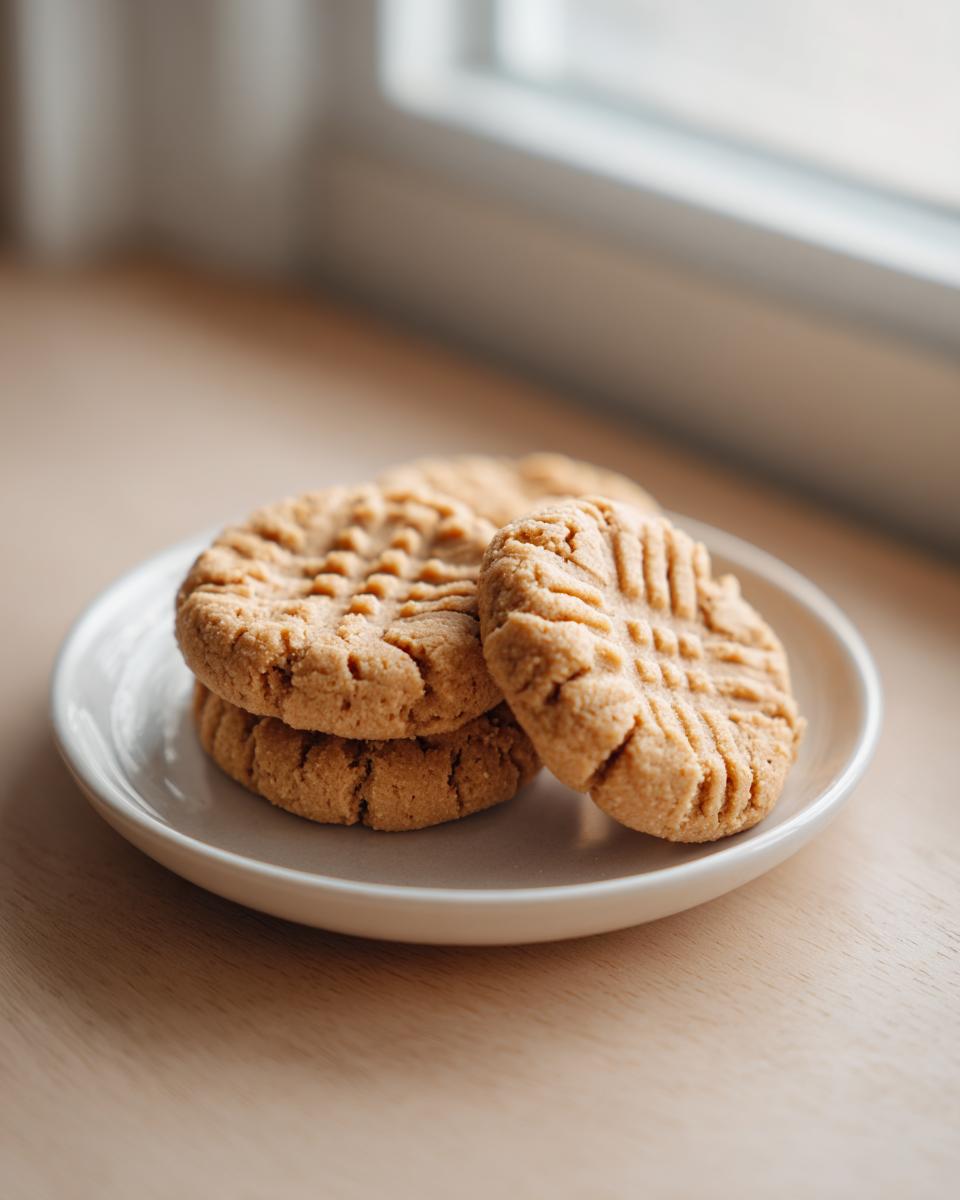
When I think about the ultimate comfort food, it’s not some fancy multi-step dinner; it’s the classic peanut butter cookie. You know the one—the satisfying, slightly salty sweet chew, topped with those iconic crisscross fork marks. That pattern just screams, “I was made with love and zero fuss.” Honestly, when I started Dishicious, this cookie was one of the first things I tackled. As a project manager turned hungry home cook, I needed a cookie recipe that was absolutely foolproof. We’re not doing delicate here; we are engineering pure, reliable satisfaction. This recipe delivers the hands-down best Soft peanut butter cookie you’ll ever make, every single time. It’s streamlined, dependable, and tastes exactly like coming home.
- Why You Need This Reliable Soft Peanut Butter Cookie Recipe
- Essential Ingredients for Perfect Soft Peanut Butter Cookies
- The Step-by-Step Guide to Making Soft Peanut Butter Cookies
- Expert Tips for Achieving the Best Soft Peanut Butter Cookie Texture
- Ingredient Notes and Substitutions for Your Soft Peanut Butter Cookie
- Making Ahead and Storing Your Soft Peanut Butter Cookie Batch
- Troubleshooting Common Soft Peanut Butter Cookie Issues
- Frequently Asked Questions About Classic Cookies
- Estimated Nutritional Data for This Soft Peanut Butter Cookie
Why You Need This Reliable Soft Peanut Butter Cookie Recipe
Look, I optimize everything in my life, and baking shouldn’t be stressful. This recipe cuts through all the guesswork. You walk away with cookies that hit every nostalgia button.
- Guaranteed chewy texture; no more flat, crumbly disappointments.
- Uses ingredients you likely already have on hand—nothing to track down.
- We nail that classic, beautiful fork-cross pattern effortlessly.
- It’s incredibly fast! You’ll have these ready for the oven in under 20 minutes, making it perfect for any dessert craving.
If you want to get baking today and ensure delicious dessert recipes that actually work, this is your blueprint.
Essential Ingredients for Perfect Soft Peanut Butter Cookies
When structuring a cookie project, the ingredients are the foundation—no shortcuts allowed if we want that perfect chew. Luckily, this recipe uses standard pantry staples, which keeps things feeling like easy baking. The power here comes from the balance of sugars and fats.
You will need 1 cup (two full sticks!) of unsalted butter, softened—it has to be soft, not melted, trust me. We double up on sugar here: 1 cup of granulated sugar combined with 1 cup of packed light brown sugar. That brown sugar is key for moisture!
For the binder, grab two large eggs and a teaspoon of vanilla. The dry mixture is simple: 2 1/2 cups of all-purpose flour, plus baking soda, baking powder, and salt for lift and flavor.
And here is my one non-negotiable point: use standard, commercial creamy peanut butter. Skip the natural, oil-separated kind for these peanut butter cookies. The stabilizer in the creamy stuff keeps our dough firm enough to hold that beautiful fork mark.
The Step-by-Step Guide to Making Soft Peanut Butter Cookies
Okay, time to execute the plan! Since we focused on getting our ingredients prepped perfectly, the mixing phase just becomes a matter of process flow. Preheat your oven to 350°F (175°C) right now and line those baking sheets with parchment paper. This preparation step cuts down on cleanup later, which is always the goal for easy baking.
Mixing the Wet and Dry Components
First up, get that butter, peanut butter, and both sugars into your largest bowl. Beat it until it looks light and fluffy—it should look aerated, like you just whipped some clouds together. Then, drop in the eggs one at a time, making sure each one is incorporated before adding the next, followed by that splash of vanilla. In a separate bowl, whisk your dry stuff: the flour mixture, baking soda, baking powder, and salt. Now for the critical part: add the dry ingredients slowly to the wet mix. Keep that mixer on low speed. As soon as you see the last streaks of flour disappear, STOP. Seriously, do not overmix! Overdeveloping the gluten is the fastest way to turn these into hard hockey pucks instead of soft cookies.
Shaping and Creating the Classic Fork-Cross on Your Soft Peanut Butter Cookie Dough
Once the dough is just combined, switch to your hands. Roll the dough into neat 1-inch balls. Place them about two inches apart on your prepared sheets. This is where the magic happens. Grab a fork—yes, the actual fork—and press down on the top of the cookie ball once. Then, turn the fork 90 degrees and press down again to make that iconic cross shape. Don’t press too hard; we just want a nice pattern, not flatten them into pancakes! Once they are pressed, pop them into the oven for 10 to 12 minutes. Don’t panic when they look slightly soft in the middle; they firm right up as they cool on the sheet. Leaving them there for those first five minutes is part of the secret to keeping them chewy! If you’re looking for more streamlined recipes, be sure to check out my thoughts on easy baking tips.
Expert Tips for Achieving the Best Soft Peanut Butter Cookie Texture
I’ve tested this design so many times, and these few little project management tweaks are what move the needle between a good cookie and the absolute best soft cookies. It’s all about control points.
First, let’s talk about temperature management, which is huge for getting that perfect chew. My number one note here is to deliberately underbake them just a tiny bit. I aim for those edges to look set, but the center needs to look slightly gooey when I pull them out. If they look perfectly done coming out of the oven, they will be too dry five minutes later. Trust me on this one.
Another game-changer for that light, fluffy base? Your butter and peanut butter need to cooperate! Ensure your butter is truly softened—room temperature, yielding easily to a gentle poke, but definitely not greasy or melty. When I mix those fats and sugars, I take my time making sure they are fully aerated. That initial creaming step traps the air we need for a soft interior, not a dense brick. If your ingredients are ice-cold, the creaming process fails, and frankly, so does the cookie.
If you find your dough is just a little too soft before baking, don’t panic or add more flour. Just pop the rolled balls—fork marks and all—onto the cookie sheet and chill them for about 30 minutes. That short chill helps them hold their shape better while baking, keeping them thick and soft. We are aiming for reliable results here, so check out my techniques for other high-stakes baking projects when you have a minute! Sometimes balancing a meringue is just as tricky as getting the perfect cookie spread!
Ingredient Notes and Substitutions for Your Soft Peanut Butter Cookie
So, you’ve got the technique down, but maybe you’re staring at your pantry thinking, “What if I only have crunchy?” Or maybe you’re waving a jar of that new, all-natural peanut butter at me right now. Let’s be clear: for this specific formula to work its magic and give you those perfect soft peanut butter cookies, we need stability.
Stick to standard, creamy peanut butter—the kind that has the stabilizers added. If you use that natural, stir-it-every-time kind, the oil separates far too easily during the creaming process. This throws off the entire fat-to-flour ratio, and guess what? Your cookies will spread into little thin puddles in the oven. We are trying to avoid that structural failure at all costs!
When it comes to flour, all-purpose is the gold standard here. It has the exact protein content needed to provide structure without making the cookie tough. I haven’t tested this recipe successfully with gluten-free blends yet, so for guaranteed results, stick to the AP flour. You want reliability, right? If you’re looking for ideas on building flavor in other recipes, like mastering a simple sauce, you can check out my tips for homemade brown gravy recipe, no drippings. But for these cookies, the ingredients list is pretty locked down!
Making Ahead and Storing Your Soft Peanut Butter Cookie Batch
So, you’ve baked a massive batch of amazing cookies—which is what you should always do! But what’s the best cleanup/storage protocol? Since these are such incredibly soft cookies, storage is key to locking in that perfect texture we worked so hard for.
First, you absolutely have to let them cool down properly first, or you’re going to create steam and a soggy situation. After the initial five minutes on the baking sheet, transfer them to a wire rack until they are completely room temperature. If you stack warm cookies, they stick together, and goodbye, fork-cross design!
Once cool, store them in a clean, airtight container at room temperature. I find they are best stored in a single layer if you have the container space. If you must stack them, put a small square of parchment or wax paper between the layers. Seriously, these classic cookies stay perfectly soft and chewy for a good four or five days this way. If you need more options for quick eats, you should look at my guide for easy no-bake peanut butter bars.
Now, can you freeze them? Yes! They freeze beautifully. Scoop the dough into balls, press the fork cross on them, and place them directly on a lined baking sheet in the freezer until solid. Then transfer to a freezer bag. When you want fresh cookies, just pull out what you need and bake from frozen—you might need an extra minute or two in the oven, but you’ll still get that incredible Soft peanut butter cookie result without compromising that chewiness.
Troubleshooting Common Soft Peanut Butter Cookie Issues
Every project manager knows that anticipating failure points is half the battle. When your carefully balanced cookie formula seems to veer off course, don’t toss the whole batch! Most problems with these peanut butter cookies come down to temperature or measurement errors, which are easy to fix next time.
The number one issue I see? Spreading. If your little dough balls flatten out into thin pancakes almost immediately upon hitting the hot oven, we have a fat problem. This usually means your butter was too warm, or your peanut butter wasn’t the right commercial kind preventing oil separation. The fix? Always chill the dough balls for 30 minutes before baking if you suspect your kitchen is running hot. A slightly chilled dough is more structurally sound.
On the flip side, if your cookies come out tough or cakey, that’s almost always a precision error on the dry side. Did you scoop the flour directly out of the bag with the measuring cup? Stop that! You packed too much flour in, making the final product dense. Always spoon the flour lightly into your measuring cup and level it off. Also, remember what I said about not overmixing once the flour goes in? That rule keeps gluten development low, ensuring you get the soft reward you are looking for instead of a muffin texture.
Frequently Asked Questions About Classic Cookies
I know you’ve got questions. When you’re aiming for the textbook definition of a classic cookie, you need certainty! Since I’ve engineered this recipe for maximum reliability, I’ve answered the most common concerns right here so you can tackle these pb recipes with confidence.
How do I ensure my peanut butter cookies stay soft?
This is the most important question! The number one thing that guarantees that signature chewiness is pulling them out of the oven when they look just slightly underdone—maybe 11 minutes instead of 12. The retained heat in the pan finishes the job, leaving you with perfectly soft cookies. Also, remember that high ratio of brown sugar? That molasses content is hygroscopic, meaning it actively holds moisture. Don’t mess with that sugar balance, and your cookies will stay soft for days!
Can I use crunchy peanut butter?
Okay, technically, yes, you *could*. But if you want the absolute best results for these perfect, soft peanut butter cookies, I strongly advise sticking to creamy. Crunchy peanut butter means you are introducing big, hard chunks of nut into the batter structure. These chunks interfere with the dough setting evenly, and they can cause thin spots that bake up hard instead of soft. For reliability, creamy is the way to go.
What is the secret to getting those perfect fork marks?
It’s all in the pressure and preparation. Make sure your dough balls are uniform—about 1 inch—so they bake evenly. When you go to press them, you need a fork that has been very lightly dusted with flour or even better, one that’s been lightly oiled (a tiny dab of neutral veggie oil works). Press down once to make the first indention, then rotate the fork 90 degrees and press again to make the cross. Don’t press so hard that you touch the baking sheet; you’re just charming the top of the dough, not smashing it flat.
Can I make this an easy baking recipe by using less sugar?
You are trying to optimize, I respect that, but sugar does more than sweeten cookies—it’s a major structural component! Sugar melts, spreads, and then re-hardens, creating that classic chewy mouthfeel. If you cut the sugar significantly in this recipe, you won’t end up with a Soft peanut butter cookie; you’ll likely get something dry and crumbly that spreads way too much. For this specific formula, keeping the sugar ratio high is essential for texture delivery.
For more foolproof baking methodologies that work every time, take a look at my collection of classic cookies.
Estimated Nutritional Data for This Soft Peanut Butter Cookie
Now that we’ve finished the project and successfully engineered the perfect batch of soft peanut butter cookies, we should talk about the final metrics. It’s important to know what you’re working with, even when the primary goal is pure indulgence!
Here is the estimated nutritional breakdown for one cookie, based on the ingredient measurements above. Remember, this is baseline data; your specific brand of peanut butter or sugar can cause slight variations, which is typical in any homemade venture. If you are tracking macros closely, this gives you a solid starting point for your planning.
- Serving Size: 1 cookie
- Calories: 180
- Sugar: 14g
- Sodium: 110mg
- Fat: 10g
- Saturated Fat: 4g
- Carbohydrates: 21g
- Protein: 4g
While these delightful classic cookies are certainly a treat, they aren’t overly complicated nutritionally. I find that tracking macros can sometimes be a headache, but having these numbers handy is useful for balancing out your week. For some other surprisingly simple meals that fit well into a busy schedule, check out my tips for healthy lunch ideas. But for today, just enjoy the perfection of that creamy, chewy bite!
PrintSoft Peanut Butter Cookies: The Classic Fork-Cross Recipe
Make classic, chewy peanut butter cookies with the perfect fork-cross pattern using this straightforward recipe. This is a reliable recipe for homemade comfort.
- Prep Time: 15 min
- Cook Time: 12 min
- Total Time: 27 min
- Yield: 3 dozen cookies 1x
- Category: Dessert
- Method: Baking
- Cuisine: American
- Diet: Vegetarian
Ingredients
- 1 cup (2 sticks) unsalted butter, softened
- 1 cup creamy peanut butter
- 1 cup granulated sugar
- 1 cup packed light brown sugar
- 2 large eggs
- 1 teaspoon vanilla extract
- 2 1/2 cups all-purpose flour
- 1 teaspoon baking soda
- 1/2 teaspoon baking powder
- 1/2 teaspoon salt
Instructions
- Preheat your oven to 350°F (175°C). Line baking sheets with parchment paper.
- In a large bowl, cream together the softened butter, peanut butter, granulated sugar, and brown sugar until light and fluffy.
- Beat in the eggs one at a time, then mix in the vanilla extract.
- In a separate bowl, whisk together the flour, baking soda, baking powder, and salt.
- Gradually add the dry ingredients to the wet ingredients, mixing on low speed until just combined. Do not overmix.
- Roll the dough into 1-inch balls and place them 2 inches apart on the prepared baking sheets.
- Use a fork to press down on each ball to create a crisscross pattern.
- Bake for 10 to 12 minutes, or until the edges are lightly set. The centers will look slightly soft.
- Let the cookies cool on the baking sheet for 5 minutes before transferring them to a wire rack to cool completely.
Notes
- For the chewiest cookies, slightly underbake them; they firm up as they cool.
- Use standard creamy peanut butter for the best texture in this easy baking recipe.
- If you prefer a slightly firmer cookie, chill the dough for 30 minutes before rolling.
Nutrition
- Serving Size: 1 cookie
- Calories: 180
- Sugar: 14g
- Sodium: 110mg
- Fat: 10g
- Saturated Fat: 4g
- Unsaturated Fat: 6g
- Trans Fat: 0g
- Carbohydrates: 21g
- Fiber: 1g
- Protein: 4g
- Cholesterol: 25mg