
Summer entertaining? Perfect. You need food that looks incredible but doesn’t steal your entire evening managing the oven. That’s where I come in. My goal is always efficiency without sacrificing impact, right? For Fresh Veggies Day—or any grilled vegetable platter situation—I engineered this recipe to be fast, low-fuss, and visually stunning. We’re talking charred edges, brilliant color, and next-level flavor, all designed using simple project steps. Forget complicated sides; this is the leanest, cleanest assembly you’ll ever execute for your summer bbq. Trust me, minimal effort, maximum return.
- Why This Grilled Vegetable Platter is Your Summer BBQ Essential
- Ingredients Needed for the Perfect Grilled Vegetable Platter
- Essential Equipment for Your Grilled Vegetable Platter
- Step-by-Step Instructions for a Stunning Grilled Vegetable Platter
- Tips for Success on Your Grilled Vegetable Platter Presentation
- Ingredient Notes and Substitutions for Your Grilled Vegetable Platter
- Serving Suggestions for This Healthy Side Dish
- Storage and Reheating Instructions for Leftover Grilled Vegetable Platter
- Frequently Asked Questions About Grilling Vegetables
Why This Grilled Vegetable Platter is Your Summer BBQ Essential
When you’re hosting, you need a side dish that pulls its weight visually and nutritionally. This technique is purely about optimization. You get incredible flavor fast, which is exactly what I aim for. This platter is a staple because:
- It’s incredibly high-fiber thanks to packing in all those veggies.
- The prep is simple—just chopping and tossing!
- It looks like you spent hours fussing over it.
Check out our guide on healthy lunch ideas for more ways to keep things light.
Achieving Maximum Color and Char for Your Veggie Platter
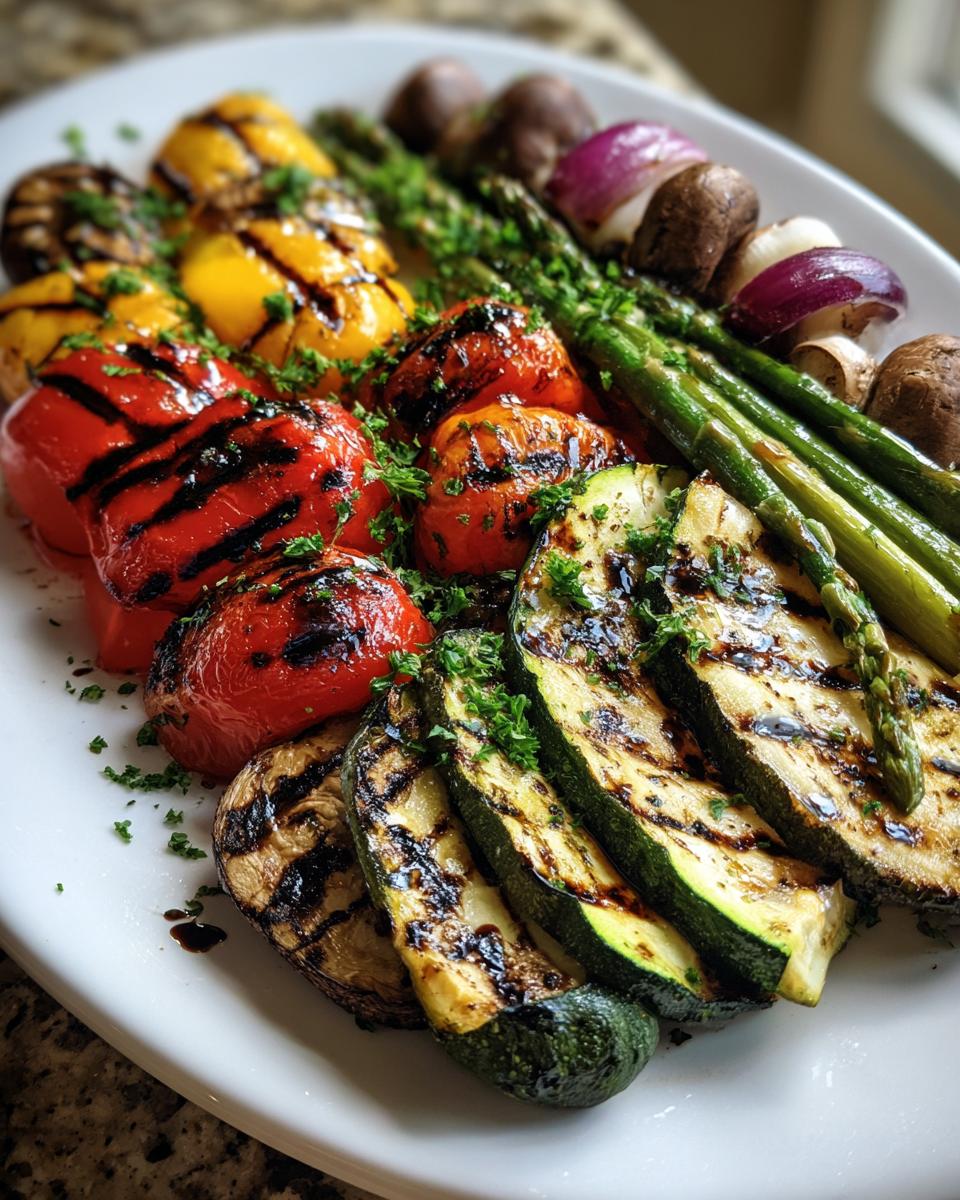
Look, steaming vegetables is fine, but grilling changes the game entirely. That high, direct heat caramelizes the natural sugars and brings out deep, smoky notes you just can’t get in a pot. When you toss these on the platter, the deep char marks are what make it a truly stunning array. It’s texture and visual contrast rolled into one easy step.
Ingredients Needed for the Perfect Grilled Vegetable Platter
This is where precision matters in the prep stage. Getting the cuts right ensures everything cooks evenly, which is critical for efficiency. For this batch, you’ll need:
- 2 medium zucchini, sliced lengthwise into 1/4-inch planks
- 2 yellow squash, sliced lengthwise into 1/4-inch planks
- 2 red bell peppers, seeded and quartered
- 1 large red onion, cut into 1/2-inch thick rounds
- 1 pound asparagus, trimmed
- 1 pound cremini mushrooms, stems removed
- 1/4 cup olive oil
- 1 teaspoon kosher salt
- 1/2 teaspoon black pepper
- 1 teaspoon dried oregano
- Juice of 1 lemon (for finishing)
- Fresh parsley, chopped (for garnish)
That’s it. We are keeping the seasoning simple so the charcoal flavor really pops. You don’t need a huge shopping list for a show-stopping veggie platter.
Essential Equipment for Your Grilled Vegetable Platter
Since we are treating this like a highly efficient project, let’s talk about the tools you need ready *before* you start chopping. Having everything staged means zero panic when the grill gets hot. You only need a few core items here, which I love.
- A reliable grill (gas or charcoal, whatever you prefer for your summer bbq).
- Your biggest mixing bowl. Seriously, use the biggest one you have so you can toss everything without making a mess—spillage slows the whole operation down.
- Tongs. Long ones are best for flipping things evenly on the hot grates.
- A large, attractive serving platter for the grand finale assembly.
That’s the inventory list. No fancy mandolins or immersion circulators needed here—just solid basics to execute the plan.
Step-by-Step Instructions for a Stunning Grilled Vegetable Platter
This is the execution phase, and like any good project, we hit our steps in sequence for maximum throughput. The entire grilling process should clock in right around 15 minutes total cook time, which is why this makes such an excellent healthy side dish. Trust me, minimizing the time spent on cleanup while maximizing flavor is my specialty.
- First thing’s first: Get your grill preheating to medium-high heat. Don’t even look at your veggies until those grates are clean. A quick brush prevents sticking right off the bat, which keeps our project timeline smooth.
- Grab that oversized bowl again. Toss in the zucchini, yellow squash, bell peppers, red onion, asparagus, and mushrooms. Make sure everything is ready to go right next to the grill station.
- Now for the coating. Drizzle that olive oil over everything. Sprinkle in the kosher salt, black pepper, and that dried oregano. Toss it gently but thoroughly. You want every surface kissed with oil and spice.
- Time to place them on the heat. You need to manage the thicker cuts first. Put the zucchini planks, squash, peppers, and onion rounds right on the hot grates. Aim for 3 to 5 minutes on each side. You’re looking for those beautiful, distinct grill marks.
- Next up are the quick cooks: asparagus and mushrooms. These go on after the big items have been cooking for a minute or two. They only need about 2 to 4 minutes total, rotating them often until they get that slight char and are tender-crisp.
- Once everything is looking perfect—tender but not floppy—pull them all off the grill and move them straight to your big serving platter.
- This is our flavor injection moment: Squeeze that fresh lemon juice over everything while it’s still warm. The heat helps absorb that bright citrus flavor.
- Finally, hit it with the fresh parsley garnish. That pop of green against all those grilled colors finishes the look of your masterpiece grilled vegetables.
Prepping and Seasoning the Vegetables for the Grilled Vegetable Platter
When you’re oiling up your veggies, don’t be shy, but don’t drown them either. The 1/4 cup of olive oil listed is usually perfect for coating all that volume evenly. I always tell people: if you see a pool of oil in the bottom of your bowl after tossing, you’ve used too much. The trick to getting that perfect seasoning distribution for your grilled vegetable platter is the toss. Use your hands if you have to, but make sure that oregano, salt, and pepper aren’t just clumped on one zucchini plank. We want consistency across the board!
Grilling Techniques for the Best Grilled Vegetable Platter
The key to this whole setup working is timing your items correctly. The onion rounds and squash planks are dense; they need that solid 3 to 5 minutes per side over medium-high heat to soften up inside. Asparagus, though? Those guys burn fast. They only need a quick rotation—I use tongs to spin them every minute or so until they get a little sweet char. If you try to grill them all for the same amount of time, you’ll end up with mushy zucchini and raw onions. Keep those varying cook times in mind as you manage your grilling project!
Tips for Success on Your Grilled Vegetable Platter Presentation
Okay, the grilling is done. This is Phase Two: Assembly. In project management, we call this the final deployment, and presentation is non-negotiable for a show-stopper like this veggie platter. You can’t just dump everything randomly onto a plate and call it a day; that’s chaotic. We need structure!
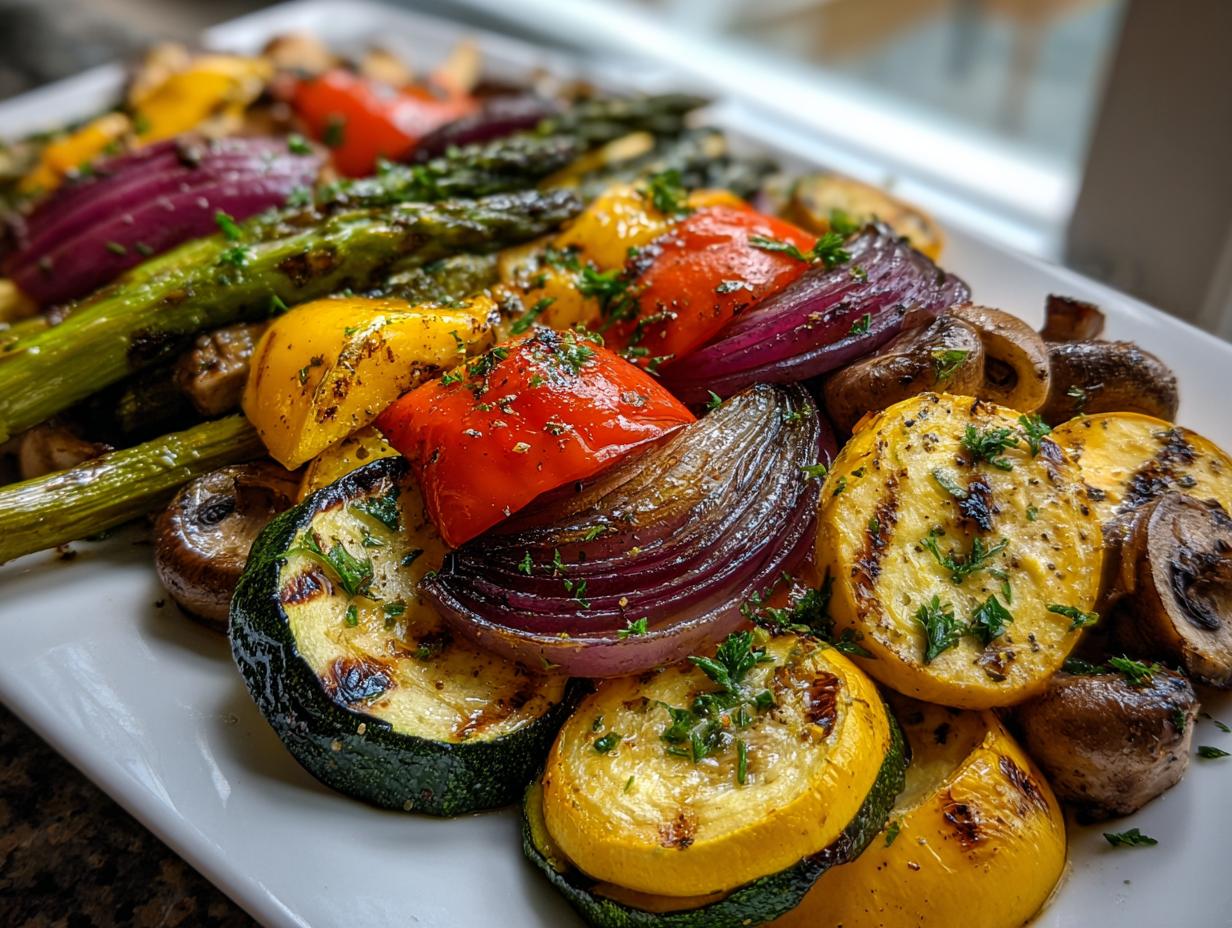
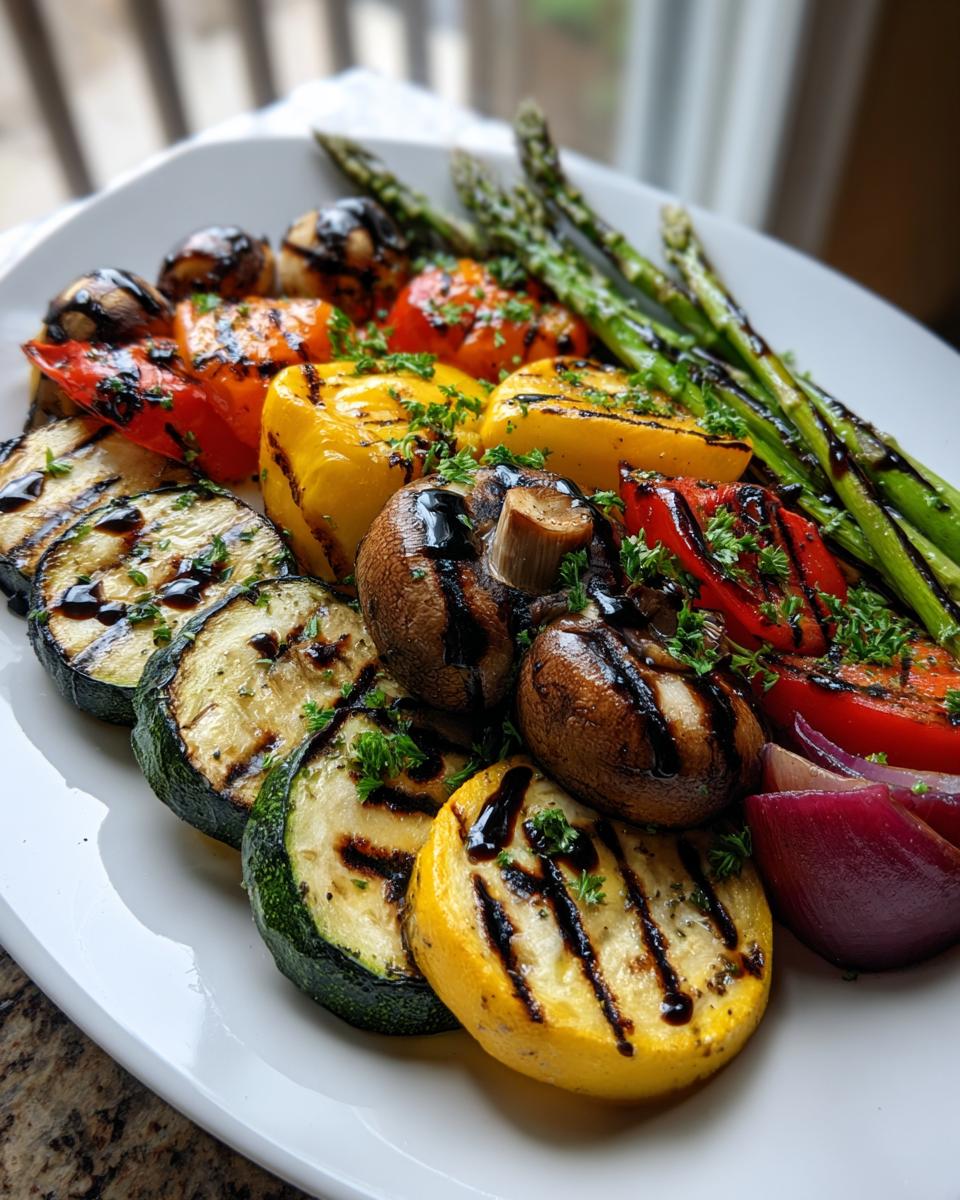
For the best visual impact on your serving tray, arrange the vegetables deliberately. Think about color blocking. Place the bright red peppers next to the deep purple-brown mushrooms, then contrast that with the green zucchini and pale yellow squash. This strategic layering makes the platter look abundant and vibrant, which is exactly what you want for a big party.
Here’s an efficiency tip I learned the hard way: Apply that finishing lemon juice *immediately* after they come off the grill and are sitting on the platter. If you let them cool completely, the flavor just sits on the surface instead of integrating. Warming the lemon juice beforehand can even help maximize absorption, but frankly, when it’s 90 degrees out, warm juice is the least of my worries. Get the juice on, get the parsley sprinkled—we want this out on the table fast for the guests.
If you’re looking for more fantastic ideas for quick party food, you should definitely check out my thoughts on appetizers and snacks. It’s all about maximizing serving potential with minimal downtime!
Ingredient Notes and Substitutions for Your Grilled Vegetable Platter
Sometimes you’re shopping and the store is out of cremini mushrooms, or maybe you have a bumper crop of eggplant instead of squash. That’s okay! This recipe is designed to be adaptable; it’s a smart framework, not a rigid set of laws. The core principle is using firm vegetables that hold up to direct heat. If you have other robust veggies on hand, absolutely toss them in!
Feel free to swap summer squash for thick slices of eggplant or even chunks of portobello mushrooms. If you like a little heat, add a pinch of red pepper flakes when you toss everything with the oil and oregano. That little bit of spice really wakes up these grilled vegetables.
Now, I know not everyone has outdoor grill space, especially if you’re planning this during a chilly spell or just don’t want to deal with charcoal on a Tuesday. If the grill is out of commission, remember my golden rule: efficiency first. You can get almost the exact same flavor profile without ever leaving your kitchen. Just toss everything exactly as listed, spread it onto sheet pans—don’t crowd them, that’s important for good roasting—and slide them into a 425°F oven for about 20 minutes, turning halfway through. It’s a perfectly acceptable alternative if you need a quick fix. For more ways to maximize oven space and flavor, you should track down my notes on garlic herb roasted veggies.
Serving Suggestions for This Healthy Side Dish
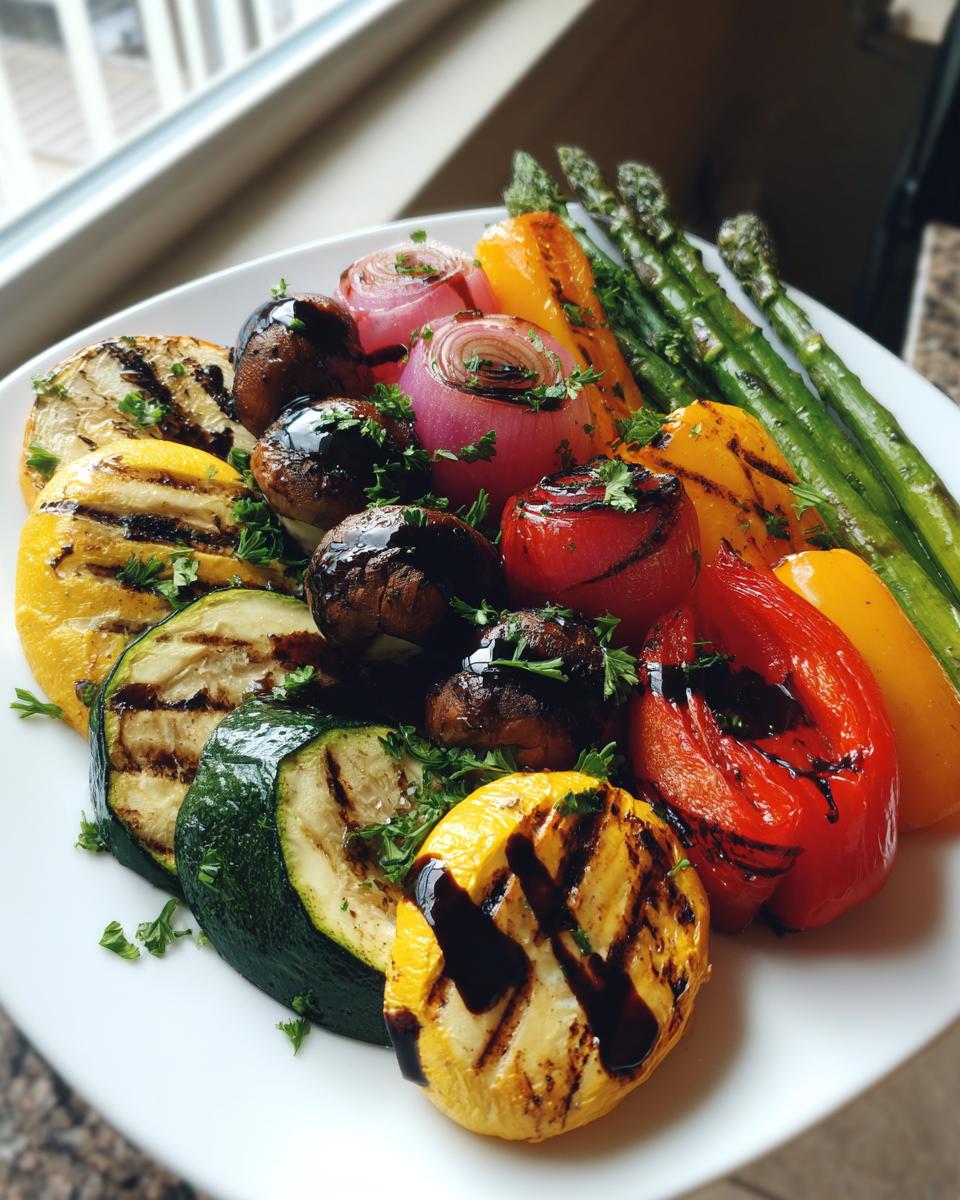
So, you’ve got this gorgeous, smoky, vibrant plate loaded up. What’s next? The main event, right? This beautiful assembly of grilled vegetables is designed to be the MVP side dish at your big summer bbq. It works perfectly because it’s light enough not to weigh people down, but it brings enough charred flavor to feel substantial.
For a classic spread, I usually pair this with something simple—maybe perfectly grilled salmon or some marinated chicken skewers. The lemon finish on the vegetables cuts right through the richness of grilled meat beautifully. If you’re keeping things vegetarian, this platter is essentially your star player. You could serve it alongside some creamy halloumi cheese or maybe a simple bean salad.
For a full party spread, you need balance. If you’re serving heavy barbecue fare, something tangy really helps cleanse the palate. I find that pairing this with something bright, like a good slaw or maybe my take on a creamy salad—you should absolutely check out this street corn salad recipe—keeps the whole table feeling fresh and cohesive. It’s all about pairing textures and flavors so that every plate feels complete.
Storage and Reheating Instructions for Leftover Grilled Vegetable Platter
The great thing about keeping things simple—and not overcrowding your grill with wet batter or heavy sauces—is that leftovers hold up really well! If, by some miracle, you have any of this amazing grilled vegetable platter left over, dealing with it is straightforward. No need to stress about complex preservation methods here.
First rule: Portion control for storage. Don’t try to keep everything crammed into one container. After the vegetables cool down completely (you must let them reach room temperature first, or you’ll create steam traps!), separate them by type if you can. Storing the squash planks separately from the delicate asparagus means everything maintains its individual texture better.
Now, reheating is a tricky business with grilled vegetables. If you microwave them, they turn rubbery fast, and all that beautiful char flavor gets muted. Honestly, I rarely reheat these. They are genuinely fantastic served cold or at room temperature the next day. Think picnic vibes!
However, if you absolutely must warm them up for a quick lunch, use the oven or an air fryer on a medium setting (about 300°F) for just five to seven minutes. Toss them with another tiny drizzle of olive oil before you heat them. This brings back a little of that surface crispness. But just file this away: As a healthy side dish, it shines best when served fresh or chilled.
Frequently Asked Questions About Grilling Vegetables
We’re wrapping up the strategy session here, but I know you might still have a few items on your project checklist. That’s totally fine! When you’re aiming for a perfect result, asking clarifying questions is just smart management. I’ve gathered the biggest ones new grill masters ask about making these grilled vegetables shine on any summer spread.
If you’re planning for a different time of day, maybe check out my philosophy on easy breakfast and brunch recipes, but for now, let’s optimize this platter!
How do I prevent the vegetables from sticking to the grill grates?
This is probably the number one complaint I hear, and look, sticking grates ruin presentation instantly. You have two lines of defense here. First, you need high heat *before* you place anything down—that cleans the surface. Second, you must oil the vegetables, not just the grates. The oil on the surface of the vegetables acts as the barrier between the vegetable’s sugars and the hot metal. Make sure you toss everything thoroughly with that 1/4 cup of olive oil, just like we did for this veggie platter. If you’re using a gas grill, running all burners on high for 10 minutes before turning them down to medium-high also helps build a good non-stick surface.
Can I use other vegetables in this grilled vegetables recipe?
Absolutely! This is the beauty of engineering an efficient core method. If you have something else hearty—say, thick slices of eggplant, fennel bulbs cut into wedges, or even Brussels sprouts halved—toss them in with the rest! Just remember the cook time differentiation we talked about. Anything dense, like root vegetables (if you pre-cook them slightly), needs longer time than the asparagus. If you swap in other veggies, treat them as your thicker cuts first. This is a great way to use up whatever is looking perfect at the farmer’s market, giving you a slightly different take on roasted vegetables every time.
Is it okay to prep the vegetables ahead of time for my summer bbq?
Yes! If you’re managing a busy day, prepping ahead is key strategic planning. You can chop, slice, and trim everything and store it in separate zip-top bags or airtight containers in the fridge. I wouldn’t recommend seasoning them until about 15 minutes before they hit the grill, though. Salt can start drawing out moisture too early, which makes the veggies steam instead of sear when they hit the heat. Keep them separate in the fridge until you’re ready for the 15-minute cook window, and you’re golden!
PrintSimple Grilled Vegetable Platter for Summer Hosting
Create a visually appealing and healthy grilled vegetable platter using straightforward techniques for your next summer barbecue or gathering.
- Prep Time: 15 min
- Cook Time: 15 min
- Total Time: 30 min
- Yield: 6 servings 1x
- Category: Side Dish
- Method: Grilling
- Cuisine: American
- Diet: Vegetarian
Ingredients
- 2 medium zucchini, sliced lengthwise into 1/4-inch planks
- 2 yellow squash, sliced lengthwise into 1/4-inch planks
- 2 red bell peppers, seeded and quartered
- 1 large red onion, cut into 1/2-inch thick rounds
- 1 pound asparagus, trimmed
- 1 pound cremini mushrooms, stems removed
- 1/4 cup olive oil
- 1 teaspoon kosher salt
- 1/2 teaspoon black pepper
- 1 teaspoon dried oregano
- Juice of 1 lemon (for finishing)
- Fresh parsley, chopped (for garnish)
Instructions
- Prepare your grill for medium-high heat. Clean the grates well.
- In a large bowl, combine the zucchini, yellow squash, bell peppers, red onion, asparagus, and mushrooms.
- Drizzle the vegetables with olive oil. Sprinkle with kosher salt, black pepper, and dried oregano. Toss gently to coat everything evenly.
- Place the vegetables directly on the hot grill grates. Grill the thicker vegetables (zucchini, squash, peppers, onion) for 3 to 5 minutes per side until tender with distinct grill marks.
- Grill the asparagus and mushrooms for 2 to 4 minutes, turning occasionally, until slightly charred and tender-crisp.
- Remove all vegetables from the grill and arrange them attractively on a large serving platter.
- Squeeze fresh lemon juice over the warm vegetables.
- Garnish with chopped fresh parsley before serving.
Notes
- For the best presentation, arrange the vegetables by color and shape on the platter.
- You can prepare the vegetables up to one day ahead; store them separately in the refrigerator.
- If you do not have a grill, you can achieve similar results by roasting the vegetables on a sheet pan at 425 degrees Fahrenheit for 20 minutes, turning halfway through.
Nutrition
- Serving Size: 1 serving
- Calories: 110
- Sugar: 5
- Sodium: 350
- Fat: 7
- Saturated Fat: 1
- Unsaturated Fat: 6
- Trans Fat: 0
- Carbohydrates: 11
- Fiber: 4
- Protein: 3
- Cholesterol: 0