
Forget those chalky boxes from the shelf, okay? Today is the day we reclaim dessert nostalgia. It’s National Vanilla Pudding Day, and that means we’re making the real deal—creamy, comforting, and unbelievably simple Homemade vanilla pudding from scratch. When I started Dishicious, it was exactly for moments like this: needing a fantastic, fast dessert solution without any complicated engineering.

I approach cooking like a project manager, and this recipe proves it. We strip away every unnecessary step so you get superior flavor using just basic pantry items. This isn’t just any dessert; this is my streamlined, foolproof recipe for the absolute best stovetop vanilla pudding you’ve ever made. Trust me, once you see how easy this custard comes together, instant will be a distant memory.
- Why You Need This Homemade Vanilla Pudding Recipe Today
- Essential Ingredients for Perfect Homemade Vanilla Pudding
- Step-by-Step Instructions for Stovetop Homemade Vanilla Pudding
- Tips for Success: Achieving the Creamiest Homemade Vanilla Pudding
- Storage and Make-Ahead Guide for Your Homemade Vanilla Pudding
- Serving Suggestions for This Simple Vanilla Pudding
- Troubleshooting Common Homemade Vanilla Pudding Issues
- Frequently Asked Questions About This Classic Pudding Recipe
- Share Your Simple Dessert Success
Why You Need This Homemade Vanilla Pudding Recipe Today
Look, sometimes you just need that instant hit of childhood comfort, but you want it done right and done fast. That’s what this recipe delivers. I engineered this process to bypass weekend-level cooking on a Tuesday night.
- It tastes exactly like grandma’s best dessert, but it’s ready in under 30 minutes total!
- We use real butter and egg yolks—no weird stabilizers here, just pure custard goodness.
- Perfect for satisfying those late-night sweet cravings without feeling guilty about the shortcut.
If you want to check out more quick wins for easy treats, swing by my dessert recipes archive!
Essential Ingredients for Perfect Homemade Vanilla Pudding
The beauty of this recipe is that it relies on just a handful of straightforward items. We aren’t wasting time chasing specialty groceries here! For the creamiest result, you absolutely must use whole milk—don’t even think about trying skim if you want that real, velvety texture. The cornstarch is our backbone here; it thickens everything up beautifully.
For the flavor bomb, we use two large egg yolks and quality pure vanilla extract. Don’t skimp on that vanilla! It makes all the difference in achieving that classic, comforting flavor profile we’re after in this simple easy dessert.
Ingredient Notes and Substitutions for Your Homemade Vanilla Pudding
Now, for the optimization part! If you want to dial up the luxury factor in this homemade vanilla pudding, swap out half of your whole milk for heavy cream. It makes the resulting custard incredibly rich, almost decadent. Conversely, if by accident you think it’s looking a bit too thick when it finishes cooking, don’t panic. You can reduce the cornstarch slightly next time, maybe down to 3 tablespoons, to keep it on the looser side.
Step-by-Step Instructions for Stovetop Homemade Vanilla Pudding
This is where we turn simple ingredients into magic on the stove. The whole process takes maybe 15 minutes if you stay focused, which is totally doable for a weeknight treat. First, grab your medium saucepan and whisk your dry stuff together—that sugar, cornstarch, and salt—until everything is incorporated. Then, slow and steady, whisk in the two cups of whole milk until we have zero lumps showing.
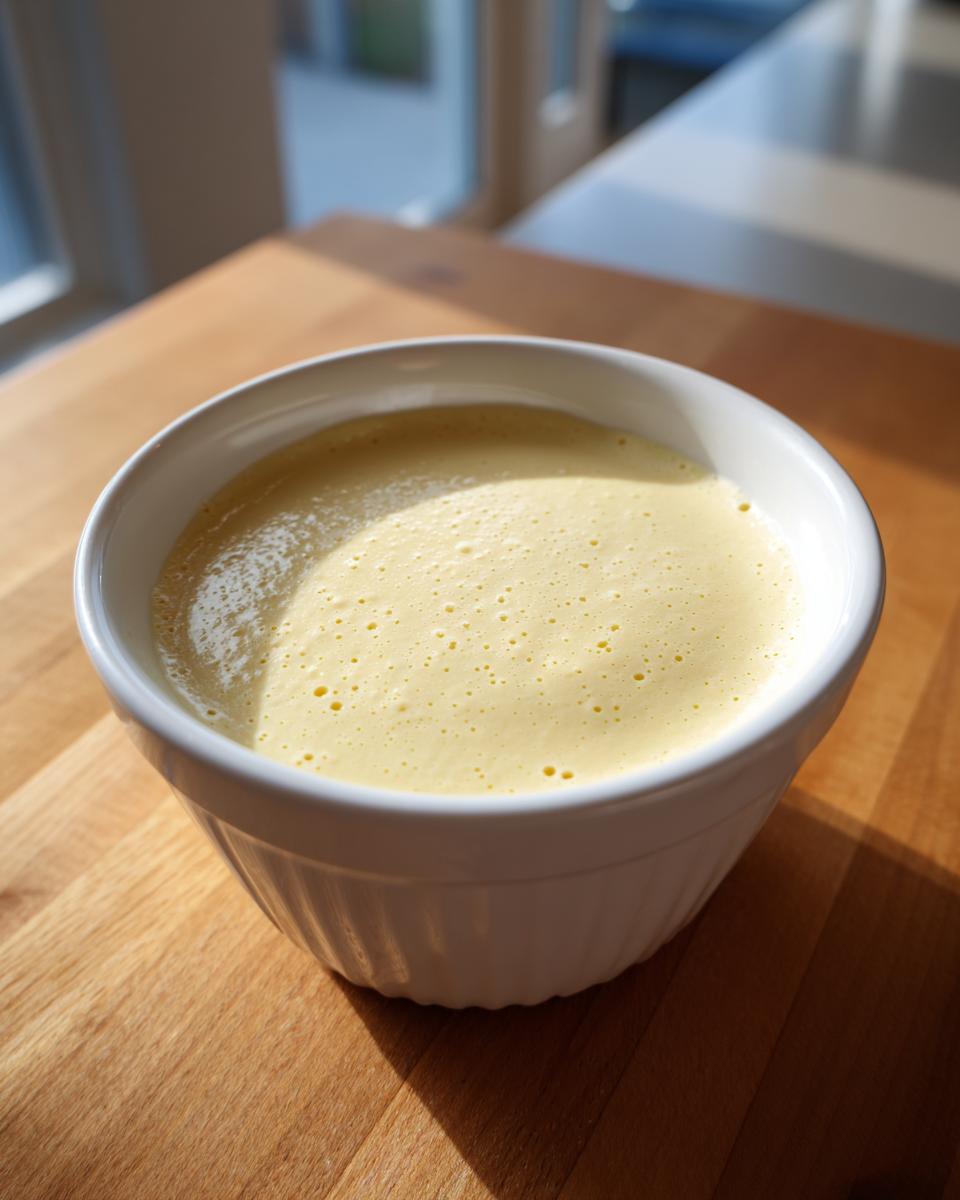
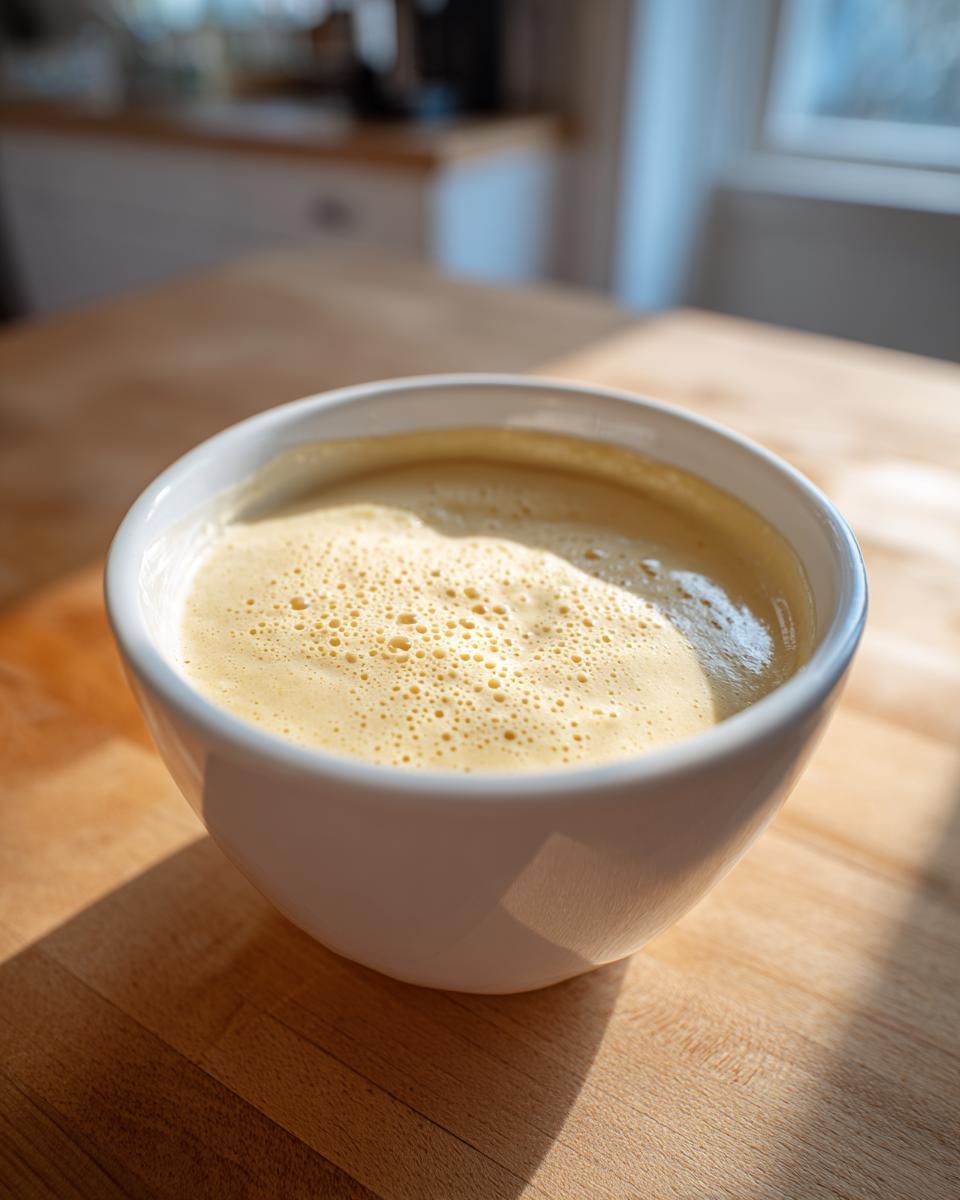
Medium heat is the goal. You have to stir this constantly like you mean it for about 8 to 10 minutes. We’re looking for that moment when it thickens up and just *thinks* about boiling. While that’s happening, lightly whisk your two egg yolks in a separate small bowl. This is the critical crossover moment, so pay attention!
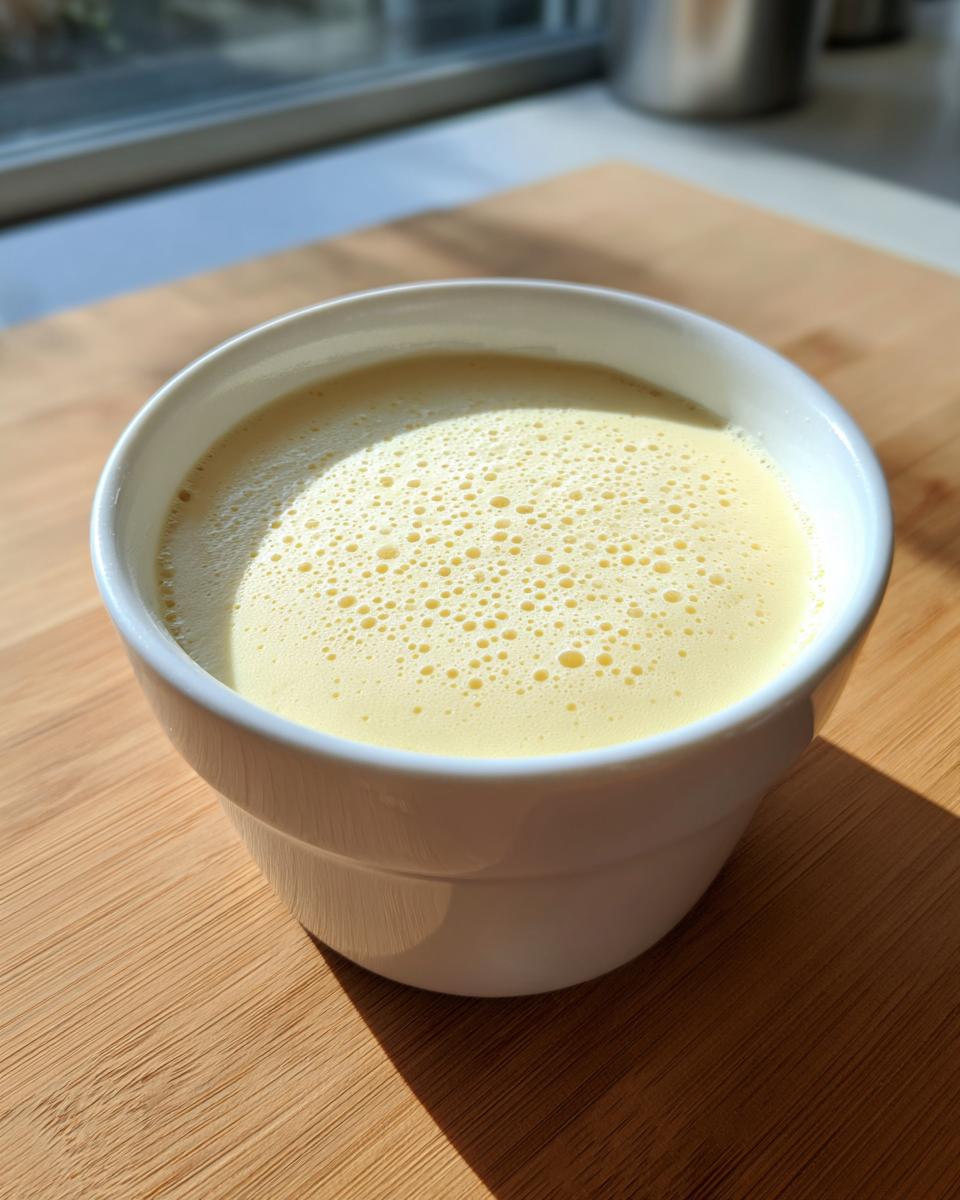
Crucially, pull the hot milk off the heat *before* adding the eggs. Then, very slowly, pour about half a cup of that hot milk into your yolks while you whisk the yolks like crazy. Once those yolks are warmed up, pour that tempered mixture right back into the saucepan. Return it to medium heat and just cook gently for 1 or 2 more minutes until it’s thick enough to coat the back of a spoon, but don’t let it go bucking boiling!
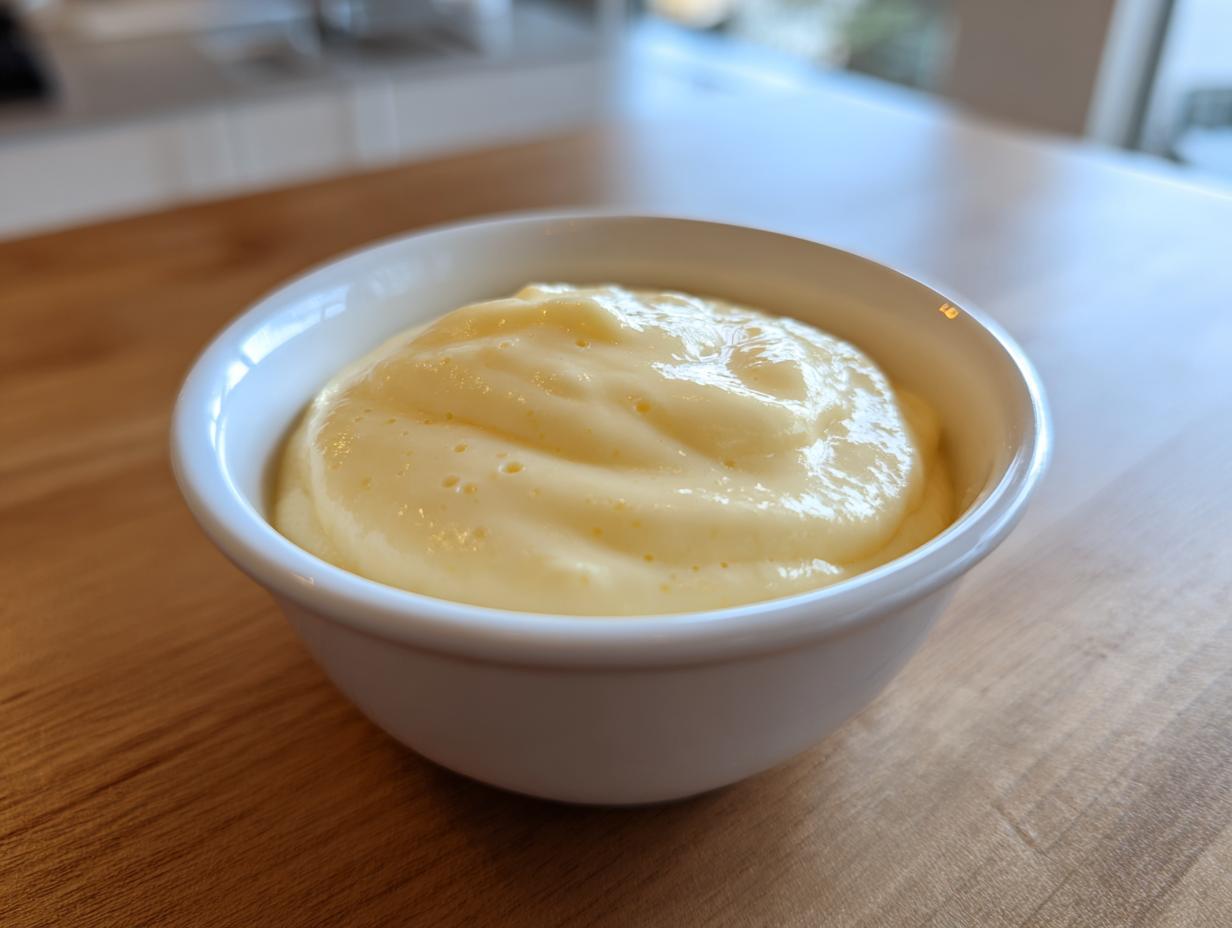
Finally, stir in the two tablespoons of butter and that teaspoon of pure vanilla extract until it’s glossy. Pour your beautiful vanilla pudding into a bowl and press plastic wrap right against the surface—that’s Leo’s way of locking in the freshness. Then, you need to chill it for at least two hours, or head over to my easy dessert hub for other quick ideas!
Expert Tip: How to Temper Eggs Perfectly for Your Pudding Recipe
Tempering is just a fancy word for gently introducing the eggs to heat so they don’t curdle. If you dump cold yolks right into the boiling milk, you end up with sweet scrambled eggs, and nobody wants that in their homemade recipe! We temper by gradually adding the hot liquid to the cooler eggs while whisking non-stop. This raises the eggs’ temperature slowly and safely, ensuring they blend seamlessly into the thick custard base. It’s a simple insurance policy against texture failure, plain and simple.
Tips for Success: Achieving the Creamiest Homemade Vanilla Pudding
Getting that perfect, silky texture in your vanilla pudding isn’t complicated, but it does require adherence to a few cardinal rules I’ve figured out through my optimization process. First, don’t walk away from the stove! Constant whisking when the mixture starts to thicken guarantees a smooth pudding base, not one with starchy clumps sticking to the bottom.
Second, that chilling step is non-negotiable. You *must* press plastic wrap directly onto the surface before chilling. I used to think this was old-fashioned, but it’s absolutely mandatory unless you want a thick, rubbery film on top of your snack. Personally, I think the pudding tastes best after it’s chilled overnight—it lets the vanilla flavor truly settle in.
Finally, when you add the butter, make sure it’s softened but not melted. It emulsifies much better that way, giving you that final, luxurious sheen your finished homemade snacks deserve.
Storage and Make-Ahead Guide for Your Homemade Vanilla Pudding
The great thing about this simple pudding recipe is that it’s fantastic for planning ahead! You can definitely make this a day or two in advance. Remember that plastic wrap trick? Press it right down onto the surface before chilling. If you skip that, you’ll end up peeling off a thick, slightly tough film later—not the creamy texture we worked so hard for!
This vanilla pudding keeps beautifully in the fridge for about 3 to 4 days, though honestly, it rarely lasts that long in my house. You don’t really reheat it; you serve it cold straight from the fridge. If you’re gearing up for a busy week, whip this up on Sunday night, and you’ve got four easy-to-grab desserts ready to go. Find more great make-ahead ideas over on my easy breakfast and brunch page!
Serving Suggestions for This Simple Vanilla Pudding
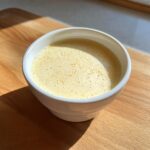
When I talk about optimizing a recipe, it’s not just about the cooking process; it’s about the delivery system, too! This classic vanilla pudding is amazing all on its own—just scoop it warm from the cooling bowl, or serve it perfectly chilled. It’s that straightforward comfort food we crave.
But, of course, we can dress it up a little without adding complexity. For that absolute nostalgic kick, serve it layered with crushed shortbread cookies or simple vanilla wafers. That contrast between the creamy custard and the crisp cookie is just genius. Kids absolutely love having a little bowl of this topped with sliced bananas or fresh berries—it makes a great homemade snack.
For a slightly more impressive—but still simple—presentation, you can use this pudding as the base for a quick cream pie. Just cool it completely, pour it into a pre-baked graham cracker crust, maybe add a little whipped topping, and you’re done. It’s faster than ordering a pizza! If you’re looking for other simple setups, check out my appetizers and snacks section for more streamlined ideas.
Troubleshooting Common Homemade Vanilla Pudding Issues
Even with the best planning, sometimes the physics of the stovetop don’t cooperate. Don’t scrap the batch! As a project manager, I always have rollback options ready. If your vanilla pudding ends up a little too thin after cooling, it almost always means the cornstarch didn’t fully activate, or you reduced the heat too quickly. The fix? Make a slurry: whisk one teaspoon of cornstarch into two teaspoons of cold milk until totally smooth. Whisk that slurry into the *cooled* pudding, bring it back to a simmer on low heat, and stir until it thickens up.
Now, if it’s too thick—which can happen if you let it boil too long—it’s usually overly set. You can salvage this by stirring in a splash of cold whole milk or even a little cream until you get back that beautiful, pourable consistency. A grainy texture almost always points back to the tempering step; if the eggs cooked too fast, they scramble. You might be able to strain the whole batch through a fine-mesh sieve right after cooking to catch any small curds.
If you accidentally let it boil too vigorously, resulting in a slightly scorched or ‘off’ flavor, that’s harder to fix, but for most issues, a little quick thinking and that slurry mixture usually saves the day for your homemade snacks!
Frequently Asked Questions About This Classic Pudding Recipe
I get a ton of questions about optimizing this simple pudding recipe, especially when people are trying to adapt it for busy schedules or different dietary needs. Listen, I built this to be reliable, so most issues are just minor process tweaks. If you’re wondering about vanilla, yes, you can absolutely substitute pure vanilla extract with vanilla bean paste—it’ll just give you those lovely little black specks for visual appeal!
A lot of people ask how this classic custard compares to the stuff in the box. Honestly? It’s night and day. Instant pudding is mostly starch and artificial flavor; ours uses real milk and butter, giving it body and true flavor that lasts. If you explore my site, you’ll find quick and easy dinners, but this dessert is even faster!
Can I make this Homemade vanilla pudding without egg yolks?
That’s a common query! The egg yolks are essential for the rich mouthfeel and that beautiful yellow tint we associate with classic vanilla pudding. If you absolutely have to skip them for allergy reasons, I recommend replacing the richness by using heavy cream for all the milk, and then adding an extra tablespoon of cornstarch to help carry the structure. It’ll be thinner and less rich—more of a loose snack than a true custard—but it works in a pinch if you need homemade snacks!
Share Your Simple Dessert Success
That’s it! You’ve done it. You’ve taken ten minutes of focus and created something truly delicious and comforting from scratch. I seriously love seeing people rediscover how easy it is to make real food, especially when it comes to something as nostalgic as pudding.
Did you keep it simple with just a scoop in a bowl? Did you risk making a quick pie crust for an even easier dessert assembly? Or maybe you tried that heavy cream swap I mentioned?
I designed every recipe here to fit into your busy life, not take it over. So, when you finish enjoying your fantastic, rich vanilla pudding, I want to hear about it! Drop a comment below and let me know how this streamlined cooking method worked for you. Tell me what toppings you went with. Your feedback helps me keep optimizing our recipes here at Dishicious!
PrintSimple Homemade Vanilla Pudding
Make a creamy, comforting vanilla pudding from real ingredients. This easy dessert tastes like childhood and is perfect for a quick weeknight treat.
- Prep Time: 10 min
- Cook Time: 15 min
- Total Time: 25 min
- Yield: 4 servings 1x
- Category: Dessert
- Method: Stovetop
- Cuisine: American
- Diet: Vegetarian
Ingredients
- 2 cups whole milk
- 1/2 cup granulated sugar
- 1/4 cup cornstarch
- 1/4 teaspoon salt
- 2 large egg yolks
- 2 tablespoons unsalted butter
- 1 teaspoon pure vanilla extract
Instructions
- In a medium saucepan, whisk together the sugar, cornstarch, and salt.
- Gradually whisk in the whole milk until the mixture is smooth.
- Place the saucepan over medium heat. Cook, stirring constantly with a whisk, until the mixture thickens and just begins to boil. This takes about 8 to 10 minutes.
- In a small bowl, whisk the egg yolks lightly.
- Remove the saucepan from the heat. Slowly pour about 1/2 cup of the hot milk mixture into the egg yolks while whisking constantly to temper the eggs.
- Pour the tempered egg mixture back into the saucepan with the remaining milk mixture.
- Return the saucepan to medium heat. Cook, stirring constantly, for 1 to 2 minutes until the pudding thickens more and coats the back of a spoon. Do not let it boil rapidly.
- Remove from heat. Stir in the butter and vanilla extract until smooth.
- Pour the homemade vanilla pudding into a bowl. Press plastic wrap directly onto the surface of the pudding to prevent a skin from forming.
- Chill in the refrigerator for at least 2 hours before serving.
Notes
- For a richer flavor, use heavy cream instead of half of the whole milk.
- If you prefer a thinner consistency, reduce the cornstarch to 3 tablespoons.
- This recipe makes a classic custard base.
Nutrition
- Serving Size: 1 serving
- Calories: 250
- Sugar: 25
- Sodium: 150
- Fat: 10
- Saturated Fat: 6
- Unsaturated Fat: 4
- Trans Fat: 0
- Carbohydrates: 35
- Fiber: 0
- Protein: 7
- Cholesterol: 75