
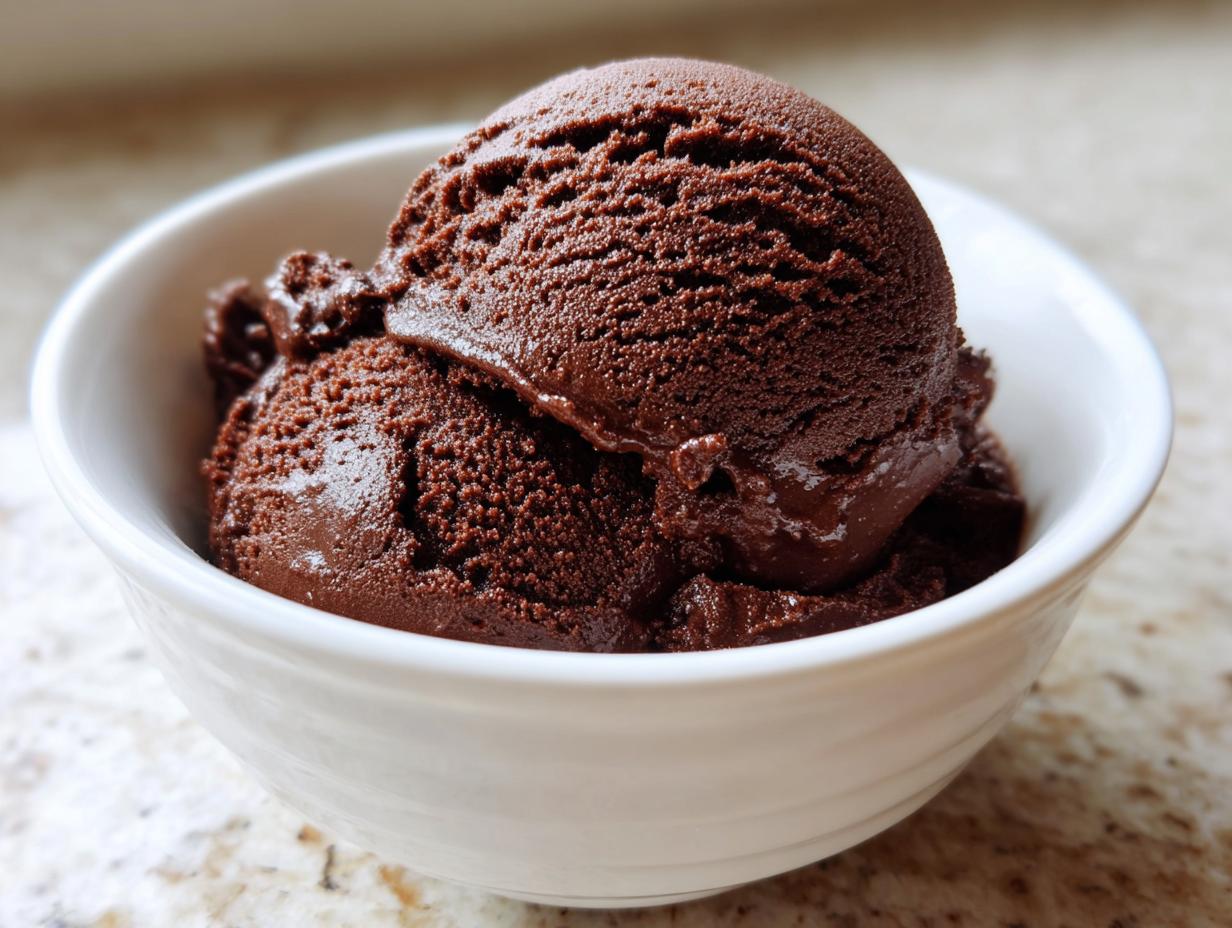
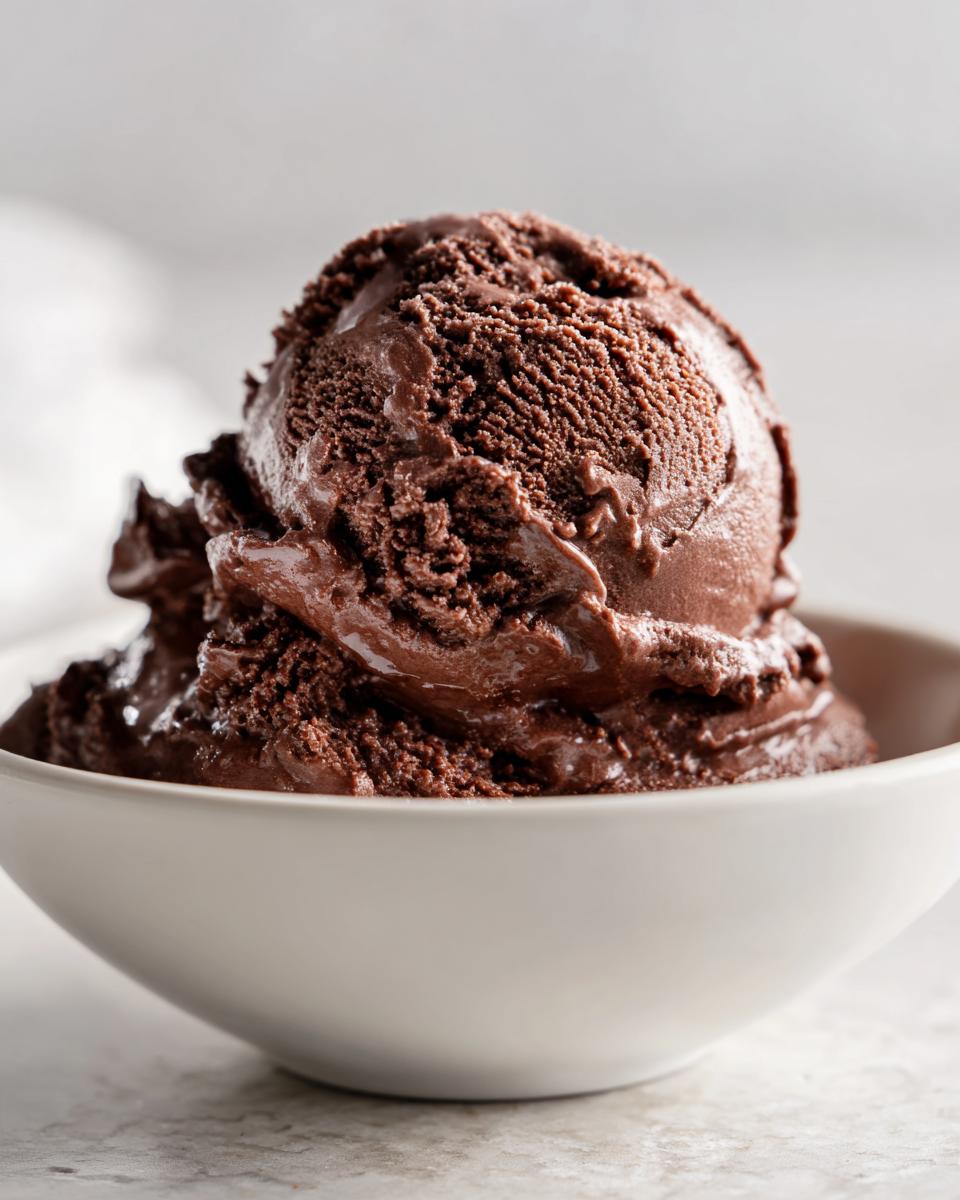
Summer is here, and let’s be honest—nobody wants to stand over a stove or deal with complicated machines just to get a scoop of cold dessert. That’s why I engineered this recipe. If you’re looking for pure, rich indulgence without the hassle, you’ve found your ticket. We are making the ultimate no churn chocolate ice cream, and I promise you, it’s unbelievably creamy. This is the Dishicious philosophy in action: zero unnecessary steps, maximum flavor payoff. In less time than it takes to run to the supermarket, you’ll have a frozen treat that tastes like it came straight from a fancy shop, proving that truly delicious food doesn’t have to be complicated.
- Why This No Churn Chocolate Ice Cream Is Your New Summer Treat
- Ingredients for Perfect No Churn Chocolate Ice Cream
- The Project Plan: How to Make No Churn Chocolate Ice Cream
- Tips for Success Making No Churn Chocolate Ice Cream
- Ingredient Notes and Substitutions for No Churn Chocolate Ice Cream
- Serving Suggestions for Your Homemade Ice Cream
- Storage and Reheating for No Churn Chocolate Ice Cream
- Frequently Asked Questions About No Churn Chocolate Ice Cream
- Estimated Nutritional Data for No Churn Chocolate Ice Cream
- Share Your No Churn Chocolate Ice Cream Results
Why This No Churn Chocolate Ice Cream Is Your New Summer Treat
I designed this method specifically to eliminate oven time and prevent that dreaded icy texture you get with quick-freeze desserts. When you need a fast dessert recipe, this is the winner. It tastes like you spent hours churning, but you didn’t.
- Zero Churning Required: Seriously, put away that ice cream maker. You just need a hand mixer or a stand mixer for 10 minutes of active time.
- Unbelievably Creamy: The combination of heavy cream and condensed milk creates a texture that rivals anything store-bought. This is professional-grade no churn chocolate ice cream.
- Perfectly Streamlined: Mix the base, whip the cream, fold, and freeze. That’s the entire project timeline!
Ingredients for Perfect No Churn Chocolate Ice Cream
When you strip a recipe down to its core, the quality of what’s left really shines through. For this no churn chocolate ice cream, we keep things incredibly simple, but precision matters. Make sure your cream and milk are genuinely cold, or they won’t whip or combine correctly. You only need five things, but trust me on the sifting!
- 2 cups heavy whipping cream, must be very cold
- 1 (14 ounce) can sweetened condensed milk, also cold
- 1/2 cup unsweetened cocoa powder, sifted well!
- 1 teaspoon vanilla extract
- A tiny pinch of salt
The Project Plan: How to Make No Churn Chocolate Ice Cream
Okay, let’s look at this like a project—it’s brilliantly efficient. Active prep time is only about 15 minutes, but remember, freezing time is necessary for the best easy dessert. We are taking five simple steps to achieve amazing no churn chocolate ice cream.
Whipping the Cream for Your No Churn Chocolate Ice Cream
Step one is crucial for texture, so don’t rush the mixer here. You absolutely must use heavy cream straight out of the fridge—cold is non-negotiable! I use my stand mixer on medium-high speed. We’re whipping this until it forms really stiff peaks. You know it’s ready when you can lift the whisk attachment out, and the cream holds its shape perfectly without drooping at all. This usually takes about 3 to 5 minutes, but check it visually so your final no churn chocolate ice cream isn’t soupy later.
Creating the Rich Chocolate Base for Your No Churn Chocolate Ice Cream
While the mixer is doing its magic, tackle the chocolate base. In a separate bowl, whisk the cold condensed milk, vanilla, and that tiny pinch of salt together. Now, for the pro tip: you *must* sift your cocoa powder over the milk mixture. If you just dump it in, you’ll end up with little dry chocolate pebbles in your otherwise perfect no churn chocolate ice cream base.
Folding Technique for Smooth No Churn Chocolate Ice Cream
This is where we merge our two components without losing all the air we worked so hard to incorporate! First, scoop about one-third of that fluffy whipped cream into the chocolate base. Gently stir that first third in until it’s mostly mixed—this is called ‘sacrificing’ the air to lighten up the heavy chocolate mixture. Then, and this is important, *gently* fold in the rest of the whipped cream. Don’t use the whisk! Use a spatula and use slow, deliberate folding motions. A few white streaks are totally fine; overmixing is the enemy of fluffy no churn chocolate ice cream.
Freezing and Setting Up Your Easy Dessert
Once everything is just combined, scrape the glorious mixture into your freezer-safe container. I usually grab a standard loaf pan—it’s the perfect size for this batch. To make sure this easy dessert doesn’t get those nasty, crunchy freezer burn spots, press a piece of plastic wrap directly onto the surface of the ice cream. Then seal the container tightly. It needs a minimum of 6 hours in the freezer, but overnight is always better.
Tips for Success Making No Churn Chocolate Ice Cream
Making this no churn chocolate ice cream is almost foolproof, but a couple of small details really elevate it from good to spectacular. First, let’s talk about that cocoa powder again: I cannot stress sifting enough. If you skip that small step, you’ll be fishing out dry clumps during your first scoop, and that totally ruins the smooth experience we’re aiming for in this easy dessert.
If you are feeling adventurous and want slightly deeper chocolate notes—like a mocha flavor bomb—add about a half teaspoon of instant espresso powder right into your condensed milk base. It just deepens the chocolate flavor, it doesn’t taste like coffee, promise! Also, remember when I mentioned texture adjustments? If you prefer a truly dense, fudge-like texture in your no churn chocolate ice cream, trim the heavy cream down slightly to 1 and 3/4 cups. It works every time.
Ingredient Notes and Substitutions for No Churn Chocolate Ice Cream
The success of this no churn chocolate ice cream relies almost entirely on temperature management. Seriously, you need both the heavy cream and the condensed milk to be frigid when you start. If they aren’t cold, the cream won’t whip up properly, and you miss out on all that lovely incorporated air that keeps the final product from becoming a chocolate ice block.
Now, if you want to dress this up—and you absolutely should sometimes!—this is the time to add mix-ins. Since the base is so sturdy, it handles bulky additions well. Just wait until Step 4 when you are folding everything together. Toss in some chopped peanut butter cups or dark chocolate chips right before the final fold. This keeps your gorgeous no churn chocolate ice cream texture intact while adding extra goodness. If you’re looking for more ways to customize simple recipes, check out my guide on homemade brown gravy—streamlining family favorites is what I do best!
Serving Suggestions for Your Homemade Ice Cream
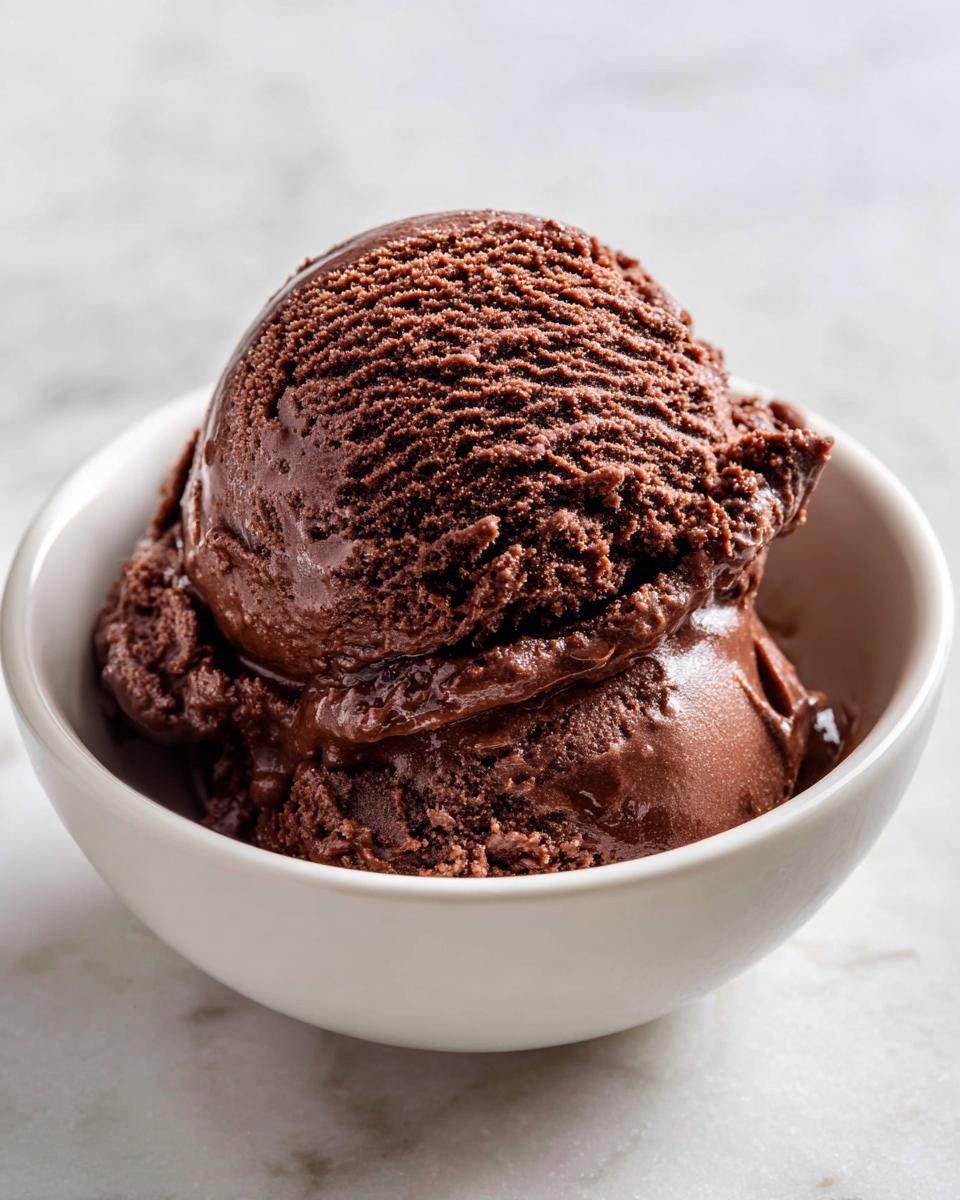
The best part about having this rich, fudgy ice cream ready to go is deciding how to eat it! Since we avoided the machine, we get to enjoy it fresh from the freezer. You can serve it simply, letting the deep chocolate flavor shine through—a scoop on a cone is always perfect for a hot day. Or, you can dress it up for a real indulgence. Try crumbling some toasted nuts over the top, or perhaps layering it with warm, gooey slices of easy fudge pie. It’s the perfect reward after a busy day when you want maximum deliciousness with zero fuss.
Storage and Reheating for No Churn Chocolate Ice Cream
Since this is no churn chocolate ice cream, freezing is all about texture protection. Always keep it in a truly airtight container. I smash a piece of plastic wrap right onto the surface before I put the lid on; that’s my insurance policy against freezer burn. When you’re ready to dive back in, don’t try to scoop it rock hard! Just let your beautiful homemade ice cream sit on the counter for about 7 to 10 minutes. That little softening time makes all the difference for perfect scoops.
Frequently Asked Questions About No Churn Chocolate Ice Cream
I get so many questions about tweaking this recipe, which is great! It shows you’re already thinking about how to make this your perfect summer treat. While the base recipe is designed for maximum efficiency, I’ve tested a few things to answer your most common queries. Remember, this is homemade ice cream achieved without the hassle!
Can I use regular milk instead of heavy cream for this no churn ice cream?
Honestly, please don’t try to substitute regular milk for the heavy whipping cream here. The high fat content in the cream is what stops the sugar from freezing solid, which is the entire trick behind making no churn ice cream. If you use regular milk, you will end up with very sweet, very hard chocolate ice. Keep the cream cold and stick with it for that amazing texture!
How long does this chocolate ice cream last in the freezer?
For the absolute best texture and flavor, you should aim to eat this by about two to three weeks. Because we aren’t using commercial stabilizers, the quality peaks early. If you can keep it perfectly sealed—remember that plastic wrap trick—it will last longer, but I doubt you’ll have any left! If you are looking for quicker meal ideas to go alongside your treats, I’ve got some great easy breakfast & brunch ideas to check out.
Estimated Nutritional Data for No Churn Chocolate Ice Cream
When you’re whipping up an easy dessert like this, it’s important to know what you’re working with. Remember, this is a rich, creamy treat, so the numbers reflect that indulgence! I always calculate nutrition based on standard ingredient brands, but your results might shift slightly based on what you use. For example, if you decide to add a huge handful of mini peanut butter cups, you’ll need to adjust your final estimates.
These figures are estimates per half-cup serving. If you’re planning meals for the week, I generally track these when I’m looking at my healthy lunch ideas, just so I can budget my treats accordingly later.
- Serving Size: 1/2 cup
- Calories: 350
- Total Fat: 22g (14g Saturated Fat)
- Total Carbohydrates: 30g
- Protein: 5g
- Sugar: 35g
- Cholesterol: 70mg
It’s high in both fat and sugar because that’s what makes the texture so amazing—we need that fat to keep the ice cream smooth and soft when it comes out of the freezer. Enjoying this wonderful summer treat responsibly means enjoying every single perfect, creamy bite!
Share Your No Churn Chocolate Ice Cream Results
Alright, that’s the whole project wrapped up! Now I want to hear from you. Did you stick to the simple recipe, or did you add those mix-ins we talked about? Rate this no churn chocolate ice cream below and tell me in the comments how it turned out. If you hit any snags or have a brilliant success story, reach out through our contact page. Let’s build a library of smart, efficient dessert wins together!
PrintNo Churn Chocolate Ice Cream: Effortless Summer Indulgence
Make rich, creamy homemade ice cream without an ice cream maker. This easy dessert delivers professional results with minimal effort.
- Prep Time: 15 min
- Cook Time: 0 min
- Total Time: 6 hr 15 min
- Yield: 6 servings 1x
- Category: Dessert
- Method: No Churn Freezing
- Cuisine: American
- Diet: Vegetarian
Ingredients
- 2 cups heavy whipping cream, cold
- 1 (14 ounce) can sweetened condensed milk, cold
- 1/2 cup unsweetened cocoa powder, sifted
- 1 teaspoon vanilla extract
- Pinch of salt
Instructions
- In a large bowl, use an electric mixer to whip the cold heavy whipping cream until stiff peaks form. This takes about 3 to 5 minutes.
- In a separate medium bowl, whisk together the cold sweetened condensed milk, sifted cocoa powder, vanilla extract, and salt until completely smooth.
- Gently fold about one-third of the whipped cream into the chocolate mixture to lighten it.
- Carefully fold the remaining whipped cream into the chocolate mixture until just combined. Do not overmix; streaks are acceptable.
- Pour the mixture into a freezer-safe container, such as a loaf pan or an airtight container. Cover the surface directly with plastic wrap to prevent ice crystals.
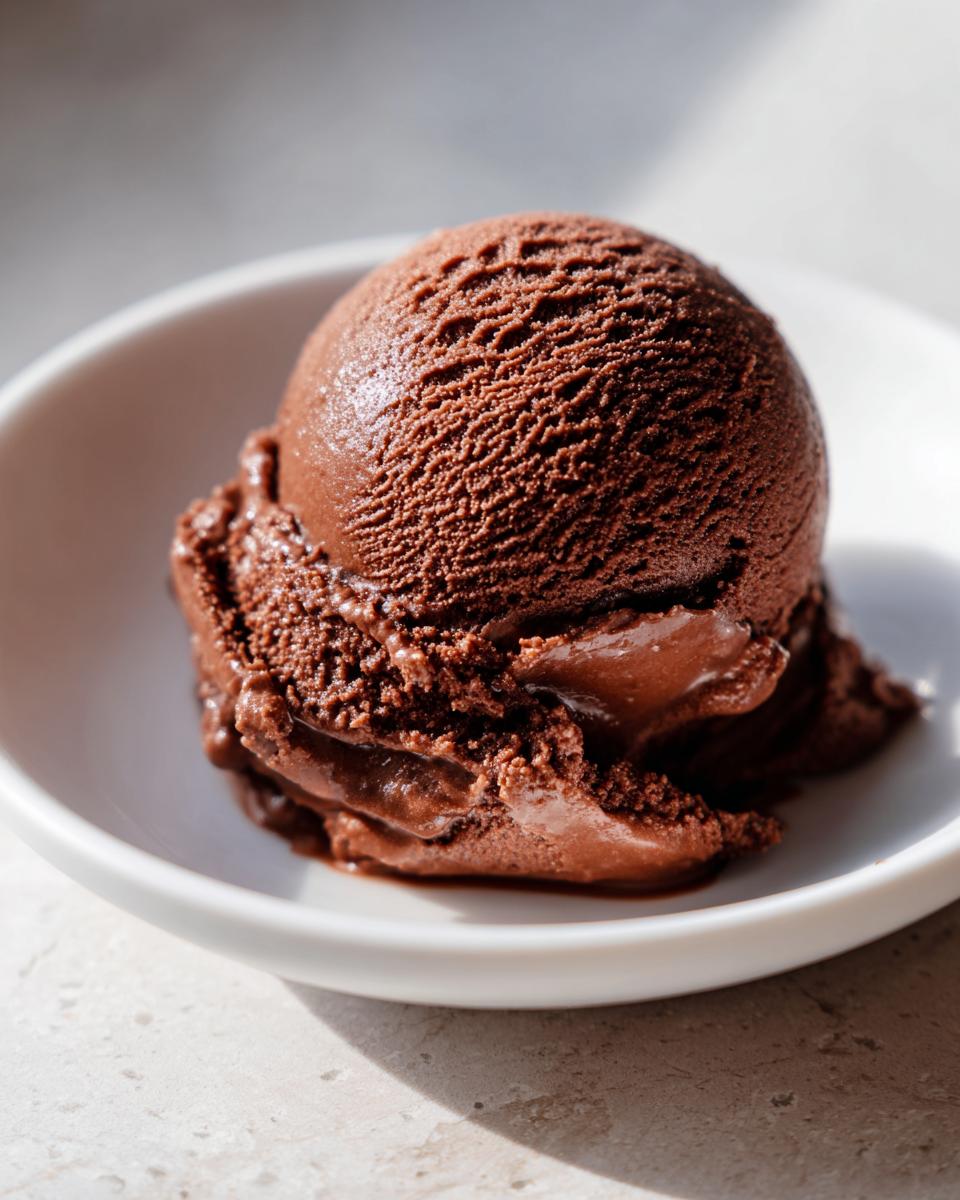
- Freeze for at least 6 hours, or until firm. For the best texture, allow it to soften slightly at room temperature for 5 to 10 minutes before scooping and serving your summer treat.
Notes
- Sifting the cocoa powder prevents lumps in your final product.
- For an extra layer of flavor, add 1/2 teaspoon of instant espresso powder to the condensed milk mixture.
- If you want a thicker, fudgier texture, reduce the heavy cream slightly to 1 and 3/4 cups.
Nutrition
- Serving Size: 1/2 cup
- Calories: 350
- Sugar: 35
- Sodium: 75
- Fat: 22
- Saturated Fat: 14
- Unsaturated Fat: 8
- Trans Fat: 0
- Carbohydrates: 30
- Fiber: 2
- Protein: 5
- Cholesterol: 70