
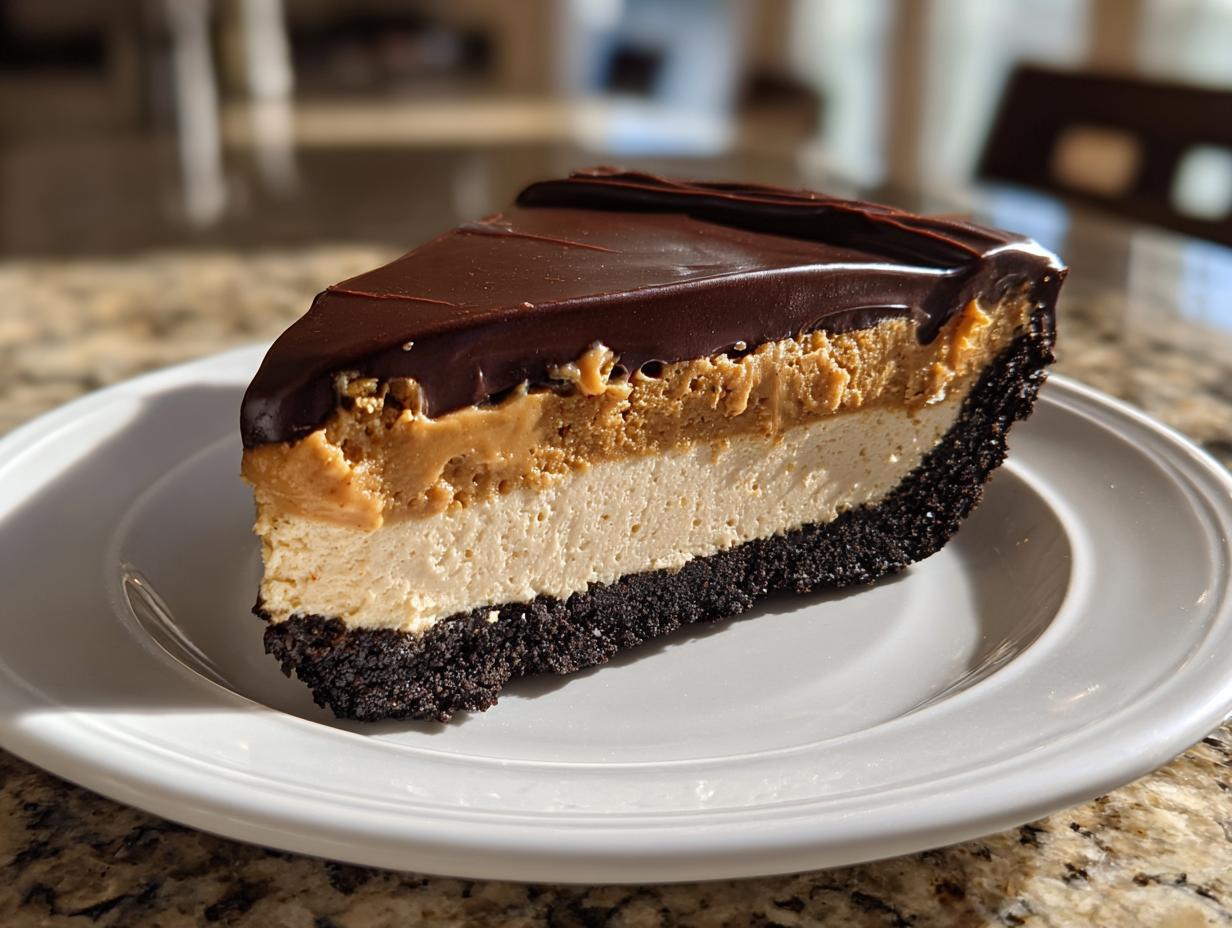
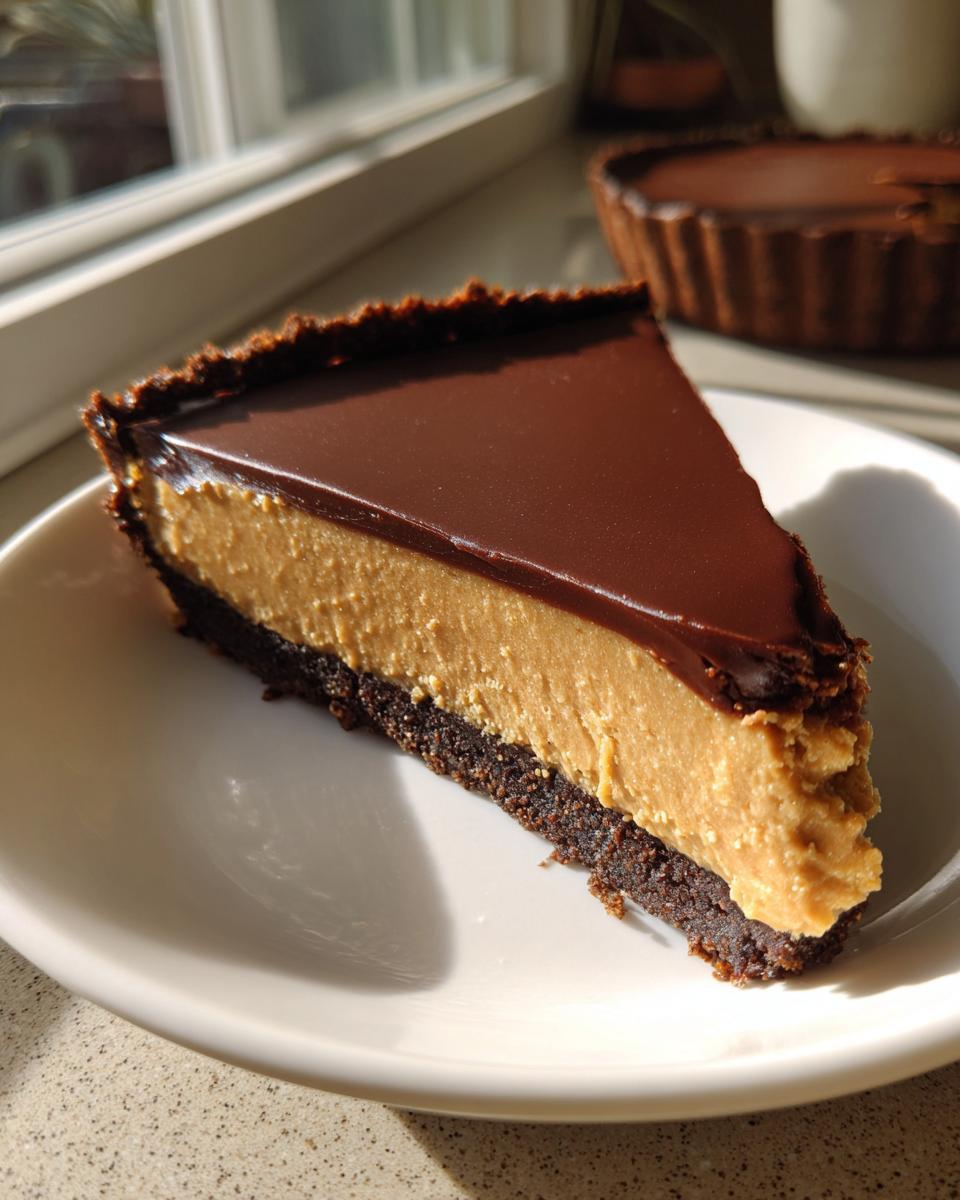
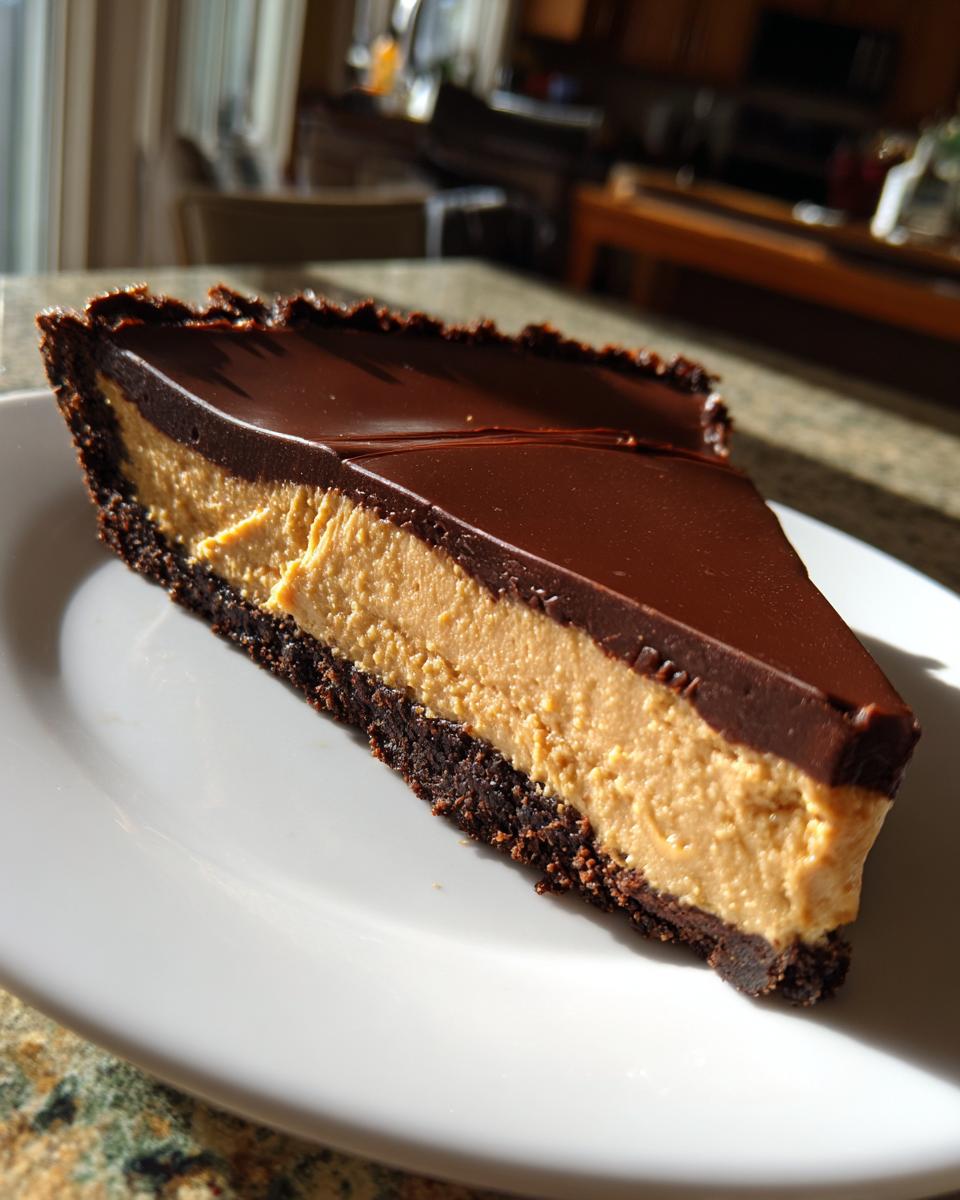
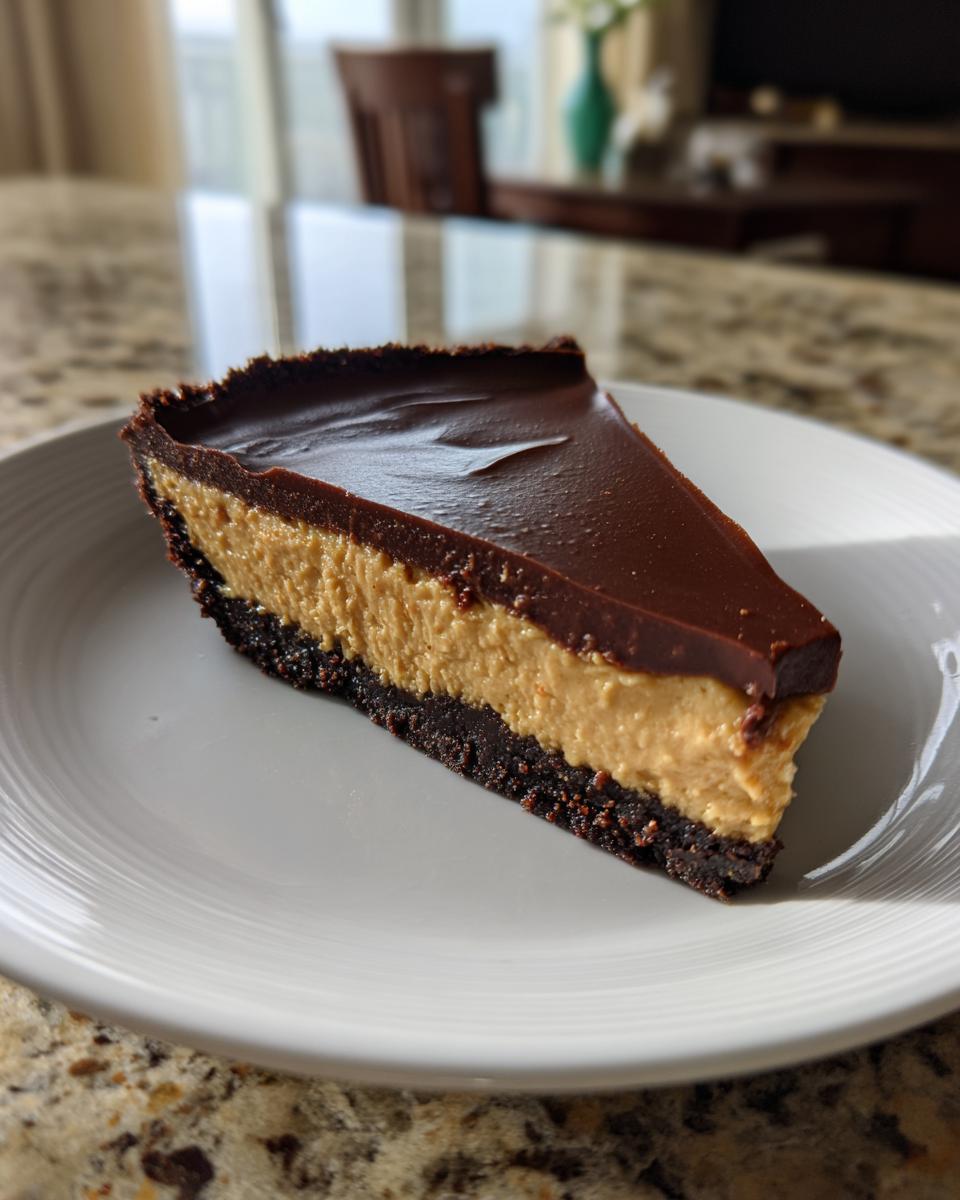
Look, the goal today is pure, unadulterated indulgence. If you’re celebrating I Love Reese’s Day—or really, any day that requires chocolate and peanut butter—then you need a showstopper dessert that skips the oven drama. That’s why I engineered this amazing Peanut butter chocolate tart. As the founder of Dishicious, I treat recipes like projects, cutting out all the unnecessary steps while keeping the flavor absolutely high-impact. Forget complicated pastry; this is my streamlined, no-bake solution for the ultimate easy chocolate tart.
I’ve optimized the process here so you get that deep, salty-sweet combination you crave, presented in a sleek shell that looks like it took hours. Trust me, this reliable recipe keeps baking simple, which is exactly what busy people need. You can find more of my proven, efficient dessert hacks over at my main site for dessert recipes.
- Why This Peanut Butter Chocolate Tart is Your New Favorite Dessert
- Gathering Ingredients for Your Peanut Butter Chocolate Tart
- Step-by-Step Instructions for the Easy Chocolate Tart
- Expert Tips for a Perfect Peanut Butter Chocolate Tart
- Ingredient Notes and Substitutions for This Peanut Butter Dessert
- Storing Your Finished Peanut Butter Chocolate Tart
- Serving Suggestions for This Indulgent Treat
- Frequently Asked Questions About the No Bake Tart
- Nutritional Estimate for This Peanut Butter Dessert
Why This Peanut Butter Chocolate Tart is Your New Favorite Dessert
When I designed this Peanut butter chocolate tart, I had one goal: maximum payoff for minimum effort. It’s rich, it’s indulgent, and honestly, it tastes like a gourmet version of your favorite candy bar. You’re definitely going to want to save this one.
-
No Bake Tart Simplicity
We are skipping the oven entirely. This whole easy chocolate tart comes together without any tricky pastry making. You just freeze the crust, which is incredibly simple.
-
Ultimate Salty-Sweet Peanut Butter Dessert Flavor
This hits that perfect balance. The creamy filling is salty enough to cut the sweetness of the dark chocolate topping. It’s pure, luxurious Reese’s inspired flavor in every forkful.
Check out my favorite one-bowl recipes for similar treats, like these easy no-bake peanut butter bars, if you still have some peanut butter left over!
Gathering Ingredients for Your Peanut Butter Chocolate Tart
Okay, the beauty of an optimized, project-managed recipe like this peanut butter chocolate tart is that the ingredient list is incredibly focused. We aren’t throwing in random extracts or specialty flours. We need quality staples for maximum impact. When you shop, spend slightly more on your peanut butter! Trust me, the creaminess really matters for the filling texture here, giving you that smooth finish instead of anything grainy.
For the Chocolate Wafer Crust
- 1 1/2 cups chocolate wafer cookie crumbs
- 1/4 cup granulated sugar
- 6 tablespoons unsalted butter, melted
For the Creamy Peanut Butter Filling
- 1 (8 ounce) package cream cheese, softened (non-negotiable—it has to be soft!)
- 1 cup creamy peanut butter
- 1/2 cup powdered sugar
- 1 teaspoon vanilla extract
- 1 cup heavy whipping cream
For the Chocolate Ganache Topping
- 1/2 cup semi-sweet chocolate chips
Step-by-Step Instructions for the Easy Chocolate Tart
Alright, this is where the project management skills come in handy—we break this peanut butter chocolate tart down into three simple phases. Follow these steps exactly, and you’ll have a perfect, professional-looking dessert without turning on your oven. I promise, the chill time is the hardest part!
Preparing and Chilling the Crust
First, hit that crust. In a medium bowl, mix your chocolate wafer cookie crumbs and the granulated sugar. Now, pour in the melted butter and stir quickly until everything looks evenly damp. That’s the signal to stop mixing! Press this mixture firmly, making sure it’s even on the bottom and sides of your 9-inch tart pan. Get it into the freezer right away while you build the filling.
Making the No Bake Tart Filling
Get your electric mixer ready for this part. Beat the softened cream cheese, your creamy peanut butter, powdered sugar, and vanilla until it’s totally smooth. You shouldn’t see any lumps—that’s vital for a great no bake tart. In a separate bowl, whip your heavy cream until you’ve got stiff peaks, almost like shaving cream. Now, the key move: gently fold the whipped cream into the peanut butter base. Don’t stir hard! Just fold until it’s combined. Spoon this beautiful filling into your chilled crust and put the whole thing back in the fridge for at least four hours to set up hard.
Finishing the Peanut Butter Chocolate Tart with Ganache
Once the filling is firm, we make the topping. Heat just 1/4 cup of heavy cream on the stove until it’s just starting to simmer—don’t let it boil over! Pour that hot cream straight over your semi-sweet chocolate chips in a little bowl. Let it sit for exactly five minutes to melt everything, then whisk it until it’s glossy. Spread that ganache over your set filling. Smooth it out quickly, then pop it back in the fridge for 30 more minutes so that gorgeous chocolate sets up nicely before you slice into this incredible easy chocolate tart.
Expert Tips for a Perfect Peanut Butter Chocolate Tart
Getting this peanut butter chocolate tart to look like it came from a fancy bakery is all about nailing two crucial areas: the texture of the filling and the clean lines of the crust. Since we aren’t baking, the temperature management of our ingredients is everything. If you want a truly flawless presentation, stick to these tried-and-true methods that I use every time I make this quick peanut butter dessert.
Achieving Smooth Filling Consistency
Seriously, do not rush softening the cream cheese. If it’s even slightly cold, it will result in little gritty bumps in your luxurious filling, which ruins the silky mouthfeel. Let it sit out on the counter for at least an hour, or use the ‘nuke it for 10 seconds’ trick if you’re truly pressed for time. We need that filling to be pure velvet underneath the ganache.
Getting That Professional Tart Edge
The removable bottom on the tart pan is your best friend here. When pressing the crust, work slowly and make sure that buttered crumb mixture goes right up the sides without crumbling. Once the filling is set, wait until the very last minute to release the sides. Gently push up from the base, and if you’ve pressed it firmly enough, you’ll have a clean, sharp edge every time.
For more ways to combine chocolate and peanut butter perfectly, you should check out my guide on chocolate peanut butter pairings!
Ingredient Notes and Substitutions for This Peanut Butter Dessert
Even when a recipe is streamlined, questions always pop up about specific ingredients. Since we are relying on the structure of this no bake tart, substitutions need care so we don’t compromise that creamy texture. Remember, my approach is always about making things work reliably for you, even if you’re missing one thing. Let’s look at how to adjust for the best peanut butter dessert possible.
Crust Alternatives
If you can’t find chocolate wafer cookies, don’t panic! Graham crackers work fine, but you’ll lose a little of that dark chocolate punch. If you use graham crackers, I suggest adding an extra tablespoon of sugar to the crust mix to balance the flavor. And yes, if you don’t have that special tart pan, just press the crust into a 9-inch pie plate—it’s mentioned in my notes for a reason!
Making it Reese’s Inspired
If you really want to lean into that ultimate candy bar experience, we can accessorize! Before the ganache hardens completely, take some chopped-up peanut butter cups and sprinkle them right over the top. This adds a little crunch and doubles down on the salty-sweet factor. It’s a simple addition that takes your finished peanut butter chocolate tart over the top. See a few more ways to use peanut butter in my writing about easy no-bake peanut butter bars!
Storing Your Finished Peanut Butter Chocolate Tart
One of the best things about this peanut butter chocolate tart is that it’s a make-ahead star. Since it’s a no-bake dessert, you actually want it to chill thoroughly. I always aim to make this the day before serving if I can. Honestly, the flavor deepens overnight, which is fantastic!
You can keep the finished tart safely in the refrigerator for up to four days. Just make sure it’s covered well, maybe with plastic wrap tented loosely so it doesn’t touch the ganache. This makes cleanup easy on party day because your most glamorous chocolate peanut butter dessert is already done!
Serving Suggestions for This Indulgent Treat
This peanut butter chocolate tart is so rich that it really only needs a simple presentation. I find that a tiny dusting of flaky sea salt right on the chocolate ganache just before serving really pops the salty notes! For drinks, you can’t beat a strong, hot cup of coffee to cut through the richness. If you are looking for something cooler, my recipe for the Apple Cider Moscow Mule pairs surprisingly well with the salty chocolate.
Frequently Asked Questions About the No Bake Tart
I get so many messages about this recipe, which tells me I’ve hit on a winner! Since this is an easy chocolate tart, people usually want reassurance that the no-bake aspect holds up. Here are the common sticking points I hear about executing this perfect chocolate peanut butter combination.
Can I use crunchy peanut butter in this peanut butter chocolate tart?
Oh, you absolutely can! But you need to know what you’re signing up for. Crunchy peanut butter adds a fantastic texture element to the filling, which some people really love. The tradeoff is that you lose some of that supremely smooth, velvety quality that the creamy version gives you. It’s a texture choice, not a flavor mistake!
How long does this easy chocolate tart need to set?
This is critical for structure. You need at least four hours for the main filling to firm up enough so that when you dump the ganache on top, it doesn’t just melt into it. After the ganache is spread, give it another 30 minutes to set up a little at the edges. Patience ensures clean slices!
Can I freeze leftover chocolate peanut butter filling?
I really wouldn’t recommend freezing the leftover filling by itself. Because we whip cream into that creamy base, thawing can sometimes make the texture a little grainy or watery when it comes back to room temperature. For best quality, just try to use all the filling you make!
If you have any other project management questions about timing or ingredients, feel free to shoot me a message over on my contact page!
Nutritional Estimate for This Peanut Butter Dessert
Now, let’s talk numbers, because even though this is pure indulgence, I still like to know what I’m dealing with. Transparency is part of my project philosophy! Here is the estimated breakdown for one slice of this amazing Peanut butter dessert. Remember, these figures are based on the specific ingredients I used, so if you switch to a different brand, you might see slight shifts, which is totally normal.
- Serving Size: 1 slice
- Calories: 450
- Sugar: 35g
- Fat: 32g
- Protein: 10g
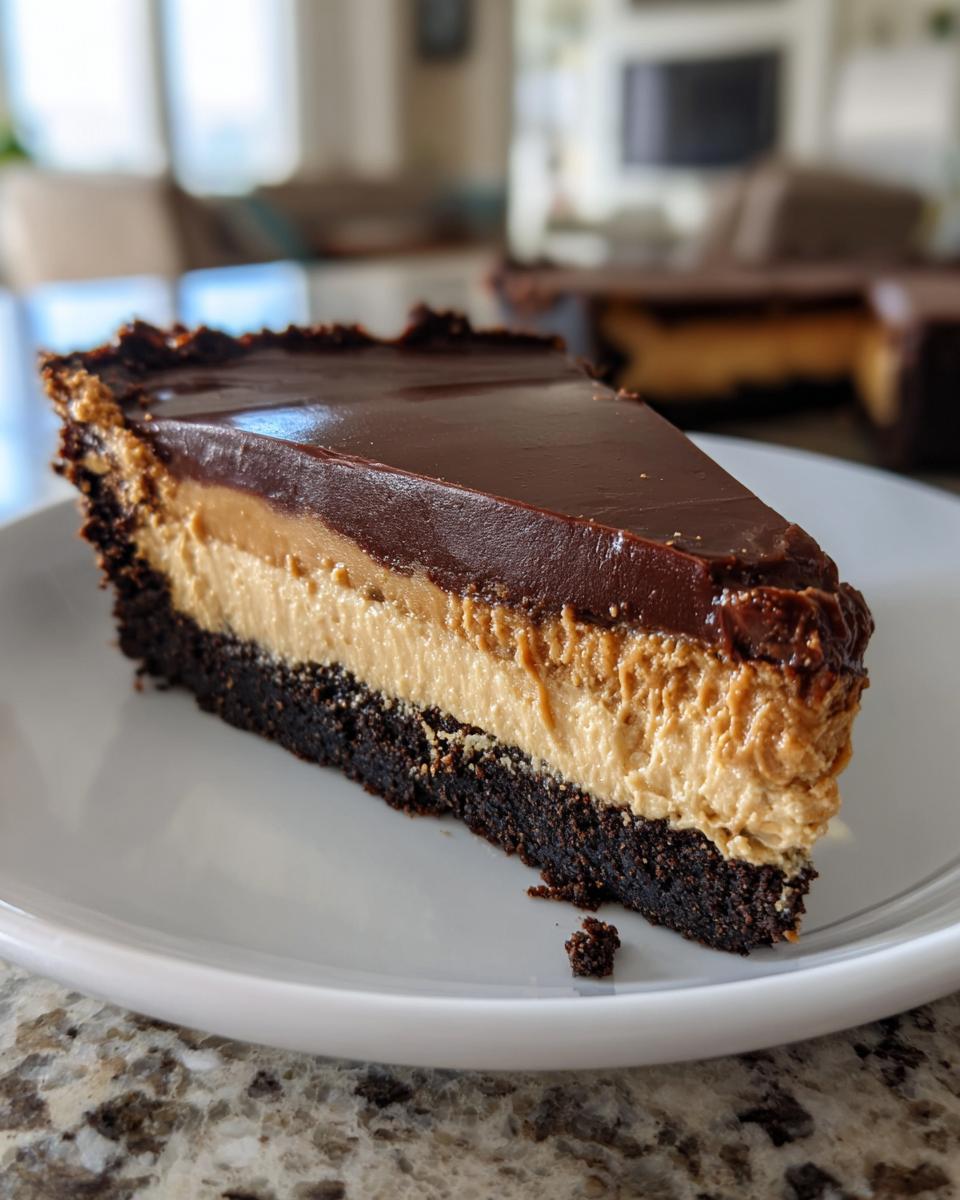
No-Bake Peanut Butter Chocolate Tart

Make this easy chocolate tart for pure indulgence. It delivers the classic salty-sweet peanut butter flavor in a sleek, no-bake shell.
- Prep Time: 20 min
- Cook Time: 0 min
- Total Time: 20 min
- Yield: 8 servings 1x
- Category: Dessert
- Method: No Bake
- Cuisine: American
- Diet: Vegetarian
Ingredients
- 1 1/2 cups chocolate wafer cookie crumbs
- 1/4 cup granulated sugar
- 6 tablespoons unsalted butter, melted
- 1 (8 ounce) package cream cheese, softened
- 1 cup creamy peanut butter
- 1/2 cup powdered sugar
- 1 teaspoon vanilla extract
- 1 cup heavy whipping cream
- 1/2 cup semi-sweet chocolate chips
Instructions
- Combine cookie crumbs and granulated sugar in a medium bowl. Pour in melted butter and mix until the crumbs are evenly moistened. Press the mixture firmly and evenly into the bottom and up the sides of a 9-inch tart pan with a removable bottom. Place the crust in the freezer while you prepare the filling.
- In a large bowl, beat the softened cream cheese, peanut butter, powdered sugar, and vanilla extract with an electric mixer until smooth and creamy.
- In a separate, chilled bowl, whip the heavy cream until stiff peaks form. Gently fold the whipped cream into the peanut butter mixture until just combined.
- Spoon the peanut butter filling evenly into the chilled crust. Smooth the top with an offset spatula. Refrigerate the tart for at least 4 hours, or until firm.
- For the topping, place the chocolate chips in a small, heatproof bowl. Heat 1/4 cup of heavy cream in a small saucepan until it just begins to simmer. Pour the hot cream over the chocolate chips. Let stand for 5 minutes, then whisk until smooth to create a ganache.
- Pour the chocolate ganache over the chilled tart filling. Spread evenly. Return the tart to the refrigerator for another 30 minutes to allow the ganache to set before slicing and serving.
Notes
- For a Reese’s inspired look, sprinkle chopped peanut butter cups over the top of the ganache before it fully sets.
- If you do not have a tart pan, you can press the crust into a 9-inch pie plate.
- This no bake tart keeps well in the refrigerator for up to 4 days.
Nutrition
- Serving Size: 1 slice
- Calories: 450
- Sugar: 35
- Sodium: 250
- Fat: 32
- Saturated Fat: 14
- Unsaturated Fat: 18
- Trans Fat: 0
- Carbohydrates: 38
- Fiber: 2
- Protein: 10
- Cholesterol: 55