
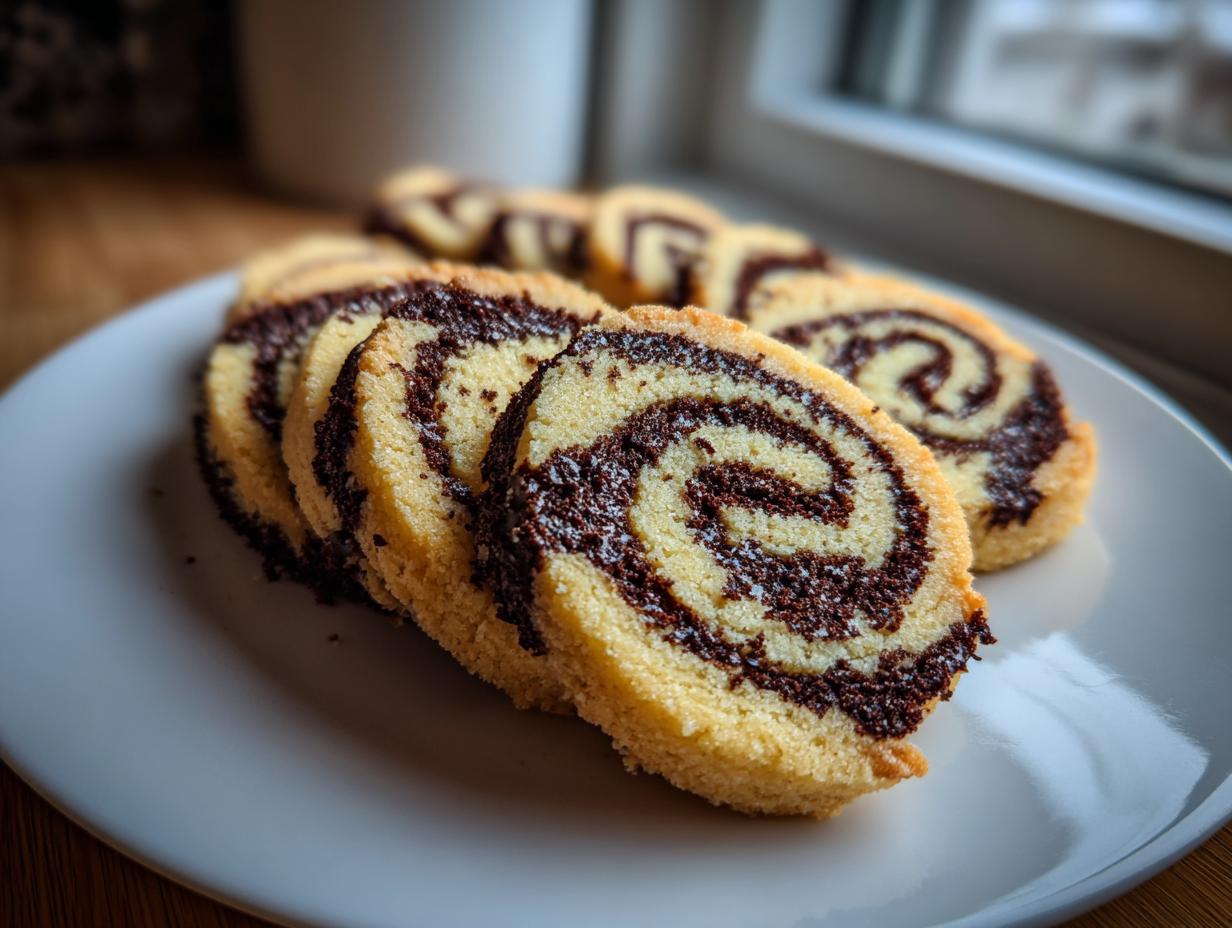
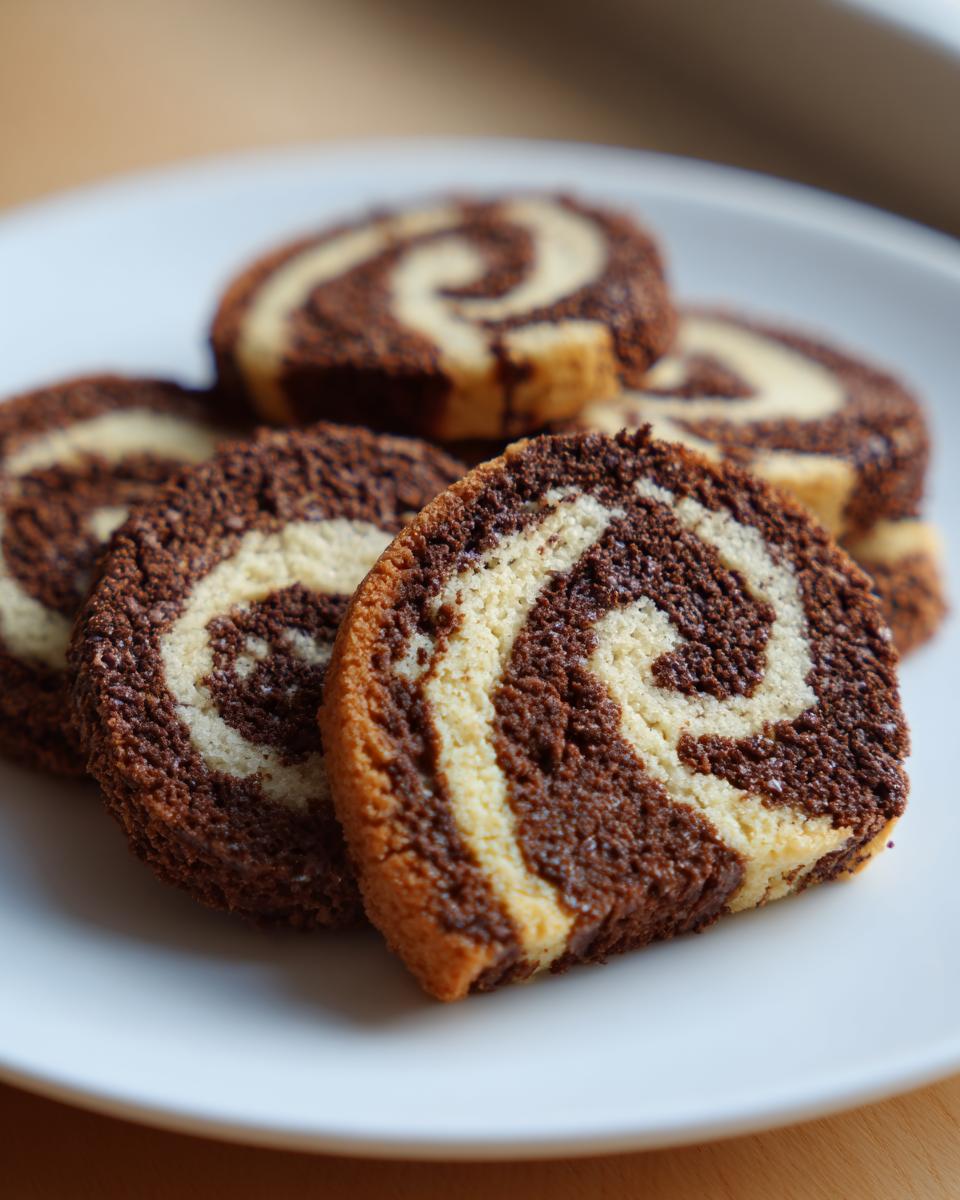
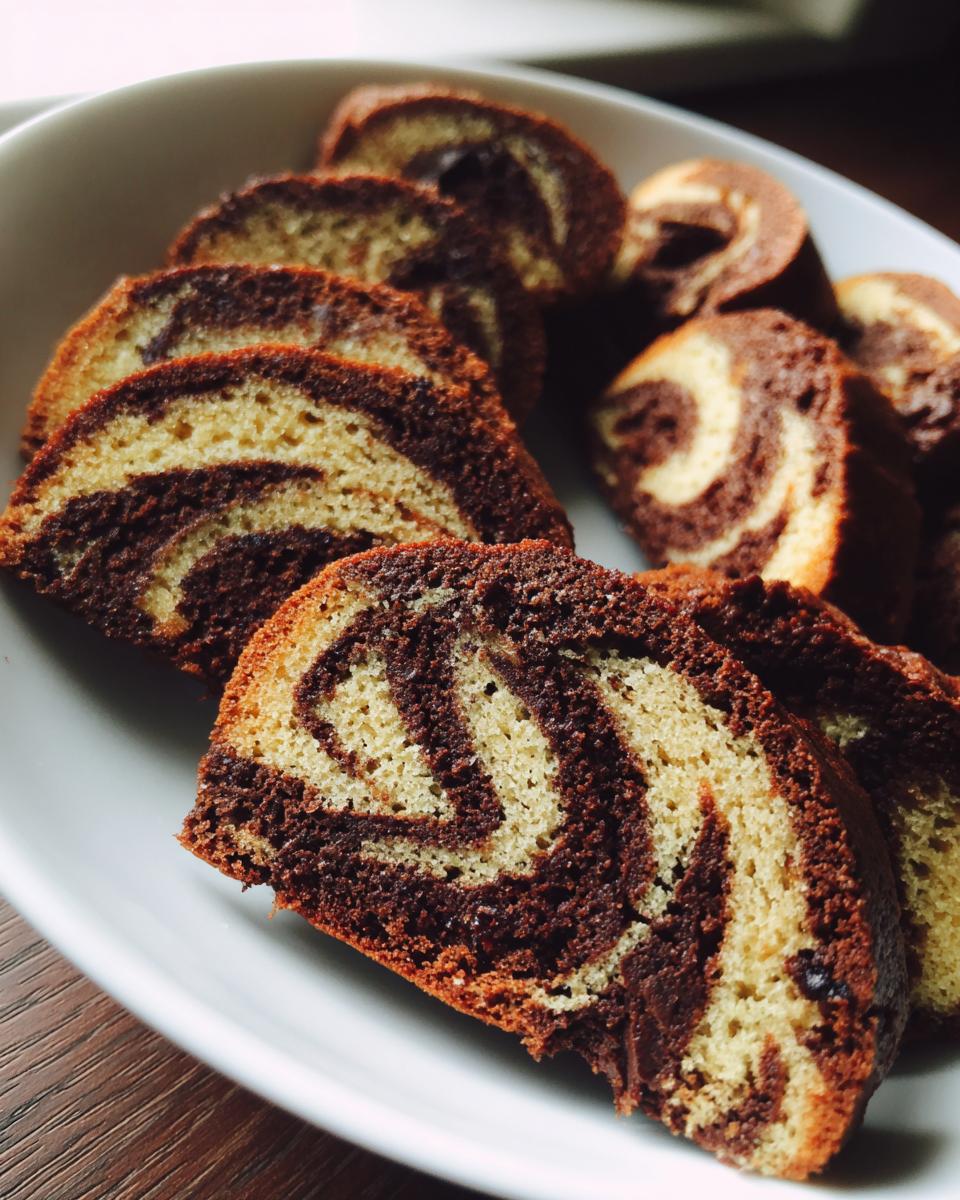
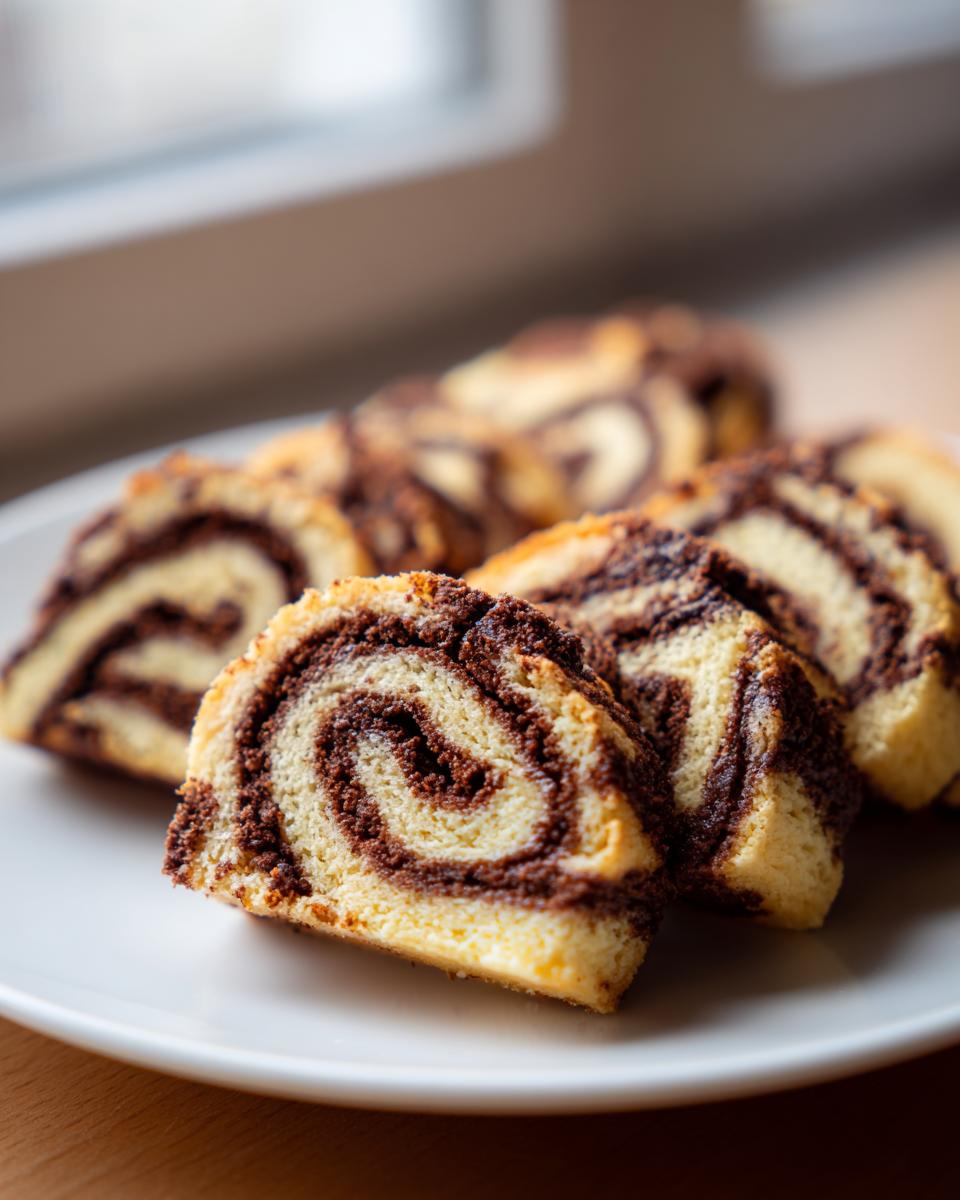
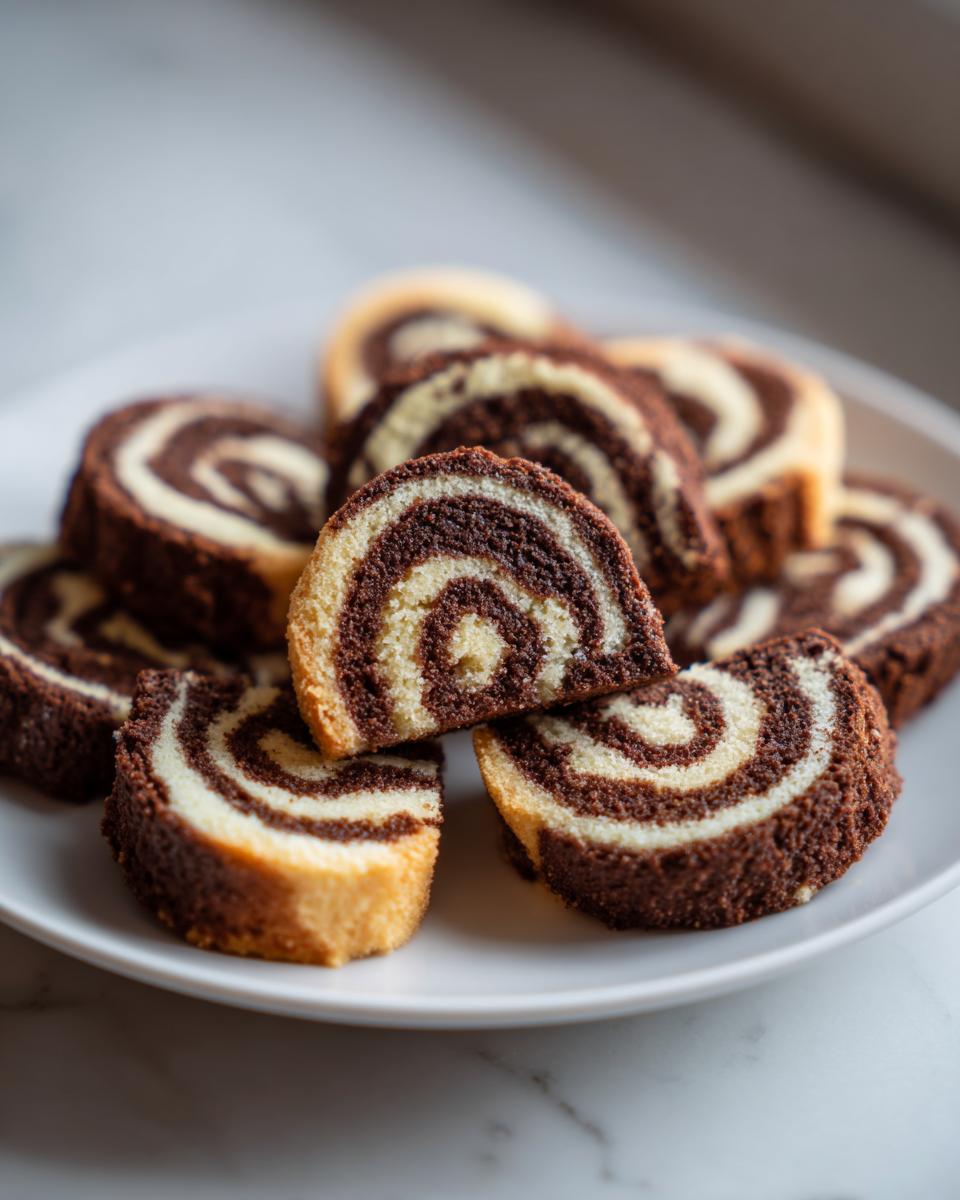
Sometimes you just want a cookie that looks like you spent all day fussing over tiny details, right? Well, I’ve got your secret weapon: pinwheel cookies! Seriously, these buttery, swirl-patterned beauties are my absolute go-to when I need something visually stunning but don’t have a full afternoon to decorate. This recipe is pure slice-and-bake triumph: crisp edges, tender centers, and that perfect combo of vanilla and chocolate in every bite. It’s the kind of elegant baking Leo Grant would blueprint—take something complex, simplify the steps using smart techniques, and deliver maximum flavor payoff. Trust me, you nail the swirl on your first batch with this method, and you’ll feel like a baking genius! If you want to know more about how we approach streamlining recipes here at Dishicious, you can always check out our story.
- Why This is the Best Pinwheel Cookie Recipe for Home Bakers
- Gathering Ingredients for Your Buttery Pinwheel Sugar Cookies
- Step-by-Step Guide: How to Make Swirl Cookies Perfectly
- Making Your Pinwheel Cookies Festive: Holiday Swirl Cookies Adaptations
- Tips for Success with Your Slice and Bake Swirl Cookies
- Storage and Keeping Your Pinwheel Cookies Fresh
- Answering Common Questions About Pinwheel Cookies
- Estimated Nutritional Data for These Cookies
- Share Your Visually Stunning Homemade Cookies
Why This is the Best Pinwheel Cookie Recipe for Home Bakers
Look, I get it. You see those gorgeous, intricate cookies online, and you think, “No way can I pull that off on a Tuesday.” That’s exactly why this recipe for Slice and Bake Swirl Cookies became my secret weapon! The payoff here—creating these incredibly visually stunning homemade cookies—is huge compared to the actual effort. It’s all thanks to the slice-and-bake format. We chill the dough logs until they are rock solid, and that, my friends, is the trick to success.
A firm dough doesn’t smear or spread when it hits the heat. That means those sharp, beautiful spirals you worked hard to create stay perfectly defined. We treat these recipes like projects here; we focus on the structural integrity first so the results are always reliable. If you don’t want complicated icing, this is your answer. For more foolproof baking ideas, you should definitely check out our whole collection of delicious dessert recipes.
Key Benefits of These Easy Pinwheel Cookie Recipe
- You get maximal visual impact with minimal decorating time—no fancy piping bags needed!
- The slice-and-bake method makes batch cooking incredibly efficient. Make the dough once, bake as needed.
- These look way fancier than they are, making them absolute showstoppers for cookie swaps or gifting.
- This delivers exactly what it promises: an Easy Pinwheel Cookie Recipe that truly works.
Gathering Ingredients for Your Buttery Pinwheel Sugar Cookies
Alright, let’s talk supplies! Because this is a two-tone cookie, we build one base recipe and then split it. You want good quality ingredients here, especially the butter, since these are really buttery pinwheel sugar cookies. Don’t stress too much; the list isn’t scary, but preparation matters!
For the foundation of our dough, you’ll need:
- 1 cup unsalted butter, really soft—I mean softened to the room temperature, not melted!
- 1 cup granulated sugar
- 1 large egg
- 1 teaspoon pure vanilla extract
Then, for the dry elements that give structure:
- 3 cups all-purpose flour
- 1 teaspoon baking powder
- 1/2 teaspoon salt
And finally, for making that beautiful chocolate half:
- 2 tablespoons unsweetened cocoa powder
- 1 teaspoon milk (just a splash to keep the chocolate dough soft)
Step-by-Step Guide: How to Make Swirl Cookies Perfectly
Okay, this is where the project management comes in handy! We are going to break down how to make swirl cookies into manageable phases. The goal here is a dough that holds its shape beautifully enough to bake into sharp spirals. If the dough is too warm during any of these steps, you risk everything spreading into one big blob, so keep that fridge handy!
Mixing the Base Dough and Dividing Flavors
First things first: you need that light and fluffy base. Get your softened butter and sugar playing together with an electric mixer until they’re pale yellow. Don’t rush this creaming part! Add the egg and vanilla extract. Now, gently stream in your combined dry ingredients—flour, baking powder, and salt. Mix it low and slow until it *just* comes together. When it looks like a cohesive, soft dough, divide it exactly in half. One half is your vanilla dough. To the other half, mix in the cocoa powder and that tiny splash of milk until it’s uniformly chocolate. Wrap them up and send them to the fridge for their first nap!
The Critical Chilling Process for Perfect Pinwheel Cookies
Chilling is non-negotiable for sharp pinwheel cookies, I’m telling you! After you’ve divided and colored the dough, wrap each half tightly in plastic wrap and chill it for at least one hour. This firms them up so they roll out without sticking everywhere. Once they are rolled into rectangles and layered together, roll that big log as tightly as you can—think of wrapping a Christmas present, nice and snug! Then, pop that log back in the fridge, or even the freezer for 20 minutes if you’re impatient, for another two hours. This second chill ensures you get those crisp, clean cuts we are aiming for.
Rolling, Layering, and Slicing for Clean Swirls
When you are ready to slice, make sure your oven is preheated to 375°F. On a lightly floured surface, roll out your vanilla dough into a 10×12 inch rectangle, aiming for about 1/4 inch thickness. Repeat that exact size and thickness with the chocolate dough. Lay the chocolate sheet right on top of the vanilla one, gently press them together so they stick, and then, starting from a long side, roll it up super tight into a single log. Slice that log into discs about 1/4 inch thick. If the dough was chilled correctly, these look like perfect Chocolate Vanilla Swirl Cookies before they even hit the pan!
Making Your Pinwheel Cookies Festive: Holiday Swirl Cookies Adaptations
Now, if you’re reading this leading up to December, you absolutely have to know how to turn these into amazing Holiday Swirl Cookies. That vanilla/chocolate version is classic, sure, but when it comes to a cookie exchange, you need color! This is where the easy vanilla dough base just shines, because you can adapt it without adding any extra fuss.
The best trick for creating those iconic reds and greens is to skip the chocolate half entirely. Remember when we divided the dough? Take that vanilla portion and just divide it in two again. You’ll use your original vanilla dough piece, and then you’ll dye the other two halves intensely with gel food coloring—one red, one green. Gel coloring is key here; don’t even think about liquid coloring unless you want slightly soggier cookies!
Once you have your vanilla, red, and green layers of equal size and thickness, you just layer them up—vanilla in the middle, red on one side, green on the other maybe? Or try alternating stripes! You roll them up real tight, just like the original recipe tells you, and boom! You’ve made show-stopping Festive Rollout Cookies. They bake up perfectly uniform, and they look so impressive on any platter. These are guaranteed to disappear first at any party; they are definitely my secret tip for winning the annual office cookie swap!
If you love fun, decorative holiday baking like this, I’ve got some fantastic recipes, like my Christmas Cheesecake Bars, that might also tickle your fancy for colorful treats.
Tips for Success with Your Slice and Bake Swirl Cookies
Even with a streamlined process, sometimes cookie dough plays tricks on us, right? I’ve been there! When rolling out these slice and bake swirl cookies, your main enemy is warmth. If your dough feels anything less than firm—almost stiff—when you go to slice it, you’ve got trouble brewing. Always remember that initial creaming stage? That’s your earliest warning system. If your butter is too warm when you mix it with the sugar, you introduce air pockets that collapse later, resulting in a greasy, flat cookie.
So, my biggest piece of advice? Don’t cheat the chill time! That initial hour lets the flour hydrate, giving you a better structure. The second, longer chill after you roll the log is what guarantees those crisp edges we want. If your baked cookies look a little puffy or blurry around the edges, nine times out of ten, the log wasn’t cold enough. But hey, even if they spread a bit, they still taste amazing, so don’t throw them out!
We have tons of other foolproof baking projects if you’re looking for more ways to simplify your kitchen time. You can browse all our dessert recipes right here!
Achieving Uniform Thickness for Consistent Pinwheel Cookies
We talked about rolling the dough to 1/4 inch thick, but let’s be real, eyeballing that is tough! Thickness is directly tied to how pretty your final cookie looks. If one slice is 3/8 of an inch only because you pressed too hard on one corner of the log, that cookie is going to bake slower and look uneven next to its thinner buddies. This is a trick I picked up from watching Leo manage tight deadlines—measure everything!
To make sure every single one of these beautiful pinwheel cookies looks like it came right out of a professional bakery, grab a rolling pin that has thickness guides, or just place two wooden spoons or dowels on either side of your dough before you roll. These act like walls. As the rolling pin hits those guides, you physically cannot roll the dough thinner or thicker than the space between them. It ensures that gorgeous, even layer distribution needed for that sharp swirl design. It’s like using a template for your cookie design, and it removes all the guesswork!
Storage and Keeping Your Pinwheel Cookies Fresh
One of the biggest joys of making these pinwheel cookies is that they are designed for make-ahead baking! Since this is a slice-and-bake recipe, we want to maximize that convenience, right? This means you can actually make the log of dough days before you plan to serve them, which is perfect for busy weeks.
For the baked cookies, you want to keep them away from moisture, or they’ll lose that wonderful buttery snap. Once they are completely cool—and I mean totally cool, no residual heat at all—tuck them into a sturdy, airtight container. At room temperature, they stay fantastic for nearly a week. Honestly, they taste just as good on day five as they do fresh out of the oven, provided they are sealed up tightly.
But here’s the real time-saver: freezing the dough log! After you finish that tight roll, wrap the log super securely in two layers of plastic wrap, and then maybe one layer of aluminum foil just for good measure. Pop it into the freezer. You can freeze these logs for up to three months. Seriously, three months!
When you suddenly realize you forgot dessert for a party tomorrow, just pull that frozen log out of the freezer. Let it sit on the counter for 20 to 30 minutes—it needs to soften just enough so you can slice it without crushing the swirl pattern. Then, slice them as usual, place them on parchment-lined sheets, and bake them slightly longer than the original recipe calls for, maybe an extra minute or two, since you are baking from frozen. You get the freshest tasting cookies with zero drama!
Answering Common Questions About Pinwheel Cookies
I know when I first started making these, I had about a million questions bubbling up. It’s all about getting that perfect swirl, and sometimes the difference between a blurry mess and a sharp design comes down to one tiny detail. Since these are such easy cookies to keep in your repertoire, I wanted to answer the most frequent things I hear from people when they try them for the first time.
Can I make Snickerdoodle Pinwheel Variations?
Oh, absolutely you can! Who doesn’t love a Snickerdoodle? If you want to pivot away from the chocolate and vanilla for a minute and try a Snickerdoodle Pinwheel Variation, it’s super easy. You just need to take your plain vanilla dough half—the one that isn’t getting the cocoa powder—and treat it like you would a regular Snickerdoodle dough. Before you roll it out, you mix up a little cinnamon-sugar blend, maybe 1 teaspoon of cinnamon to 2 tablespoons of sugar. Before you place it on the counter to roll, gently pat that cinnamon-sugar mixture right over the whole surface of the vanilla dough sheet. Then, roll it up tight with the other dough half. You’ll get this fantastic, warm, spiced swirl instead of the chocolate one. They bake up just the same, but smell amazing while they are cooling!
What is the secret to getting perfect cookie design ideas?
If you want the prettiest cookie possible—the kind that makes everyone stop and ask how long you spent on it—the secret is simple, tedious, and completely worth it: Chilling and Tight Rolling. That’s it! We went over this in the steps, but it bears repeating. If your dough isn’t firm enough for slicing, it means the layers will squash together instead of creating distinct spirals. You need a log so solid that it almost resists when you try to move it. When you roll that cookie log, roll it as tight as you possibly can without tearing the outer layer. That tension is what locks the layers in place. If you nail rock-hard dough and a very tight roll, you will always get show-stopping cookie design ideas in your final batch!
Estimated Nutritional Data for These Cookies
Now look, I am a home cook, not a food scientist running tests in a lab—Leo would probably want me to calculate precise macros down to the gram, but I’m just trying to get dinner on the table! So, when it comes to the nutritional breakdown here, take these numbers as a helpful guideline, not gospel.
The values provided below are estimates based on the ingredients listed in the recipe, assuming a yield of 3 dozen cookies. Different brands of butter, sugar, or even different cocoa powders can change things slightly, as we know from how much brands vary at the grocery store. This is just to give us a baseline for these delicious pinwheel cookies.
- Serving Size: 1 cookie
- Calories: 135
- Sugar: 10g
- Fat: 7g (with 4g as Saturated Fat)
- Carbohydrates: 17g
- Protein: 2g
- Sodium: 75mg
- Cholesterol: 25mg
Honestly? For a buttery, homemade treat, I think that’s pretty respectable! If you’re worried about sugar, remember you can adjust the amount in the base dough slightly if you make major batch size changes or swap to a less sweet sugar, but don’t go too far or the dough structure will suffer. Enjoy them!
Share Your Visually Stunning Homemade Cookies
So, there you have it! You’ve got the blueprint now to conquer the world of pinwheel cookies. I absolutely can’t wait to hear how they turned out for you. Did you stick to the classic chocolate and vanilla, or did you go wild and try the festive red and green idea we talked about? Seriously, the design is half the fun!
When you pull those perfect little buttery spirals out of the oven, don’t keep the magic to yourself! Please, take a picture and tag us or drop a comment down below. I love seeing your baking wins; it makes the whole process feel like we did it together. Let me know how the slicing went—did you ditch the ruler and manage a perfect 1/4 inch slice just by feel? Tell me your secrets!
If you found this recipe simplified your life and delivered on that promise of an impressive bake without the fuss, do me a favor and give us a rating! Your feedback helps me keep streamlining these projects to give you more simple, delicious recipes like these. If you have any last-minute questions or need help troubleshooting a spread batch (it happens!), feel free to reach out via our contact page. Happy swirling!
PrintEasy Slice-and-Bake Chocolate Vanilla Pinwheel Cookies
Make visually stunning, buttery pinwheel cookies using a simple slice-and-bake method. This recipe combines vanilla and chocolate dough for a perfect swirl every time.
- Prep Time: 30 min
- Cook Time: 10 min
- Total Time: 160 min
- Yield: 3 dozen 1x
- Category: Dessert
- Method: Baking
- Cuisine: American
- Diet: Vegetarian
Ingredients
- 1 cup unsalted butter, softened
- 1 cup granulated sugar
- 1 large egg
- 1 teaspoon vanilla extract
- 3 cups all-purpose flour
- 1 teaspoon baking powder
- 1/2 teaspoon salt
- 2 tablespoons unsweetened cocoa powder
- 1 teaspoon milk (for chocolate dough)
Instructions
- Beat the softened butter and sugar together in a large bowl until light and fluffy. Add the egg and vanilla extract, mixing until just combined.
- In a separate bowl, whisk together the flour, baking powder, and salt. Gradually add the dry ingredients to the wet ingredients, mixing on low speed until a soft dough forms.
- Divide the dough evenly into two separate bowls.
- In the first bowl, mix in the cocoa powder and 1 teaspoon of milk until the dough is uniformly chocolate colored. Leave the second half plain vanilla.
- Wrap each dough portion separately in plastic wrap and chill in the refrigerator for at least 1 hour, or until firm enough to handle.
- On a lightly floured surface, roll the vanilla dough into a rectangle approximately 10×12 inches and 1/4 inch thick. Repeat this process with the chocolate dough.
- Place the chocolate rectangle directly on top of the vanilla rectangle, aligning the edges. Press them together gently.
- Starting with a long edge, tightly roll the two dough layers together into a compact log. Wrap the log tightly in plastic wrap.
- Chill the dough log for another 2 hours, or until very firm. This step is crucial for clean slices.
- Preheat your oven to 375°F (190°C). Line baking sheets with parchment paper.
- Remove the chilled log and slice it into rounds about 1/4 inch thick.
- Place the cookie slices onto the prepared baking sheets, leaving about 2 inches between them.
- Bake for 8 to 10 minutes, or until the edges are lightly golden. Do not overbake.
- Let the cookies cool on the baking sheet for 5 minutes before transferring them to a wire rack to cool completely.
Notes
- For festive red and green swirls, divide the vanilla dough in half. Color one half with red food coloring and the other half with green food coloring before rolling the layers together.
- If you want crisp edges, chill the dough longer. For softer cookies, reduce the chilling time slightly.
- You can roll the finished log in colored sprinkles before slicing for extra visual appeal.
Nutrition
- Serving Size: 1 cookie
- Calories: 135
- Sugar: 10
- Sodium: 75
- Fat: 7
- Saturated Fat: 4
- Unsaturated Fat: 3
- Trans Fat: 0
- Carbohydrates: 17
- Fiber: 0
- Protein: 2
- Cholesterol: 25