
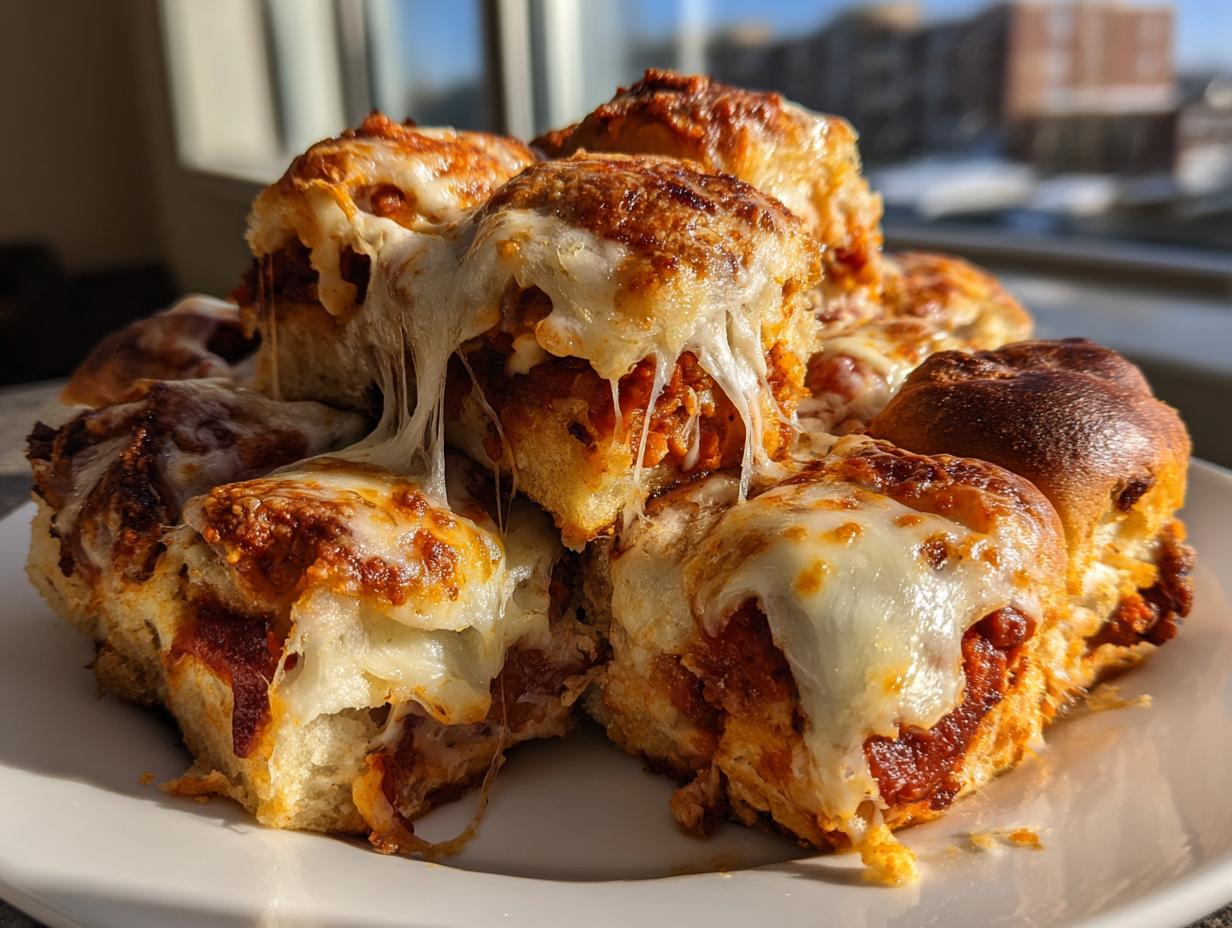
Look, we all hit that wall sometimes. You need food for seven people in twenty minutes, or maybe you’re managing the clock for the big game. That’s where my project manager brain kicks in—we aren’t looking for complexity; we’re looking for maximum flavor output with minimum downtime. Stop stressing. The solution isn’t ordering delivery; it’s creating the ultimate **pizza sliders** using those perfectly sweet Hawaiian rolls. This recipe cuts the usual pizza process down to quick assembly and oven time, delivering that gooey, cheesy satisfaction you crave. It’s smart cooking that truly tastes better than the effort suggests. If you need more quick fixes like this, check out our guide to quick, easy dinners.
- Why These Hawaiian Roll Pizza Sliders Are Your New Go-To
- Gathering Ingredients for Perfect Pizza Sliders
- Step-by-Step Assembly: Building Your Pizza Sliders
- Baking and Finishing Your Crowd Pleasing Pizza Sliders
- Tips for Perfect Pizza Sliders Every Time
- Making Pizza Sliders Ahead of Time for Parties
- Frequently Asked Questions About These Easy Pull Apart Sliders
- Nutritional Estimate for Your Handheld Pizza Dinner
- Share Your Amazing Pizza Sliders Experience
Why These Hawaiian Roll Pizza Sliders Are Your New Go-To
I developed these specifically to solve the weeknight dilemma. They aren’t just tasty; they solve the time crunch problem we all face. Honestly, these are already my favorite of all the appetizer recipes for potluck selections I have. Why are they so great?
- Speed: Total time is under 30 minutes. You can’t beat that for game day appetizers.
- Ease: The assembly is so straightforward, practically zero cleanup.
- Flavor: That garlic butter brushing takes these simple **pizza sliders** over the top.
- Versatility: They work perfectly as **kid friendly meals** or as filling **super bowl snacks**.
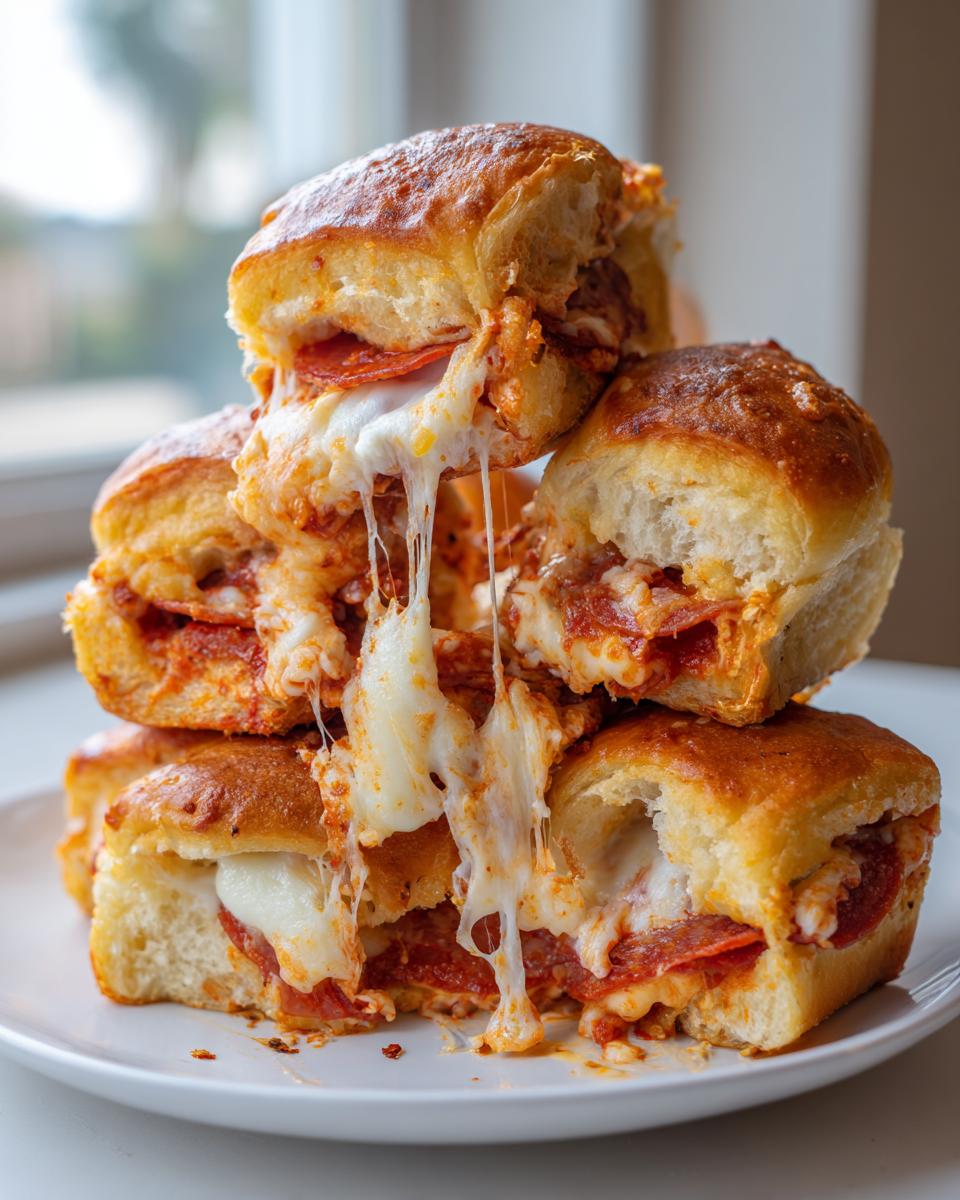
Plus, they create the best **easy pull apart sliders** because the Hawaiian rolls stay soft and slightly sweet.
Gathering Ingredients for Perfect Pizza Sliders
Okay, listen up. For these **pizza sliders**, the quality matters, especially with just a few components. You absolutely must use the sweet Hawaiian rolls—that slight sweetness is key to balancing the savory pepperoni and sauce. We need two cups of shredded mozzarella; don’t skimp here, we want great cheese coverage. And make sure your pepperoni is thinly sliced, not too thick, so it crisps up nicely without making the buns soggy.
Components for the Garlic Butter Topping on Your Pizza Sliders
This topping is what separates the amateur sliders from the truly delicious ones. It’s simple algebra, really: flavor optimization! You’ll mix a quarter cup of melted butter with one teaspoon of garlic powder and a half teaspoon of dried oregano. This aromatic brush goes on last. Finally, grab that grated Parmesan cheese to sprinkle over the top for a salty, crispy finish after baking.
Step-by-Step Assembly: Building Your Pizza Sliders
Now for the fun part—the assembly phase. If you treat this assembly line style, you’ll speed through construction perfectly. Remember that crucial step from the ingredient list? You need to slice the entire package of those 12 Hawaiian rolls straight across horizontally, but without cutting them apart vertically. They need to stay connected in one big sheet on the bottom and one on the top. It sounds fiddly, but trust me, it keeps these pizza sliders easy to manage.
Preheating and Preparing the Pan for Cheesy Baked Sandwiches
First things first, get that oven humming. We are setting it to 350 degrees Fahrenheit. Grab a standard 9×13 inch baking dish and give it a good light grease. This step ensures that when the cheese melts and bubbles, your finished batch of cheesy baked sandwiches pops right out later. No one wants to wrestle a stuck slider.
Layering the Sauce, Pepperoni, and Cheese for Ultimate Pizza Sliders
Lay the bottom half of the rolls right into that prepared dish. We need to spread that one cup of pizza sauce evenly across the tops of the buns. Don’t let the sauce pool too much in the middle; try to spread it right to the edges for edge-to-edge flavor. Next, layer on all that thinly sliced pepperoni. Then, even out the mozzarella cheese on top of that savory layer. Finally, place the top half of the rolls gently over the cheese. It’s like building a delicious, manageable tower of flavor ready for the oven. For even better results and to avoid any moisture issues, I suggest you quickly toast the bottom layer for about three minutes before adding the sauce—it builds a tiny defense barrier against sogginess. You can see how people love this efficient method over at The Modern Proper.

Don’t forget to check out how we streamline other complex recipes over at our guide to easy 30-minute chicken Florentine.
Baking and Finishing Your Crowd Pleasing Pizza Sliders
This next phase is pure hands-off magic, Leo style. Once everything is layered and brushed with that stellar garlic butter mixture, pop the dish into the 350°F oven. I usually set a timer for 12 minutes, but honestly, you’re playing a waiting game until you see two things: the cheese needs to be completely melted and gooey, and the top of those Hawaiian rolls should just start looking lightly golden brown. Do not walk away! These **pizza sliders** cook fast.
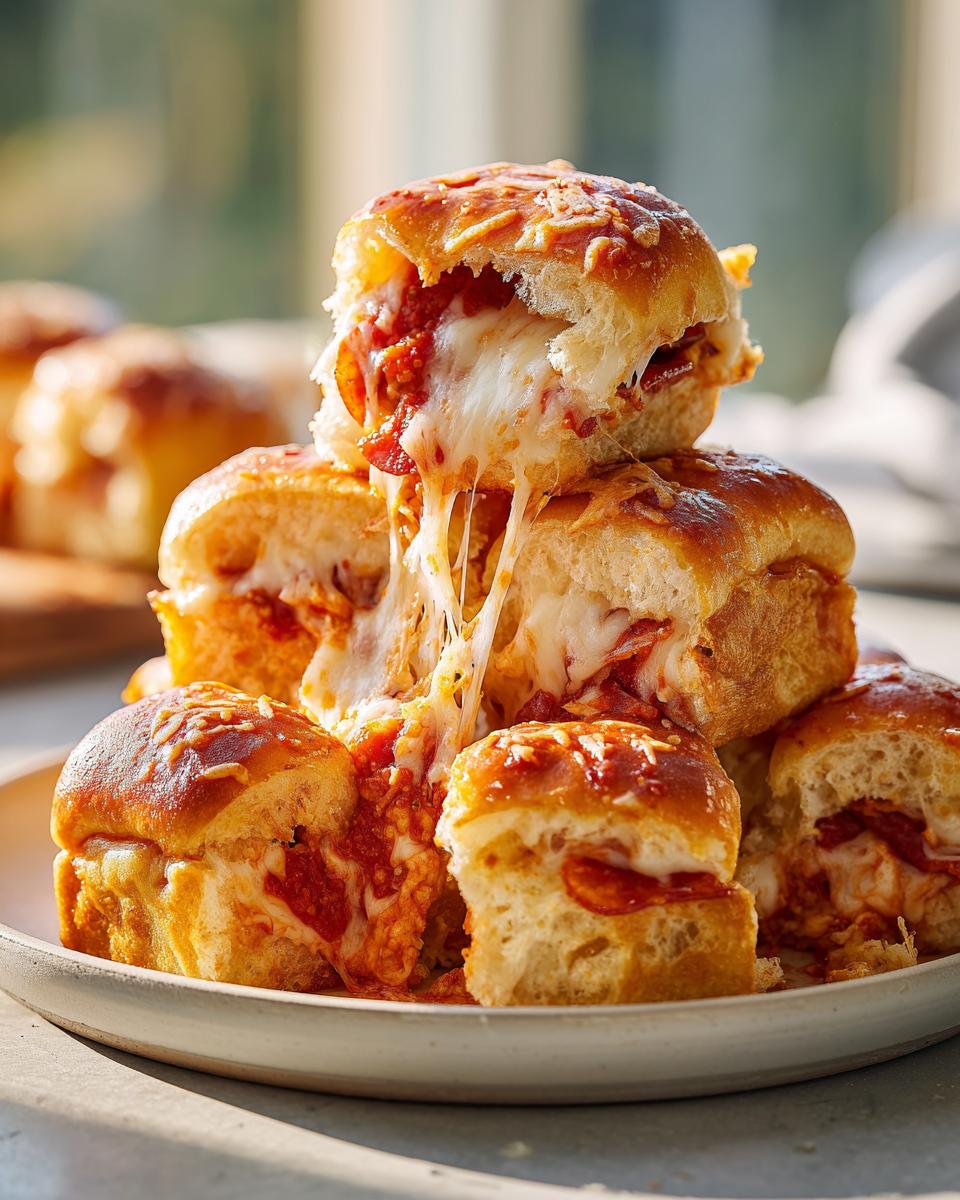
Now here’s the essential step that separates the patient cooks from the impatient ones—and this is crucial for texture. You must let them rest for a full five minutes once they come out. If you try to slice them immediately, all that glorious melted cheese and sauce will run out everywhere. That resting period lets everything set up just enough so they pull apart cleanly. Trust me; those five minutes feel long, but they make all the difference between a messy plate and perfect, handheld pizza bites. For more great party options, swing by our archives on appetizer recipes for potluck.
Tips for Perfect Pizza Sliders Every Time
We’ve got the main blueprint down, but the real secret to any great recipe is optimization, which is where my project management background really shines through. A few small tweaks can completely transform your handheld meal. For instance, if you find your rolls get a little steamed on the bottom—and hey, it happens when you pack a lot of moisture in there—try my trick: lightly grill or toast that bottom layer of rolls for about three minutes before you start saucing them. That little bit of dry heat creates a barrier against sogginess. You can read more performance tips for buns like these over at Forkful Fix.
Also, don’t forget to serve these with extra dipping sauce. A small bowl of warm marinara on the side makes these snack bites feel like a full, fun meal. If you enjoyed this sauce concept, you might also like our approach to easy homemade BBQ sauce recipe!
Savory Slider Recipes: Topping Variations for Your Pizza Sliders
While pepperoni is classic for a reason, these **pizza sliders** are totally customizable. If you have some leftovers from last night’s dinner, don’t hesitate to repurpose them! You can easily substitute the pepperoni with cooked, crumbled sausage or chopped pieces of ham for a different flavor profile. Some folks even dice up some bell peppers or olives, though you need to make sure they aren’t too wet before adding them in. The sweet roll base handles most savory toppings really well, so go ahead and experiment with your favorite pizza toppings!
Making Pizza Sliders Ahead of Time for Parties
When you’re planning for a big tailgate or just want everything done before the kids get home, prepping ahead is a lifesaver, right? You can totally assemble these **pizza sliders** early. Here’s my system: stack them just like normal—sauce, pepperoni, cheese—keeping them together in the baking dish. But hold off on brushing that amazing garlic butter mixture and sprinkling the Parmesan!
Cover the entire dish tightly with plastic wrap, making sure it doesn’t touch the cheese layer. You can store these assembled sliders in the fridge for up to 12 hours. When it’s game time, just whip off the plastic, brush on your butter topping, and slide them right into the oven. You might need to add an extra minute or two to the baking time since they start cold, but you eliminate 10 minutes of active assembly right when your guests are walking in the door. It’s about maximizing those smooth hosting moments. If you need more recipes that save time, check out my guide on easy make-ahead egg muffin recipe.
Frequently Asked Questions About These Easy Pull Apart Sliders
I’ve answered the most common operational questions I get about these sliders. When you’re aiming for efficiency, having these quick answers ready is key for a smooth process. If you’re planning for a big event, remember these make excellent quick, easy dinners or snacks!
Can I use regular slider buns instead of Hawaiian rolls?
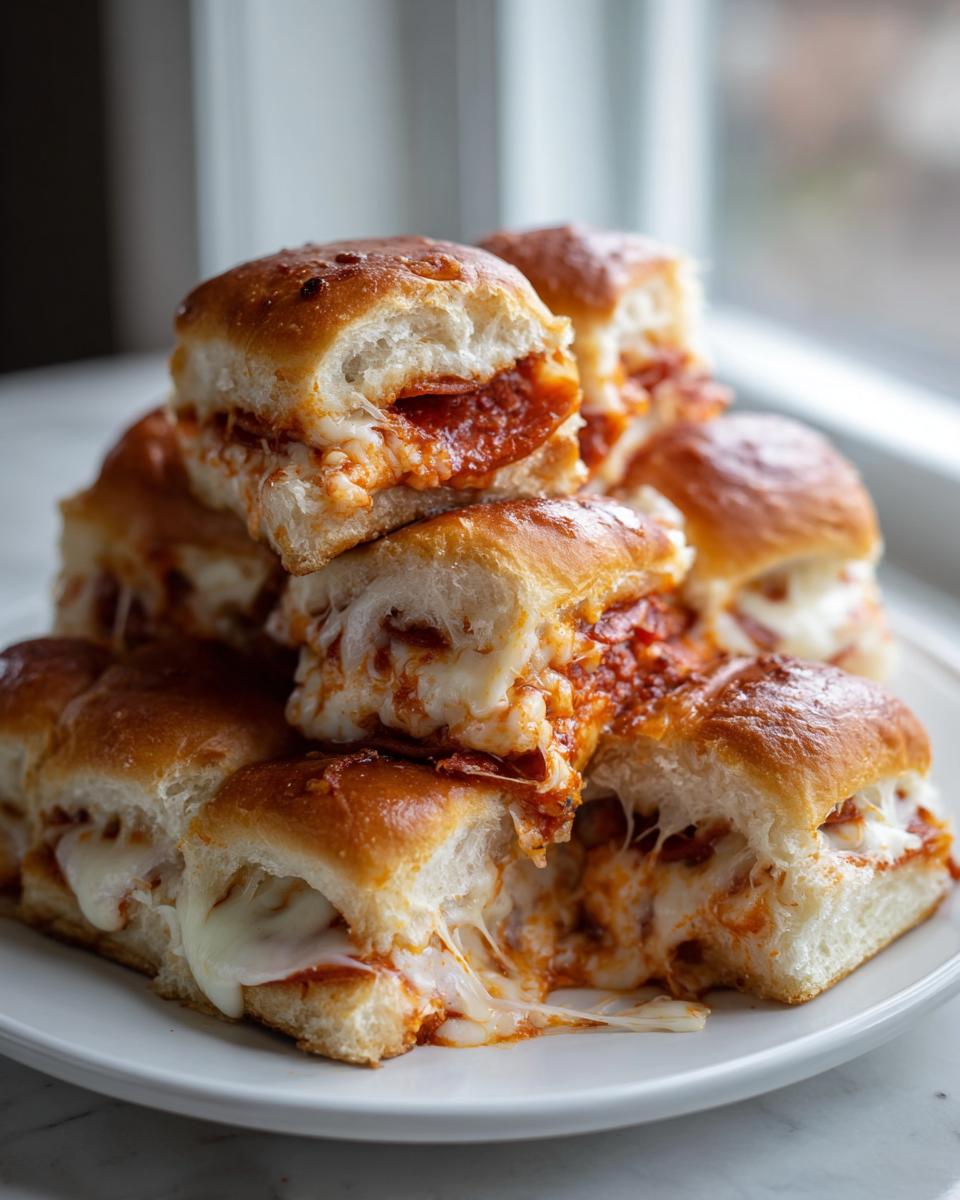
You certainly can! But let me be clear: you lose some of what makes these special. The Hawaiian rolls provide a unique, soft texture and a touch of sweetness that balances the savory sauce and pepperoni. If you use standard white slider buns, they tend to be a bit drier and won’t achieve that same melt-in-your-mouth feeling. They still work as savory slider recipes, but expect a texture difference. For the *best* result, stick to the Hawaiian variety.
What cheese works best besides mozzarella?
Mozzarella is the star because it melts beautifully and has that classic pizza pull, but you can definitely experiment. I sometimes mix in about half a cup of provolone with the mozzarella; it adds a sharper, tangier kick that I love. If you’re trying to keep these extremely kid friendly, sharp cheddar works well for flavor, but it doesn’t stretch quite as much as good mozzarella. Check out suggestions for customization over at Urban Farmie!
How do I reheat leftover pizza sliders?
Reheating Leftover Pizza Sliders
If you are lucky enough to have any leftovers (these are usually gone in minutes!), the microwave is your enemy here. It makes them rubbery fast. The best way to revive them is in the oven set to 350°F for about 5 to 7 minutes, just until the cheese is soft again. If you have an air fryer, even better—a quick 3-minute blast at 330°F works wonders to crisp up the edges again!
Nutritional Estimate for Your Handheld Pizza Dinner
When you’re optimizing your meal plan, having a rough idea of the numbers is important. For those of you enjoying these **handheld pizza dinner** options, based on the standard ingredients listed above (one slider serving), here is a general estimate. I stress that this varies depending on the exact brand of pepperoni or rolls you use, so consider these approximations. Transparency is key in efficient cooking!
- Serving Size: 1 slider
- Calories: 320
- Fat: 17g
- Carbohydrates: 28g
- Protein: 15g
- Sodium: 650mg
Remember, these are calculated averages! If you use lower-sodium sauce or turkey pepperoni, your sodium count will drop significantly. Always adjust based on the specific products you purchase for your **quick dinner sliders**.
Share Your Amazing Pizza Sliders Experience
So, there you have it—my streamlined process for making the ultimate, low-effort, high-reward **pizza sliders**. Honestly, this recipe is just too good not to share widely, and testing is ongoing! If you made these for a recent get-together or just crushed a batch for an impromptu weeknight dinner, I genuinely want to hear about it.
Did you stick exactly to the pepperoni, or did you try one of those variations we talked about? Please drop a rating below—five stars if these saved your Super Bowl party! I’ve learned so much from this community, and your feedback helps everyone simplify their cooking projects. If you’re looking for more fast, family-approved ideas, swing by my guide to easy breakfast and brunch recipes.
Happy cooking, and remember: complexity is optional, deliciousness is mandatory. Don’t forget to check out the genius behind the original concept over at Flavor Mosaic!
PrintEasy Pull-Apart Pepperoni Pizza Sliders on Hawaiian Rolls
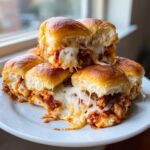
Make these quick and cheesy pizza sliders using Hawaiian rolls for a simple, crowd-pleasing appetizer or fast weeknight dinner.
- Prep Time: 10 min
- Cook Time: 15 min
- Total Time: 25 min
- Yield: 12 sliders 1x
- Category: Appetizer
- Method: Baking
- Cuisine: American
- Diet: Vegetarian
Ingredients
- 1 (12 count) package sweet Hawaiian rolls
- 1 cup pizza sauce
- 1 pound thinly sliced pepperoni
- 2 cups shredded mozzarella cheese
- 1/4 cup melted butter
- 1 teaspoon garlic powder
- 1/2 teaspoon dried oregano
- 1/4 cup grated Parmesan cheese
Instructions
- Preheat your oven to 350 degrees Fahrenheit. Lightly grease a 9×13 inch baking dish.
- Carefully slice the entire package of Hawaiian rolls horizontally, keeping the rolls connected in one piece. Place the bottom half of the rolls into the prepared baking dish.
- Spread the pizza sauce evenly over the bottom layer of rolls.
- Layer the pepperoni slices over the sauce.
- Sprinkle the mozzarella cheese evenly over the pepperoni.
- Place the top half of the rolls over the cheese layer.
- In a small bowl, combine the melted butter, garlic powder, and dried oregano. Brush this mixture evenly over the top of the rolls.
- Sprinkle the grated Parmesan cheese over the buttered top.
- Bake for 12 to 15 minutes, or until the cheese is fully melted and the tops are lightly golden brown.
- Remove from the oven. Let the sliders rest for 5 minutes before slicing them apart between the rolls. Serve warm.
Notes
- For a less soggy bottom, you can lightly toast the bottom layer of rolls for 3 minutes before adding the sauce and toppings.
- You can substitute pepperoni with cooked sausage or ham for variation.
- Serve these handheld pizza dinner options with extra marinara sauce for dipping.
Nutrition
- Serving Size: 1 slider
- Calories: 320
- Sugar: 8
- Sodium: 650
- Fat: 17
- Saturated Fat: 8
- Unsaturated Fat: 9
- Trans Fat: 0.5
- Carbohydrates: 28
- Fiber: 1
- Protein: 15
- Cholesterol: 35