
Are you tired of looking at the ridiculously high price tag on that shelf of pre-packaged fuel? And honestly, the sugar content in most store-bought options is just wild. That’s exactly why I developed this Ultimate Easy No-Bake Vegan Protein Bar recipe. As the founder of Dishicious, I approach my kitchen like a project manager—efficiency is key! I strip away the unnecessary steps, so you get maximum results with minimum time. Trust me, this homemade protein bar is the game-changer your meal prep routine needs. We’re talking chewy, high-protein, zero oven time, done in minutes. It’s the smartest way to snack.
- Why You Need These Easy No-Bake Vegan Protein Bars
- Key Ingredients for Your Ultimate Protein Bar
- How to Make Easy No-Bake Protein Bars
- Tips for Perfect Gluten Free Protein Bars and Variations
- Storing Your Make Ahead Protein Meal Prep
- Frequently Asked Questions About This Protein Bar Recipe
- Estimated Nutrition for This High Protein Recipe
- Share Your Best Homemade Protein Bars Success
Why You Need These Easy No-Bake Vegan Protein Bars
You need these because they solve so many problems at once without adding any complexity to your week. Forget fussing with baking equipment or complicated measurements. These are built for speed and reliability, which is my whole philosophy here at Dishicious. You get clean fuel that actually tastes great.
- They require absolutely zero baking time—seriously, from start to finish, we are looking at about 10 minutes of hands-on work before the freezer takes over.
- They check the box for almost everyone; they are naturally vegan, and with one simple swap, you have gluten free protein bars.
- You get serious macros from this high protein recipe without all that junk you find in the checkout aisle.
Perfect for Meal Prep Protein
If you’re planning your week—which I highly recommend—these are your best friend. I make a batch every Sunday evening. By Monday morning, I have grab-and-go breakfast bars stacked and ready. You can finally skip the last-minute scramble for fuel. This is efficient meal prep protein done right.
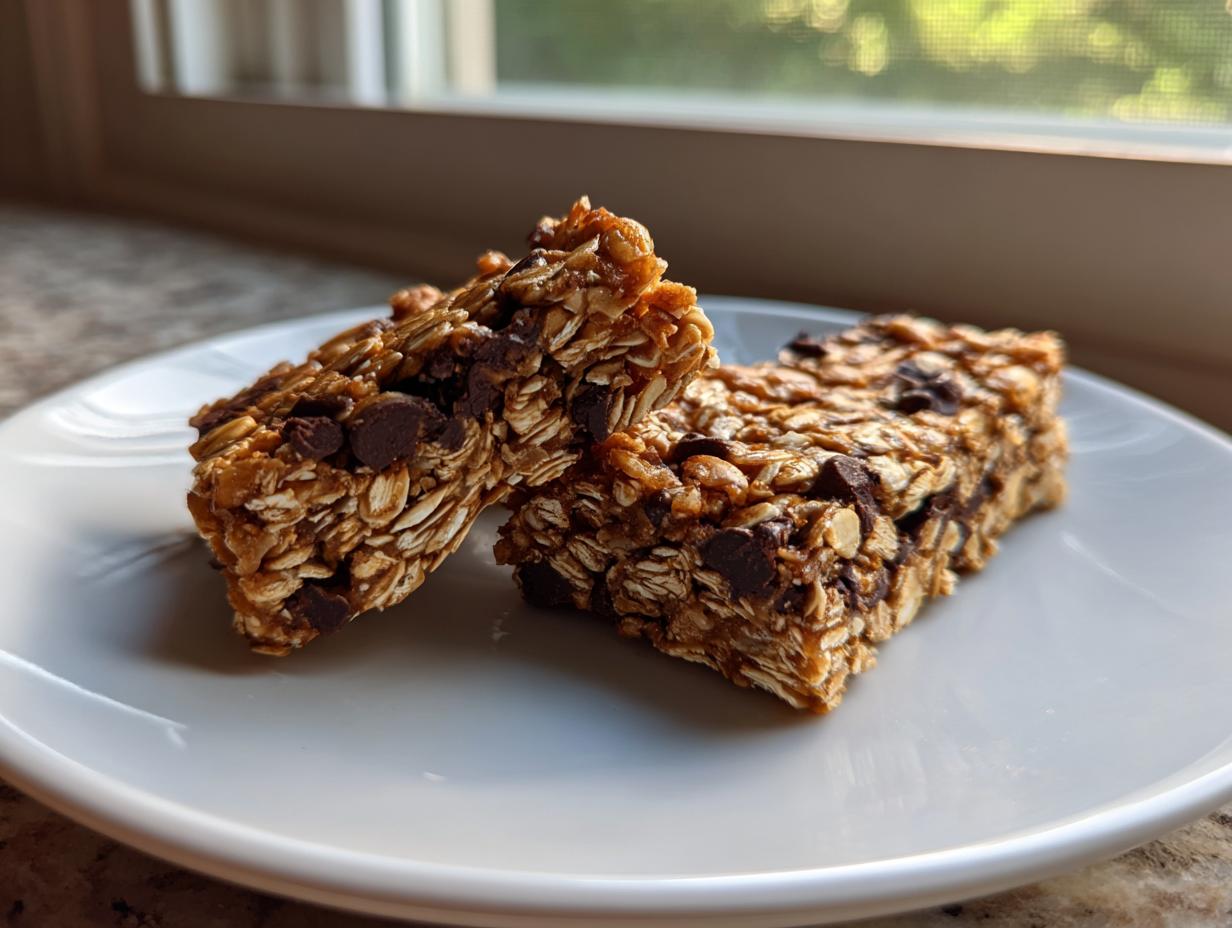
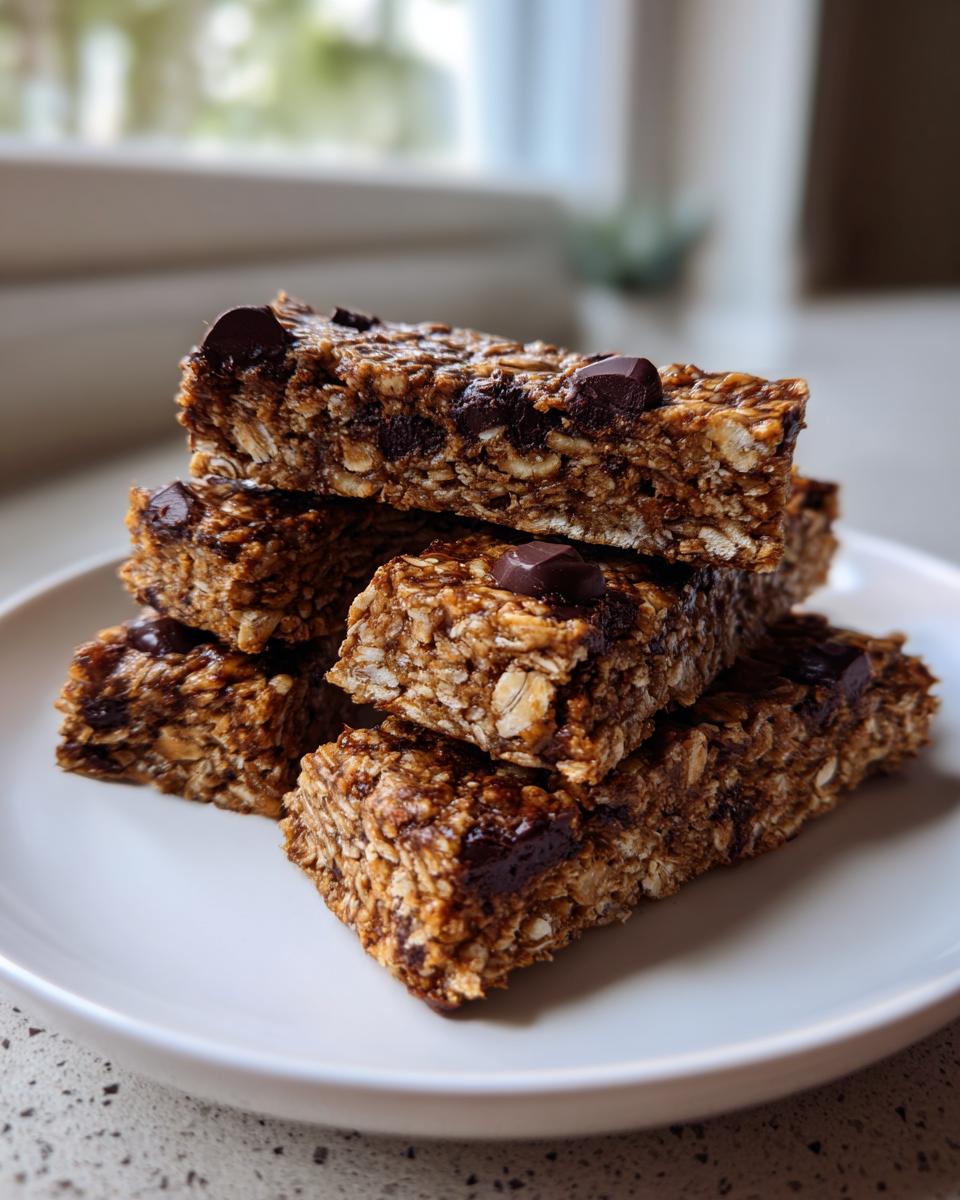
The Chewy Protein Bars Texture You Crave
Store-bought bars are often hockey pucks, right? Dry, chalky, and unsatisfying. Because we aren’t baking these, we rely on the creamy binders to create an incredibly dense yet pleasantly chewy texture. These are truly the chewy protein bars you always hoped you could make at home. You won’t believe how satisfying they are for almost no effort. You can pair these with other helpful recipes, like my easy protein muffins when you’re tired of bars!
Key Ingredients for Your Ultimate Protein Bar
When you’re aiming for the best homemade protein bars, the ingredients are non-negotiable, even when we are keeping the ingredient list short. Since we aren’t baking, the quality of the binders and powders really takes center stage. I’ve selected these components specifically because they are easy to find everywhere but still completely transform the texture and flavor profile of your final snack. Remember, this is all about efficient engineering for maximum flavor payoff! If you are a fan of a good high-protein frozen treat, you know using quality base ingredients matters just as much.
Binding Agents and Structure for Chewy Protein Bars
The secret to that perfect, non-crumbly structure lies heavily in the wet ingredients. You absolutely must use a natural, runny peanut butter or almond butter. If it’s too stiff, you’ll end up adding way too much milk later, which ruins the dense quality we want in these chewy protein bars. Pair that high-fat binder with maple syrup—it provides the perfect liquid sweetness and works wonders to keep everything soft and pliable. Don’t skimp here; these are crucial components!
Choosing the Right Vegan Protein Powder
This is where we nail the “high protein” part of this high protein recipe. Since these are vegan protein bars, I highly recommend using a vanilla or completely unflavored powder. Why? Because flavored powders often throw off the subtle balance between the peanut butter and the maple syrup. If you use a very strong chocolate powder, for example, the flavor shifts entirely away from the classic profile. Keep it neutral, let the nuts shine, and you ensure consistency batch after batch.
How to Make Easy No-Bake Protein Bars
Okay, this process is where the project management really shines. We are eliminating heat, so our focus shifts entirely to getting the right consistency before we set them. Follow these steps exactly, and you’ll have perfect homemade protein bars every time. This is why these beat store-bought options every single time—you’re in total control of the final product’s structure!
Mixing the Homemade Protein Bars Dough
First things first: prep your pan. Always line it with parchment paper, making those little overhang flaps on the sides; these are your handles later! Then, tackle the dry ingredients first in a big bowl—the oats, the powder, the flaxseed. Mix that dry stack thoroughly so you don’t end up with clumps of unflavored powder later. Next, pour in the wet stuff—the nut butter, the syrup, the vanilla. Now, here’s the key tip: mix it until it mostly comes together. If it looks like dry sand, add your non-dairy milk just one tablespoon at a time until it grabs itself into a cohesive dough. Do not overdo the milk! We want it thick, not runny.
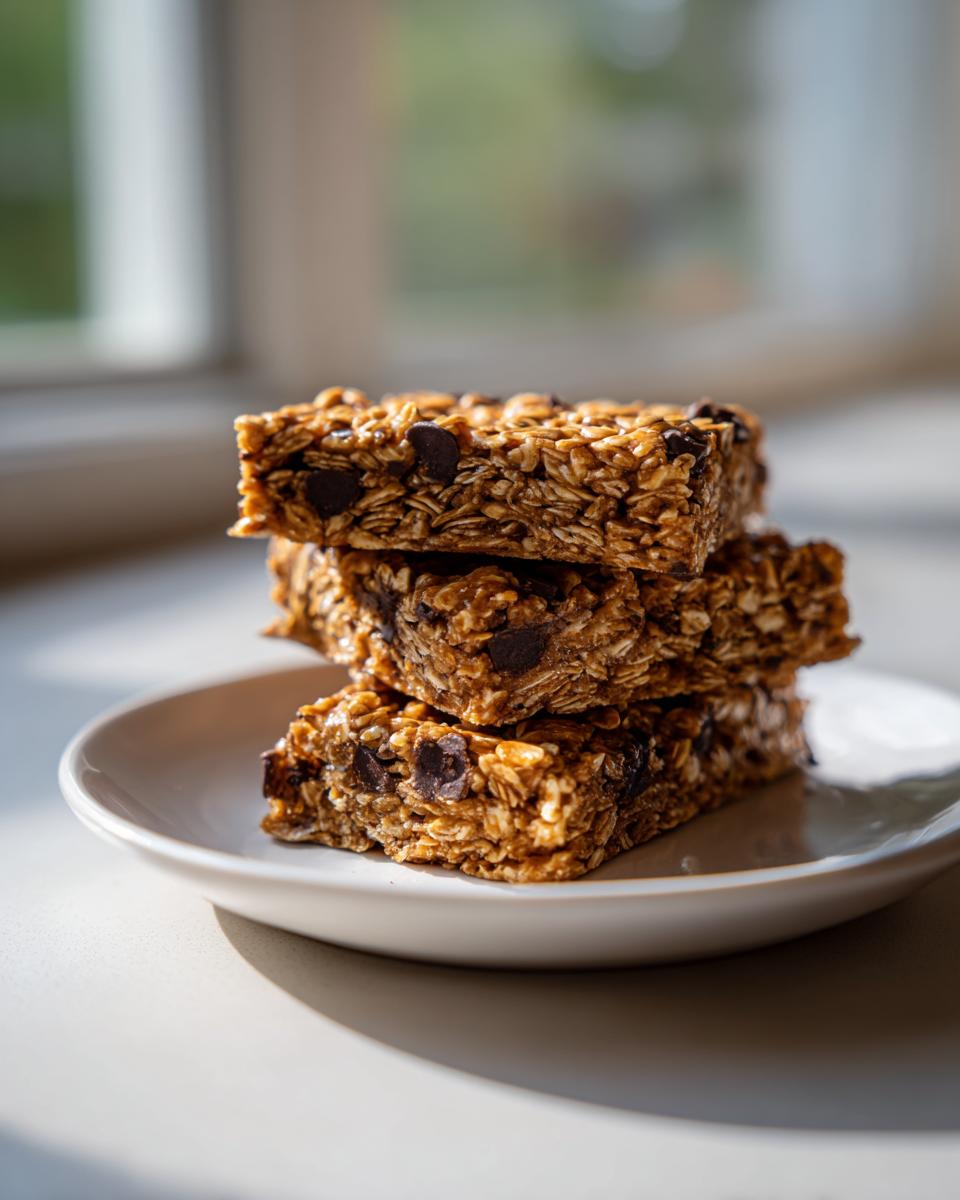
Setting and Cutting Your Protein Bar Portions
Once that thick dough is ready, transfer it to your lined pan. Now, you need some serious elbow grease here. Press that mixture down incredibly firmly and evenly. I like to use the flat bottom of a clean glass or measuring cup to really compact it. When you press hard, that’s when you lock in the density, giving you those satisfyingly chewy protein bars. Once it looks flat and tight, pop the whole pan into the freezer for at least half an hour. That chilling step is crucial! It ensures clean cuts, making your final product look like a professional, perfect easy protein snack.
When you pull them out, use those parchment paper handles to lift the whole slab onto a cutting board. Cut into 10 or 12 pieces, depending on how big you like your fuel fix. For more genius approaches to quick cooking, check out my guide on other easy no-bake bars!
If you are new to the no-cook life, learning how to make these is step one toward grabbing healthy fuel anytime. If you want more ideas on making snacks without turning on a thing, this resource on how to make no-bake protein bars is really helpful, too!
Tips for Perfect Gluten Free Protein Bars and Variations
One of the best things about engineering your own fuel is customization. We aren’t tied to a single ingredient list like you are with the store-shelf versions. This adaptability ensures that whether you need strictly gluten free protein bars or you are managing sugar intake, you can adjust this base recipe. It’s about precision control, which is something I really enjoy in the kitchen!
Making Your Protein Bar Nut-Free or Low Sugar Energy Bars
If you need to ditch the nuts—maybe for school lunches or allergies—simply swap out the peanut butter for sunflower seed butter. The texture holds up beautifully, and you get a slightly different, earthy flavor profile for your protein bar. Now, on the flip side, if you’re trying to make these truly into low sugar energy bars, you have to address the maple syrup. You can substitute it with a liquid low-carb sweetener like allulose or monk fruit syrup, but watch the consistency! You might need less non-dairy milk since these substitutes don’t bind quite the same way.
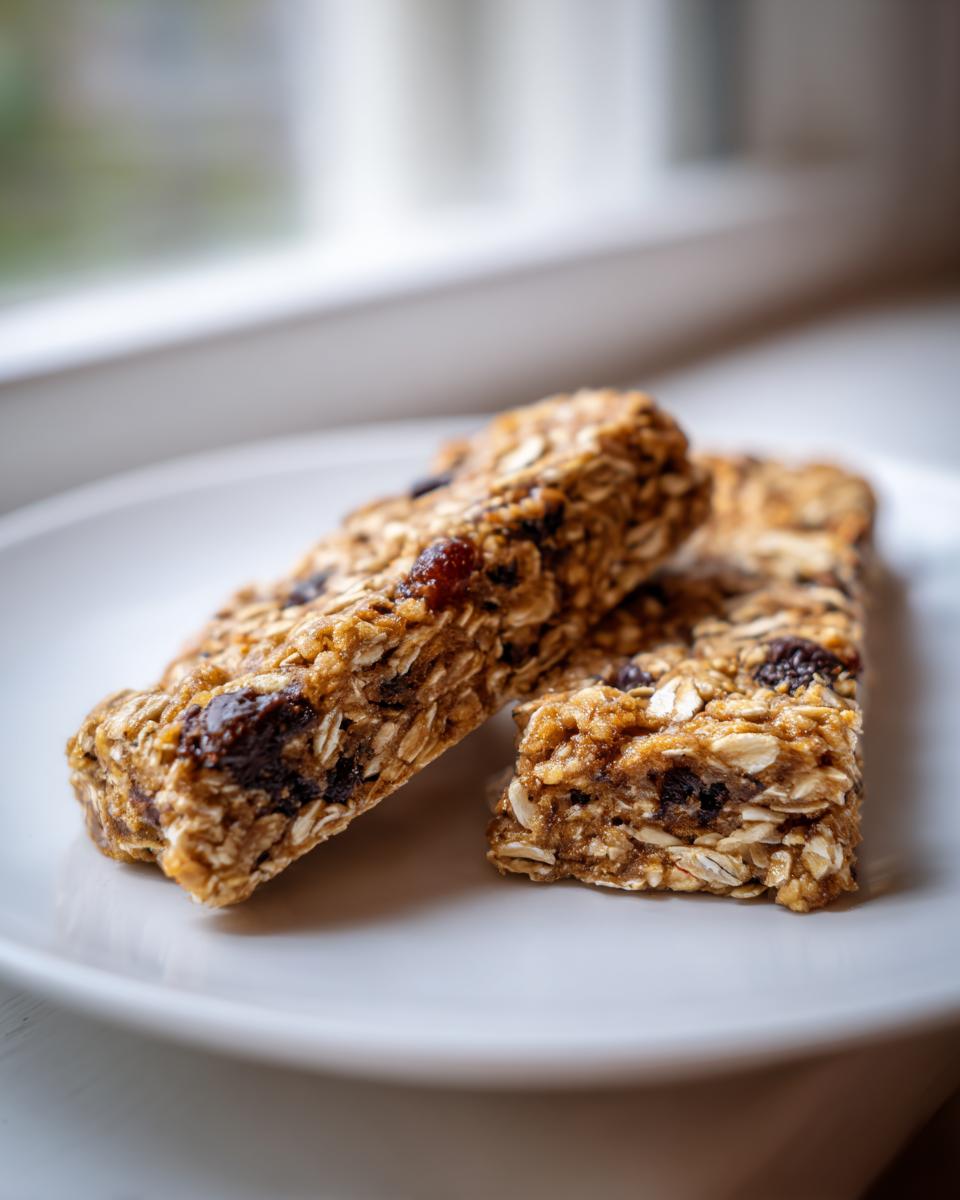
Flavor Twists for Your Next Batch of Protein Bar
Don’t feel locked into just chocolate chips! Try adding half a teaspoon of cinnamon to the dry mix along with your oats—it warms up the peanut butter flavor really nicely. For a tropical vibe that works great in these vegan protein bars, fold in some unsweetened shredded coconut. Also, if you happen to have a flavored protein powder on hand, like a dedicated peanut butter protein bars powder, you can use that instead of the unflavored one, but definitely reduce the added maple syrup by one tablespoon. If you want more inspiration for plant-based treats, I have a great recipe for vegan banana bread that follows a similar minimalist approach.
For other incredible perspectives on making bars without electricity, definitely check out Katie’s recipe linked here—she has some amazing ideas for baked variations when you finally decide to use your oven, though I still stand by the no-bake method for speed!See more high protein recipes!
Storing Your Make Ahead Protein Meal Prep
This is the final essential step in project management: storage. Since these homemade protein bars don’t contain any preservatives, we need a reliable system to keep them fresh, chewy, and ready for your grab-and-go schedule. If you’ve done the work making a big batch for your meal prep protein, you want to protect that investment!
The refrigerator is your best friend here. Store your cut bars in a single layer in an airtight container, or stack them separated by small pieces of parchment paper if you stack high. Kept cool, these healthy snack bars stay perfectly firm and fresh for about one week. Honestly, they rarely last that long in my house!
But what if life gets busy? No panic needed. These bars freeze beautifully. Wrap each individual protein bar tightly in plastic wrap or wax paper, then place them all into a heavy-duty freezer bag. You can keep them tucked away in the freezer for up to three months. When you need one, just pull it out and let it thaw on the counter for about 15 minutes. It tastes just as good as the day you made it. Remember, whether you’re grabbing them for a post-workout snack or a quick lunch filler, proper storage keeps them perfectly intact! For other meal prep ideas that save time later, you should look at my recipe for make-ahead egg muffins.
Frequently Asked Questions About This Protein Bar Recipe
I know when you try a new protein bar recipe, you always have questions lingering. That’s smart! Cooking should be precise when you are aiming for specific macros. We want these to be reliable, chewy, and perfect every time for your quick healthy snacks rotation. Let’s get those final details ironed out so you can get mixing!
Can I bake these homemade protein bars instead?
That’s a fantastic question, but for this particular formula, the answer is a firm no. This recipe is purposefully engineered as a no bake protein bar. Removing the oven is the entire reason we get that dense, perfectly moist, slightly fudgy quality. If you were to bake this mixture, the powders and oats would dry out instantly, and you’d end up with something closer to a crumbly cookie, not the satisfying chewy protein bars we are aiming for.
How can I make these into chocolate protein bar recipe versions?
If you want to lean into the chocolate side of things for a proper chocolate protein bar recipe, you have two easy routes. First, swap your vanilla protein powder for a good quality chocolate one. Second, and this is my favorite modification for a richer profile, cut back the dry ingredients by one-quarter cup and add in two tablespoons of unsweetened cocoa powder to the dry mix. That double-chocolate power really satisfies a craving for a truly decadent DIY fitness fuel treat!
Why are my protein bars crumbly?
Nobody wants a crumbly easy protein snack! This usually comes down to one of two things, which you can easily fix next time. Either you didn’t use enough binder—that peanut butter and maple syrup are your glue, so make sure they measure up—or you didn’t press the dough down hard enough in the pan. Remember, you have to really compact that mixture to achieve the ideal density. Take your time pressing it down firmly; that’s what locks in the chewiness!
Estimated Nutrition for This High Protein Recipe
When you’re calculating your macros, you need reliable data, and I totally get that. Creating your own protein bar means you control the quality, but you also need to track the results. I’ve run the numbers on this specific base recipe—12 servings using standard measurements—to give you a solid benchmark for your week’s tracking. This is the foundation of our high protein recipe!
Please remember, this is an **estimate** based on the ingredients listed. If you use a different brand of protein powder or a different nut butter, your numbers will shift slightly. But this gives you a fantastic starting point for planning those grab and go breakfast bars.
- Serving Size: 1 bar (out of 12)
- Calories: about 180
- Protein: 12 grams (That’s what we came for!)
- Total Fat: 9 grams
- Total Carbohydrates: 18 grams (with about 3g of important fiber!)
- Sugar: Approximately 6 grams (All coming from natural sources like maple syrup, which is great compared to refined stuff.)
When you’re optimizing your fuel, knowing those core numbers is essential. If you decide to make larger bars or you add a ton of extra mix-ins, just remember to factor those additions in. This setup provides a fantastic baseline for a low sugar energy bar, depending on your base powder choice. If you are looking for other ways to easily calculate nutrition in quick snacks, I found that looking up my favorite banana nice cream base helps keep my tracking consistent!
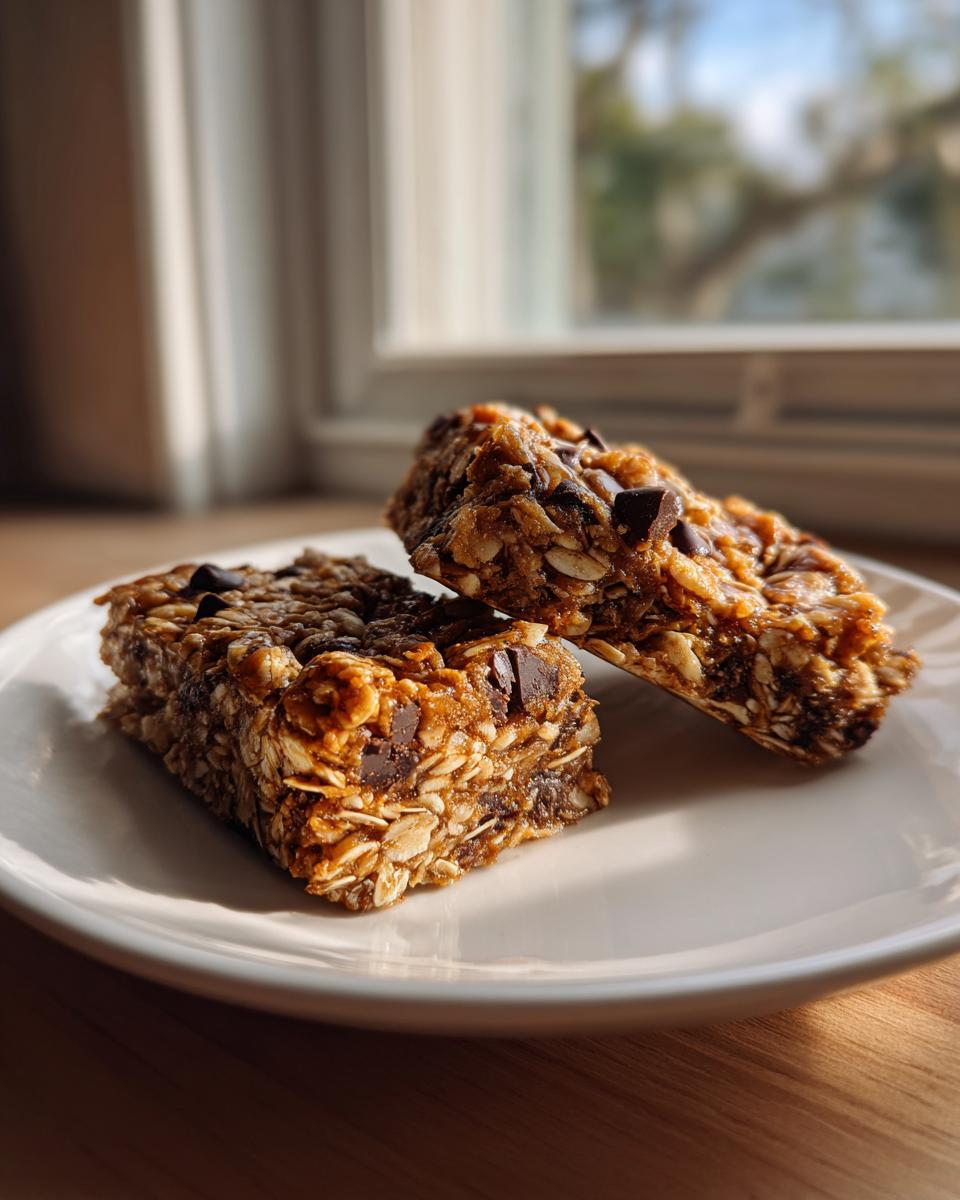
Share Your Best Homemade Protein Bars Success
Alright, team, the project is done! You’ve mixed, you’ve pressed, you’ve chilled, and now you have a stack of the best homemade protein bars money didn’t cost you a fortune for. Now the best part of any recipe development is hearing about your results. I’m not just curious; building this community of efficient cooks is central to what we do here at Dishicious. I want to know how this optimized recipe fit into your busy schedule!
Please take a moment after you’ve thoroughly tested these grab and go breakfast bars to leave a rating. Five stars lets other busy people know they can trust this process without overthinking it. If you made any tweaks to the formula—maybe you went heavy on the almond butter or used a totally different seed base—I want to know the details!
Drop a comment below detailing your successful spin on this quintessential protein bar. Did you keep it classic peanut butter, or did you go wild and turn it into something totally new? Sharing flavor variations helps us all build a better, smarter cooking playbook. Seriously, knowing how this system works for everyone else is what makes my own culinary project management feel complete. For background on how Leo Grant designs these systems, feel free to peek at the About page anytime!
PrintUltimate Easy No-Bake Vegan Protein Bars (Meal-Prep Friendly)
Make high protein, chewy snack bars without turning on the oven. These easy vegan protein bars are perfect for meal prep and quick grab-and-go fuel.
- Prep Time: 10 min
- Cook Time: 0 min
- Total Time: 40 min
- Yield: 12 servings 1x
- Category: Snack
- Method: No Bake
- Cuisine: American
- Diet: Vegan
Ingredients
- 1 cup rolled oats
- 1/2 cup vegan protein powder (vanilla or unflavored)
- 1/4 cup ground flaxseed or chia seeds
- 1/2 cup natural peanut butter or almond butter
- 1/4 cup maple syrup or agave nectar
- 1 teaspoon vanilla extract
- 2–4 tablespoons non-dairy milk (as needed for consistency)
- 1/4 cup vegan chocolate chips (optional)
Instructions
- Line an 8×8 inch baking pan with parchment paper, leaving an overhang for easy removal.
- In a large bowl, combine the rolled oats, vegan protein powder, and ground flaxseed. Mix these dry ingredients well.
- Add the peanut butter, maple syrup, and vanilla extract to the dry mixture.
- Mix everything together using a sturdy spoon or your hands until a thick, uniform dough forms. If the mixture is too dry to hold together, add non-dairy milk one tablespoon at a time until it binds.
- Fold in the chocolate chips, if using.
- Press the dough evenly and firmly into the prepared pan. Use the back of a measuring cup to pack it down tightly for chewy protein bars.
- Place the pan in the freezer for at least 30 minutes to set completely.
- Lift the block out using the parchment paper overhang and cut it into 10 to 12 bars.
- Store your homemade protein bars in an airtight container in the refrigerator for up to one week, or freeze for longer storage.
Notes
- For a gluten free protein bars option, ensure your rolled oats are certified gluten free.
- You can substitute peanut butter with sunflower seed butter for a nut-free version.
- Adjust the sweetener level based on the sweetness of your protein powder.
- These are excellent low sugar energy bars if you use a low-carb sweetener instead of maple syrup.
Nutrition
- Serving Size: 1 bar
- Calories: 180
- Sugar: 6
- Sodium: 95
- Fat: 9
- Saturated Fat: 2
- Unsaturated Fat: 7
- Trans Fat: 0
- Carbohydrates: 18
- Fiber: 3
- Protein: 12
- Cholesterol: 0