
Okay, let’s be honest. We all crave that creamy, indulgent dessert hit, but nobody wants the sugar crash or the food coma that follows. I’m Leo, and when I started Dishicious, it was because I needed efficient solutions for eating well—I approach cooking like a project manager, streamlining every step. That’s why I’m obsessed with this latest trend that actually delivers on its promises: **cottage cheese ice cream**. Forget those icy, grainy attempts at healthy frozen desserts you’ve tried before. This isn’t just some diet hack; this base uses simple blending to create a truly dreamy soft-serve texture that shocks people when they hear the main ingredient. We’re getting serious protein without breaking a sweat, and trust me, this recipe works every single time.
- Why This Viral Cottage Cheese Ice Cream Base Works (The Project Manager Approach)
- Essential Ingredients for Your High Protein Cottage Cheese Ice Cream Base
- How to Prepare the Easiest Blender Cottage Cheese Ice Cream
- Flavor Variations for Your Cottage Cheese Ice Cream Base
- Tips for Success When Making No Churn Cottage Cheese Ice Cream
- Storage and Reheating Instructions for Cottage Cheese Ice Cream
- Frequently Asked Questions About Cottage Cheese Ice Cream
- Estimated Nutritional Profile for Cottage Cheese Ice Cream
- Share Your Creamy Cottage Cheese Dessert Creations
Why This Viral Cottage Cheese Ice Cream Base Works (The Project Manager Approach)
When I looked at traditional ice cream recipes, I saw too many steps. Churning, tempering, churning again—it’s a weekend project, not something you whip up on a Tuesday evening. That’s why this **High Protein Ice Cream** base is so revolutionary. We skip the messy custard base and the expensive machine entirely. My approach here is pure efficiency: we’re taking one main ingredient and processing it until it changes state. This solves the classic problem of healthy desserts tasting… well, healthy. If you’ve seen my work on speedy fixes like the cottage cheese microwave brownie, you know I love efficiency.
This specific blend is what made it the **Viral Dessert Trend** it is because it delivers on two fronts: incredible texture and major nutritional gains. You’re getting a massive protein boost, which keeps you satisfied longer, making this the perfect **Protein Packed Sweet Treat**. This reliability is why it shows up again and again in my recipe rotation. If it’s not simple and effective, I don’t bother keeping it in the playbook.
Achieving Dreamy Soft-Serve Texture with Cottage Cheese Ice Cream
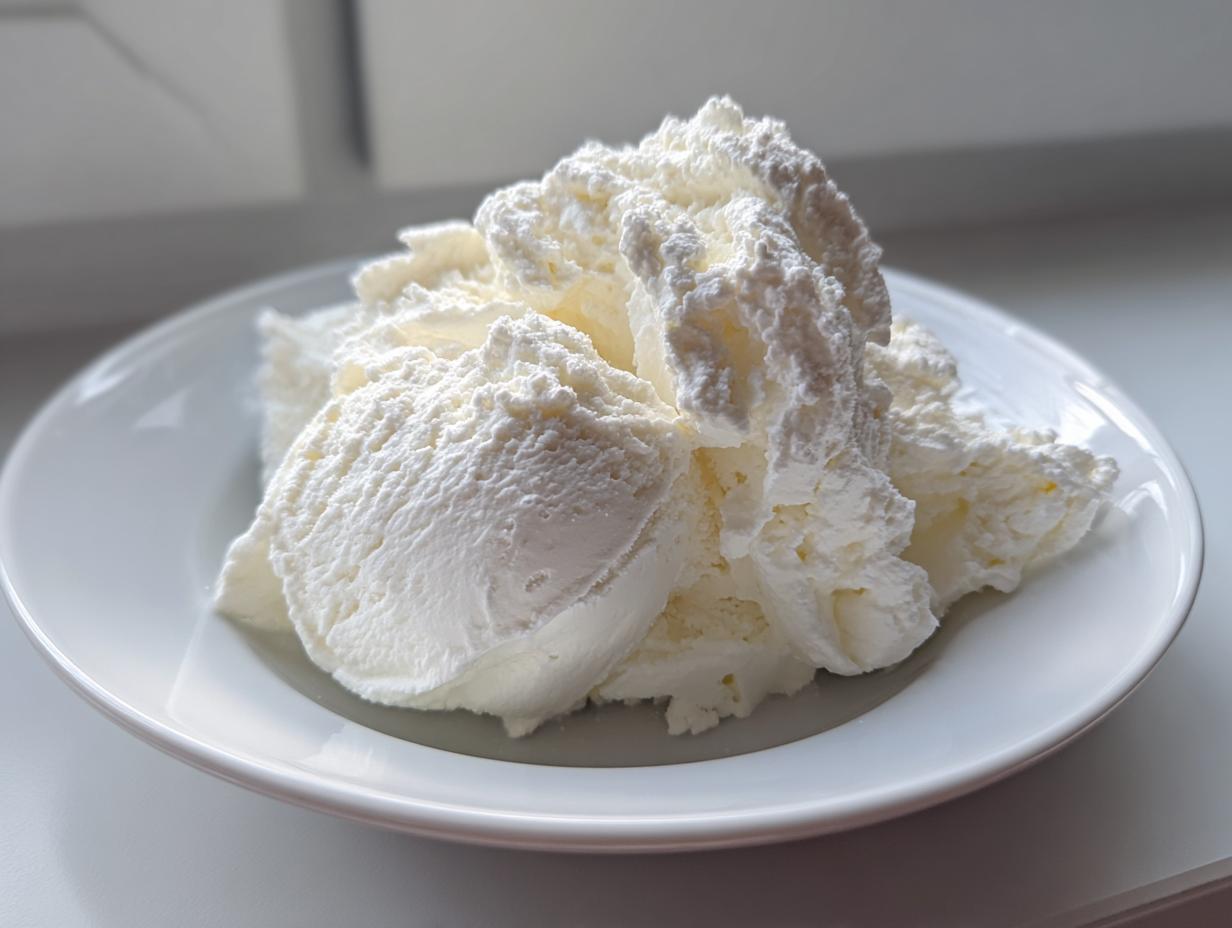
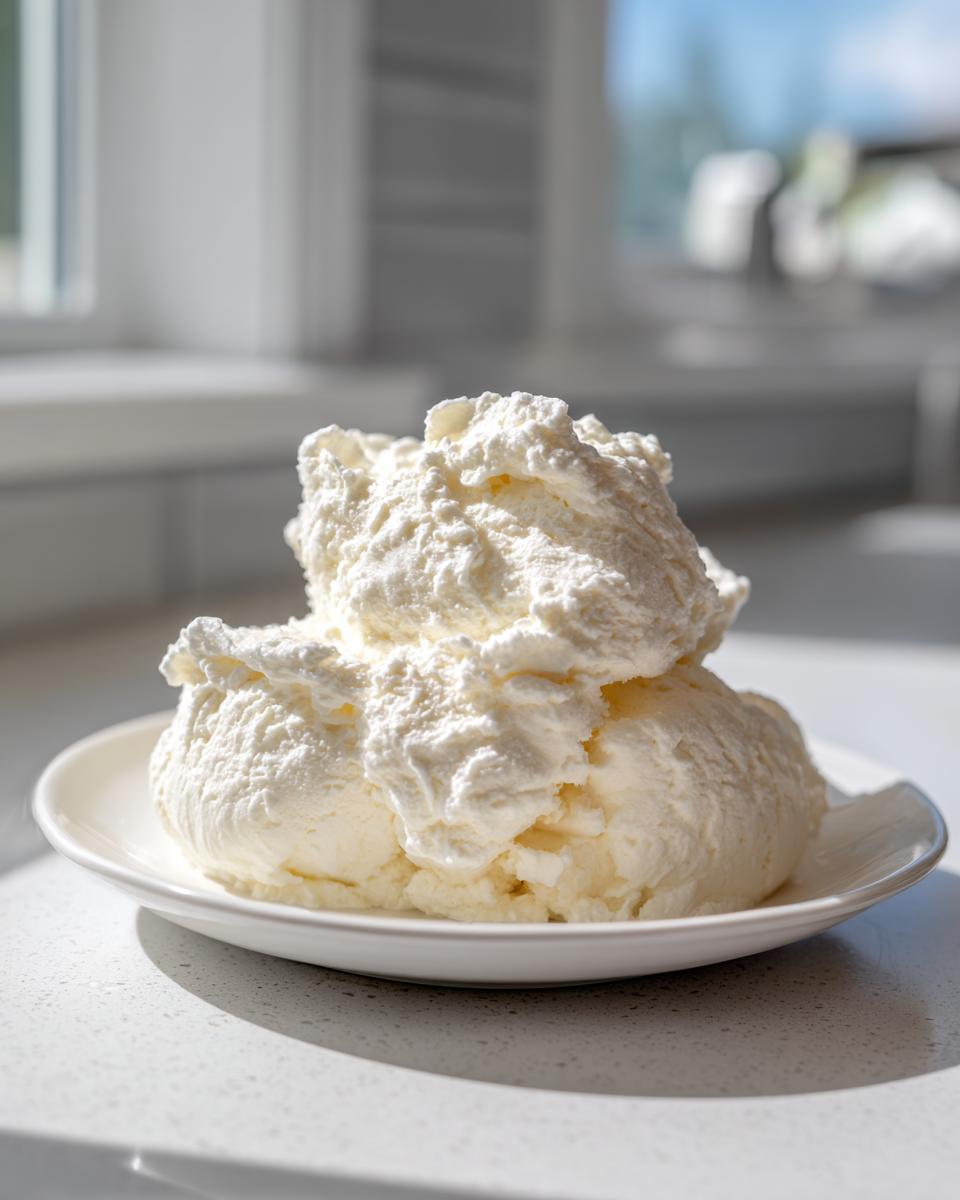
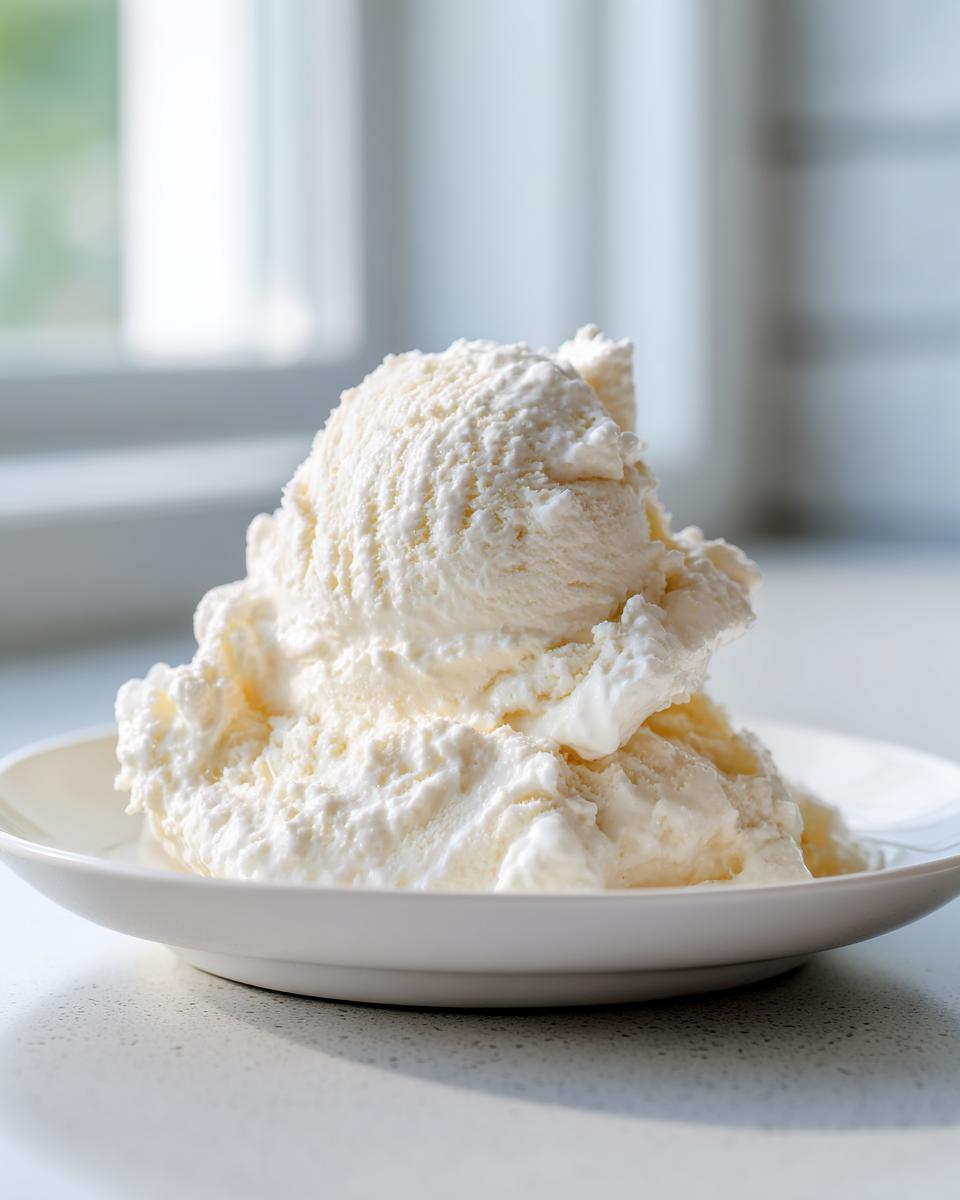
The main hurdle people hit with this recipe is texture. Nobody wants chunky curds in their frozen dessert! The secret to getting that luxurious, **Creamy Cottage Cheese Dessert** feel is ruthless blending. You need a high-speed blender or a powerful food processor. You are essentially liquefying the curds until the mixture is smooth, thick, and homogenous—almost like a luxurious Greek yogurt. Once you nail that blend, freezing it results in true **cottage cheese ice cream** that mimics soft-serve beautifully. Don’t rush this step!
Essential Ingredients for Your High Protein Cottage Cheese Ice Cream Base
When I map out a recipe, I strip it down to the absolute necessities. For this base, we need just four components to get that incredible protein count and the right foundation. We aren’t trying to hide anything here; we are using quality basics to achieve maximum results. You’ll need 16 ounces of full-fat cottage cheese, drained well—and I mean well, no shortcuts here if you want perfect texture. Then, we balance the flavor with sweetness. I call for 1/4 cup of granulated sweetener, but this is where you check your dietary blueprint. We toss in 1 teaspoon of vanilla extract and just a tiny pinch of salt to make all those sweet and savory notes pop.
Ingredient Notes and Substitution Strategy
I can’t stress draining the cottage cheese enough. Moisture is the enemy of creamy frozen desserts, so press out every extra drop you can—either in a fine-mesh sieve or even just on a few layers of paper towels. That thorough drainage is what turns this into a brilliant **Low Sugar Ice Cream Alternative** that isn’t watery later. Now, for the sweetener: if you’re keeping things traditional, use regular sugar. But if you’re aiming for Keto-friendly, switch immediately to erythritol or monk fruit blends. While some people try adding protein powder here, I stick to the pure base first; powder can sometimes make it chalky if you overdo it. Keep it simple, keep it smooth!
How to Prepare the Easiest Blender Cottage Cheese Ice Cream
This is where the project management shines, transforming simple ingredients into a gourmet frozen treat with next to no effort. We are aiming for peak smoothness here because, frankly, chunky cottage cheese ice cream just won’t cut it. The process is fast, but you need to trust the blending time. This is the core of how we make **cottage cheese ice cream** that actually tastes incredible, not like a compromise.
Step-by-Step Instructions for Perfect Cottage Cheese Ice Cream
First things first: drainage. You must drain that cottage cheese thoroughly as we discussed. Once it’s as dry as you can get it, everything goes straight into your high-speed blender. Add the sweetener, vanilla, and salt right on top. Now, blend! You need to run this mixture until it is completely smooth. I’m talking no speck of curd remains. This process always takes me about 60 to 90 seconds, depending on my machine. Stop, scrape the sides down, and blend again until it looks exactly like thick, pourable soft serve. This blending is the secret sauce for an **Easy Blender Ice Cream** that sets up right.
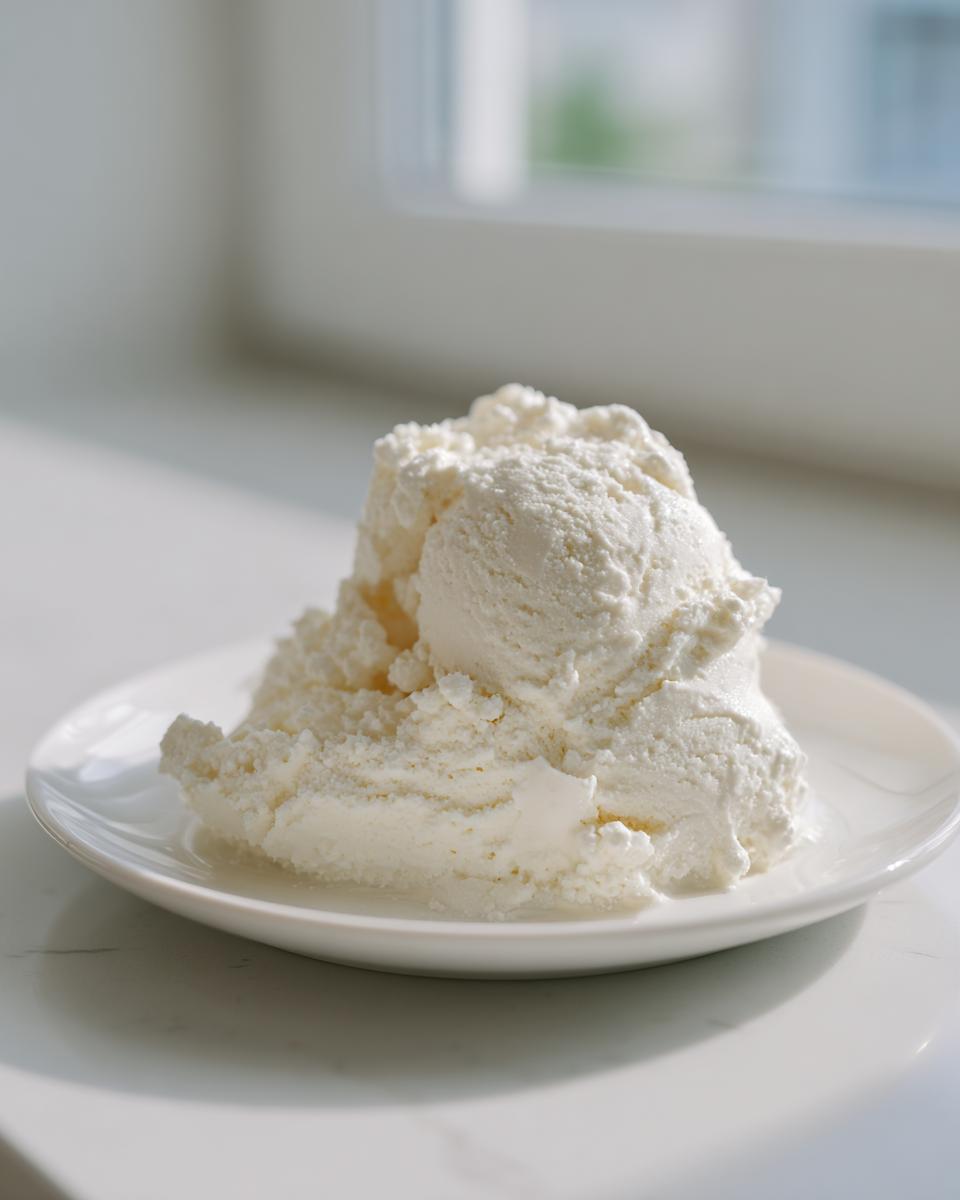
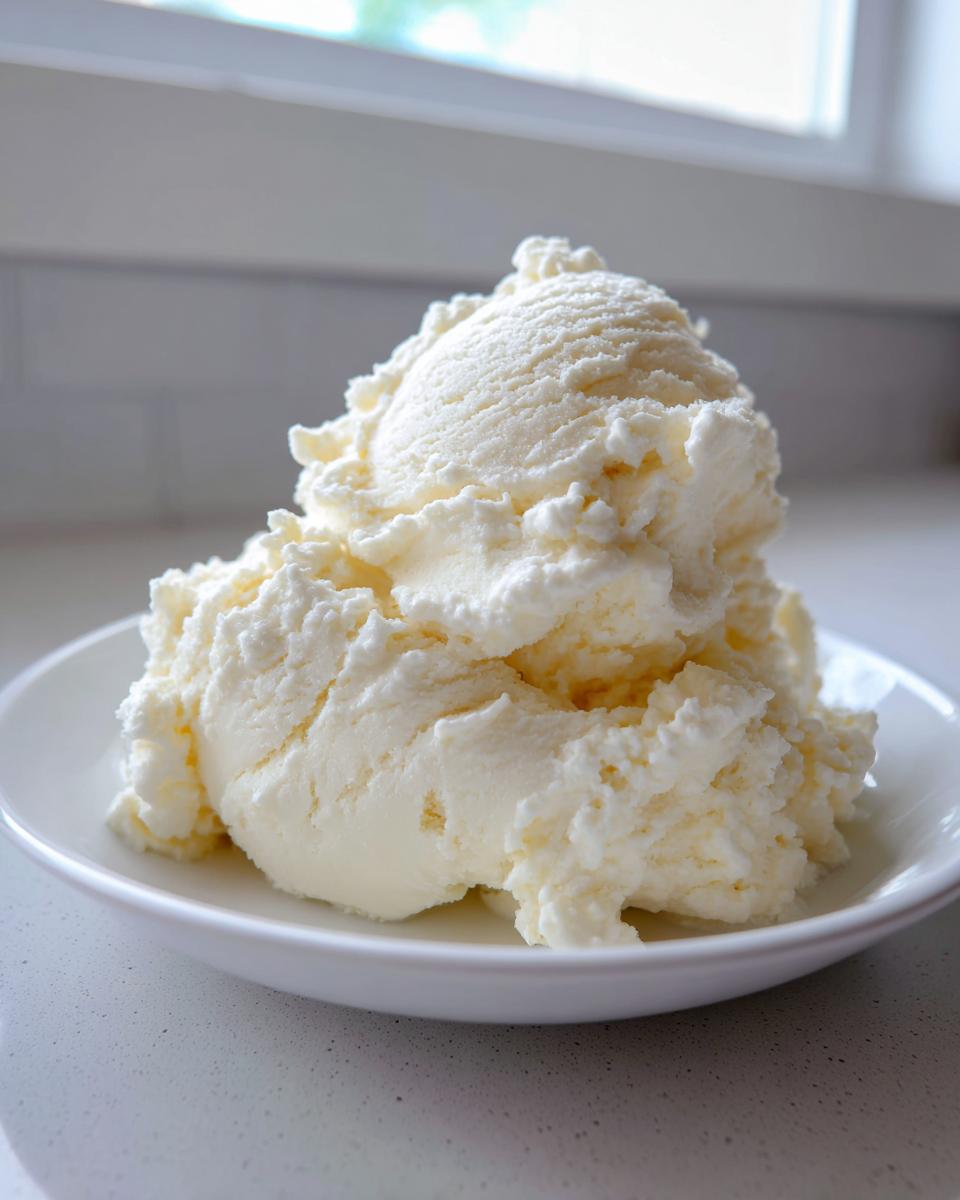
Freezing and Achieving the Best Cottage Cheese Ice Cream Texture
Once it’s perfectly smooth, transfer your mixture into a freezer-safe container. A standard loaf pan works perfectly for a nice, dense block, but make sure it’s covered tightly—plastic wrap pressed right onto the surface stops ice crystals from forming. Honestly, the mandatory next step is the patience phase: you need at least four hours, but overnight is better, for this **cottage cheese ice cream** to firm up properly. If you happen to have a bread bowl recipe you need to make later, you’ll want to wrap that dough tight too, freezing is serious business! If you are using the famous Ninja CREAMi, you’ll process it following their guidelines once frozen solid—that machine really dials in the final texture for you.
Flavor Variations for Your Cottage Cheese Ice Cream Base
The beauty of this simple recipe is that the vanilla base works as a launching pad for anything your heart desires. This is where you turn a great **Protein Packed Sweet Treat** into your personal favorite flavor profile. I’ve streamlined the process so you aren’t making an entirely new recipe just for a different taste; you just add one or two things when you are blending the base. It’s the ultimate efficiency hack for dessert variety!
Making Chocolate Protein Ice Cream
If you’re craving something rich, this is the way to go. Right when you toss everything into the blender in Step 2, just add 2 tablespoons of unsweetened cocoa powder. That’s it! The blender does the mixing for you, incorporating the cocoa evenly into the base. It deepens the color beautifully, and honestly, it tastes like a sophisticated chocolate swirl before you even freeze it. If you love chocolate desserts, check out my recipe for chocolate cinnamon rolls—same principle, different outcome!
Creating Strawberry Cottage Cheese Ice Cream
For a bright, refreshing twist—especially when berries are in season—go with strawberry! Add about 1/2 cup of frozen strawberries directly into the blender with your cottage cheese base. Using frozen fruit is clutch here because it acts like an extra bit of chill, helping the mixture thicken up faster before it heads to the freezer. It also adds a wonderful natural sweetness, which means you might even dial back the added sweetener a tiny bit if your strawberries are very ripe. This version ends up tasting wonderfully similar to a light, fruity cheesecake, perfect for summer, much like my moist strawberry cake!
I also like whipping up a batch flavored like peanut butter by blending in two tablespoons of smooth peanut butter—it makes a fantastic **Peanut Butter Frozen Yogurt Substitute**!
Tips for Success When Making No Churn Cottage Cheese Ice Cream
Even though this is a super straightforward **No Churn Ice Cream**, a few procedural checks will guarantee you get that creamy result every time instead of an ice block. Remember, I test these recipes until they are foolproof, so pay attention to these little troubleshooting points. They separate a good **Healthy Frozen Dessert** from a great one.
- Don’t Skimp on Sweetener or Salt: The sweetener doesn’t just add taste; it lowers the freezing point, which is crucial for scoopability. If you cut it drastically, your ice cream will freeze rock solid. That tiny pinch of salt? It’s vital for balancing the savory dairy notes.
- The Blender is Your Churn: If your mixture still seems remotely curdled after 90 seconds of blending, keep going! You must be thorough. If you’re using a high-powered blender, use the tamper attachment to keep the mix moving. A grainy texture means you stopped blending too soon.
- Plan for Thawing Time: This style of **cottage cheese ice cream** freezes harder than store-bought versions because we aren’t loading it with gums or stabilizers. Always pull your container out 10 to 15 minutes before you plan to scoop. Think of it as a necessary ‘softening’ step. If you’re making my famous soft and chewy oatmeal cookies, you know chilling time is just as important as bake time!
- Full-Fat is Your Friend: Seriously, stick to full-fat cottage cheese for the base. Reduced fat versions have more water content, and you are going to end up with a less creamy final product, which defeats the whole purpose of this recipe.
Storage and Reheating Instructions for Cottage Cheese Ice Cream
Since this is a homemade, high-protein dessert without all the commercial stabilizers, storage is actually pretty straightforward, but you need to work *with* the freezing process, not against it. The goal here is to keep that smooth, blended quality we worked so hard to achieve when making our **cottage cheese ice cream** base. You want to avoid freezer burn, which means blocking out air exposure is the first mission.
When you store leftovers, use an airtight container, obviously. But here’s my project-management trick: once the mixture is completely frozen, take a piece of plastic wrap or parchment paper and press it directly onto the surface of the ice cream before putting the lid on. This minimizes the air gap right on top, which is where ice crystals love to form and make things hard and grainy later. It’s the same principle I use when I’m chilling my no-bake avalanche cookies—protect that soft interior!
Now, for the ‘reheating’ part. You never actually reheat ice cream, right? What we mean is bringing it back to a scoopable state. Because this **cottage cheese ice cream** lacks the gums found in store-bought tubs, it freezes up firmer. Don’t try to microwave a scoop; you’ll just end up with cottage cheese soup! Instead, remove the container from the deep freeze and let it sit on your countertop for about 10 to 15 minutes. This slight softening period dissolves just enough surface ice to bring it back to that perfect, creamy, scoopable texture we love. It’s the best way to enjoy your **Healthy Frozen Dessert** batch after batch!
Frequently Asked Questions About Cottage Cheese Ice Cream
I know when you jump into a new recipe, especially one that seems too good to be true, you probably have a few questions bouncing around. That’s totally normal! When I first started optimizing my kitchen, I had pages of notes dedicated just to troubleshooting. Here are the most common things people ask me about making this **High Protein Ice Cream** base successfully.
Can I use low-fat cottage cheese for this cottage cheese ice cream?
This is a huge question, and I’ll be upfront: I stand by the full-fat version for the absolute best, creamiest results possible. Fat carries flavor and helps prevent that rock-hard freeze, which is why it’s in the main recipe. However, if your heart is set on lower fat, you *can* make it work, provided you are extremely diligent about draining out every last bit of excess moisture. Seriously, press it hard! If you need a great fruit flavor to mask any slight texture change, you should check out the strawberry version from Molly’s site; the fruit helps smooth things out nicely.
Is this a Keto Friendly Frozen Dessert?
Absolutely, this recipe is perfectly adaptable to be a **Keto Friendly Frozen Dessert**! The magic is in the sweetener choice you make in Step 2. If you swap out standard granulated sugar for a zero-calorie, zero-net-carb alternative like erythritol, monk fruit blend, or allulose, you bring the sugar content way down. We keep the protein high, the carbs low, and the texture creamy. It’s a perfect structure for low-carb eating, just like my keto pizza crust recipe—you just swap out the main base ingredient logic!
The next thing people ask is always about blending time, but trust me, if you blend it until it’s perfectly smooth, you’ve nailed the hardest part. Happy freezing!
Estimated Nutritional Profile for Cottage Cheese Ice Cream
Now, since I pride myself on delivering reliable results here at Dishicious, I always want to give you a heads-up on what you’re looking at nutritionally. When I test these recipes, I track the numbers rigorously, just like I would track project milestones. The figures below represent the **base recipe**—the simple blend of cottage cheese, sweetener, vanilla, and salt. This is crucial because once you start adding peanut butter, chocolate chips, or sweeter fruits, those numbers are going to shift!
We are looking at a powerhouse here, delivering serious satisfaction. This highly efficient base provides a fantastic amount of protein relative to the sugar content, which is why it’s become such a staple for those watching their macros or just trying to stay full after a sweet treat. Always remember, these numbers are a guidepost, not the final definitive lab result, especially if you swap out the sweetener type!
- Serving Size: 1/2 cup
- Calories: 150
- Protein: 18g (Seriously, 18 grams!)
- Fat: 7g
- Carbohydrates: 8g
- Sugar: 4g
Look at that protein count! It’s tough to beat for a scoop of frozen dessert. The fat content comes mostly from using the full-fat cottage cheese, which, as we talked about, is key for that fantastic texture. If you use low-fat, you’ll see the fat drop, but you might also notice the ice cream freezes slightly harder. Keep that in mind as you customize your perfect batch of **cottage cheese ice cream**!
Share Your Creamy Cottage Cheese Dessert Creations
Alright, project complete! You’ve successfully blended your way to a protein-packed, utterly delicious **cottage cheese ice cream**. But the project isn’t truly finished until you tell me how it went! Here at Dishicious, transparency and feedback are how we optimize future recipes, so I really want to hear from you.
Did you stick to the basic vanilla? Maybe you went full-on gourmet with a peanut butter swirl? Don’t keep those delicious results secret—the community benefits when we share what works!
I highly encourage you to leave a rating and some comments below. Tell me what sweetener you used, how long you froze it for, or if you found a mix-in that blew your mind. If you experimented with one of the flavor variations, let me know which one you loved! Finding the **best healthy ice cream recipes** is an ongoing effort, and your experience helps everyone who comes after you execute this perfectly. You can also check out my full guide on best healthy ice cream recipes for more inspiration.
And please, snap a picture! Tag us on social media when you enjoy your guilt-free treat. Seeing your perfectly scoopable **Creamy Cottage Cheese Dessert** makes my day. It proves that great food doesn’t have to be complicated or time-consuming. Happy scooping!
PrintViral High-Protein Cottage Cheese Ice Cream Base

Create a creamy, high-protein frozen dessert using cottage cheese. This simple blender recipe forms a versatile base perfect for achieving a dreamy soft-serve texture without an ice cream maker.
- Prep Time: 5 min
- Cook Time: 0 min
- Total Time: 4 hours 5 min
- Yield: 4 servings 1x
- Category: Dessert
- Method: Blending/Freezing
- Cuisine: American
- Diet: Vegetarian
Ingredients
- 16 ounces full-fat cottage cheese, drained well
- 1/4 cup granulated sweetener (or to taste; use erythritol or monk fruit for Keto friendly)
- 1 teaspoon vanilla extract
- Pinch of salt
Instructions
- Drain the cottage cheese thoroughly. Press out excess moisture using a fine-mesh sieve or paper towels. This step is key for creaminess.
- Place the drained cottage cheese, sweetener, vanilla extract, and salt into a high-speed blender or food processor.
- Blend on high speed until the mixture is completely smooth and resembles a thick, creamy yogurt or soft-serve base. Stop and scrape down the sides as needed.
- Transfer the smooth mixture to a freezer-safe container, like a loaf pan or an airtight container.
- Cover the container and freeze for at least 4 to 6 hours, or until firm.
- For the best texture, let the ice cream sit on the counter for 10 to 15 minutes before scooping. If using a Ninja CREAMi, process according to your machine’s instructions for best results.
Notes
- For Chocolate Cottage Cheese Ice Cream: Add 2 tablespoons of unsweetened cocoa powder to the blender in Step 2.
- For Strawberry Cottage Cheese Ice Cream: Blend in 1/2 cup of frozen strawberries with the base ingredients.
- For Peanut Butter Frozen Yogurt Substitute: Add 2 tablespoons of smooth peanut butter to the blender base.
- If the mixture freezes too hard, let it soften slightly before serving for a smoother consistency.
Nutrition
- Serving Size: 1/2 cup
- Calories: 150
- Sugar: 4
- Sodium: 350
- Fat: 7
- Saturated Fat: 4
- Unsaturated Fat: 3
- Trans Fat: 0
- Carbohydrates: 8
- Fiber: 0
- Protein: 18
- Cholesterol: 40