
When the summer heat locks in and you need a sweet fix right now, you don’t have time for churning or complicated cooking. That’s where I come in. As Leo Grant, I built Dishicious on the idea of optimizing the kitchen—cutting away the fussy steps to deliver pure flavor, fast. This recipe is the perfect example. We are making the ultimate, fast, 3-ingredient **banana ice cream**, which is naturally vegan and totally dairy-free! If you want that incredibly creamy satisfaction of frozen dessert without the complicated process, this easy banana nice cream (or what I call ‘frozen fruit dessert’) is engineered to work perfectly every single time, often faster than your freezer can refreeze leftovers.
- Why This 3-Ingredient Banana Ice Cream is Your New Favorite Guilt-Free Sweet Treat
- Gathering Ingredients for the Ultimate Creamy Banana Ice Cream
- Step-by-Step Instructions: Making Fast Banana Ice Cream
- Expert Tips for the Best Homemade Banana Ice Cream Texture
- Flavor Variations for Your Banana Ice Cream
- Adapting the Banana Ice Cream Recipe for Specific Equipment
- Storage and Reheating Instructions for Banana Ice Cream
- Frequently Asked Questions About Making Banana Ice Cream
- Next Steps for Your Simple Fruit Dessert Ideas
Why This 3-Ingredient Banana Ice Cream is Your New Favorite Guilt-Free Sweet Treat
Let’s be honest, when you’re looking for an ice cream fix, you want it now—not in an hour! This simple **banana ice cream** recipe is all about efficiency. I designed it specifically for busy people who still want amazing flavor without the guilt trip later on. It’s truly my go-to **minimal ingredient dessert**.
Here’s what makes this recipe so reliable:
- Speed is King: You can go from frozen fruit to a soft-serve texture in under five minutes. It’s the fastest summer frozen treats fast option available!
- Incredibly Simple: With only three core components, there’s virtually no measuring or complex prep time involved.
- Health Boost: Because it’s based entirely on fruit, it’s naturally vegan, dairy-free, and has zero added sugar—making it the perfect healthy frozen banana dessert.
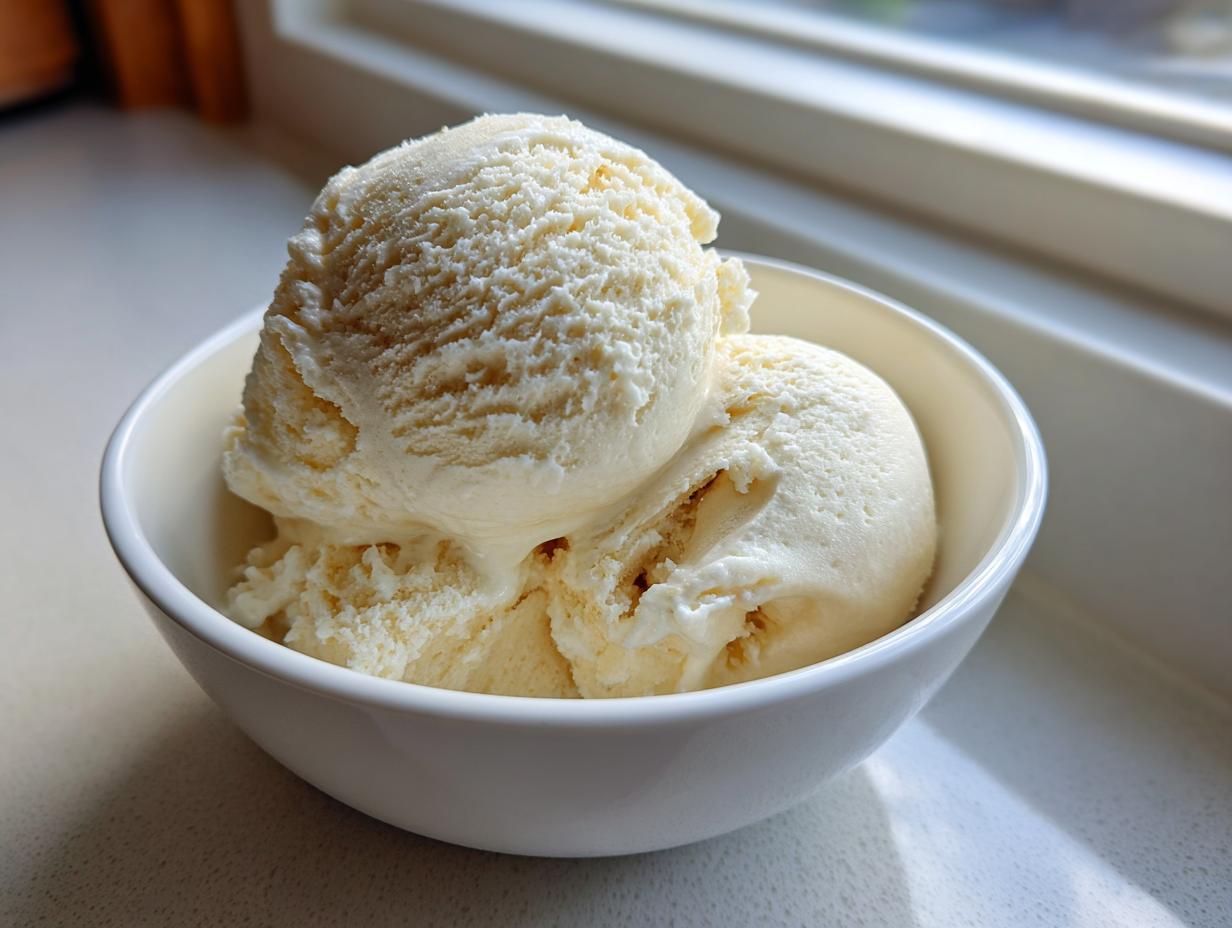
- That Texture: Trust me, when blended correctly, you get a dense, undeniably creamy vegan ice cream consistency that tastes totally indulgent.
Gathering Ingredients for the Ultimate Creamy Banana Ice Cream
Since this is a minimalist recipe, the quality of your starting ingredients is everything. If you skip this prep step, your result won’t be the creamy texture we’re aiming for. The most crucial element? Your bananas have to be perfectly ripe—spotted brown is good! That natural sugar is what makes this a healthy frozen banana dessert without needing added sweeteners.
I developed this recipe to be incredibly efficient, and that means only needing three things. Don’t be tempted to add more liquid just yet; that’s how you turn this into a smoothie bowl instead of banana ice cream.
Essential Components for Perfect Banana Ice Cream
- 4 large ripe bananas, peeled, sliced, and frozen solid
- 2 tablespoons unsweetened almond milk (or other plant milk)
- 1 teaspoon pure vanilla extract
Step-by-Step Instructions: Making Fast Banana Ice Cream
This is where the magic happens, and frankly, where the efficiency of the Dishicious method really shines. You’re essentially turning frozen fruit into a perfect dessert in under five minutes. Remember, we are treating this like a project: break it down, manage the variables, and bam—perfect banana ice cream.
Processing the Frozen Bananas
First things first: you need a reliable machine here. A high-powered food processor or a strong blender works best to break down those rock-solid slices. Dump all your frozen banana pieces in. You won’t blend it smoothly right away, though! You need to pulse, pulse, pulse until those chunks turn into a coarse, dry crumble. Stop often—seriously, every 15 seconds—to scrape down the sides. If you skip the scraping, the motor overheats and the mixture won’t integrate properly.

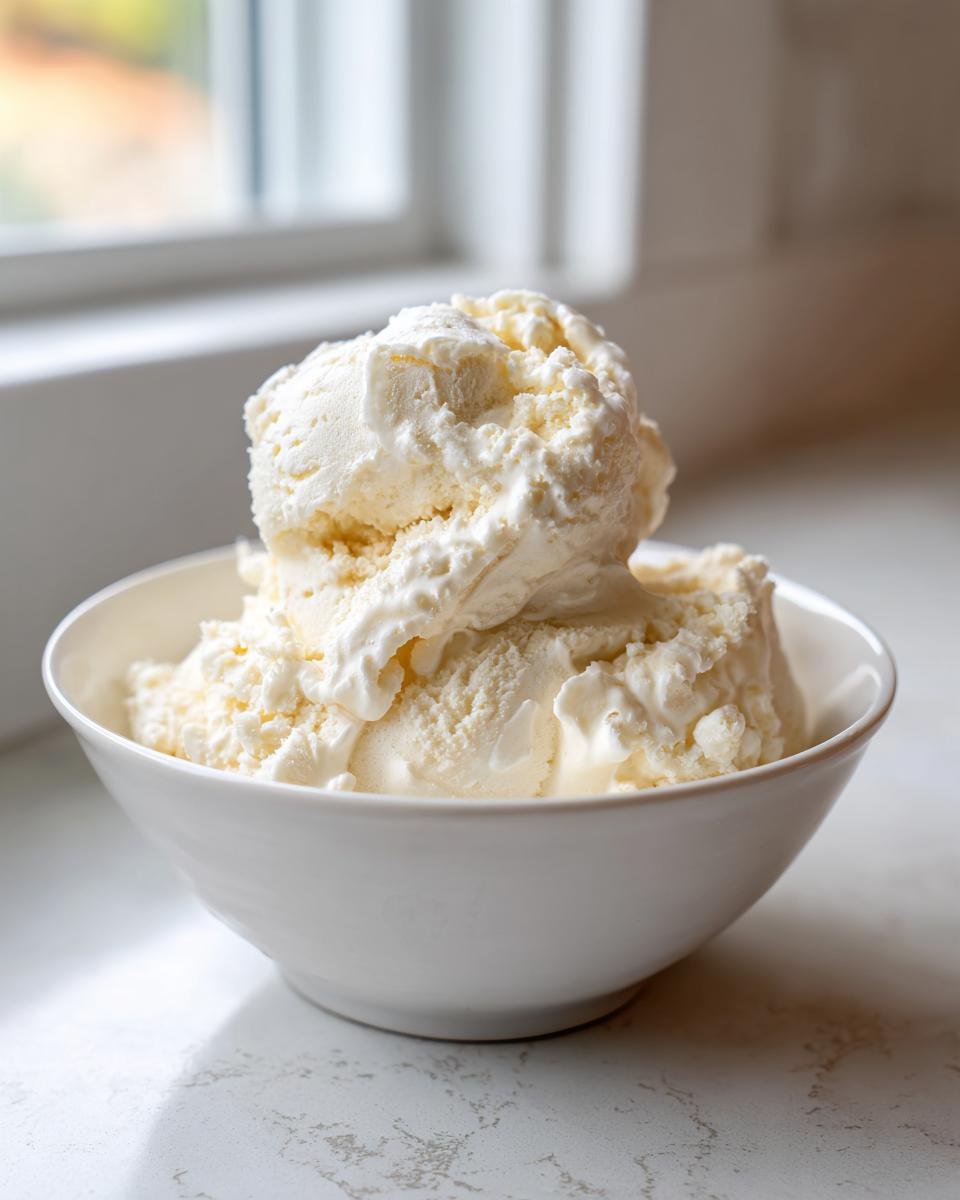
Achieving Smooth, Creamy Vegan Ice Cream Texture
Once you have uniform crumbles, it’s time to add the magic touch: the almond milk and vanilla extract. Now, blend continuously, still stopping to scrape the sides as needed. You’ll see the mixture quickly transform. It goes from that dry crumble, through a slightly sticky stage, right into that blissful, thick, soft-serve consistency. That’s the moment you’re looking for in this blended frozen banana recipe. If you want it firmer, scoop this beautiful no churn banana dessert into a freezer-safe container and pop it in for about 30 to 60 minutes. Serve immediately for a softer treat!
Expert Tips for the Best Homemade Banana Ice Cream Texture
Look, achieving that truly luxurious texture in a homemade banana ice cream is the make-or-break moment. It’s the difference between a dessert you rave about and something that ends up tasting like a slightly sweet slushy. When I project-manage my recipes, I always focus on the weak points, and here, it’s all about that liquid ratio.
My biggest tip for getting that perfect creamy vegan ice cream: add your plant milk drop by drop! If you dump in the recommended two tablespoons all at once, you’ve just made a thick smoothie bowl ice cream texture, and that’s not what we want. You only need just enough liquid to get the blades moving smoothly again.
Also, remember what I said about ripeness? If your bananas aren’t speckled or even slightly brown, they aren’t sweet enough, and they won’t blend into that signature smooth product. It’s an optimization issue—less sugar means the mixture freezes harder and leads to iciness. Stick to the ripe bananas, control your liquid, and you’ll nail this perfect homemade **banana ice cream** every time.
Flavor Variations for Your Banana Ice Cream
Once you master the base recipe—the pure, simple **banana ice cream**—it’s time to start experimenting! This is where you can really put your own stamp on the dish. The beauty of this blended fruit dessert is how effortlessly it takes on other flavors without making things complicated. I tried adding cinnamon this week, and honestly, it smelled like autumn exploded in my kitchen.
Since we are focused on simplicity, I stick to adding dry ingredients or smooth nut butters during that final blending stage. You don’t want to mess with freezing times if you don’t have to!
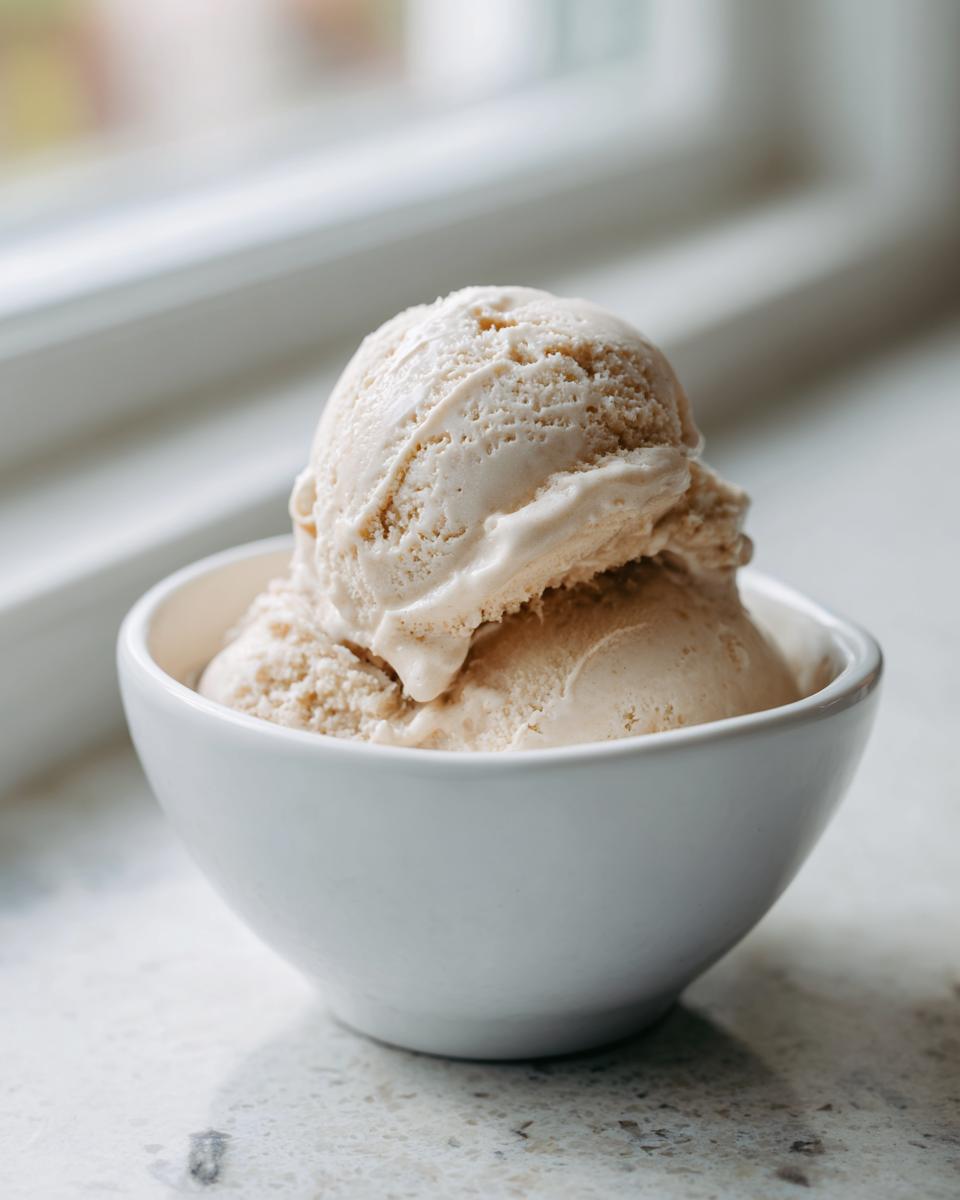
Peanut Butter Banana Nice Cream Addition
If you love that classic pairing, you absolutely have to try the peanut butter version. It adds a fantastic richness and depth that makes this feel incredibly decadent, even though it’s still a guilt free sweet treat. Simply toss two tablespoons of your favorite peanut butter in right when you add the almond milk. It blends beautifully and creates the ultimate creamy texture, almost like it’s cheating! If you want to see a delicious take on this, check out this great recipe for Peanut Butter Banana Ice Cream Delight.
For a chocolate kick, try adding one tablespoon of unsweetened cocoa powder during step two. It turns this into a fudgy, naturally sweetened dream.
Adapting the Banana Ice Cream Recipe for Specific Equipment
I know not everyone has a high-powered Vitamix just sitting around, and sometimes you need a different tool in the arsenal. If you happen to own a Ninja Creami, this **banana ice cream** base is tailor-made for it! This is a great way to get that ultra-dense product we all crave, and it’s a setup I often use when I batch-prep my frozen fruit ahead of time.
The key here is using even less liquid than the standard recipe calls for. You want the mixture to be processed into the finest possible crumb before it hits that machine. For that perfect banana soft serve recipe result, you’ll process the frozen bananas with just one tablespoon of milk until it’s finely broken down, almost like rough sand. Then, you pack that base tightly into the Creami pint and run it on the ‘Lite Ice Cream’ or ‘Base’ cycle. If it’s too powdery afterward, you can add a teaspoon more milk and re-spin! You can see a deep dive on this specific technique here.
Storage and Reheating Instructions for Banana Ice Cream
Even though this quick dessert is designed to be eaten the second it’s blended, stuff happens, right? If you actually manage to have leftovers of your amazing **banana ice cream**, you need to know how to store it properly to keep that creamy texture. My best advice is to use an airtight, freezer-safe container—and press a piece of plastic wrap right onto the surface before putting the lid on. This stops those annoying ice crystals from forming on top.
We definitely want to avoid long-term freezer storage without that extra seal; nobody wants hard, icy fruit mash next week! When you are ready to enjoy your stored portion, pull it out about 10 to 15 minutes before you plan to eat it. This lets it soften up just enough to scoop perfectly. It’s still the best way to enjoy these summer frozen treats fast, even if you had to wait a few minutes for it to thaw!
Frequently Asked Questions About Making Banana Ice Cream
I get so many questions about this recipe because it seems too easy to be true! Since I love optimizing things, I’ve gathered the most common roadblocks people hit when trying to turn frozen fruit into genuine banana ice cream. Generally, most issues come down to one of two things: banana ripeness or liquid management.
Can I use an ordinary blender instead of a food processor for this banana ice cream?
Yes, you absolutely can! I often use my standard blender when I’m making a small batch. The catch is that standard blenders have to work a lot harder. If your machine sounds like it’s struggling or just can’t get past the crumbly stage, don’t force it. Let your frozen banana slices sit on the counter for about 7 to 10 minutes longer than you normally would. We are aiming for a slightly softened edge. If you still need help to get things moving, add your liquid (milk/vanilla) in half-teaspoon increments until the blades catch. Resist adding too much liquid, or you’ll end up with a soupy mess, not soft-serve!
What is the secret to achieving that super creamy texture in this dairy free ice cream?
The secret is all pre-prep! First, those bananas must be ripe—the spottier, the better. That natural sugar content is critical because sugar lowers the freezing point, which prevents the dessert from turning into one giant, solid ice block. Second, and this is huge, use the absolute minimum amount of milk needed to get the blades spinning. Every extra drop of liquid you add turns into extra ice crystals when it freezes. If you control the ripeness and keep the liquid low, you guarantee a smooth, scoopable, dairy free ice cream that tastes fantastic.
Can I skip freezing the bananas?
Oh, Leo says no! If you skip the freezing step, you are making a smoothie, not ice cream. The whole point of this fast recipe is using the frozen fruit as our base ingredient that crumbles under the blades and then magically turns creamy as the friction slightly warms it. If the bananas aren’t frozen solid, the friction will just melt them into liquid immediately. You need that freezer time—at least 6 hours, but overnight is always best for a truly efficient process.
Next Steps for Your Simple Fruit Dessert Ideas
Alright, that’s the whole process done! You’ve just engineered a perfect, fast, dairy-free **banana ice cream**. Now it’s your turn to report back. Did you try the peanut butter upgrade? Let me know in the comments below what your favorite quick flavor variation was. I love seeing how you all optimize these simple recipes!
If this streamlined approach helped you manage dessert time this week, please rate this recipe five stars. I’m always developing new ways to make eating well work for busy schedules, so check out ideas like my easy creamy chicken tortilla soup next!
PrintUltimate 3-Ingredient Creamy Banana Nice Cream (Vegan & Dairy-Free)
Make fast, creamy banana ice cream using only three ingredients. This easy banana nice cream recipe requires no machine and delivers a guilt-free sweet treat that is naturally vegan and dairy-free.
- Prep Time: 5 min
- Cook Time: 0 min
- Total Time: 5 min
- Yield: 2 servings 1x
- Category: Dessert
- Method: Blending
- Cuisine: American
- Diet: Vegan
Ingredients
- 4 large ripe bananas, peeled, sliced, and frozen solid
- 2 tablespoons unsweetened almond milk (or other plant milk)
- 1 teaspoon pure vanilla extract
Instructions
- Place the frozen banana slices into a high-powered food processor or blender.
- Pulse the bananas until they break down into small crumbles. Stop and scrape down the sides as needed.
- Add the almond milk and vanilla extract. Continue blending, stopping frequently to scrape the sides, until the mixture transforms from crumbly to a smooth, soft-serve consistency. This process may take several minutes.
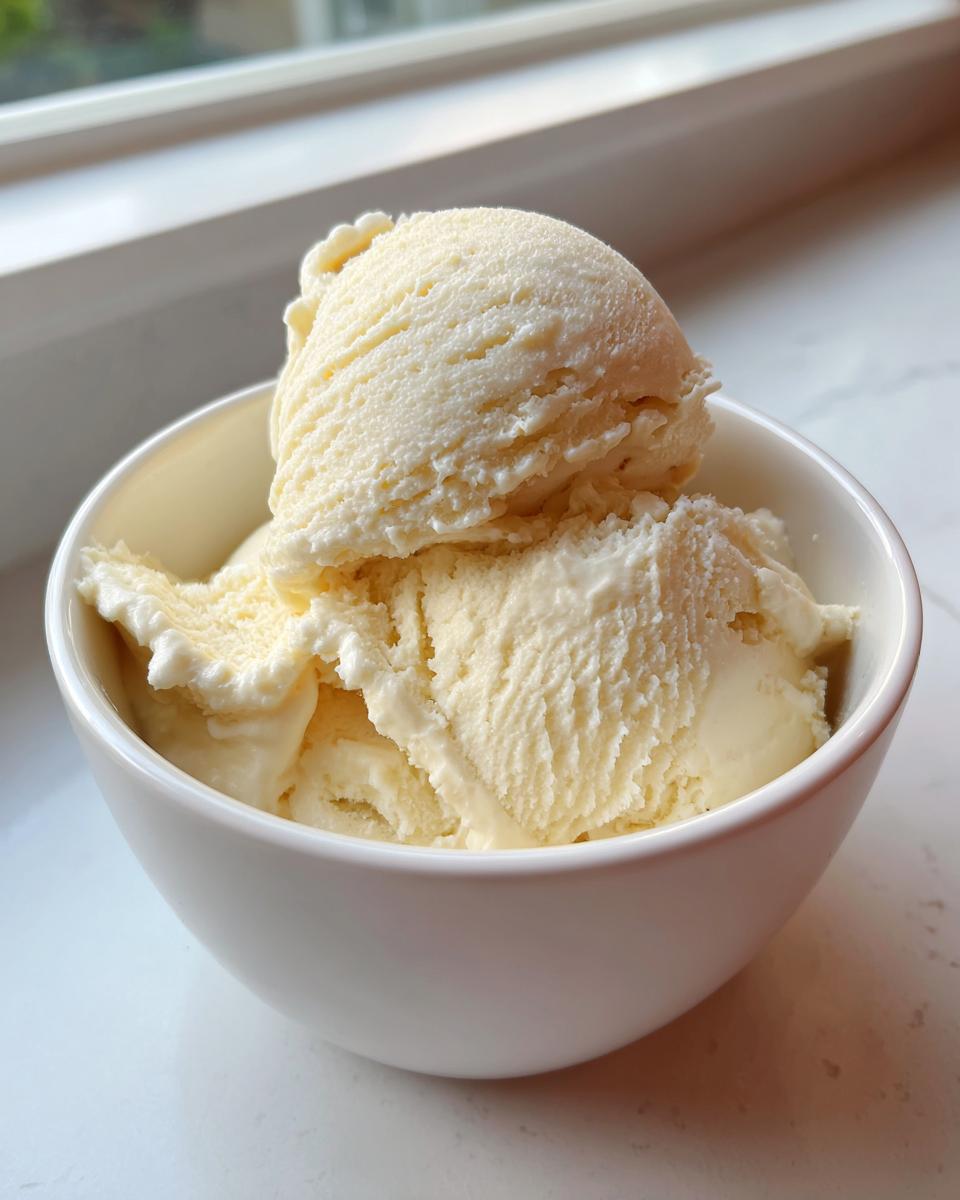
- If you prefer a firmer banana ice cream texture, transfer the mixture to a freezer-safe container and freeze for 30 to 60 minutes before serving.
- Serve immediately for a soft serve texture or after freezing for a scoopable banana ice cream.
Notes
- For a peanut butter banana nice cream, add 2 tablespoons of peanut butter with the almond milk.
- If your blender struggles, let the frozen bananas sit on the counter for 5 minutes before starting. Add liquid sparingly; too much liquid results in a smoothie, not banana ice cream.
- For a Ninja Creami version, blend the frozen bananas with just 1 tablespoon of milk until finely processed, then spin in the Creami base cycle.
Nutrition
- Serving Size: 1 serving
- Calories: 180
- Sugar: 18
- Sodium: 5
- Fat: 1
- Saturated Fat: 0
- Unsaturated Fat: 1
- Trans Fat: 0
- Carbohydrates: 45
- Fiber: 5
- Protein: 2
- Cholesterol: 0