

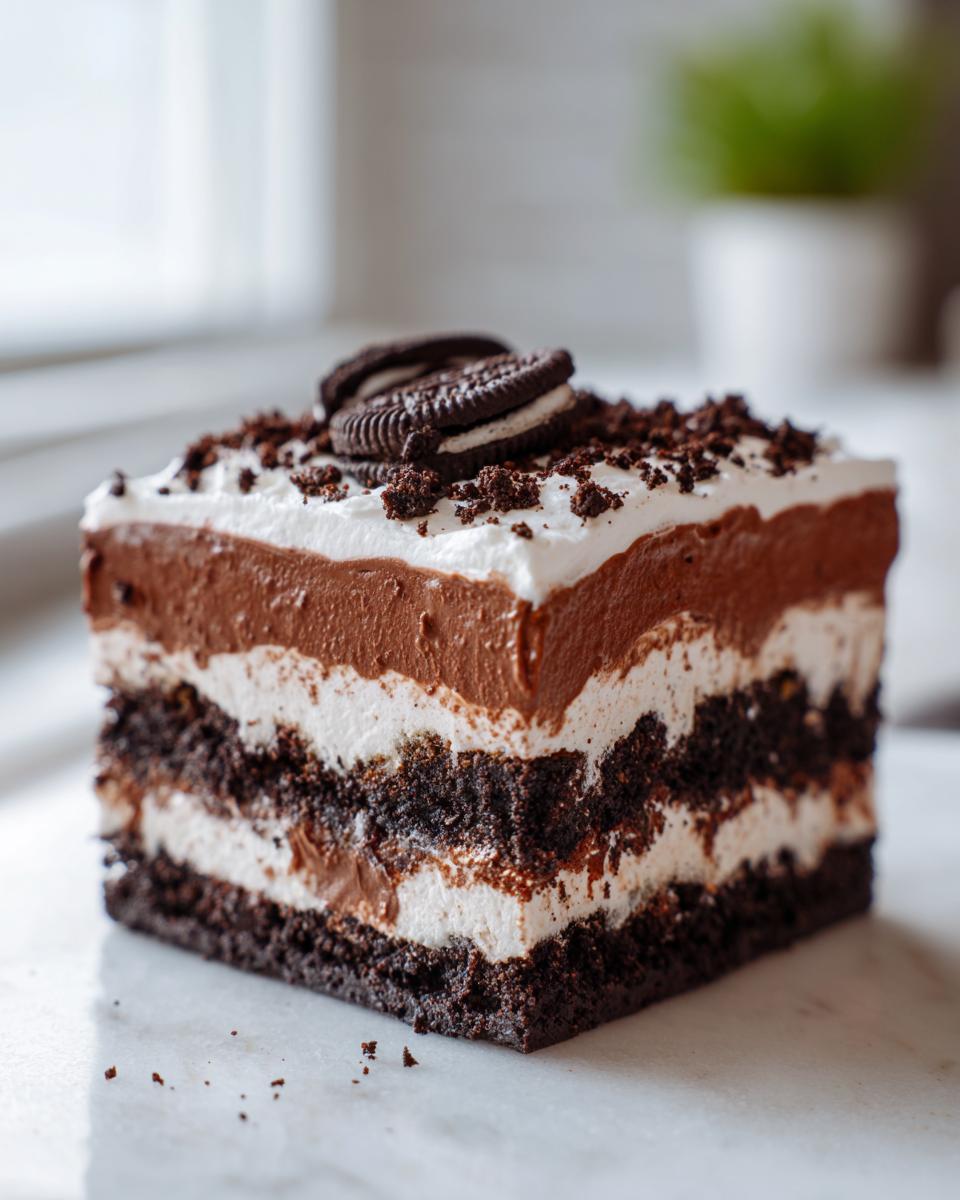
If you’re looking for that classic, smile-inducing dessert that instantly transports you back to childhood parties, look no further. We’re delivering the ultimate throwback: the legendary dirt cake. Forget the oven, forget complicated steps—this is the very definition of a simple, no-bake treat that actually works perfectly every time. Here at Dishicious, my whole approach, honed from years of managing complex projects, is to find the most efficient route to maximum flavor. That’s exactly what we’ve done with this foolproof Oreo Dirt Cake. It delivers huge payoff with minimal fuss, which is just how I believe weeknight cooking, or weekend dessert prep, should always function.
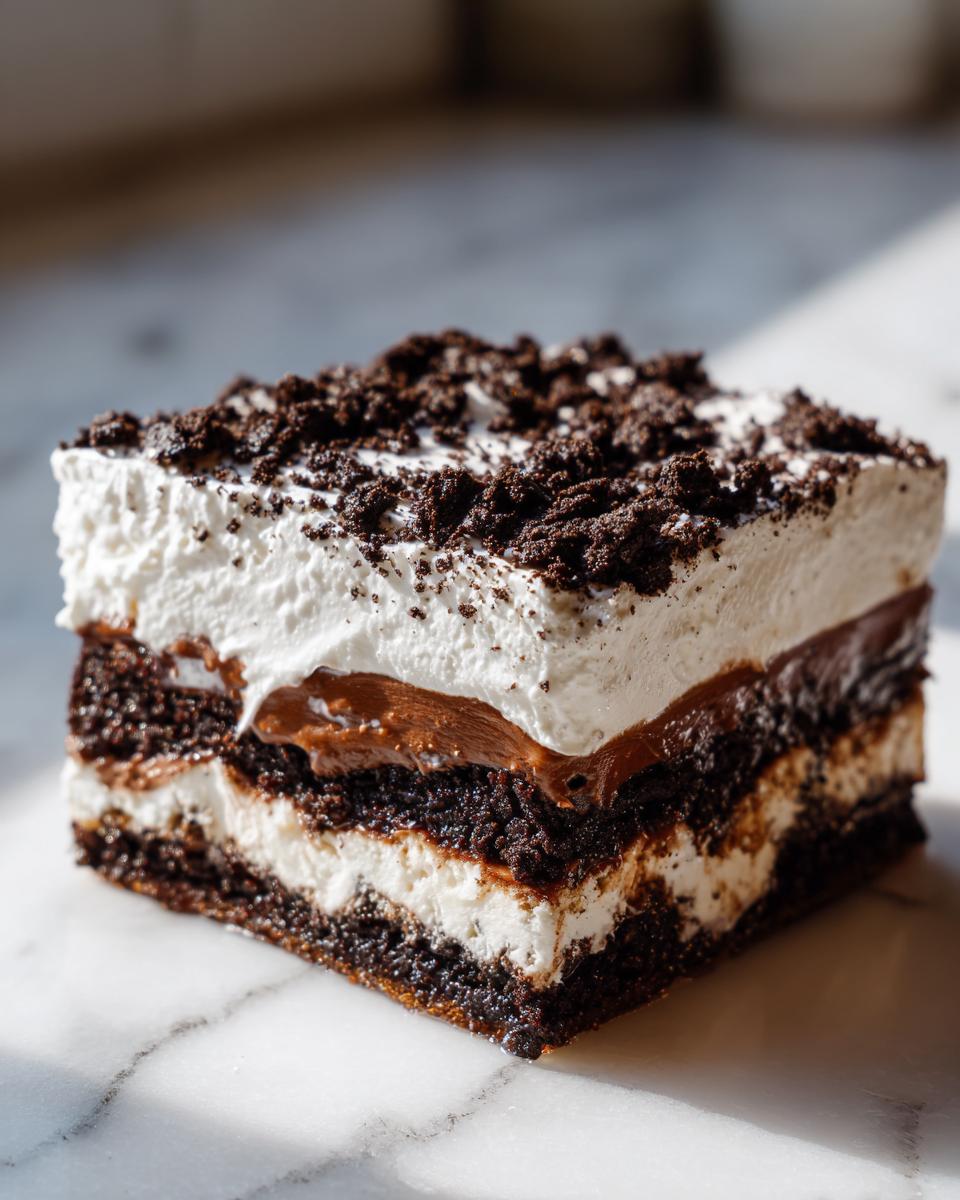
Once you see the layers come together, you’ll wonder why you haven’t made this creamy layered dessert sooner. We’re stripping away the complexity so you can focus only on the delicious result, just like we do with our favorite no-bake peanut butter bars.
- Why This Easy No Bake Dessert is Your New Family Favorite dirt cake
- Essential Ingredients for the Ultimate Oreo dirt cake
- Step-by-Step Instructions to Assemble Your dirt cake Casserole
- Serving Variations: Making dirt cake Cups or a Large dirt cake
- Tips for Success with this No Bake Dessert
- Making Your dirt cake Ahead of Time for Parties
- Frequently Asked Questions about this Chocolate Pudding Dessert
- Nutritional Estimates for One Serving of dirt cake
- Share Your Experience Making This Nostalgic Dessert
Why This Easy No Bake Dessert is Your New Family Favorite dirt cake
When you’re trying to serve a crowd or just need a reliable sweet fix, you need a recipe you can trust implicitly. That’s the Dishicious guarantee. This dirt cake hits every mark easily, making it a staple where complicated recipes just don’t belong. I’ve optimized the process so it’s guaranteed to set up beautifully.
- No Oven Required: Seriously, put the oven mitts away. This is pure, creamy assembly work.
- Kid-Approved Flavor: The combination of chocolate cookies and sweet cream is non-negotiable for the little ones.
- Perfect Make-Ahead Potluck Desserts: It actually tastes better the next day, making your party planning stress-free.
If you need another winner for a big crowd, check out my easy sugar cookie bars recipe too.
The Project Manager’s Approach to the Perfect dirt cake
When I look at a recipe, I’m immediately thinking about process flow. For this dessert, that means eliminating steps that add time without adding flavor or texture. There’s no waiting for things to bake or cool down unnecessarily. We are layering pre-made components—cookie crumbs, instant pudding, and a simple cream cheese mix—in a specific sequence. By managing those components efficiently, we guarantee the right contrast between the rich, smooth filling and the gritty, crunchy cookie layer every single time. It’s streamlined dessert engineering at its best.
Essential Ingredients for the Ultimate Oreo dirt cake
Okay, let’s talk components. Because this is a no bake dessert, the quality and state of your ingredients matter a ton for that creamy layered dessert texture we’re after. You need the classic chocolate sandwich cookies—and yes, you must crush them yourself for that perfect “dirt” look. Grab instant chocolate pudding mix, make sure your cold milk is ready for whisking, and crucially, your cream cheese must be completely softened before you even think about creaming it. Don’t forget the pre-whipped topping needs to be thawed out, not just sitting in the freezer still frozen solid. For decoration, the gummy worms are optional but highly recommended for that fun factor, especially for kid friendly desserts.
Ingredient Notes and Simple Substitutions for your dirt cake
The chocolate cookies are the backbone here; they give us the aesthetic and the crunch, so don’t skimp on the brand if you can help it. Now, if you’re avoiding cream cheese for some reason, you absolutely can adjust. The recipe instructions note you can swap that out. You’d just use an equal amount of extra whipped topping instead. It changes the texture slightly—it smooths out that necessary tang—but it still creates a delicious base for this dirt pudding recipe. Just make sure you check out this quick recipe for no-bake peanut butter pretzel bark while you’re gathering supplies!
Step-by-Step Instructions to Assemble Your dirt cake Casserole
This is where the project management really pays off—we need precision here so that when you cut into the final dish, you see those gorgeous, defined layers. It’s all about sequence and not rushing the mix. First things first, we need dirt! Once your cookies are crushed, the filling needs to be built logically. Start with your smooth, cream cheese base before integrating the pudding and whipped topping. Remember, we are building a structure here, not just making a bowl of pudding.
Once that impossibly creamy mixture is ready, we alternate pouring and sprinkling right into your dish. Never skip the chilling time! I’m serious about this: this creamy layered dessert needs a minimum of four hours in the fridge to firm up properly. If you cut it early, you’ll get a beautiful mess, but not the clean slices you want for your potluck desserts. If you’re looking for another easy assembly dish, my recipe for easy creamy chicken tortilla soup is structured just as logically.
Creating the ‘Dirt’ Texture: Crushing Cookies for your dirt cake
You want a mixture of textures here, not just fine dust. If you put the whole package of Oreos in the food processor and just blend until completely powdered, you’ll lose the necessary crunch for that classic dirt cake experience. Pulse them until you get chunky crumbs mixed with finer pieces. Think of actual soil—it has varied texture! Make sure you measure out about one full cup of these beautifully crushed cookies and set them aside right away. This reserved mound is what creates that final, authentic ‘dirt’ top layer.
Achieving the Creamy Layered Dessert Filling for this dirt cake
When you combine the pudding mixture with the cream cheese/whipped topping blend, you need to fold, not stir forcefully. Stirring too hard blasts out all the beautiful air we just whipped into the topping and cream cheese base. Use a large spatula and work gently, incorporating the chocolate pudding until you see no streaks of white, but stop right there. We want to keep that airy, fluffy consistency—that’s what makes the filling so light against the heavy cookie layers in this chocolate pudding dessert.
Serving Variations: Making dirt cake Cups or a Large dirt cake
One of the best things about this specific dirt cake framework is how flexible it is for serving size. If you’re planning a big family dinner or a buffet-style event, sticking to the 9×13 pan—the dirt cake casserole format—is totally efficient. You just layer it up, chill it, and let folks scoop out generous portions.
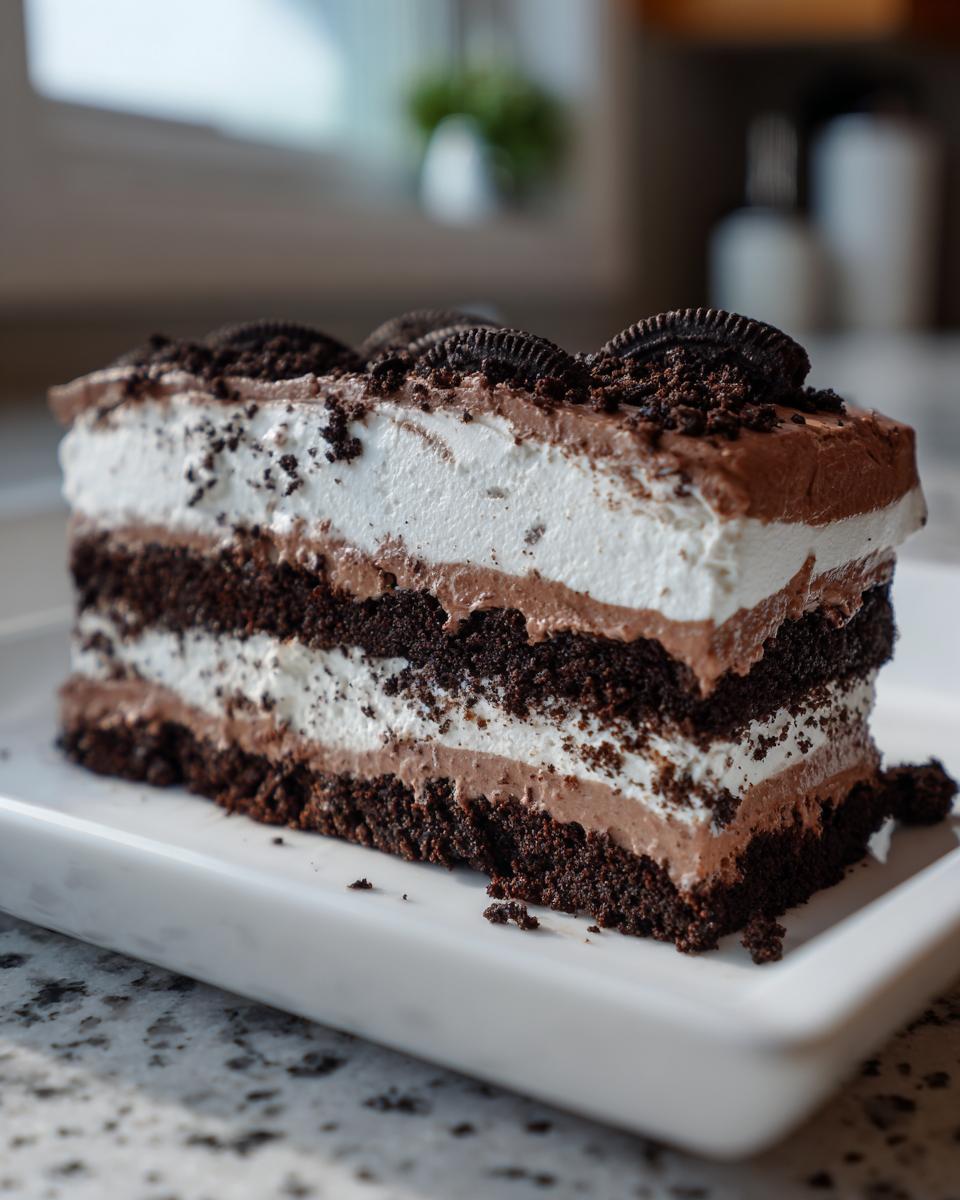
However, if I’m doing a shower or a kid’s birthday party, I absolutely pivot to individual portions. We call them Dirt Cake Cups, and they look fantastic served in small, clear plastic cups. This method really showcases those beautiful layers we worked so hard to build, and honestly, portion control—or lack thereof—is easier when everyone just grabs their own little serving. It’s definitely a stellar option among easy party food.
Either way, you get the same amazing result. If you’re looking for another easy crowd-pleaser, swing by my guide on easy blueberry protein muffins recipe for breakfast prep!
Tips for Success with this No Bake Dessert
Since we aren’t turning on the oven, we rely on proper chilling and prep work to make sure this layered creation holds its structure. My number one rule, which I learned the hard way, is this: don’t skimp on the chill time. Four hours is the absolute minimum needed for the pudding to set up against the cream cheese layer, but trust me when I say overnight is where this dessert truly shines. It firms everything up so nicely.
Also, before you even start mixing, make absolutely certain your cream cheese is completely softened. If it’s stiff, you’ll end up with little unmixed lumps in your filling, and you can’t fix that once the whipped topping goes in. Finally, keep the cookie crumbs layered in the middle thick enough; putting too little between the cream layers is what sometimes lets the bottom crumbs get a little soft too fast. For another appliance-free winner, you have to try making gravy using my easy homemade brown gravy recipe—no drippings required!
Making Your dirt cake Ahead of Time for Parties
I designed this recipe to be the ultimate low-stress make ahead dessert, which is why it’s an absolute staple for my party planning. Honestly, the timeline for a perfect dirt cake requires patience, so my recommendation is to assemble the entire thing the day before you plan to serve it. When assembled and covered tightly with plastic wrap, it stays fresh and creamy in the refrigerator for days.
Seriously, the flavors meld together beautifully overnight, which means when you pull that dish out the next afternoon, it sets up perfectly, slicing cleanly and tasting even richer than it did when you first made it. If you need more options for planning ahead, definitely browse through my guide on make ahead dessert ideas here!
Frequently Asked Questions about this Chocolate Pudding Dessert
Can I use vanilla pudding instead of chocolate in my dirt cake?
Oh, you sure can! That’s one of the joys of this recipe—it’s flexible. If you swap the chocolate pudding for vanilla or even butterscotch, you’re moving into a different lane flavor-wise. It definitely changes the aesthetic, though. If you use vanilla, it’s less of a dark ‘dirt cake’ and more of a lighter crumble situation. We call that a great version of a dirt pudding recipe if you’re looking for something less intensely chocolatey. It still works wonderfully for a creamy layered dessert!
What is the best way to decorate this Gummy Worm Dessert?
This is my favorite part! The gummy worms are key to making this Oreo Dirt Cake look truly authentic and fun. My best tip, though, is to wait until right before you serve it to put those little squiggly guys in. If you stick them in too soon, especially if they’re touching the moist cream layer, they can get soft or start to dissolve a bit in the humidity of the fridge. Press them gently into the top cookie crumble layer about 20 minutes before you set this out on the buffet table. That keeps them looking fresh and wiggly!
How long can this dirt cake stay refrigerated?
Since there’s no baking, we are fighting the good fight against cookie sogginess, even though the chilling process is what makes the layers set up nicely. Honestly, the absolute sweet spot for this dirt cake is serving it within 24 hours of assembly. That’s when the contrast between the crunchy cookie crumbs and the creamy filling is perfect. You can push it to three days in the fridge, covered tightly, but you’ll notice the bottom layer of cookies starts to get pretty soft by day three, which defeats the purpose of the texture! Always check out my recipes for buffalo chicken sliders if you need a savory make-ahead option.
Is this considered an Easy Party Food?
Absolutely, hands down, yes! This is the definition of crowd-pleasing easy party food. It requires zero cooking time, it’s incredibly simple to assemble even if you’re chasing kids around, and you can make it in a big dirt cake casserole dish or individual cups. If you can crush cookies and whisk pudding, you’ve mastered this recipe. It’s my go-to when I need a delicious, impressive-looking dessert that takes less active time than boiling pasta.
Nutritional Estimates for One Serving of dirt cake
Since we’re focused on efficiency here, I always like to give a quick overview of the basics, though remember that baked goods made at home can vary widely based on the exact brands of cookies and whipped topping you grab. Think of these numbers as a general guideline for one serving of this decadent Oreo Dirt Cake.
For planning purposes based on our standard recipe yield (which serves 12), here’s what you’re looking at:
- Calories: Around 380
- Fat (Total): About 20 grams
- Saturated Fat: 10 grams
- Carbohydrates: Closer to 48 grams
- Sugar: 35 grams
- Protein: 5 grams
This is definitely a rich, celebratory treat, meant for enjoying! If you need a slightly lighter option for breakfast prep later, check out these easy blueberry protein muffins recipe ideas. Just a friendly note: these estimates can shift based on the specific ingredients you use, especially the sugar and fat content in your cookies and cream cheese!
Share Your Experience Making This Nostalgic Dessert
Now that you’ve assembled the ultimate dirt cake, I genuinely want to hear about it! Did you use a giant casserole dish, or did you go for the fun individual cups? Drop your thoughts, rate this recipe so others know it works, and let me know how fast it disappeared at your house. If you made any amazing tweaks or found a fun new topping, share it in the comments below! While you are looking for your next no-fuss project, maybe check out my guide for easy homemade mayonnaise recipe from scratch!
PrintUltimate No-Bake Oreo Dirt Cake Recipe

This easy Oreo Dirt Cake recipe layers crushed chocolate cookies, creamy chocolate pudding, and a rich whipped topping for a nostalgic, no-bake dessert perfect for parties or family gatherings.
- Prep Time: 20 min
- Cook Time: 0 min
- Total Time: 4 hr 20 min
- Yield: 12 servings 1x
- Category: Dessert
- Method: No Bake
- Cuisine: American
- Diet: Vegetarian
Ingredients
- 1 package (14.3 ounces) chocolate sandwich cookies (like Oreos)
- 1 package (3.9 ounces) instant chocolate pudding mix
- 3 cups cold milk
- 8 ounces cream cheese, softened
- 1 cup powdered sugar
- 1 container (8 ounces) frozen whipped topping, thawed (or equivalent whipped cream)
- Gummy worms, for decoration (optional)
Instructions
- Crush all the chocolate sandwich cookies until they resemble fine dirt. Set aside about 1 cup of the crumbs for the topping layer.
- In a large bowl, whisk together the instant chocolate pudding mix and cold milk for two minutes until the mixture begins to thicken. Let it sit for five minutes.
- In a separate bowl, beat the softened cream cheese and powdered sugar together until the mixture is smooth and creamy.
- Gently fold the thawed whipped topping into the cream cheese mixture until just combined.
- Fold the thickened chocolate pudding into the cream cheese mixture until you have a uniform, creamy filling.
- In a large trifle dish or 9×13 inch casserole dish, begin layering the dessert. Place half of the remaining crushed cookies on the bottom of the dish.
- Spread half of the creamy filling evenly over the cookie layer.
- Repeat the layers: add the remaining crushed cookies, followed by the remaining creamy filling.
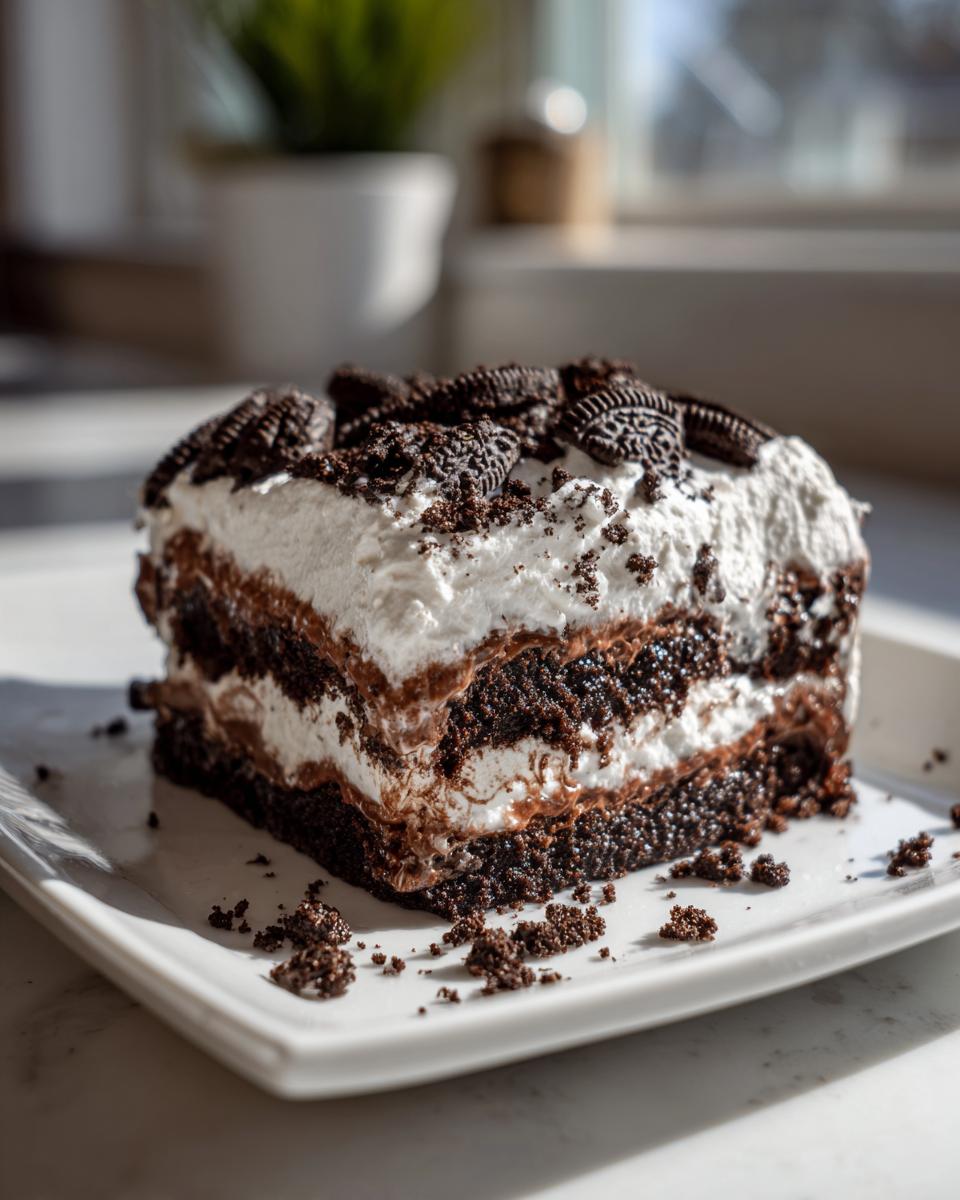
- Top the entire dessert evenly with the reserved 1 cup of crushed cookie crumbs to create the ‘dirt’ effect.
- If using, press gummy worms into the top layer of crumbs.
- Cover the dish and chill in the refrigerator for at least four hours, or preferably overnight, to allow the layers to set completely.
Notes
- For individual servings, assemble this recipe in small clear cups to make fun Dirt Cake Cups.
- If you prefer a lighter filling, substitute half of the cream cheese mixture with an equal amount of softened cream cheese or use only whipped topping instead of the cream cheese/whipped topping combination.
- This is a great make-ahead dessert; it tastes best when chilled for several hours.
Nutrition
- Serving Size: 1 serving
- Calories: 380
- Sugar: 35
- Sodium: 350
- Fat: 20
- Saturated Fat: 10
- Unsaturated Fat: 10
- Trans Fat: 0
- Carbohydrates: 48
- Fiber: 2
- Protein: 5
- Cholesterol: 35