
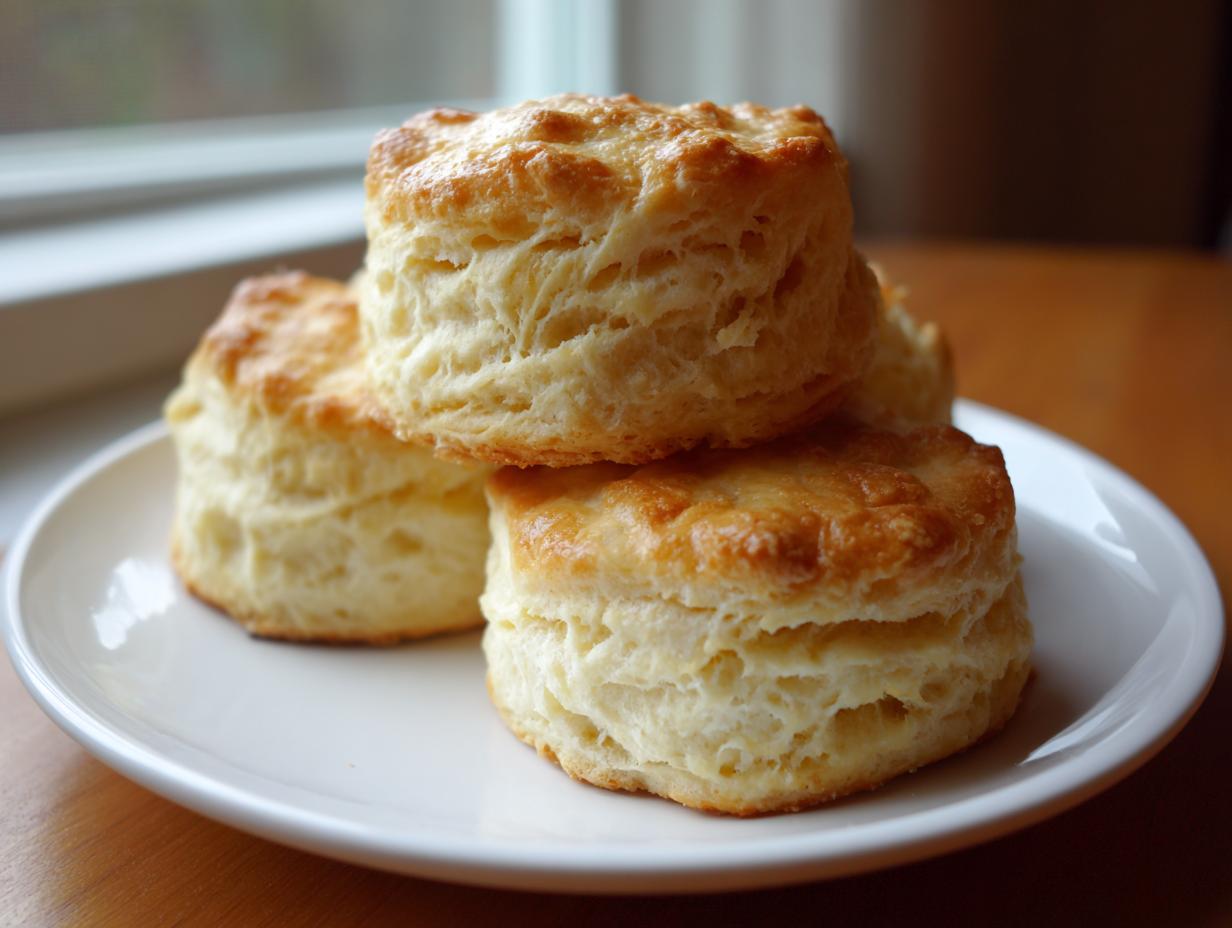
If you’ve ever bitten into a biscuit that was supposed to be fluffy but ended up flatter than a pancake, I get it. That drove me nuts! When I started Dishicious, I engineered a way to skip guessing games in the kitchen. That’s why I’m handing you the blueprint for what I call the foolproof method for achieving tall, tender buttermilk biscuits. Forget overly complicated techniques—this system streamlines the process so you get those incredible, ultra-flaky results every single time. Think of this as your guaranteed path to amazing Southern baking, minus the stress.
This streamlined approach ensures you nail the texture you’re looking for quickly. Whether you’re planning a quick breakfast or need a side for a big dinner, these are the most reliable results you’ll find. Don’t forget, you can always pair these right away with a classic favorite like chicken and dumplings using these same biscuits on top!
- Why This is the Best Biscuit Recipe: Achieving Fluffy Buttermilk Biscuits
- Ingredients for Foolproof Fluffy Buttermilk Biscuits
- How to Prepare Quick Biscuit Recipe: Step-by-Step Instructions
- Tips for Perfect Southern Style Biscuits
- Serving Suggestions for Buttermilk Biscuits
- Storage and Reheating Buttermilk Biscuits
- Frequently Asked Questions About Homemade Biscuits from Scratch
- Nutritional Estimate for These Buttermilk Biscuits
- Share Your Fluffy Buttermilk Biscuits Success
Why This is the Best Biscuit Recipe: Achieving Fluffy Buttermilk Biscuits
I promise you, this isn’t just another run-of-the-mill recipe floating around. This is my project-managed approach to creating the best biscuit recipe out there. We aren’t looking for dense hockey pucks; we want those high-rising, airy beauties that practically float off the plate. The efficiency comes from focusing only on the steps that truly deliver on that ‘fluffy’ and ‘tall’ promise. If you follow my cold-ingredient rule, you’ve already mastered the essential tall biscuits trick.
When you get the hang of this, you won’t look back. Imagine serving these up with rich, creamy brown gravy—they soak it up perfectly because they actually have structure and lift!
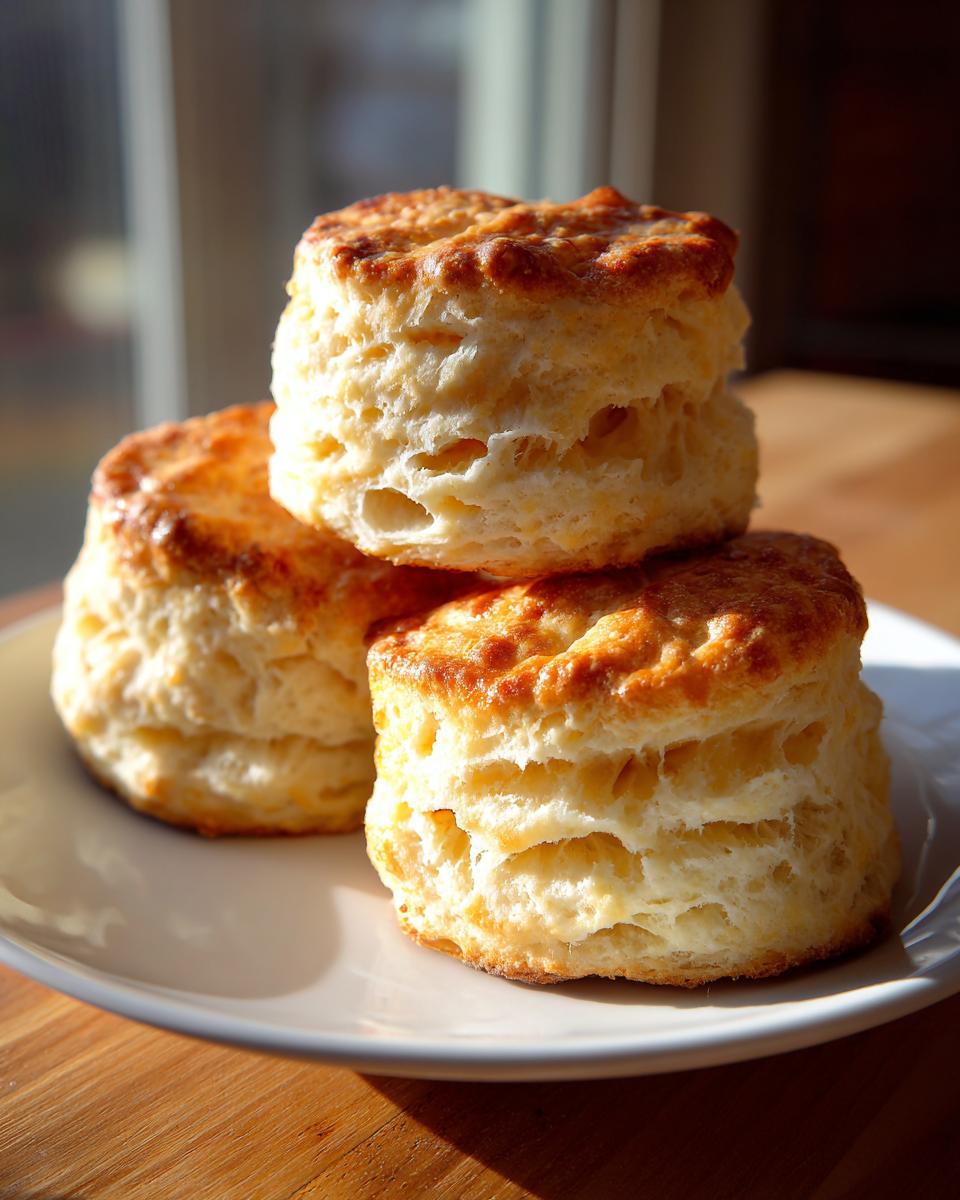
The Secret to Flaky Layers in Your Buttermilk Biscuits
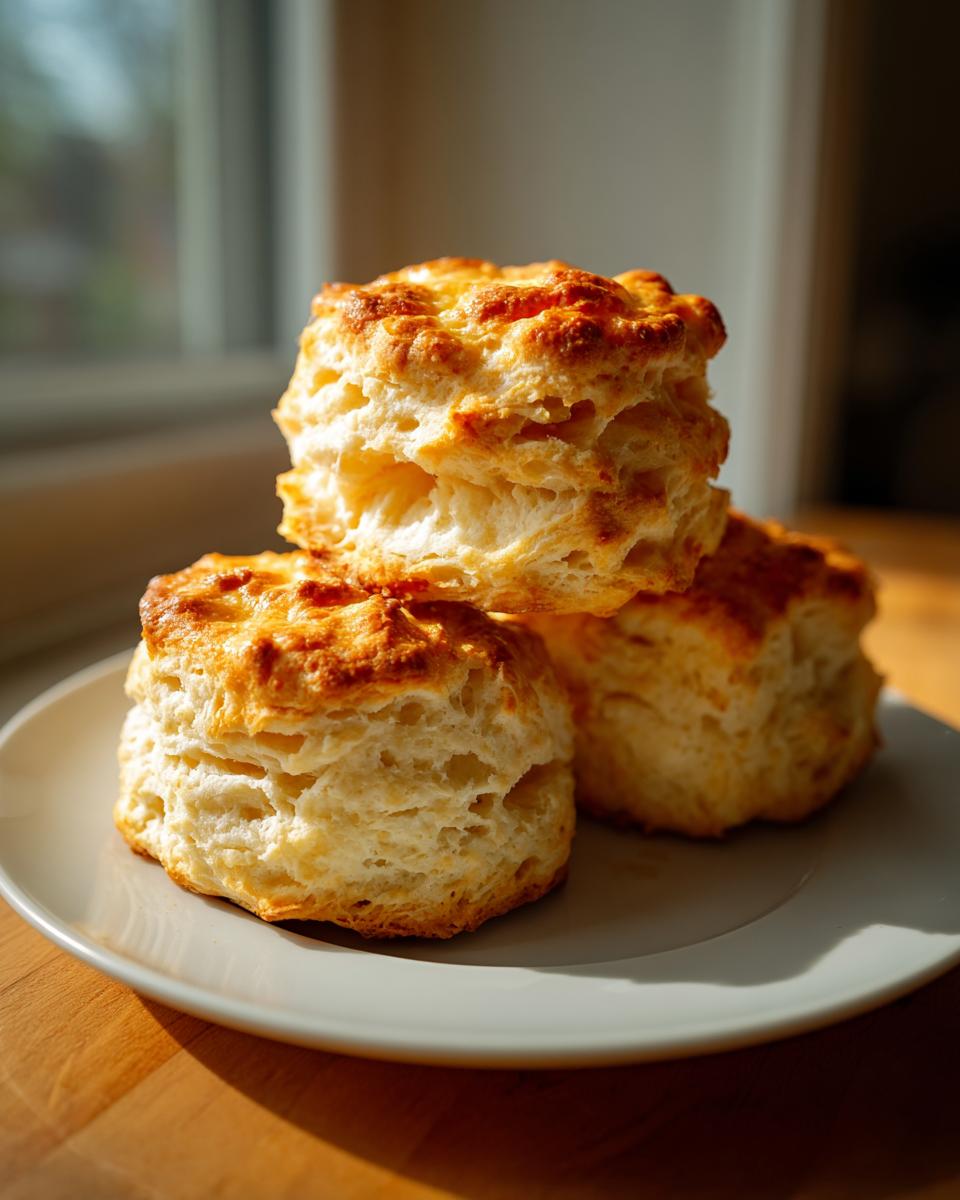
The magic of those visible flaky layers biscuits happens because we treat the dough right. It all boils down to temperature. Your butter must be absolutely ice cold, straight from the fridge, and your buttermilk needs to be just as chilled. Why? Because when those frozen chunks of butter hit the oven’s heat, they melt, creating steam pockets between the dough layers. That steam is what forces the biscuit up instead of just spreading out.
We enhance this using a quick ‘fold and press’ method—think of it like super-simple lamination. We don’t knead it until it’s smooth, which would just melt the butter. We fold it two or three times to stack those buttery planes. That’s how you guarantee those tender, airy interiors every single time.
Ingredients for Foolproof Fluffy Buttermilk Biscuits
When you’re aiming for perfection and efficiency, you can’t afford to have weak players in your lineup. For these buttermilk biscuits, every single ingredient plays a critical role, especially regarding temperature control. I’ve pared this down to the absolute essentials so we can focus on technique, not complexity. You’ll notice the stress is on keeping things cold—that’s our efficiency trick for maximum lift!
Ingredient Breakdown for Tender Buttermilk Biscuits
Here is exactly what you need for about eight perfect, tender buttermilk biscuits. Measure these out before you start mixing, just like setting up a project timeline!
- 2 cups all-purpose flour
- 1 tablespoon baking powder
- 1 teaspoon salt
- 1 teaspoon sugar
- 6 tablespoons cold unsalted butter, cut into small pieces
- 3/4 cup cold buttermilk
Seriously, look at that list. It’s short! But that butter and buttermilk must be frigid. If your kitchen is warm, pop them in the freezer for ten minutes before you start cutting the butter. We are building structure here, and warm fat is the enemy of structure!
How to Prepare Quick Biscuit Recipe: Step-by-Step Instructions
Alright, time to execute the plan! Since this is a quick biscuit recipe, efficiency is everything. The total time commitment here is incredibly short, which is why I love these easy buttermilk biscuits for busy mornings. First thing: get that oven hot. We need 425°F (220°C) blasting, and make sure you have a baking sheet or even a cast iron skillet ready to go—lightly greased is all you need.
Next, we dive into the dry ingredients. Whisk the flour, baking powder, salt, and sugar together. Then, bring out the ice-cold butter pieces. You need to cut this butter into the flour until it looks like coarse crumbs, and this is important: leave some pieces the size of small peas. Seriously, don’t over-process this part. Those pea-sized butter chunks are what turn into steam pockets later!
Mixing and Cutting the Dough for Buttermilk Biscuits
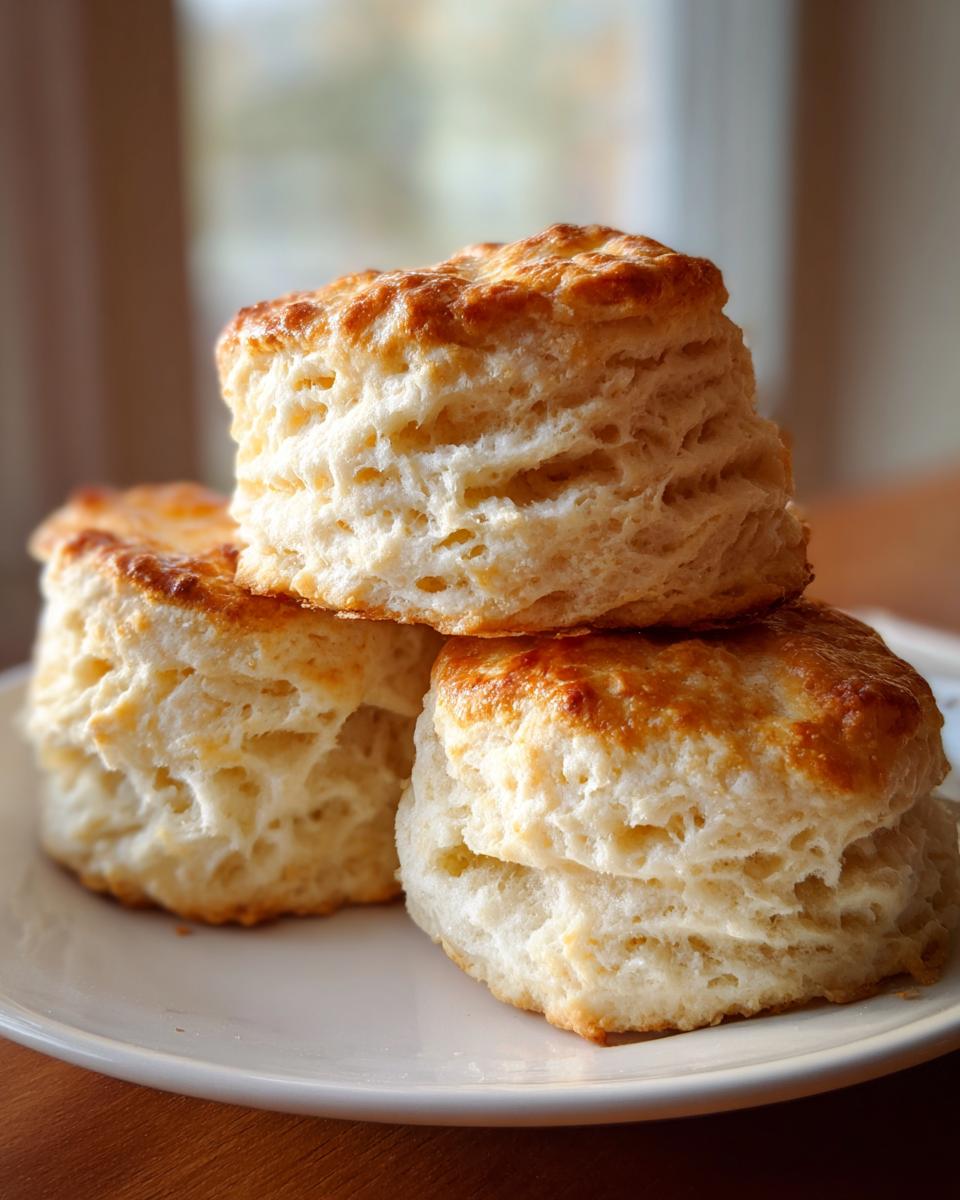
Now comes the liquid. Pour in ALL that cold buttermilk at once. We mix this only until it comes together—I mean *just* comes together. If you start working this dough too much, you develop gluten and bye-bye, fluffiness. Turn it out onto a lightly floured counter. We’re going to do the fold trick here for those amazing flaky layers biscuits.
Pat it into a rough rectangle, about 3/4 of an inch thick. Fold it like you’re folding a business letter—in thirds. Turn it 90 degrees and gently pat it down again to that same thickness. That’s your layering done! Use a biscuit cutter (I use a 2-inch one) and press straight down—do not twist! Twisting seals the edges, and we want maximum rise, which is part of how to make perfect biscuits.
Baking Your Tall Buttermilk Biscuits
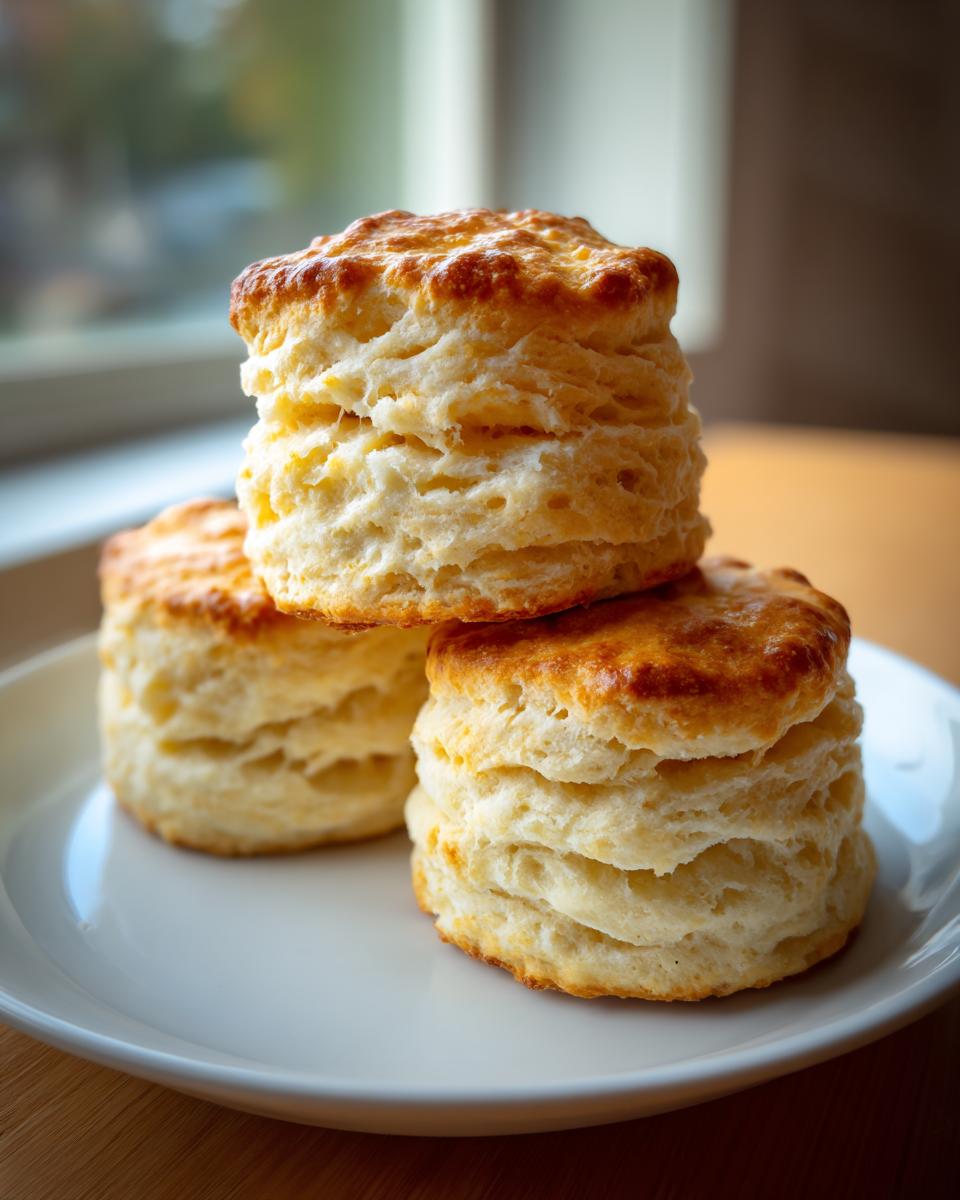
Arrange your rounds on the hot pan. If you put them touching each other, the sides stay softer; separate them if you like more crispy edges. Pop them into that 425°F oven for about 12 to 15 minutes. You’re looking for that beautiful golden-brown top. Seriously, resist the urge to open the door early!
As soon as they come out, brush the tops with a little melted butter—this is my secret for those irresistible buttery biscuits. This whole efficient process means you have fresh, glorious Southern baking ready in about 30 minutes total. If you want to try something similar but a little more involved, check out my guide on easy homemade bread bowls!
Tips for Perfect Southern Style Biscuits
Look, baking these southern style biscuits is easy, but making them *perfect* requires a couple of non-negotiable checkpoints. Don’t sweat it if your first batch is a little flatter; every baker, even experienced ones, has to learn the rhythm. My biggest piece of advice, the one I hammer home because it’s key to achieving those high-rise, bakery-quality results, is the cold factor. Seriously, if your butter is even slightly soft when you mix it, you’ve lost the structural integrity for those flaky layers.
To master how to make perfect biscuits, keep your workspace cool. If you feel like the dough is getting sticky while you’re folding it, stop! Put the whole lump back in the fridge for five minutes. Trust me, waiting an extra five minutes actively chilling the dough is way faster than trying to salvage a melted mess. Once you get that temperature dialed in, everything else just clicks into place. For other crisp Southern favorites, you have to check out my recipe for crispy Southern cheddar cheese straws!
Serving Suggestions for Buttermilk Biscuits
So, you’ve pulled off the fluffiest, flakiest batch of buttermilk biscuits known to man. Now what? Well, you want to serve them while they’re still warm because warm butter and tender crumb are non-negotiables! These aren’t just for fancy brunch spreads, though they are fantastic for breakfast baking. These are truly great comfort food baking staples.
The classic, of course, is smothering them in creamy gravy. If you want a shortcut to that experience, you should absolutely save my recipe for biscuits and gravy casserole. These biscuits are practically begging for that rich, savory topping!
Pairing Buttermilk Biscuits with Savory Dishes
Don’t limit these beauties just to breakfast! Because they have such a great structure, they are perfect for soaking up liquids. Make a big batch to serve alongside a hearty, creamy soup—think tomato bisque or a chowder. They are also amazing dipped into a thick, slow-cooked stew. They hold up beautifully. A little bit of butter melting into a warm biscuit next to a savory bowl? That’s what I call an optimized meal plan!
Storage and Reheating Buttermilk Biscuits
The project isn’t officially over until you optimize leftovers, right? To keep that fluffiness, store your leftover buttermilk biscuits in an airtight container at room temperature for maybe two days, max. Don’t refrigerate them unless you absolutely must, because the cold starts to dry them out fast. I found the best way to bring them back to life is quick heat.
Wrap the biscuit loosely in foil and pop it into a 350°F oven for about 5 to 7 minutes. That gentle heat steams them just a bit, returning that tender, melt-in-your-mouth texture. If you’re in a rush, a quick zap in the microwave wrapped in a damp paper towel works for one biscuit, but be warned—it loses those crisp edges if you go too long.
Frequently Asked Questions About Homemade Biscuits from Scratch
I know when you’re tackling a homemade biscuits from scratch recipe, little questions pop up at the last minute. That’s why I built this FAQ section—to preemptively solve any minor issues so your process stays smooth and efficient. We’re making sure these are guaranteed winners every time, whether you follow them to the letter or decide to tweak things slightly.
Can I substitute regular milk for buttermilk in these buttermilk biscuits?
You technically *can*, but let’s be clear: you won’t get the same result. The magic in these buttermilk biscuits comes from the acid in the buttermilk reacting with the baking powder. That reaction is what gives you that beautiful lift and helps create the soft interior. If you absolutely can’t find it, mix regular milk with a teaspoon of white vinegar or lemon juice and let it sit for five minutes to curdle slightly. That’s your DIY buttermilk substitute, and it keeps the necessary chemistry intact.
What is the best way to cut biscuits for maximum height?
This is critical for those tall biscuits trick results! First, make sure your dough, after folding, is at least 3/4 inch thick—thicker dough equals taller biscuits, simple as that. Second, when you use your cutter, press straight down firmly and lift straight up. Do not, under any circumstances, twist the cutter. Twisting seals the edges, and that seal prevents the biscuit from rising straight up. It traps the layers, and you end up with flatter, sadder discs instead of mile-high beauties.
If you’re looking for other simple baking wins that are just as satisfying, check out my guide for easy sugar cookie bars. Sometimes you need something sweet after all that bread baking!
Nutritional Estimate for These Buttermilk Biscuits
When we talk about efficiency in the kitchen, it’s not just about time; it’s about being aware of what you’re putting into your body, too. Since these are buttermilk biscuits made from scratch, the final numbers depend heavily on the exact brands of flour and butter you use. I always aim for accuracy, but I have to give you the standard estimate.
This breakdown is based on dividing the recipe yield (8 servings) across the full ingredient list. Keep in mind this is an estimate, not a lab report, but it gives you a solid snapshot of what you’re enjoying when you reach for one of these comforting, homemade treats.
- Serving Size: 1 biscuit
- Calories: 220
- Fat: 12g
- Saturated Fat: 7g
- Carbohydrates: 25g
- Protein: 4g
You can see that that buttery goodness adds up quickly, but that’s what makes them so rich and tender! We keep the sugar low—just 1 gram—because these biscuits are meant to be topped with jam or gravy, not made excessively sweet on their own. Like any home-cooked comfort food, enjoy it knowing you controlled every single high-quality ingredient that went into it.
Share Your Fluffy Buttermilk Biscuits Success
Okay, now it’s your turn to get these amazing buttermilk biscuits into your kitchen! We optimized the ingredients, we streamlined the mixing, and we nailed the folding for those mile-high flaky layers. I’m positive you’re staring at the best batch of homemade biscuits you’ve ever made. I want to hear all about it!
Did you go with a honey butter glaze or did you immediately cover them in gravy? Don’t be shy! Drop a comment below and let me know how your project turned out. A rating helps other home cooks see that this method is truly reliable. If you’re looking for more quick, streamlined ideas for your next breakfast baking adventure, make sure you check out my master list of easy breakfast and brunch meals. Happy baking!
PrintFoolproof Fluffy Southern Buttermilk Biscuits
Follow this straightforward method to make ultra-flaky, tall, and tender Southern buttermilk biscuits. This recipe delivers buttery perfection every time, making it the best biscuit recipe for your breakfast or dinner table.
- Prep Time: 15 min
- Cook Time: 15 min
- Total Time: 30 min
- Yield: 8 servings 1x
- Category: Breakfast
- Method: Baking
- Cuisine: American
- Diet: Vegetarian
Ingredients
- 2 cups all-purpose flour
- 1 tablespoon baking powder
- 1 teaspoon salt
- 1 teaspoon sugar
- 6 tablespoons cold unsalted butter, cut into small pieces
- 3/4 cup cold buttermilk
Instructions
- Preheat your oven to 425°F (220°C). Lightly grease a baking sheet or a cast iron skillet.
- In a large bowl, whisk together the flour, baking powder, salt, and sugar.
- Add the cold butter pieces to the dry ingredients. Use a pastry blender or your fingertips to cut the butter into the flour until the mixture resembles coarse crumbs with some pea-sized pieces of butter remaining. Keeping the butter cold is key for flaky layers.
- Pour in the cold buttermilk all at once. Use a fork to mix until the dough just comes together. Do not overmix.
- Turn the dough out onto a lightly floured surface. Gently pat the dough into a rough rectangle about 3/4 inch thick.
- Fold the dough into thirds, like a letter. Turn the dough 90 degrees and gently pat it down again to about 3/4 inch thickness. This folding process creates the flaky layers.
- Use a 2-inch biscuit cutter to cut straight down through the dough to create rounds. Do not twist the cutter, as twisting seals the edges and prevents the biscuits from rising tall.
- Place the biscuit rounds close together on your prepared baking sheet or skillet for softer sides, or further apart for crispier sides.
- Bake for 12 to 15 minutes, or until the biscuits are golden brown on top.
- Brush the tops with melted butter immediately after removing them from the oven for extra buttery flavor.
Notes
- For the tallest biscuits, use a very cold buttermilk and ensure your butter is straight from the refrigerator.
- Do not twist the biscuit cutter when cutting shapes; press straight down to maintain the layers you created during folding.
- If you want a quick breakfast idea, these biscuits are perfect served with sausage gravy.
Nutrition
- Serving Size: 1 biscuit
- Calories: 220
- Sugar: 1
- Sodium: 350
- Fat: 12
- Saturated Fat: 7
- Unsaturated Fat: 5
- Trans Fat: 0
- Carbohydrates: 25
- Fiber: 1
- Protein: 4
- Cholesterol: 25