
Look, I totally get it. You see those incredible, rustic loaves with holes big enough to lose a small nut in, and you think, “That’s bakery magic. That’s way too complex for my Tuesday night.” Well, I’m here to tell you that complexity is just poorly managed steps. When I approached making the perfect homemade ciabatta loaf, I treated it like an optimization project. We don’t need guesswork here; we need reliability. This method cuts through the intimidation factor, focusing only on the essential processes—the poolish, the high hydration, and the steam—to guarantee you get that signature light, airy crumb structure. Trust me, once you streamline the system, you’ll be amazed at how simple true artisan bread baking at home can be.
- Why This Is the Best Homemade Ciabatta Recipe (The Project Manager’s Approach)
- Ingredients for Your Poolish Ciabatta Recipe
- How to Make Ciabatta Dough: Easy Ciabatta Step by Step
- Bulk Fermentation and Open Crumb Bread Techniques
- Shaping Wet Bread Dough for Your Homemade Ciabatta Loaf
- Baking Ciabatta with Steam in a Home Oven
- Tips for Success with Rustic Italian Bread Recipe
- Troubleshooting Common Issues with Your Homemade Ciabatta Loaf
- Frequently Asked Questions About Artisan Bread Baking at Home
Why This Is the Best Homemade Ciabatta Recipe (The Project Manager’s Approach)
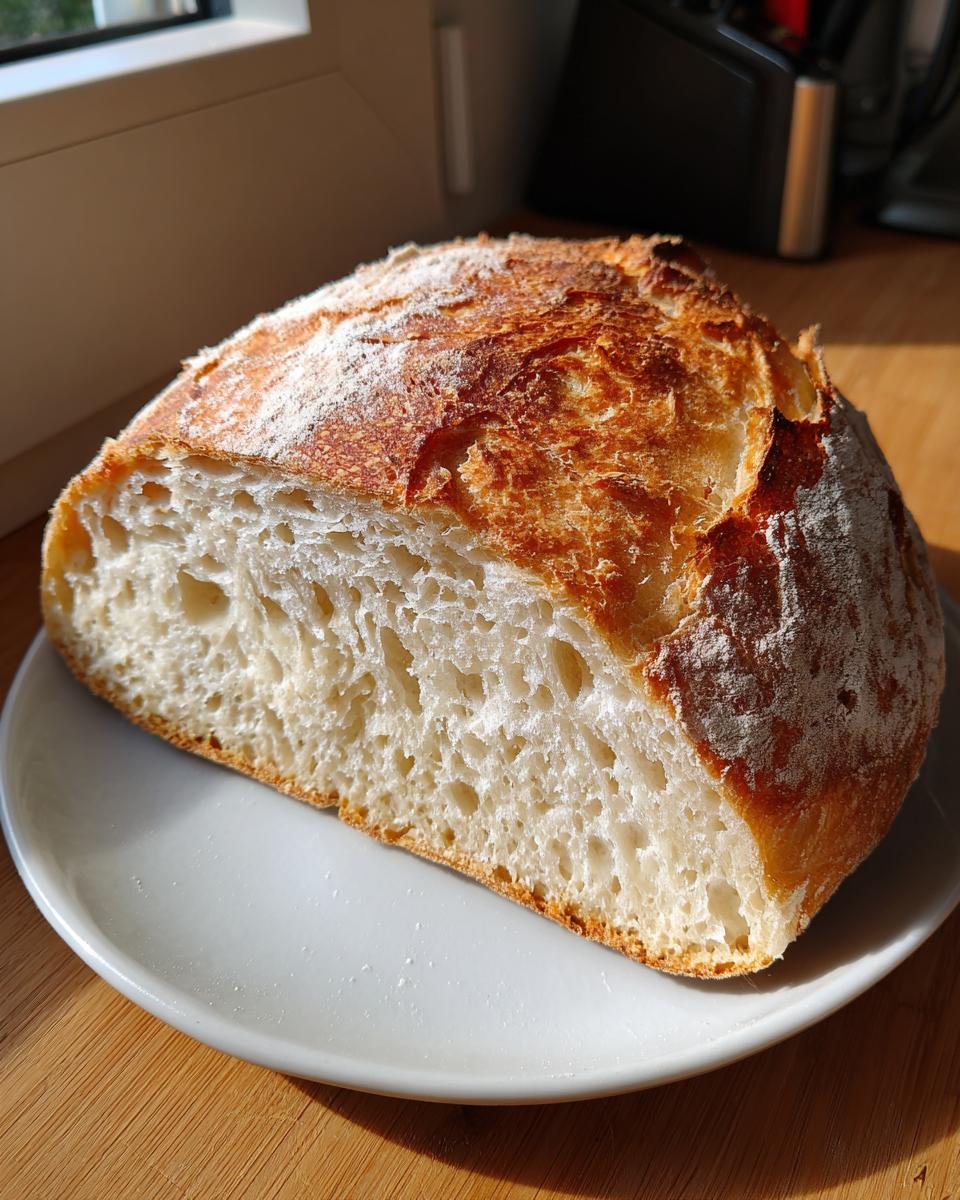
When I develop a recipe, I look for the highest return on investment concerning flavor and structure. That’s why this is the best homemade ciabatta recipe. We don’t rely on endless kneading; we rely on time and chemistry. The secret sauce here is the poolish, our overnight pre-ferment. It does all the heavy lifting, developing deep Italian flavor and giving the dough the initial strength it needs to hold gas later on. You get that fantastic bakery result without stressing over technique.
- The long rest of the poolish maximizes flavor complexity you just can’t get from instant mixing.
- The dough is deliberately wet—this isn’t a mistake, it’s crucial for texture!
- Stretch and folds build structure gently instead of tearing the dough apart.
Understanding the High Hydration Bread Tutorial
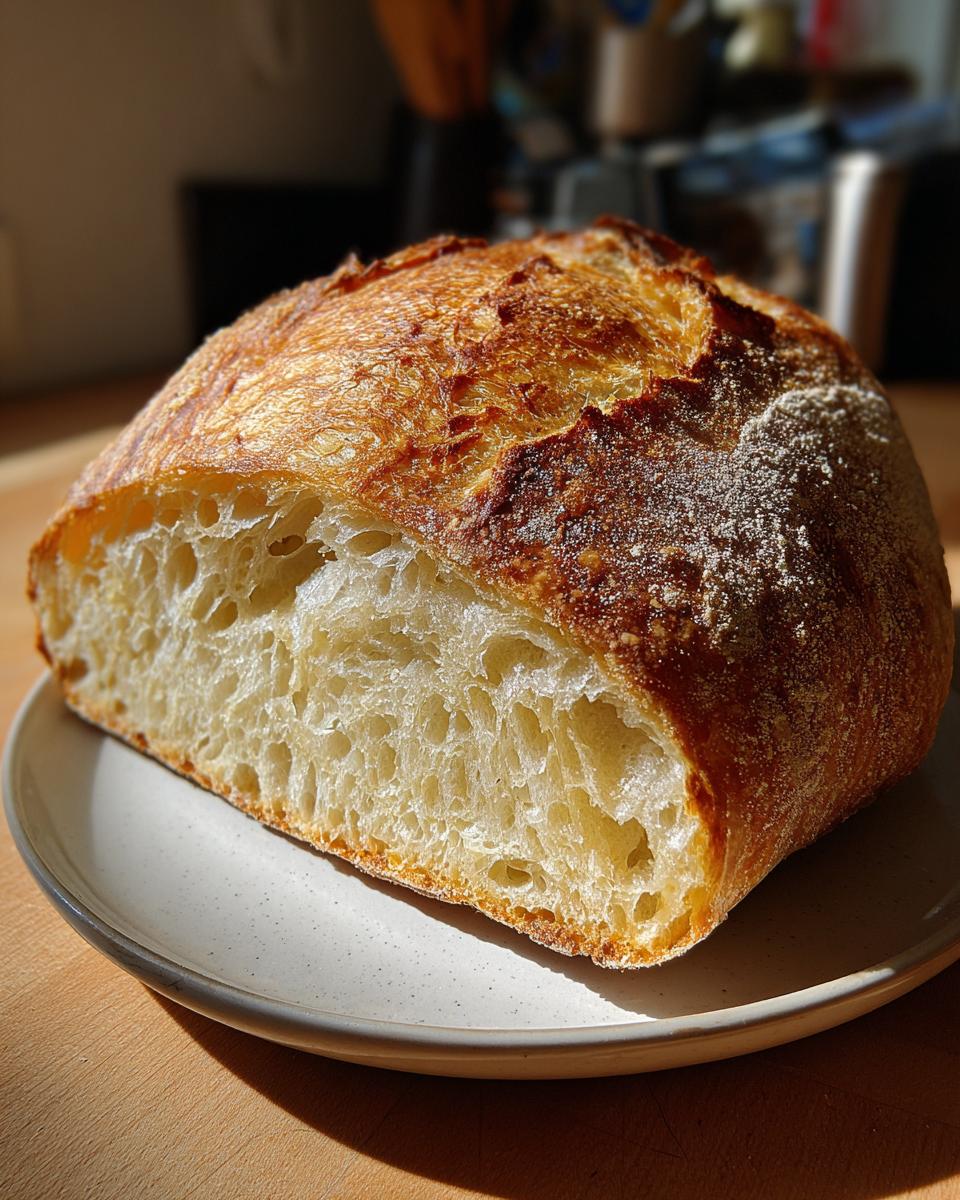
This recipe is a crash course in high hydration bread tutorial methods, but simplified. We’re aiming for around 80% hydration, meaning the water weight is 80% of the flour weight. Wow, that sounds wet, right? It is! That extra water is exactly what creates those signature, irregular, open air pockets inside your loaf. If the dough feels sloppy, you’re on the right track. Don’t fight the stickiness; just keep your hands wet when you touch it.
Ingredients for Your Poolish Ciabatta Recipe
Getting ingredients ready upfront is key to this process—it’s all about organization. Since we’re starting the night before, this part is super simple, but you need to be precise with your measurements for the poolish ciabatta recipe to work right. Remember, clarity equals confidence in the kitchen, so let’s get these separated properly before you go to bed!
Ingredients for the Poolish (Pre-ferment)
This is the flavor base, so don’t cut corners here. You just mix these three things up, cover them, and forget about them until tomorrow morning. Seriously, a 12 to 16-hour rest is non-negotiable for that deep, tangy flavor we want in our rustic bread.
- 1 cup (240g) water, room temperature
- 1 cup (120g) bread flour
- 1/4 teaspoon instant dry yeast
Ingredients for the Main Homemade Ciabatta Loaf Dough
These are the rest of the components you’ll mix in tomorrow once your poolish is totally bubbly. You’ll notice we’re holding the salt back; that’s a little trick to let the yeast in the main dough get going without being inhibited early on. Don’t forget the extra flour for dusting later when we shape the homemade ciabatta loaf!
- 2 cups (240g) bread flour
- 1 cup (240g) warm water (needs to be around 105-115°F)
- 1 teaspoon instant dry yeast
- 2 teaspoons fine sea salt
- Extra flour or semolina for dusting
How to Make Ciabatta Dough: Easy Ciabatta Step by Step
Alright, let’s get into the process here! Following these instructions precisely is what makes this an easy ciabatta step by step guide, even though the total time spans two days. Organization upfront means a perfect, hole-filled loaf tomorrow. We dedicate the first part to building that powerful pre-ferment, which is essential for truly great flavor when you’re focused on artisan bread baking at home. If you’re looking for more fast-track beginners guides, check out how I approach easy yeast bread for beginners.
Creating and Activating the Poolish
This first step is mostly done the night before you plan to bake your homemade ciabatta loaf. In a medium bowl, just mix 1 cup of water, 1 cup of bread flour, and that tiny 1/4 teaspoon of instant yeast. You don’t need to beat it into submission; just combine it until no dry flour remains. Cover it loosely—it needs to breathe a little—and leave it on the counter for a full 12 to 16 hours. When you check it tomorrow, it should be bubbly, active, and smelling slightly tangy. That’s your sign that we’re ready to proceed.
Mixing and Salt Incorporation for How to Make Ciabatta Dough
Once that poolish is singing, dump in the remaining 2 cups of bread flour, the 1 cup of warm water, and the rest of the yeast right on top. Mix it with a sturdy wooden spoon or spatula until it looks super shaggy and you see no dry flour patches. Now, here’s a small project manager move: let this rest, covered, for 30 minutes. That’s the autolyse, letting the flour soak up the water. After that rest, sprinkle the dough with your 2 teaspoons of fine sea salt. Now, get your hands wet; this is key when dealing with higher hydration! Use those wet hands to perform a series of gentle stretch and folds right there in the bowl for about two minutes. You are deliberately stretching one side up and folding it over the center. This starts building the structure we need for shaping wet bread dough later.
Bulk Fermentation and Open Crumb Bread Techniques
This is where the magic really starts to happen. Once you’ve mixed everything and added the salt—using those wet hands for the final folds—we let the dough relax and develop strength over about three hours. This bulk fermentation time is absolutely critical for developing flavor and, more importantly, creating the scaffolding needed for those huge holes. This isn’t a time to ignore your dough; we need to build that structure actively throughout this period.
To master true open crumb bread techniques, we break this time up. You need to perform stretch and folds every 30 minutes for the first hour and a half—that’s three sets total. Don’t overdo it! Gently stretch, fold, cover, and walk away. You’ll see the dough transform from a sloppy mass to something visibly airy, stronger, and more billowy. Trust the process here; this gentle development guarantees your homemade ciabatta loaf won’t collapse later.
Shaping Wet Bread Dough for Your Homemade Ciabatta Loaf
Okay, this is the part where most people panic, right? Dealing with sticky, wet dough is intimidating, but it’s the secret handshake for that perfect homemade ciabatta loaf. Remember, we are being unbelievably gentle here because we do *not* want to punch out all those beautiful gas bubbles we spent 18 hours creating! Get your work surface ready. Lightly flour it—and I mean lightly! Too much flour stops the dough from stretching correctly.
Gently scrape the whole shaggy mass onto your floured surface. Don’t punch it, don’t squeeze it, just scrape! Dust the top lightly with a little more flour. Now, using your bench scraper, divide the dough into two or three sections—whatever size loaf you are aiming for. The trick for this specific stage of shaping wet bread dough is movement without pressure. Gently stretch each piece into a rough rectangle. You want to coax it into shape, not force it. If it springs back, let it rest for five minutes before trying again. That gentle encouragement is what keeps the interior airy!
For the final proof, you absolutely need a barrier so these wet guys don’t spread into one massive puddle. Generously dust a sheet of parchment paper—or linen, if you have it—with flour or semolina. Carefully lift each rectangle and place it onto your prepared surface, leaving plenty of space between them. They puff up a lot during this final 45 to 60 minutes. Cover them loosely, and let the fermentation finish strong!
Baking Ciabatta with Steam in a Home Oven
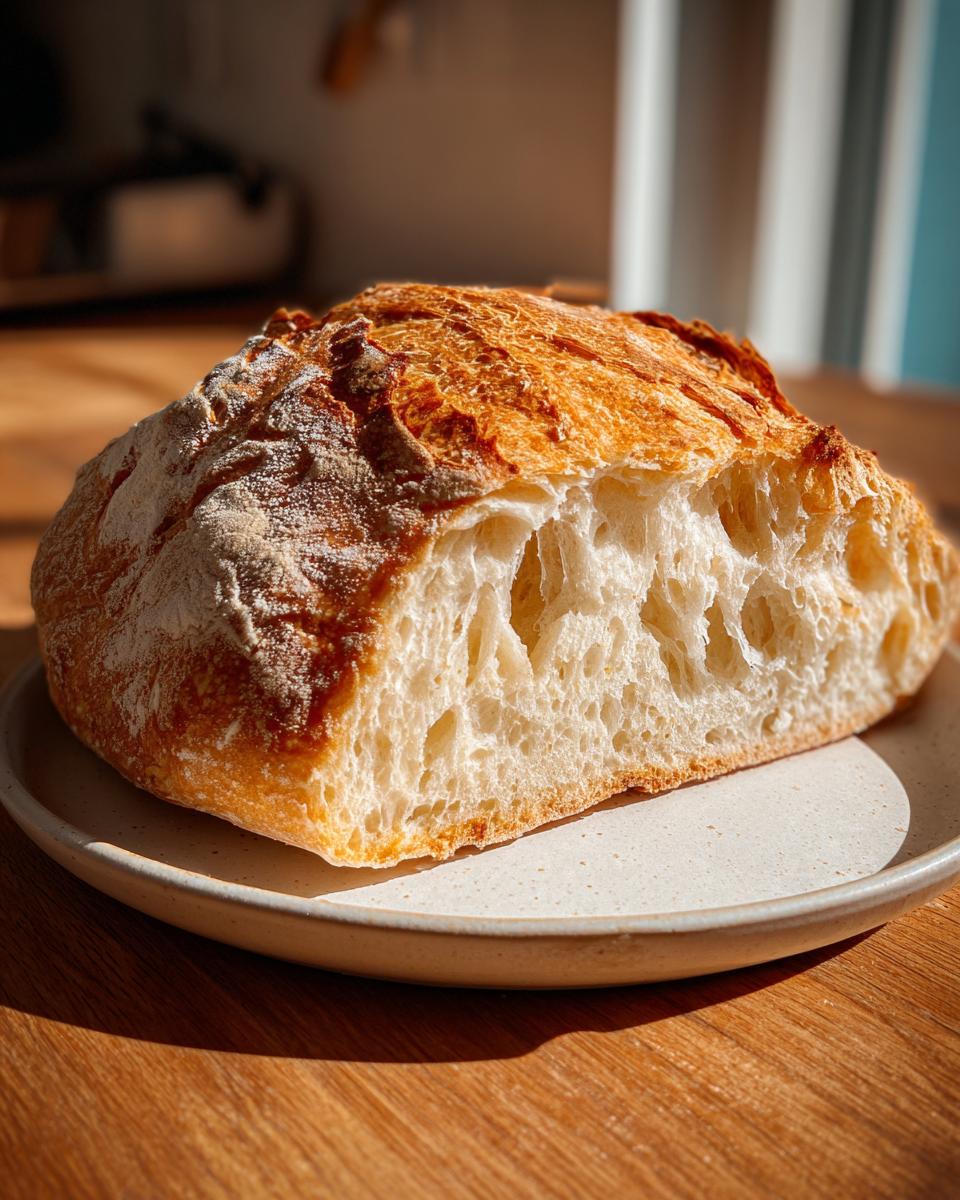
This is the final critical project phase: baking! If you want that true crusty, golden exterior on your homemade ciabatta loaf—the kind that sings when you tap it—you absolutely must mimic a professional deck oven, and that means steam. Don’t get nervous about the hot water; it’s worth every second for achieving that perfect crust.
About 45 minutes before you plan to bake, get your oven set hot: 475°F (245°C). I always put my baking stone or a heavy sheet pan on the middle rack to get screaming hot. On the bottom rack, sneak in a shallow metal pan—this is where our steam generator lives. If you’re looking for other ways to handle hot bread, I’ve got a great guide on making bread bowls that deals with high heat too.
When the oven is ready, transfer your loaves onto that hot stone. Use the parchment paper you proofed them on—just slide it right under. This is the dramatic moment for baking ciabatta with steam: carefully pour about 1 cup of very hot water into that shallow pan on the bottom rack. Slam that door shut immediately! The steam traps moisture, allowing the crust to stay pliable so the loaf can achieve its maximum oven spring and get those massive holes.
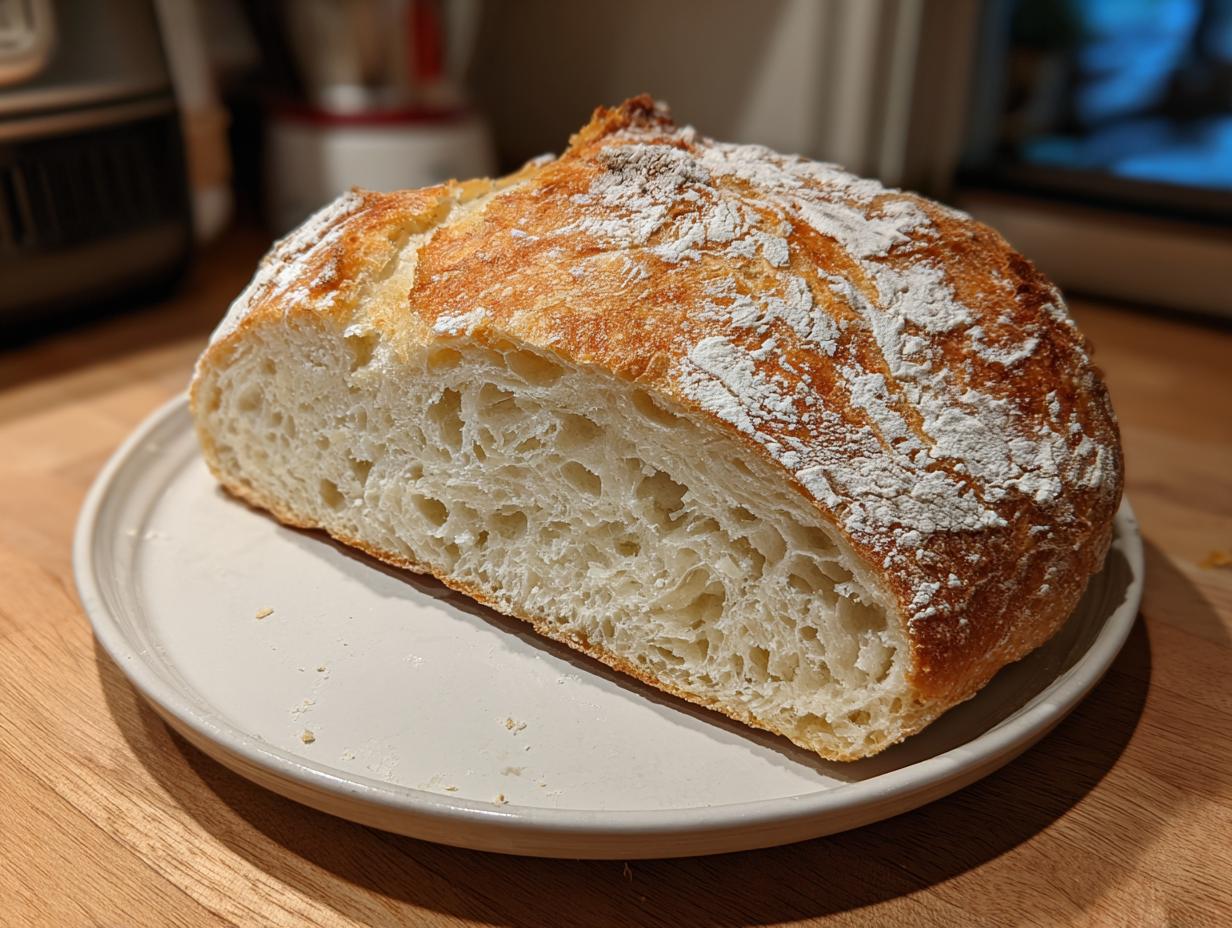
Bake for 15 minutes with that steam doing its work. After 15 minutes, you need to vent that steam out. Open the door quickly, let the steam escape, and if you can safely remove that water pan, do it. Reduce your heat down to 450°F (230°C) and bake for another 15 to 20 minutes. You are looking for a deep, rich golden-brown color. Let them cool completely on a rack before you slice that beautiful, airy cross-section!
Tips for Success with Rustic Italian Bread Recipe
Even with a foolproof plan, small details make the difference between good bread and your best homemade ciabatta loaf yet. Think of these as your quality control checklist for this rustic Italian bread recipe. While the high hydration (around 80%) is what generates those big air pockets, you have to respect the wetness. Work with wet hands constantly when handling the dough; it’s the best non-stick substitute you have! Don’t worry about it feeling soupy—that’s the goal.
If you don’t have a dedicated baking stone, don’t run out and buy one immediately! I’ve tested this plenty of times with great results by just using an overturned, heavy-gauge baking sheet on the middle rack. It conducts heat well enough to give you that necessary blast for oven spring. Also, for an ultra-crispy crust, try this little trick I learned: once the steam is vented and you’ve lowered the temp, quickly spray the inside walls of the oven with water once or twice during the first five minutes of the second bake phase. It supercharges that crust development!
Troubleshooting Common Issues with Your Homemade Ciabatta Loaf
Even with the best blueprint, sometimes a project needs a quick operational adjustment. If your homemade ciabatta loaf isn’t hitting that airy target, don’t stress; let’s diagnose it quickly.
If your loaf ends up dense or flat, the first check is your poolish activity. If it wasn’t super bubbly after 16 hours, your fermentation stalled—you need more active yeast next time or warmer room temps. For a loaf that didn’t spring much, try making your stretch and folds a little more vigorous during bulk fermentation, ensuring you are actually building tension in the dough structure instead of just mixing it.
If the crust is soft instead of crisp? You didn’t build enough steam, or you didn’t cool it long enough before slicing. Remember, we need that blast of heat and moisture!
Frequently Asked Questions About Artisan Bread Baking at Home
I know you might have a few lingering questions before you dive into this high-hydration bake. That’s totally normal! When you’re getting into artisan bread baking at home, having a reliable Q&A helps you nail the process perfectly the first time. Let’s cover the quick fixes and clarifications right now.
Can I skip the poolish entirely?
Honestly? You could, but I wouldn’t recommend it if you want that authentic, flavorful, open crumb structure. The poolish isn’t just a time-waster; it’s critical for building the strength and tangy flavor that defines this rustic Italian bread recipe. Skipping it results in a flatter, less complex loaf. If you really want to move faster, you could check out my guide on how to build a sourdough starter, but for this specific ciabatta, stick to the pre-ferment!
What if I don’t have a baking stone or peel?
No stone? No problem! As I mentioned, an overturned, heavy-gauge baking sheet works wonders because it retains and transfers heat effectively. For sliding the dough onto the hot surface (the peel step), just use the parchment paper you proofed the dough on. You slide the whole paper right onto the hot sheet. Easy hand-off, and you don’t even have to risk messing up your beautifully shaped dough!
How do I know when the dough is proofed enough during the final rest?
This is where you rely on touch, not just the clock. The dough should look nicely puffy and delicate, nearly doubling in size. To test it for your homemade ciabatta loaf, give it a very gentle poke with a floury finger. If the indentation slowly springs back about three-quarters of the way, it’s ready to bake. If it springs back immediately, it needs five more minutes. If the indentation stays totally put, you’ve gone a little far—carefully get it into the oven right away!
Why is my final ciabatta dough so sticky?
That stickiness is your friend! It means you have high hydration, which is mandatory for the airy crumb. Are you fighting the stickiness by adding a ton of extra flour? Stop that immediately! Remember the rule of thumb: when you handle the dough, apply a little water to your hands, not more flour to the dough. The flour on the bench is just to prevent sticking on the surface, not to knead into the bread itself.
PrintNo-Fail Homemade Ciabatta Loaf with Open Crumb
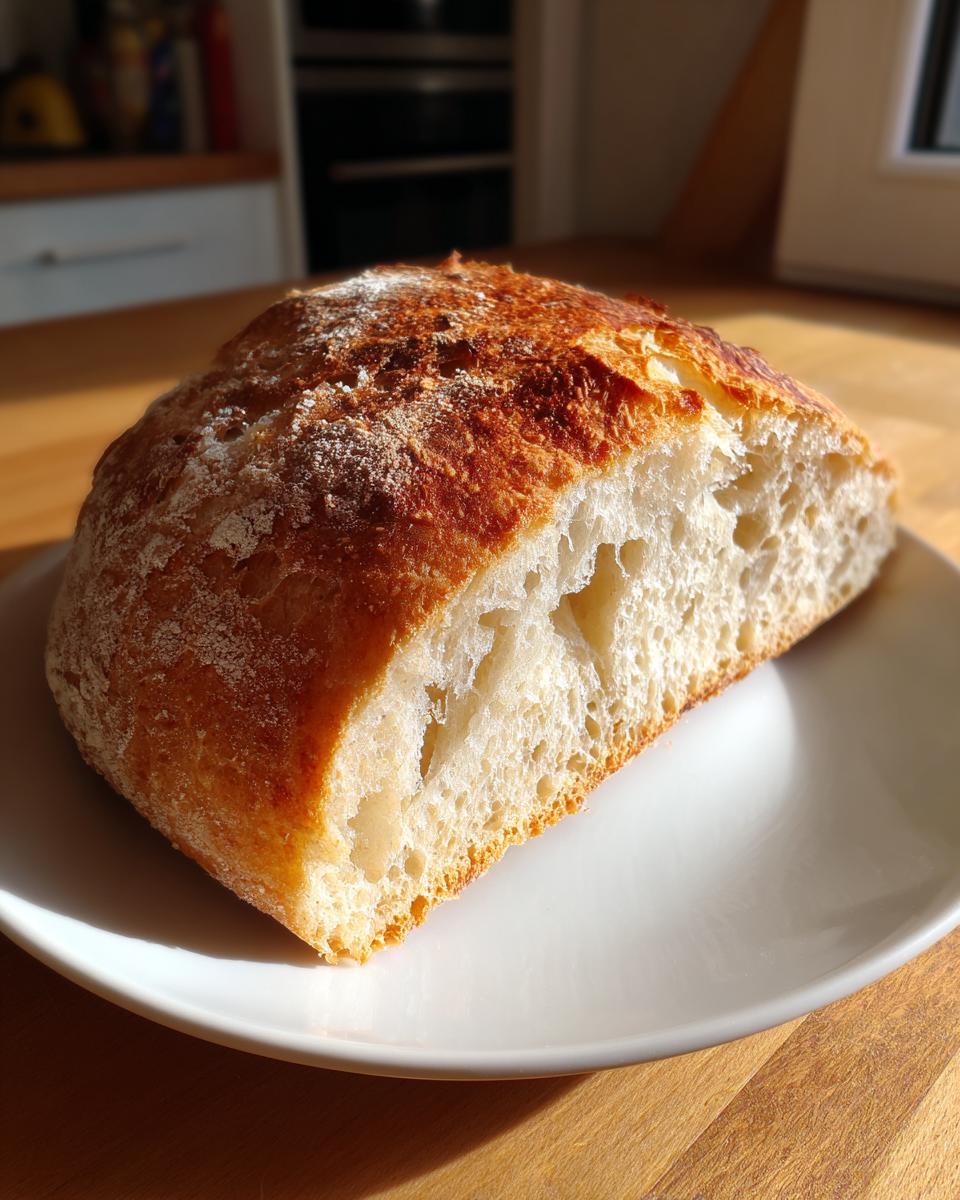
Follow this straightforward tutorial to bake an authentic, rustic Italian bread loaf with the characteristic open, airy crumb structure in your home oven.
- Prep Time: 20 min
- Cook Time: 35 min
- Total Time: 17 hours 5 min (includes 16 hours for poolish)
- Yield: 2 medium loaves 1x
- Category: Bread
- Method: Baking
- Cuisine: Italian
- Diet: Vegetarian
Ingredients
- 1 cup (240g) water, room temperature (for the poolish)
- 1 cup (120g) bread flour (for the poolish)
- 1/4 teaspoon instant dry yeast (for the poolish)
- 2 cups (240g) bread flour (for the main dough)
- 1 cup (240g) warm water (105-115°F or 40-46°C) (for the main dough)
- 1 teaspoon instant dry yeast (for the main dough)
- 2 teaspoons fine sea salt
- Extra flour or semolina for dusting
Instructions
- Prepare the Poolish: In a medium bowl, mix the 1 cup water, 1 cup bread flour, and 1/4 teaspoon yeast until just combined. Cover the bowl loosely with plastic wrap and let it sit at room temperature for 12 to 16 hours until very bubbly and active. This is your pre-ferment.
- Mix the Dough: In a large mixing bowl, combine the remaining 2 cups of bread flour, the 1 cup warm water, and 1 teaspoon of yeast. Add the entire poolish mixture. Mix with a wooden spoon or spatula until a shaggy mass forms and no dry flour remains. Let this mixture rest, covered, for 30 minutes (autolyse).
- Add Salt and Mix: Sprinkle the salt over the dough. Using wet hands, perform a series of stretch and folds directly in the bowl for about 2 minutes. Gently stretch a portion of the dough up and fold it over the center. Rotate the bowl and repeat until you have folded all sides.
- Bulk Fermentation: Cover the bowl and let the dough rest for 3 hours at room temperature. During this time, perform stretch and folds every 30 minutes for the first 90 minutes (three sets total). The dough will become noticeably more airy and developed.
- Divide and Shape: Lightly flour a work surface. Gently scrape the wet dough out onto the surface. Do not punch it down. Lightly dust the top of the dough with flour. Using a bench scraper, gently divide the dough into 2 or 3 equal pieces. Gently stretch each piece into a rough rectangle shape, being careful not to force out all the gas.
- Final Proof: Generously dust a piece of parchment paper or a linen couche with flour or semolina. Carefully transfer the shaped dough pieces onto the prepared surface, leaving space between them. Cover loosely with plastic wrap or a clean kitchen towel. Let proof for 45 to 60 minutes until puffy.
- Preheat Oven: About 45 minutes before baking, place a baking stone or heavy baking sheet on the middle rack. Place a shallow metal pan on the bottom rack. Preheat your oven to 475°F (245°C).
- Bake: Carefully slide the parchment paper with the loaves onto the preheated baking stone. Pour 1 cup of hot water into the shallow pan on the bottom rack to create steam. Immediately close the oven door.
- Steam Bake: Bake for 15 minutes with the steam. After 15 minutes, carefully open the oven door to release the steam (remove the water pan if possible, or just open the door briefly). Reduce the temperature to 450°F (230°C) and continue baking for another 15 to 20 minutes, until the crust is deep golden brown.
- Cool: Transfer the baked ciabatta loaves to a wire rack to cool completely before slicing.
Notes
- The high hydration level (around 80%) is what creates the open crumb structure. Work with wet hands when handling the dough.
- If you do not have a baking stone, you can use an overturned heavy baking sheet.
- For a crispier crust, you can spray the inside walls of the oven with water once during the first 5 minutes of baking.
Nutrition
- Serving Size: 1 slice
- Calories: 180
- Sugar: 0.5
- Sodium: 250
- Fat: 0.5
- Saturated Fat: 0.1
- Unsaturated Fat: 0.4
- Trans Fat: 0
- Carbohydrates: 38
- Fiber: 1.5
- Protein: 6
- Cholesterol: 0