
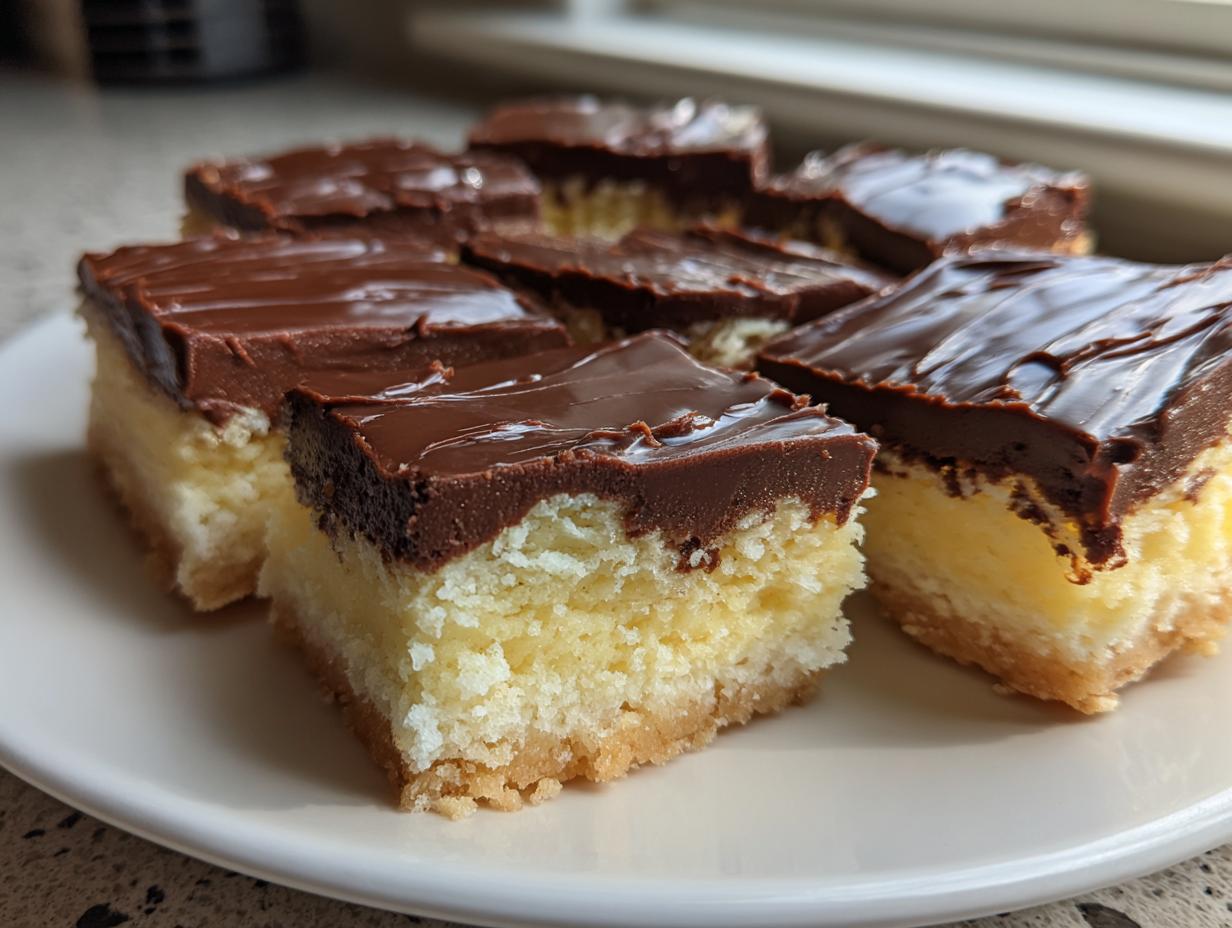
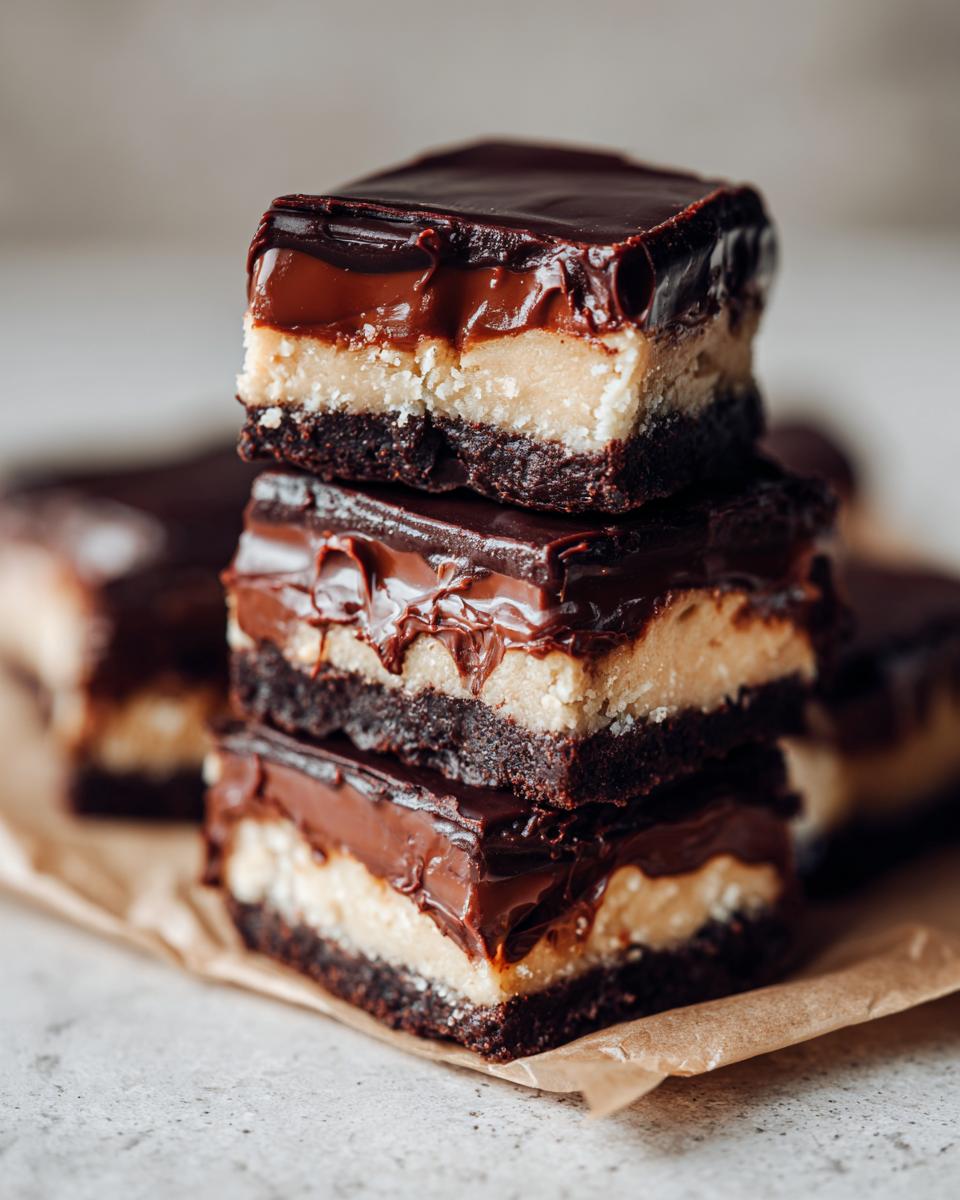
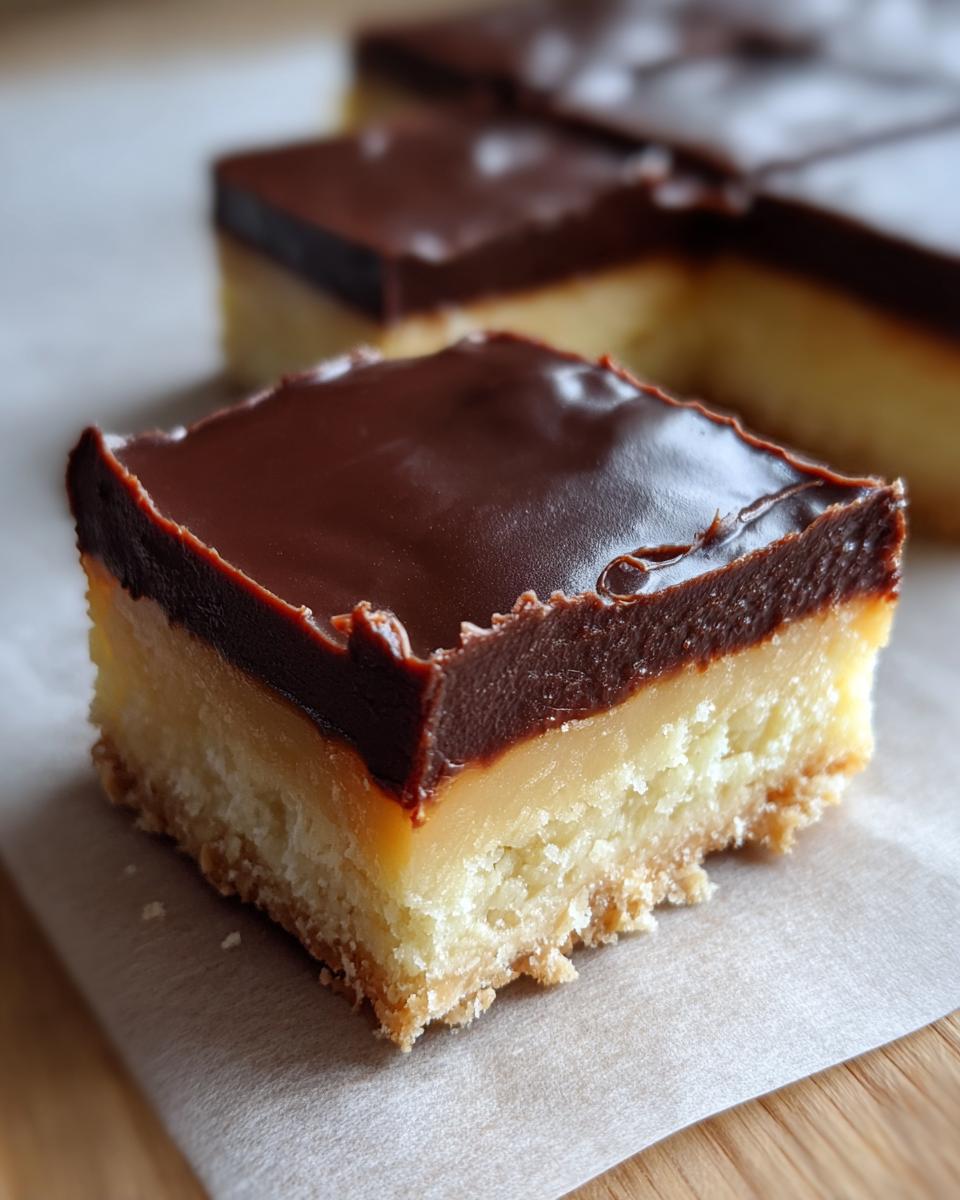
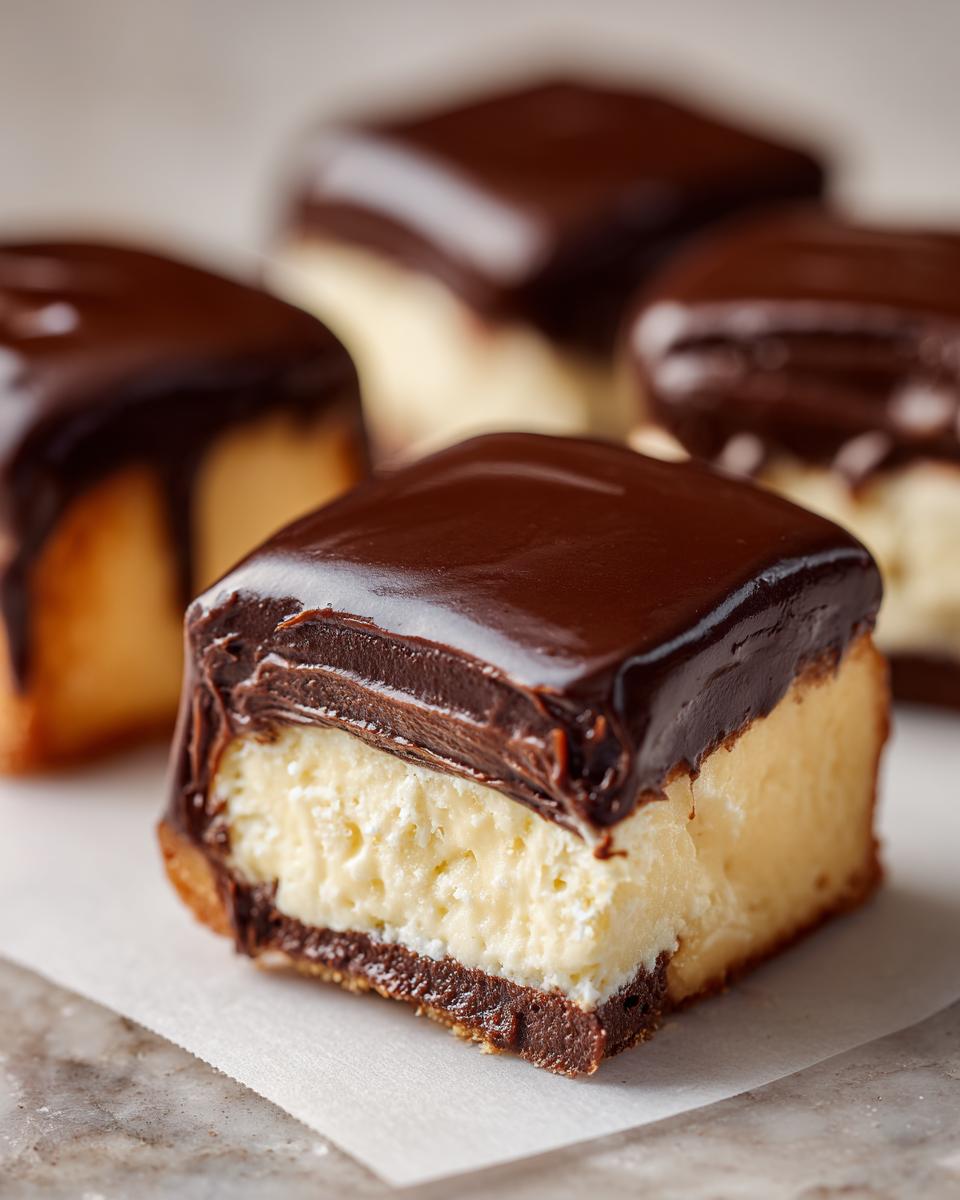
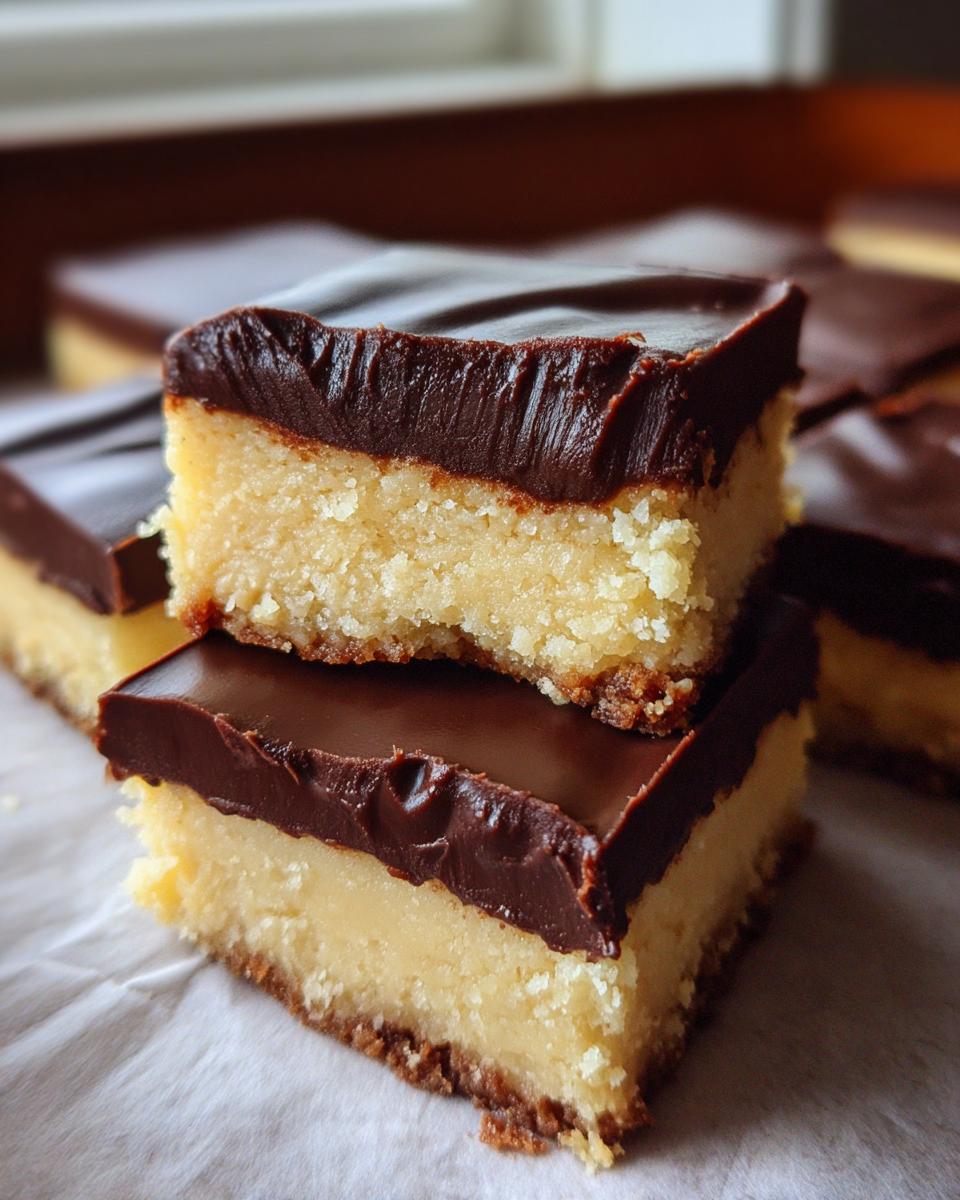
You know those desserts that just scream celebration? Boston cream pie is one of them, right? That perfect combo of fluffy cake, creamy custard, and rich chocolate ganache is a classic for a reason. Well, I got to thinking, how can we get that amazing flavor into something I could whip up in a flash, maybe even for a busy weeknight sweet tooth? That’s where my whole Dishicious approach comes in – taking something great and figuring out how to make it super simple and totally foolproof. This Boston cream pie fudge is the delicious result! It’s a no-bake layered treat that gives you all those iconic Boston cream pie flavors without even turning on the oven. Trust me, this easy homemade fudge is going to be your new go-to for parties or just because!
- Why You'll Love This Boston Cream Pie Fudge
- Ingredients for Layered Boston Cream Pie Fudge
- Crafting Your Boston Cream Pie Fudge: Step-by-Step
- Tips for Perfect Boston Cream Pie Fudge
- Frequently Asked Questions About This Fudge
- Estimated Nutritional Information
- Share Your Boston Cream Pie Fudge Creations!
Why You’ll Love This Boston Cream Pie Fudge
Seriously, this recipe is a winner on so many levels. You’re going to love it because:
- It’s ridiculously easy – no oven required, just stirring and chilling! Perfect for a speedy sweet treat.
- You get ALL the classic Boston cream pie flavors: that creamy vanilla custard vibe and rich chocolate, all in one bite.
- It looks so fancy, like you spent hours on it, but it’s honestly a breeze to make. Hello, impressive!
- It’s super versatile. Make it for holidays, bake sales, or just to have something amazing on hand when dessert cravings hit.
- Clean-up is a snap! We’re talking minimal dishes, which is always a win in my book.
Ingredients for Layered Boston Cream Pie Fudge
Okay, so gathering your ingredients is like gathering your building blocks. For this amazing layered fudge, you’re going to need just a few simple things you probably already have in your pantry. We’ve got the magic for that creamy vanilla base and then the super glossy chocolate topping.
You’ll need:
- 1 (14 ounce) can sweetened condensed milk
- 1 1/2 cups granulated sugar
- 3 tablespoons butter
- 1 teaspoon vanilla extract
- 1/4 cup heavy cream
- 4 ounces semi-sweet chocolate, chopped
That’s it! No complicated stuff here, just good old-fashioned pantry staples ready to become something truly special.
Crafting Your Boston Cream Pie Fudge: Step-by-Step
Alright, this is where the magic really happens! Making this Boston cream pie fudge is honestly a piece of cake… well, a piece of fudge! My project manager brain loves how streamlined this is, and I bet yours will too. We’ll tackle it in three simple parts, making sure every step is easy to follow so you get that perfect layered look without any fuss. Much like how we approach other simple no-bake treats, such as our no-bake trail mix bars, this recipe is all about maximum flavor with minimum effort. Trust me, this no-bake dessert comes together so smoothly!
Preparing the Vanilla Custard Fudge Base
First things first, let’s get that yummy vanilla base going. Grab an 8×8 inch baking pan and line it with parchment paper. Make sure you leave some overhang on the sides – that makes lifting the fudge out so much easier later! Now, in a medium saucepan, combine your sweetened condensed milk, sugar, and butter. We’re going to cook this over medium heat, stirring it constantly. Seriously, don’t walk away! You want it to thicken up and start pulling away from the sides of the pan, which usually takes about 8 to 10 minutes. Keep a close eye on it; we don’t want it to boil, just to get nice and thick like a classic fudge needs to be. Once it’s there, take it off the heat and stir in that teaspoon of vanilla extract. Pour this lovely, thick mixture into your prepared pan and spread it out nice and even.
Creating the Glossy Chocolate Ganache Topping
Now for the dreamy chocolate layer! Grab a small microwave-safe bowl. Toss in your 1/4 cup of heavy cream and the 4 ounces of chopped semi-sweet chocolate. Pop it in the microwave for 30-second intervals. Between each interval, give it a good stir until that chocolate is completely melted and you’ve got a super smooth, glossy ganache. It’s like a mini magic trick! This is what gives your fudge that beautiful, rich topping that Boston cream pie is famous for. If you’re feeling fancy, you could even use dark chocolate here for an extra punch of flavor!
Assembling and Chilling Your Layered Fudge
Okay, moment of truth! Carefully pour that luscious chocolate ganache right over the vanilla fudge layer you spread in the pan. Gently spread it out evenly to cover the whole surface. Now comes the hardest part: waiting! You need to pop this into the refrigerator for at least 2 hours, or honestly, until it’s completely firm. This chilling time is crucial for getting those clean, perfect squares when you cut it. Once it’s set, use those parchment paper overhangs to lift the whole slab of fudge right out of the pan. Then, just slice it into squares. It’s that simple to get this gorgeous layered fudge recipe done!
Tips for Perfect Boston Cream Pie Fudge
You know, I’ve made this boston cream pie fudge enough times to know a few little tricks that really make it shine. It’s already pretty foolproof, but these little tips can take it from great to absolutely amazing. First off, using good quality ingredients makes a difference! The sweetened condensed milk should be full fat, and for that ganache, using good semi-sweet chocolate you chop yourself rather than chips really gives a smoother finish.
A common pitfall? Stirring the fudge! You absolutely have to stir it constantly while it’s cooking. If you don’t, you risk scorching the bottom, and nobody wants that burnt taste in their delicious fudge. Also, patience is key with the chilling. If you try to cut it too soon, it’ll be messy. Let it set completely, and you’ll get those clean cuts for that beautiful layered effect. For more insider tips on fudge-making, check out my easy homemade fudge guide!
Frequently Asked Questions About This Fudge
Got questions about whipping up this amazing boston cream pie fudge? I’ve got you covered! It’s super straightforward, but here are some things people often wonder about.
Can I make this fudge ahead of time?
Oh, absolutely! This layered fudge recipe is perfect for making ahead. Just store it tightly wrapped in the fridge for up to a week. It actually tastes even better the next day!
What if my fudge doesn’t set?
Don’t panic! If your fudge is too soft, it usually means it didn’t cook quite long enough or it needs more chilling time. Try popping it back in the fridge for another hour or two. If it’s still a bit soft, it’s still delicious – just eat it with a spoon!
Can I use different types of chocolate for the ganache?
You bet! While semi-sweet is classic, feel free to use milk chocolate for a sweeter topping or dark chocolate for a richer, more intense flavor. Just make sure whatever you use melts smoothly for that gorgeous, glossy finish on your no-bake dessert.
Estimated Nutritional Information
Just a heads-up, the nutritional info for this glorious boston cream pie fudge is an estimate, okay? Things like the exact brands you use and even how precisely you measure can shift things a bit. But generally, you’re looking at around 200 calories per square. It’s got about 8g of total fat, with 5g of that being saturated fat, and roughly 30g of carbs with about 30g of sugar. Protein is about 2g per serving. So, enjoy a piece guilt-free – it’s worth it!
Share Your Boston Cream Pie Fudge Creations!
Okay, now it’s your turn to make some magic! I would absolutely LOVE to see your boston cream pie fudge creations. Did you make it for a party? Did the kids go wild for it? Snap a pic and share it, or tell me all about your experience in the comments below! Seeing your takes on this recipe seriously makes my day. Happy baking… or should I say, happy fudge-making!
PrintBoston Cream Pie Fudge
A no-bake layered fudge with vanilla custard flavor and a glossy chocolate ganache topping, reminiscent of Boston cream pie.
- Prep Time: 15 min
- Cook Time: 10 min
- Total Time: 2 hours 25 min
- Yield: 16 servings 1x
- Category: Dessert
- Method: No Bake
- Cuisine: American
- Diet: Vegetarian
Ingredients
- 1 (14 ounce) can sweetened condensed milk
- 1 1/2 cups granulated sugar
- 3 tablespoons butter
- 1 teaspoon vanilla extract
- 1/4 cup heavy cream
- 4 ounces semi-sweet chocolate, chopped
Instructions
- Line an 8×8 inch baking pan with parchment paper, leaving an overhang on the sides.
- In a medium saucepan, combine sweetened condensed milk, granulated sugar, and butter.
- Cook over medium heat, stirring constantly, until the mixture thickens and pulls away from the sides of the pan, about 8-10 minutes. Do not boil.
- Remove from heat and stir in vanilla extract.
- Pour the vanilla fudge mixture into the prepared pan and spread evenly.
- In a small microwave-safe bowl, combine heavy cream and chopped semi-sweet chocolate.
- Microwave in 30-second intervals, stirring after each, until the chocolate is melted and the ganache is smooth.
- Pour the chocolate ganache over the vanilla fudge layer and spread evenly.
- Refrigerate for at least 2 hours, or until firm.
- Lift the fudge out of the pan using the parchment paper overhang.
- Cut into squares and serve.
Notes
- For a richer chocolate flavor, use dark chocolate for the ganache.
- Ensure you stir the fudge mixture constantly to prevent scorching.
- Allow the fudge to set completely before cutting for clean slices.
Nutrition
- Serving Size: 1 square
- Calories: 200
- Sugar: 30g
- Sodium: 20mg
- Fat: 8g
- Saturated Fat: 5g
- Unsaturated Fat: 3g
- Trans Fat: 0g
- Carbohydrates: 30g
- Fiber: 1g
- Protein: 2g
- Cholesterol: 15mg