
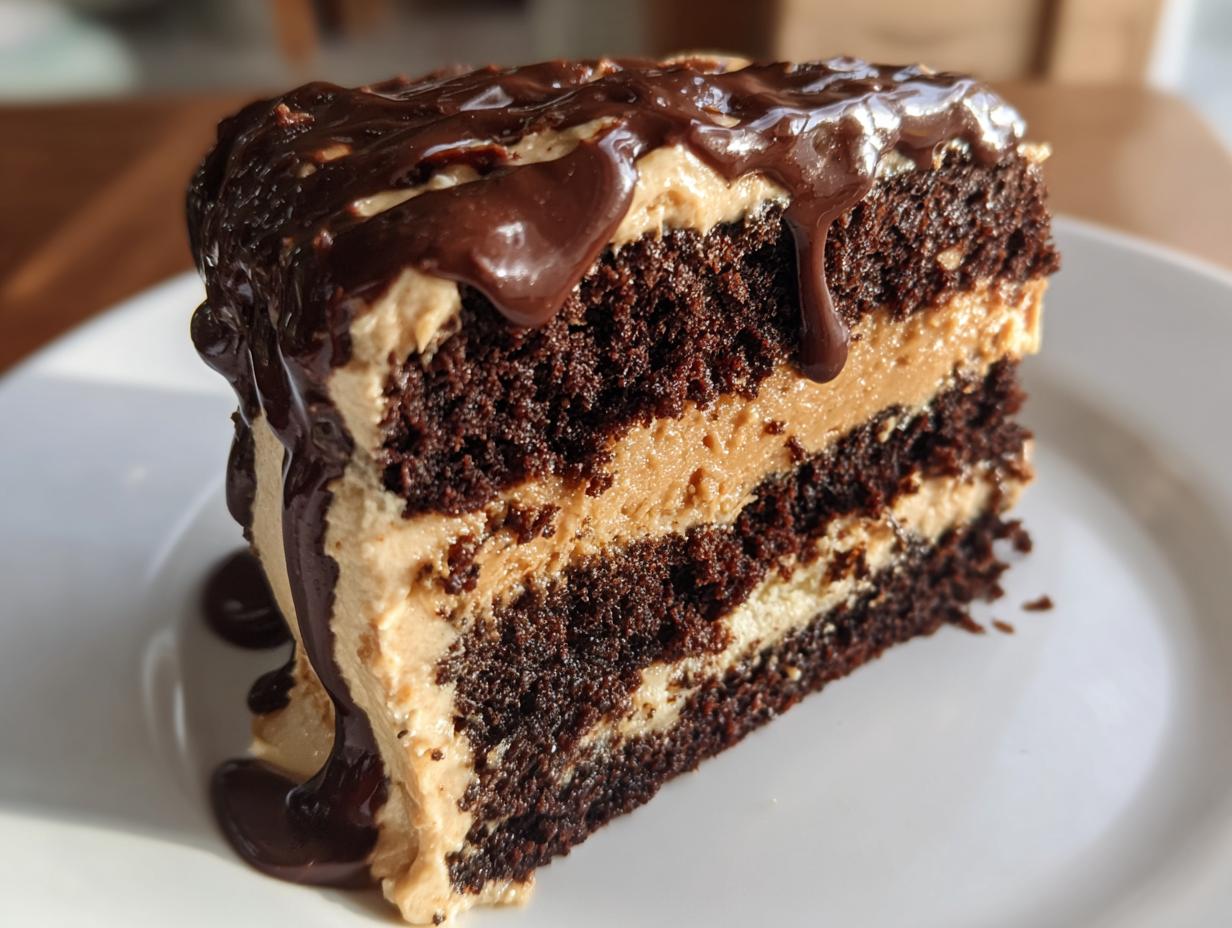
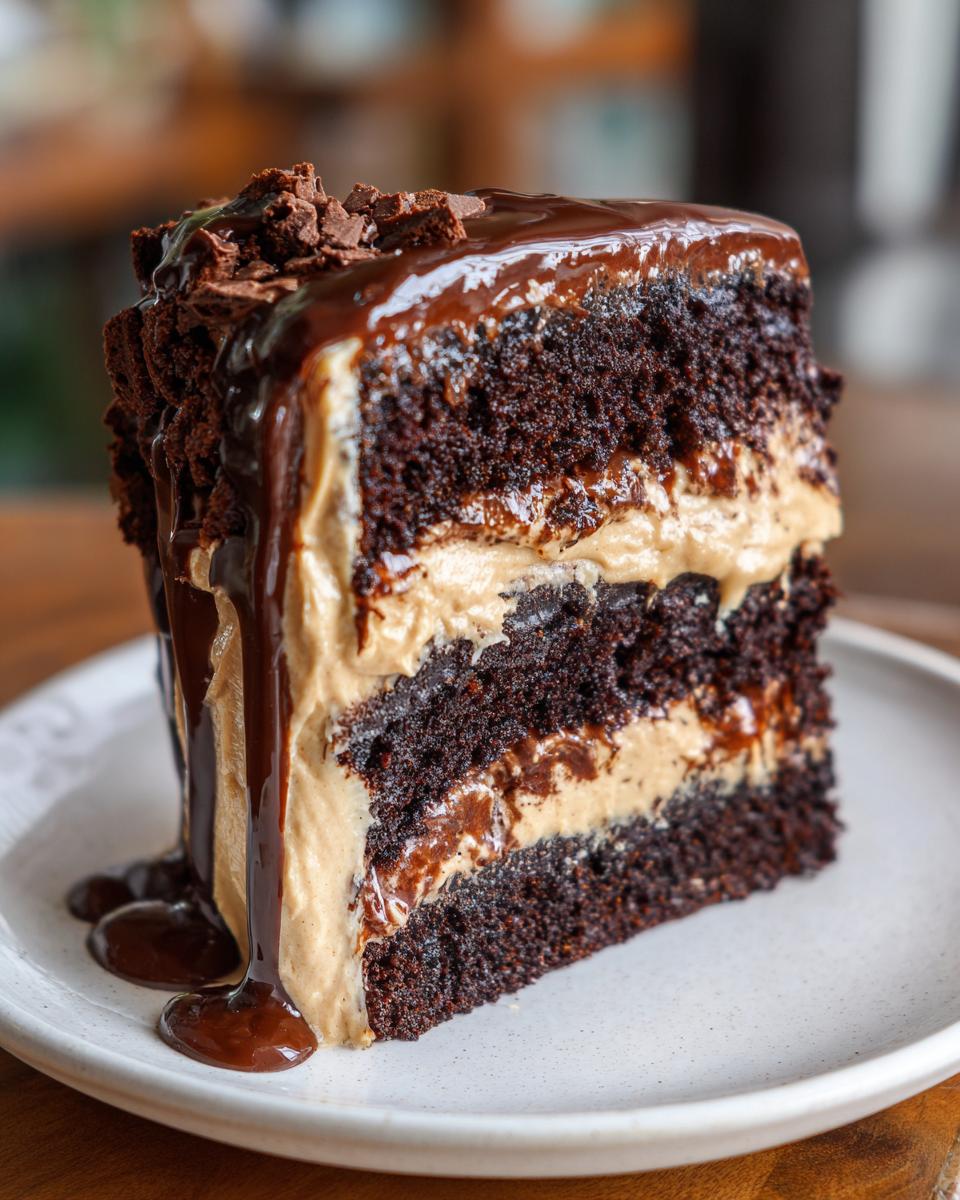
If you have a craving that only chocolate and peanut butter together can solve, stop scrolling right now. This Extra Moist Chocolate Peanut Butter Cake is the showstopper you deserve! Forget dry, crumbly layers; we’re talking about rich, deep chocolate cake that stays impossibly moist, stacked high with the creamiest peanut butter frosting you’ve ever tasted, all topped off with that gorgeous, glossy chocolate ganache drip. When I first started Dishicious, I focused on optimizing recipes—taking complex ideas and engineering them to be simple and foolproof. This chocolate frosting recipe component is a perfect example of that philosophy. Trust me, making a truly decadent chocolate peanut butter cake from scratch doesn’t need to take all day; it just needs the right optimization.
- Why This Chocolate Peanut Butter Cake Is Your New Go-To Dessert
- Ingredients for Your Decadent Layer Chocolate Peanut Butter Cake
- Step-by-Step Instructions for the Chocolate Peanut Butter Cake
- Tips for Success Making Your Chocolate Peanut Butter Cake
- Storage and Make-Ahead Tips for This Peanut Butter Chocolate Dessert
- Frequently Asked Questions About the Chocolate Peanut Butter Cake
- Estimated Nutritional Data for This Ultimate Chocolate Dessert
- Share Your Homemade Layer Cake Tutorial Experience
- Share Your Homemade Layer Cake Tutorial Experience
Why This Chocolate Peanut Butter Cake Is Your New Go-To Dessert
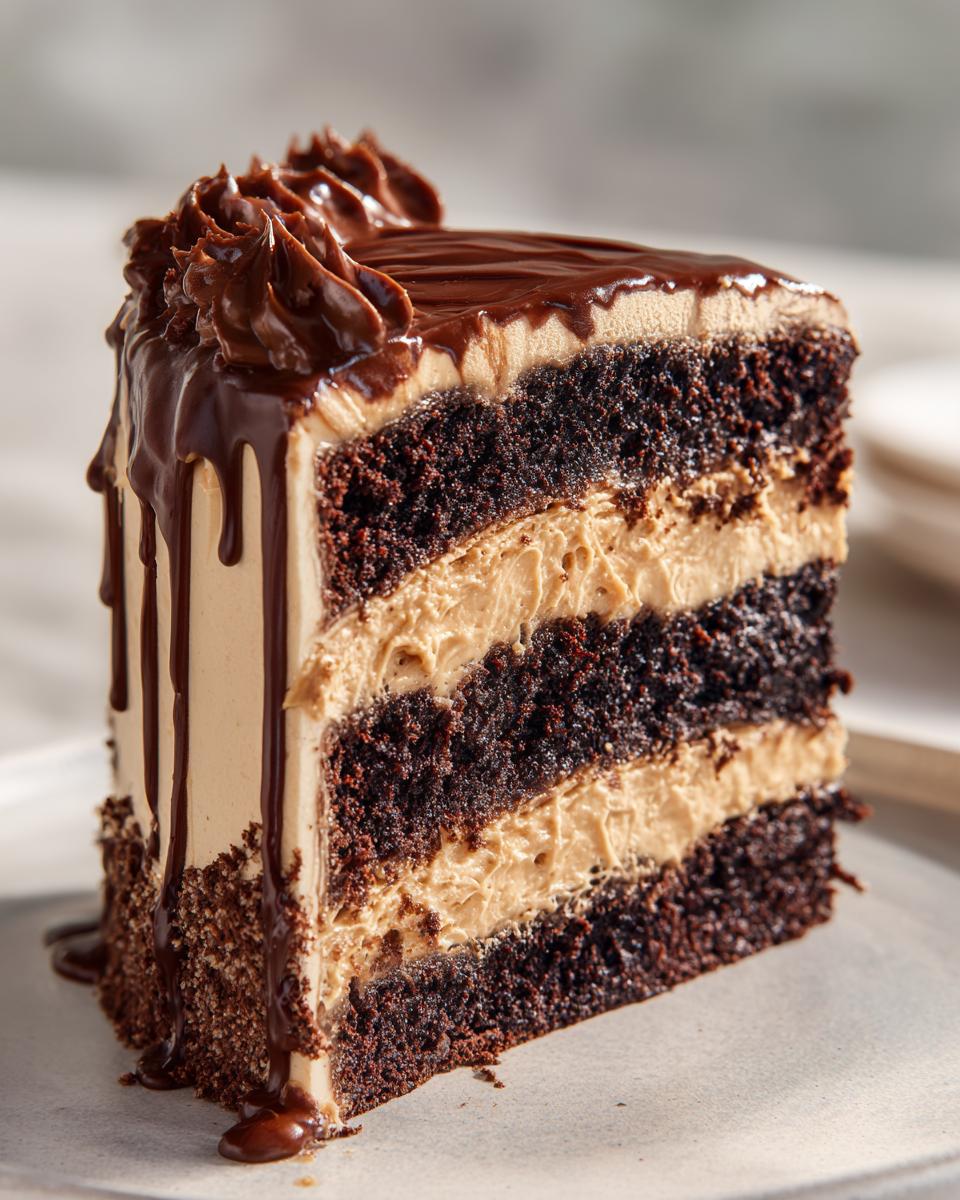
Why should you drop everything and make this specific chocolate peanut butter cake? Because it hits every single high note you want in a celebration dessert but skips the fuss. It’s designed for maximum payoff with minimum stress. It’s rich, it’s showstopping, and honestly, it tastes way better than anything store-bought.
Achieving Maximum Moisture in Every Chocolate Peanut Butter Cake Layer
No one likes a dry cake, period. We use two secret weapons here that guarantee moisture: buttermilk reacts perfectly with the cocoa, and the addition of hot brewed coffee deepens that chocolate flavor while keeping every crumb soft. It just works, folks!
The Ultimate Creamy Peanut Butter Frosting
This frosting isn’t just sweet; it has that perfect mild saltiness that cuts through the rich chocolate. This creamy peanut butter frosting is whipped up fast and holds its shape beautifully, so your layers don’t slide when you stack them up. It’s pure indulgence!
Ingredients for Your Decadent Layer Chocolate Peanut Butter Cake
Okay, gathering your supplies is where the real project management comes in! We need three main components for this masterpiece: the cake layers, the amazing frosting, and the final drizzle. I promise, if you stick to exactly what I list here—especially the temperature of the butter—you won’t have any issues. If you need some general advice, my post on cream cheese frosting goes over why cold ingredients sometimes cause trouble, which is a good rule to remember here too! Get your butter temperature right for happy baking.
For the Moist Chocolate Cake Layers
This is where we build maximum flavor and moisture. When we mix the dry stuff, I always use the spoon-and-level method for the flour and cocoa powder. If you just scoop straight from the bag, your cake will be denser than you want. Don’t skip the hot coffee; it blooms the cocoa and makes the chocolate flavor sing!
- 1 3/4 cups all-purpose flour
- 3/4 cup unsweetened cocoa powder
- 2 teaspoons baking soda
- 1 teaspoon baking powder
- 1 teaspoon salt
- 2 cups granulated sugar
- 1 cup buttermilk (remember the vinegar trick if you need it!)
- 1/2 cup vegetable oil
- 2 large eggs
- 2 teaspoons vanilla extract
- 1 cup hot brewed coffee
For the Creamy Peanut Butter Frosting
The absolute key here, and I mean absolute key, is making sure your butter is perfectly softened. It should give slightly when pressed but shouldn’t look greasy or melted at all. If your butter is too cold, your frosting will look lumpy, and we want this to be silky smooth for that perfect cake filling!
- 1 cup creamy peanut butter (the smooth kind, please!)
- 1/2 cup (1 stick) unsalted butter, softened enough to easily press a finger into
- 3 cups powdered sugar, sifted if it’s very clumpy
- 1/4 cup milk or heavy cream (start with less, add more if needed)
- 1/2 teaspoon salt (this balances the sweetness!)
For the Chocolate Ganache Drizzle
This part is super simple— it’s just two ingredients, really! We use semi-sweet chocolate because it provides a nice, slightly bitter contrast to how sweet the peanut butter frosting is. Balance is everything in this ultimate chocolate dessert!
- 4 ounces semi-sweet chocolate, finely chopped
- 1/2 cup heavy cream
Step-by-Step Instructions for the Chocolate Peanut Butter Cake
Alright, let’s get this incredible Chocolate Peanut Butter Cake into the oven! I think of baking like any other project: prep first, execute precisely, then admire the results. We’re dividing this into three parts: getting those perfect layers baked, whipping up that decadent filling, and putting it all together like a true showstopper. Getting the timing down on cooling is just as important as mixing, trust me!
Baking the Perfect Chocolate Peanut Butter Cake Layers
First thing: get that oven fired up to 350°F (175°C). While it’s heating, grease and flour those 8-inch pans—don’t be stingy on the grease! In a big bowl, whisk your dry ingredients—flour, cocoa, leavening agents, salt—and then mix in the sugar. Separately, whisk your wet ingredients (buttermilk, oil, eggs, vanilla). Then, combine wet and dry until it just comes together. Now for the magic: gently pour in that hot coffee and mix on low until it’s smooth. The batter will look thin, but that’s exactly what makes this chocolate cake so moist! Pour evenly and bake for about 30 to 35 minutes. You want a pick to come out clean, and let them cool in the pans for 10 minutes before you flip them out.
Making the Rich And Creamy Cake Filling and Frosting
While those layers cool down completely (this is vital!), you can whip up the frosting, which is where we develop that wonderful Rich And Creamy Cake Filling. Beat your softened butter and peanut butter together until they look light and fluffy—this takes a minute or two. Then, start adding your powdered sugar slowly, alternating with tiny splashes of milk or cream until it’s perfectly smooth. Stop adding sugar when you reach a lovely, spreadable consistency. Give it a little pinch of salt to make the flavors pop, and that’s it for this gorgeous topping!
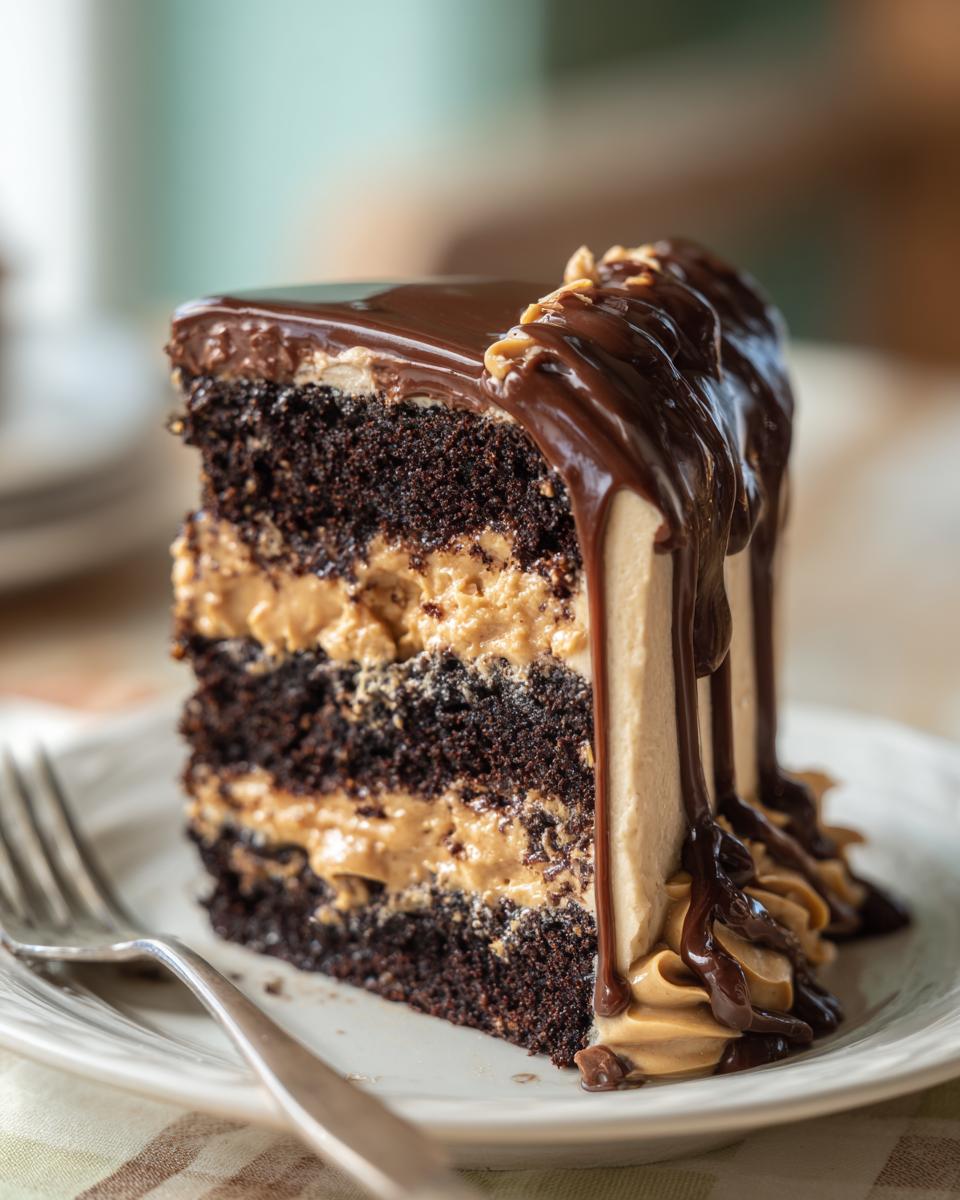
Assembling Your Showstopper Birthday Cake
Time for construction! Place one cooled layer down. Take about a third of that peanut butter frosting and spread it evenly—don’t push down too hard! Place the second cake layer carefully on top. Now, use the rest of the frosting to cover the whole thing: the top and the sides. Next up, the ganache. Once the ganache has cooled just enough to thicken slightly (it shouldn’t be runny, or it will just soak in), drizzle it casually over the top edge, encouraging a few drips down the sides. Chill this beauty for at least half an hour before slicing so everything sets up nicely.
Tips for Success Making Your Chocolate Peanut Butter Cake
Look, even though this chocolate peanut butter cake is designed to be easy here at Dishicious, sometimes little issues pop up in the kitchen. That’s totally normal! Baking is chemistry, right? But with a couple of proactive tips, we can make sure your results look just as good as the photos. I always keep these tricks in my back pocket when I know I’m whipping up a showstopper for friends.
Buttermilk Substitute for the Moist Chocolate Cake Recipe
Okay, maybe you went to the store and they were totally out of buttermilk. Don’t panic and definitely don’t skip using an acid—that reaction with the baking soda is crucial for getting that great rise without over-relying on baking powder! If you’re in a pinch, you can make your own quick buttermilk substitute. Just take one cup of regular milk—whole milk works best—and stir in one tablespoon of either white vinegar or fresh lemon juice. Let that mixture sit on the counter for about five to ten minutes. It will curdle slightly, looking a little funky, but that’s exactly what you need to keep those chocolate layers moist and tender.
Finishing Touches for a Reese’s Inspired Cake
If you want to take this cake from “amazing dessert” to “OMG, where did you buy this dessert,” you need a little extra texture on the outside. Since we are already in that chocolate and peanut butter zone, why not lean into it? My personal favorite way to decorate the sides is simple: take a bag of those mini Reese’s cups, maybe chop them roughly—or don’t, I’m not judging if you just press them in whole!—and gently press them around the bottom edge of the cake after you’ve frosted it. It adds fantastic texture and makes it look instantly professional. It’s a fun little trick for any chocolate peanut butter cake!
Storage and Make-Ahead Tips for This Peanut Butter Chocolate Dessert
Since this is a showstopper for celebrations, you might want to make it ahead of time! Good news: this peanut butter chocolate dessert holds up really well. Because of that rich, creamy peanut butter frosting, you absolutely must keep leftovers covered in the fridge. It’ll stay great for about three or four days protected from the air!
I usually assemble the whole thing the day before a party. Just pull it out about an hour before serving so the frosting softens up a little bit. If you want to cheat even more, you can bake the layers a day ahead and wrap them tightly in plastic wrap at room temperature. Frosting later saves so much stress!
Frequently Asked Questions About the Chocolate Peanut Butter Cake
It’s totally normal to have questions when you’re tackling something this decadent! We want your baking project to go smoothly, so here are a few things people often ask me about whipping up this amazing chocolate peanut butter cake. Don’t be shy—kitchen confidence comes from knowing the answers!
Can I use cake mix instead of this From Scratch Chocolate Cake recipe?
I know those quick recipes pop up everywhere, promising a great result in 45 minutes! And hey, if you’re in a bind, using a good quality chocolate cake mix is faster. But if you want the absolute best, richest flavor and that signature incredible moisture we talked about, sticking to this scratch recipe is the way to go. The coffee and buttermilk in our recipe just can’t be replicated by a box!
What is the best way to store leftover chocolate peanut butter cake?
This is important because of that amazing frosting! Since we’re using real butter and usually some milk or cream in the peanut butter topping, this cake needs refrigeration if it’s not going to be eaten in one sitting. Keep it covered tightly with plastic wrap or in an airtight container. Pull it out about an hour before you plan to serve it again so the frosting can soften up nicely.
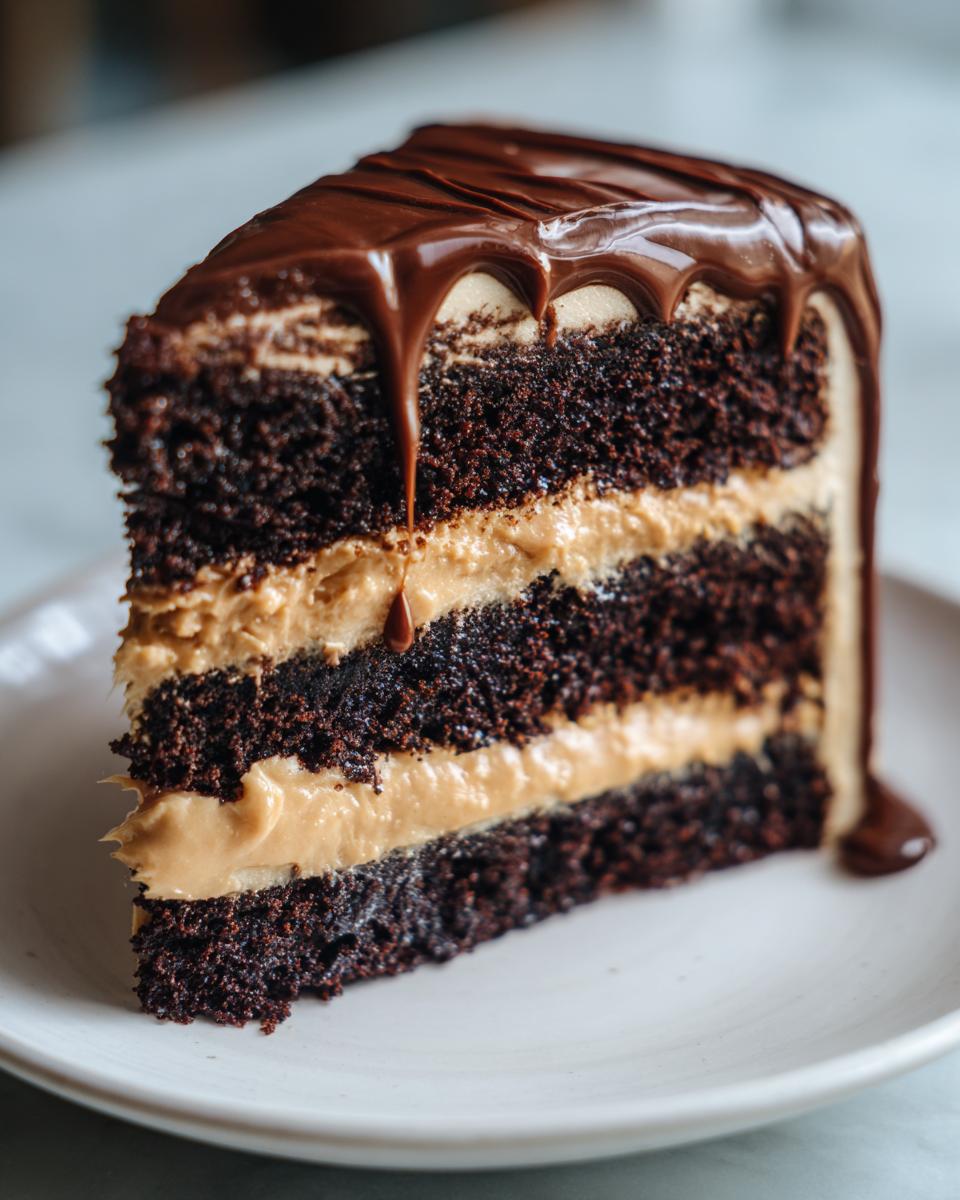
How do I get a clean Chocolate Ganache Drip Cake finish?
The temperature of that ganache drizzle is everything for a clean look. If it’s too hot, it’s too thin, and it just runs right down to the plate, turning into a puddle. If it’s too cold, it clumps up. You want it warm but definitely not hot—think the consistency of thick maple syrup when you stir it. Let it sit on the counter for about 15 to 20 minutes after you mix it before you even think about drizzling!
Estimated Nutritional Data for This Ultimate Chocolate Dessert
Okay, let’s talk numbers for this incredible dessert. Since baking involves so many variables—like the exact brand of peanut butter or how heavy-handed you are with the ganache drizzle—these figures are just estimates, based off of standard ingredient measures. Remember, this is a truly decadent ultimate chocolate dessert experience, so we aren’t exactly aiming for low-cal, right? Enjoy it guilt-free!
Here is the breakdown per serving, assuming the recipe yields 10 slices:
- Serving Size: 1 slice
- Calories: Around 550
- Sugar: Roughly 65g (That’s where the joy lives!)
- Fat: About 32g total fat
- Carbohydrates: Roughly 68g
- Protein: Around 9g
- Sodium: About 350mg
Just a little heads up from my project manager brain: these figures are based on the main ingredients listed. If you decide to use super rich heavy cream in your frosting or pile on extra Reese’s cups on the sides (which you should!), those numbers will definitely tick up a bit. Always treat these figures as a guideline rather than a strict fact for your amazing homemade creation!
Share Your Homemade Layer Cake Tutorial Experience
I really hope you loved diving into this recipe as much as I loved sharing it. Seriously, making a homemade layer cake tutorial-worthy dessert shouldn’t feel stressful; it should feel rewarding! I want to see what you come up with. Did you stick to the simple ganache drizzle, or did you go totally wild with peanut butter cup decorations?
Don’t be a stranger now that you’ve baked the perfect layers! Head over and let me know how this chocolate peanut butter cake turned out for you. Drop a comment below, leave me a star rating if you loved it, or tag me on social media. I browse through all your baking adventures—it’s the best part of running Dishicious! For more smart, simple, and delicious bakes, check out my full collection of dessert recipes.
PrintExtra Moist Chocolate Peanut Butter Layer Cake
Make this rich, decadent chocolate peanut butter cake with moist layers, creamy peanut butter frosting, and a chocolate ganache drizzle. This recipe is simple to follow for a showstopper dessert.
- Prep Time: 25 min
- Cook Time: 35 min
- Total Time: 60 min
- Yield: 10 servings 1x
- Category: Dessert
- Method: Baking
- Cuisine: American
- Diet: Vegetarian
Ingredients
- 1 3/4 cups all-purpose flour
- 3/4 cup unsweetened cocoa powder
- 2 teaspoons baking soda
- 1 teaspoon baking powder
- 1 teaspoon salt
- 2 cups granulated sugar
- 1 cup buttermilk
- 1/2 cup vegetable oil
- 2 large eggs
- 2 teaspoons vanilla extract
- 1 cup hot brewed coffee
- 1 cup creamy peanut butter (for frosting)
- 1/2 cup (1 stick) unsalted butter, softened (for frosting)
- 3 cups powdered sugar (for frosting)
- 1/4 cup milk or heavy cream (for frosting)
- 1/2 teaspoon salt (for frosting)
- 4 ounces semi-sweet chocolate (for ganache)
- 1/2 cup heavy cream (for ganache)
Instructions
- Preheat your oven to 350°F (175°C). Grease and flour two 8-inch round cake pans.
- In a large bowl, whisk together the flour, cocoa powder, baking soda, baking powder, and salt. Add the granulated sugar and mix well.
- In a separate bowl, whisk together the buttermilk, vegetable oil, eggs, and vanilla extract. Pour the wet ingredients into the dry ingredients and mix until just combined.
- Carefully pour the hot coffee into the batter and mix on low speed until smooth. The batter will be thin.
- Divide the batter evenly between the prepared cake pans. Bake for 30 to 35 minutes, or until a wooden pick inserted into the center comes out clean.
- Let the cakes cool in the pans for 10 minutes before inverting them onto a wire rack to cool completely.
- Prepare the peanut butter frosting: Beat the softened butter and peanut butter together until creamy. Gradually add the powdered sugar, alternating with the milk, until the frosting is smooth and spreadable. Add salt to taste.
- Prepare the chocolate ganache: Place the chopped chocolate in a heatproof bowl. Heat the heavy cream in a small saucepan until it just simmers. Pour the hot cream over the chocolate and let it sit for 5 minutes. Whisk until smooth. Let the ganache cool slightly until it thickens enough to drizzle.
- Assemble the cake: Place one cooled cake layer on a serving plate. Spread about one-third of the peanut butter frosting evenly over the top. Place the second cake layer on top.
- Frost the top and sides of the cake with the remaining peanut butter frosting.
- Drizzle the slightly cooled chocolate ganache over the top of the cake, allowing it to drip down the sides.
- Chill the cake for at least 30 minutes before slicing and serving.
Notes
- For extra flavor, press chopped peanut butter cups onto the sides of the frosted cake.
- If you do not have buttermilk, mix 1 cup of regular milk with 1 tablespoon of white vinegar or lemon juice and let it sit for 5 minutes before using.
- This recipe makes a great showstopper birthday cake.
Nutrition
- Serving Size: 1 slice
- Calories: 550
- Sugar: 65g
- Sodium: 350mg
- Fat: 32g
- Saturated Fat: 10g
- Unsaturated Fat: 22g
- Trans Fat: 0g
- Carbohydrates: 68g
- Fiber: 3g
- Protein: 9g
- Cholesterol: 55mg