
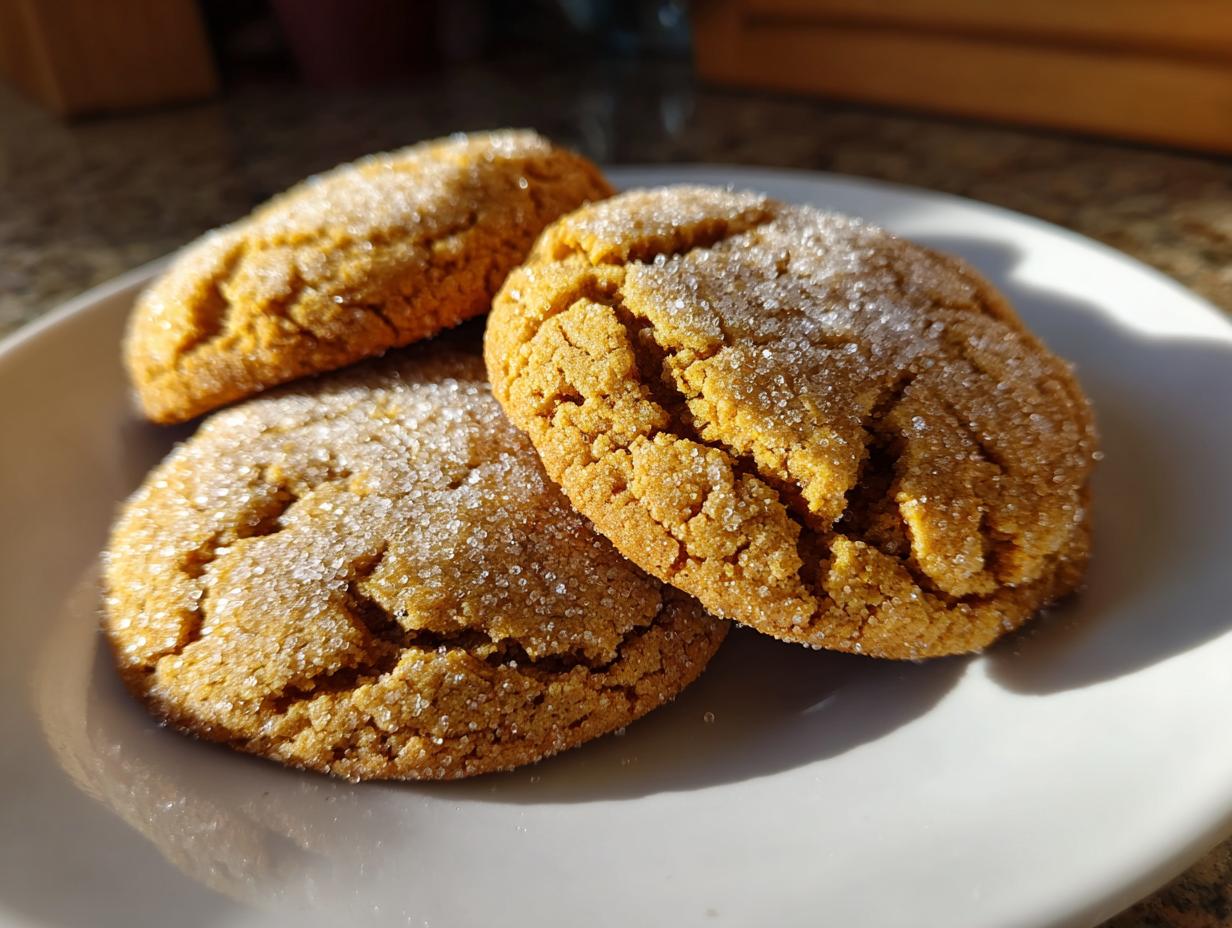
Let’s be honest, the classic sugar cookie is great, but sometimes it needs a serious boost. I’m Leo, and as a home cook who approaches recipes like a project manager—looking for maximum flavor return on minimal effort—I found the ultimate secret weapon: browning the butter. We’re not talking about complicated baking science here; we’re talking about transforming simple ingredients into something rich, nutty, and utterly addictive. These brown butter sugar cookies deliver that deep, toasted flavor profile you usually only find at high-end bakeries. My goal is always efficiency, and taking the time to brown the butter pays off huge, hitting that sweet spot between chewy centers and those perfectly crisp edges we all crave. Forget basic; we’re making bakery style cookies tonight.
- Why These Brown Butter Sugar Cookies Are a Gourmet Cookie Upgrade (E-E-A-T Focus)
- Essential Ingredients for Perfect Brown Butter Sugar Cookies
- How to Brown Butter for Cookies: The Key Technique
- Step-by-Step Instructions for Brown Butter Sugar Cookies
- Baking Tips for Bakery Style Cookies
- Storage and Reheating Instructions for Brown Butter Cookies
- Troubleshooting Common Issues with Brown Butter Sugar Cookies
- Frequently Asked Questions About Brown Butter Cookies
- Nutritional Estimates for Your Brown Butter Sugar Cookies
Why These Brown Butter Sugar Cookies Are a Gourmet Cookie Upgrade (E-E-A-T Focus)
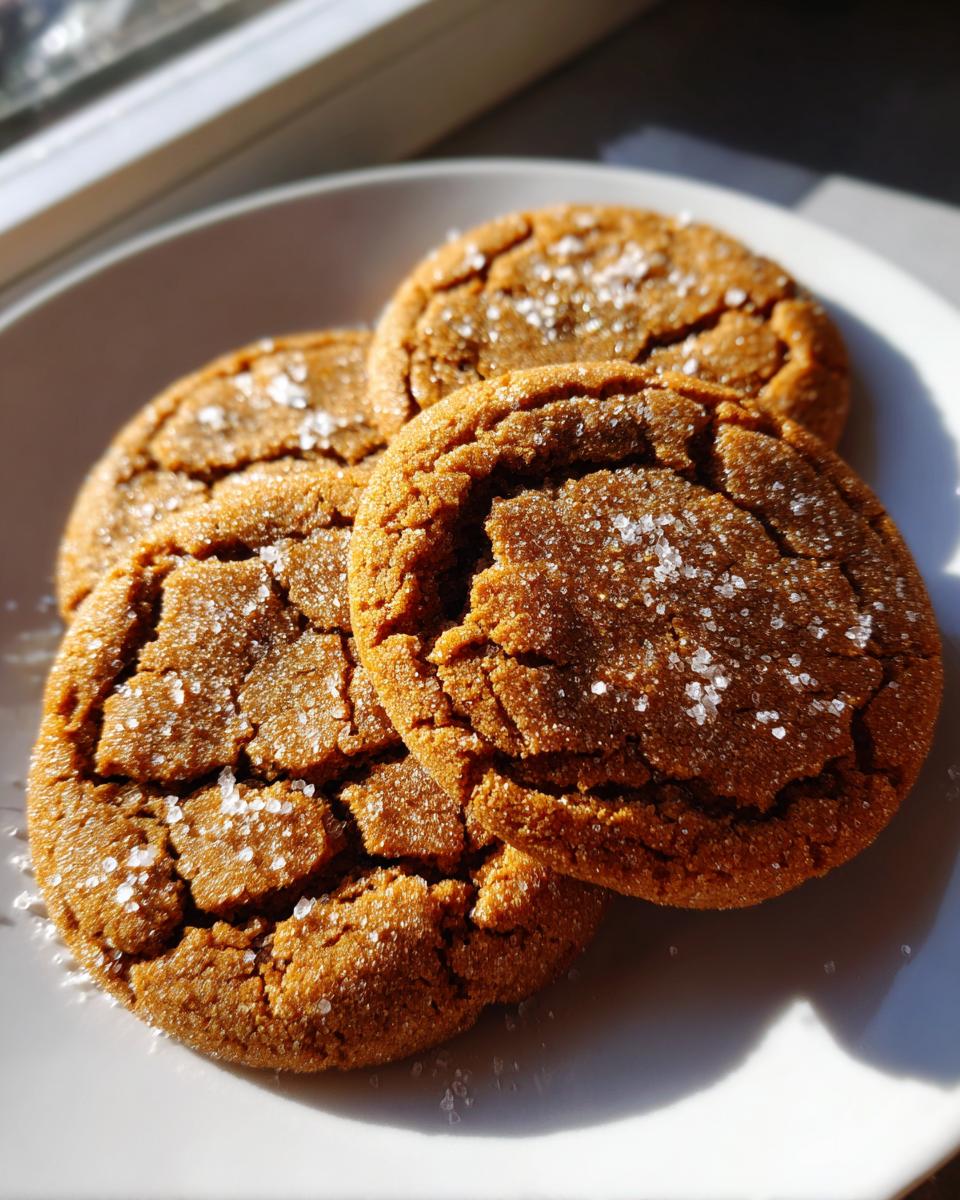
Look, if you’re going to bake from scratch, you need a payoff that feels worth the effort, right? That’s why browning the butter makes this recipe my go-to gourmet cookie upgrade. When you take the time to toast that butter, you’re transforming simple fat into complex, deeply nutty butter cookies. It adds a layer of savory richness that plain sugar or vanilla can’t even touch. My expert tip? You want to watch for the milk solids to toast on the bottom of the pan—that toasted smell right before it starts smoking is pure gold. This technique is what makes these elevated classic cookies truly stand out. I wish everyone understood the power of this simple flavor hack! You can check out more ideas on getting that deep flavor here.
Achieving the Perfect Brown Butter Sugar Cookies Texture
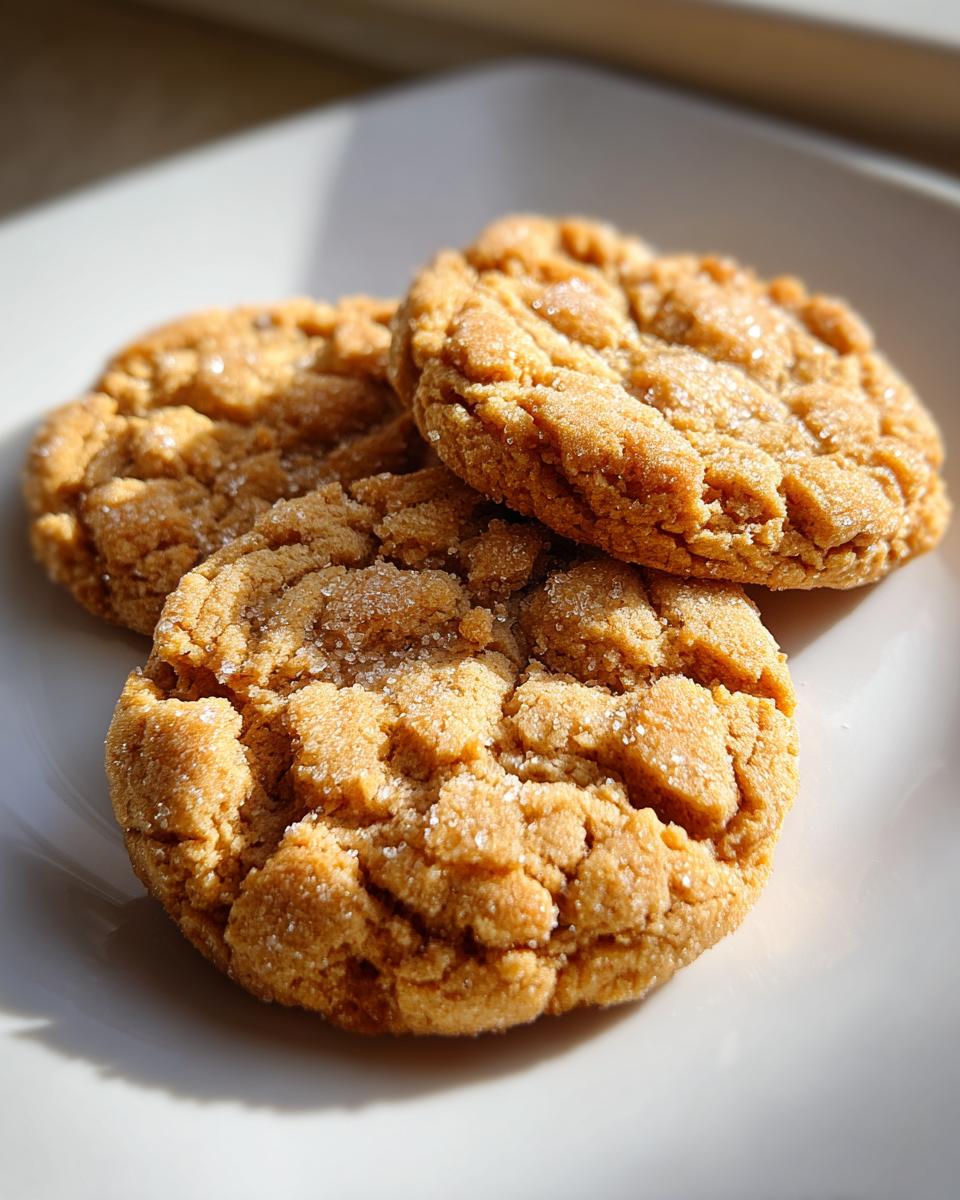
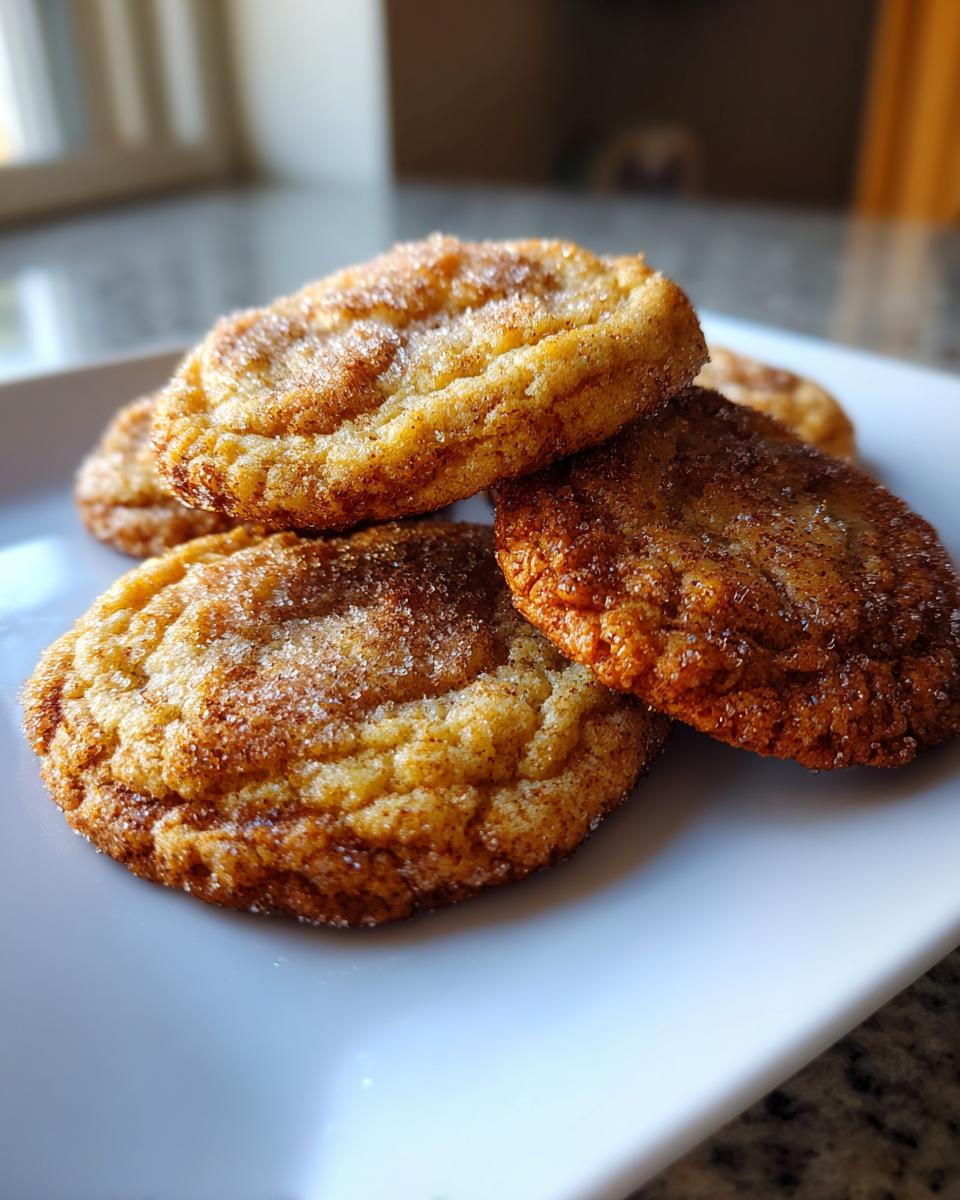
This texture is non-negotiable for me. We aren’t looking for flat, crisp discs or cakey mounds; we want those highly sought-after results: crispy edge cookies that give way to blissfully soft and chewy cookies centers. The browned butter solids actually help interrupt the gluten structure just enough to give you that perfect balance when baked right. When the butter cools slightly before creaming, it holds just enough structure to prevent the dough from spreading too aggressively, locking in that amazing chewiness.
Essential Ingredients for Perfect Brown Butter Sugar Cookies
To execute this recipe perfectly—and trust me, we only do perfect here—we need to be precise about what goes into the bowl. Using the right stuff is half the battle. You’ll need one cup (that’s two full sticks) of high-quality unsalted butter. Sticking to unsalted means I precisely control the salt level later, which keeps these brown butter sugar cookies balanced. Also, make sure your one large egg is at room temperature; it incorporates much better when it isn’t stone cold!
Ingredient Notes and Substitutions
When we get to the flour, it’s crucial you measure it right. Don’t scoop directly from the bag! That compacts it, and you end up adding too much, leading to dry cookies. Always use the scoop and level method for all-purpose flour. We are also using just a little baking soda and salt; that salt is your secret weapon to highlight that nutty flavor profile we are building. Don’t skip it. And for the vanilla? Use the good stuff—a high-quality extract really shines through in these simple, rich vanilla cookies.
How to Brown Butter for Cookies: The Key Technique
This is where the magic happens, folks, and honestly, it’s the single easiest way to create a gourmet cookie upgrade. When learning how to brown butter for cookies, the biggest mistake people make is getting nervous and stopping too soon, or worse—burning it! You need medium heat and patience. Start by melting your full cup of butter in a light-colored saucepan. Why light-colored? So you can see the transformation happening! It’ll melt, then it will start to foam up dramatically, and that’s normal.
Keep stirring gently. Once the foaming subsides, you’ll see tiny brown specks start forming on the bottom. That’s the milk solids toasting! The aroma is also your biggest clue—it goes from creamy butter smell to this incredible, deep, toasty, nutty butter cookies scent. That’s the signal!
The second it smells perfectly toasted, you must, absolutely must, pull it off the heat and pour every last drop, including those happy brown bits on the bottom, into a heatproof bowl. If you leave it in the hot pan, it keeps cooking, and you just accidentally made burnt butter. Don’t let that happen! Let it cool for about 15 minutes before you cream it with the sugar; it needs to solidify slightly but remain soft enough to work with. If you want to nerd out on the details, this guide gets you started right here.
Step-by-Step Instructions for Brown Butter Sugar Cookies
Alright, we have perfectly toasted butter—now we bring it all together. Remember that 15-minute cooling period I mentioned for the brown butter? That’s critical because if it’s too hot, it will curdle the egg and melt the sugar we’re about to add. Once it’s cooled but still soft, you’re going to cream that nutty butter with your cup of granulated sugar. You’re beating this until it gets light and fluffy—this builds air into your dough, which is key for that soft texture later on.
Next, beat in your room-temperature egg and the vanilla extract until things are just combined. Don’t go crazy mixing here; we’re just incorporating. Now for the dry stuff: whisk your flour, baking soda, and salt separately, and then you add it to the wet mixture slowly. Mix on low speed—the second you see the last streaks of flour disappear, STOP. Overmixing at this stage develops gluten, and we want soft cookies, not hockey pucks!
Mixing the Dough and Shaping Your Brown Butter Sugar Cookies
Once combined, don’t stress about chilling the dough too long; this recipe works pretty easily. Just scoop out 1-inch balls. Now, to customize your texture, you have options! For those thinner, crispier edge cookies, roll the dough ball generously in extra sugar and gently flatten it with the bottom of a drinking glass. If you want your soft and chewy cookies to stay thicker and puffier, roll them in sugar but only press down very lightly, or skip pressing entirely.
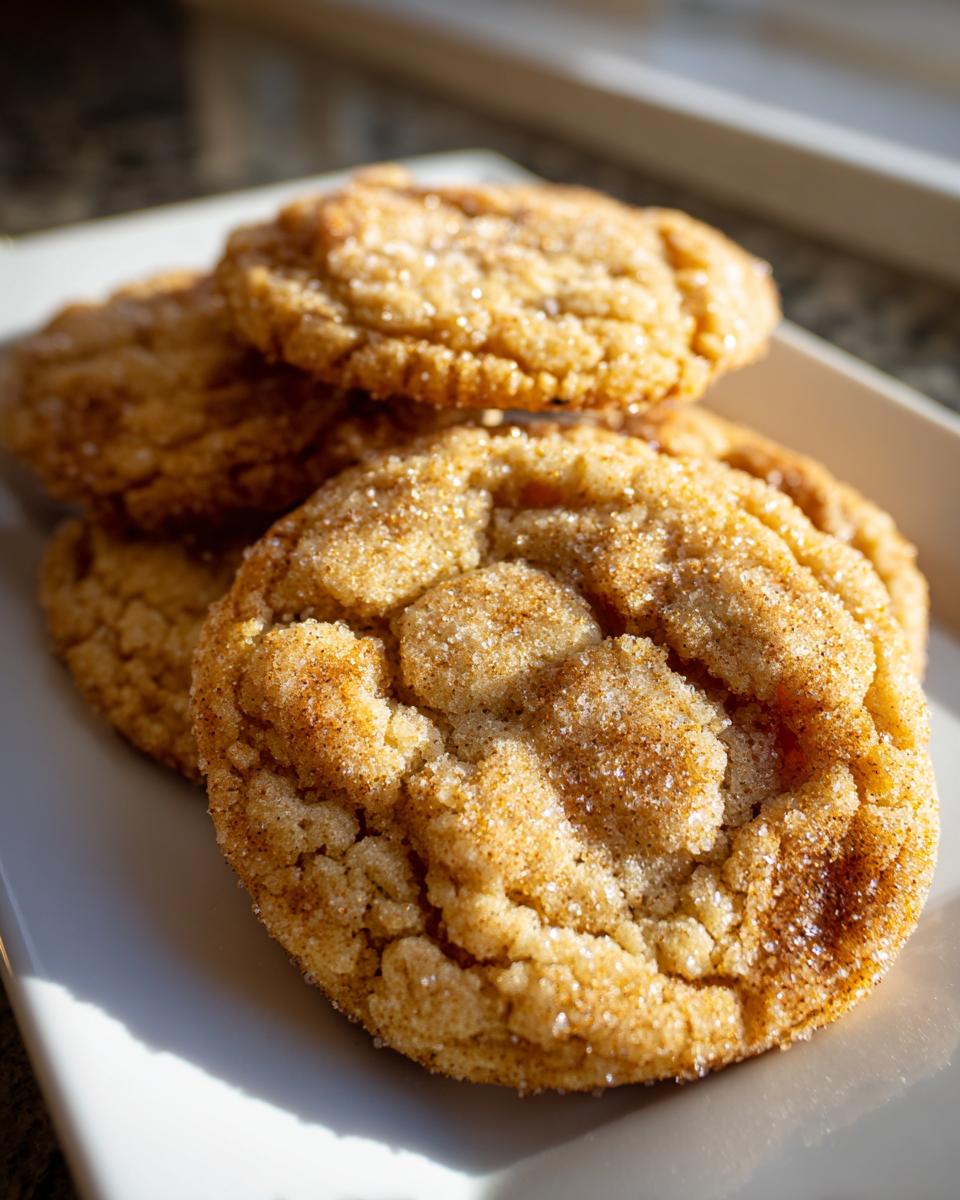
Get them spaced about two inches apart on parchment-lined sheets. The sugar coating is fantastic because it melts a little, giving you those gorgeous sparkly tops. This whole process moves fast once the butter is ready. If you happen to be planning a baking project involving pastry cream, maybe check out my guide for making lemon meringue pie while the dough cools.
Baking Tips for Bakery Style Cookies
Getting these brown butter sugar cookies out of the oven with that perfect texture requires paying attention right at the finish line. We’re aiming for true bakery style cookies here, which means balancing two key things: setting the edges while keeping the middle soft. Preheat your oven to 350°F (175°C) because consistency matters! You bake these for just 9 to 11 minutes. Don’t walk away during this part!
You need to watch for visual cues closely. The edges should look set and faintly golden, but the centers should honestly still look a little underdone when you pull them out. That’s the secret to getting the ultimate soft and chewy cookies result. If you wait until the center looks completely baked, they will be hard by the time they cool down. Trust me on this timing.
Here’s the crucial part that separates amateur from pro: the cooling process. Do not try to move these cookies immediately! Let them rest right there on the hot baking sheet for five full minutes. This resting period allows the residual heat to gently finish cooking the center without over-baking the edges, setting their shape nicely. After those five minutes, you can carefully move them over to a wire rack to cool completely. If you want to see how I handle other tricky cookie textures, check out my guide on soft cut-out sugar cookies. For recipes that rely on visual perfection, you can see more tips from bakers on texture here.
Storage and Reheating Instructions for Brown Butter Cookies
We want these amazing brown butter sugar cookies to last, though honestly, they rarely do! The best way to keep them fresh is simple: airtight containers at room temperature. That’s it. You don’t really need the fridge unless your kitchen is super humid, because cold air tends to dry out cookies faster, and we want to lock in that chewiness we worked so hard to achieve.
If you find they’ve stiffened up a little the next day—which happens—don’t worry. Just place one or two on a microwave-safe plate and zap them for about 8 to 10 seconds. They come out perfectly soft again, ready to go. This simple reheating trick makes them taste almost like they just came out of the oven!
Troubleshooting Common Issues with Brown Butter Sugar Cookies
Even with the most systematic approach, sometimes things in the kitchen don’t go according to the project plan. That’s okay! In my experience testing and optimizing cookie routines, most problems with these brown butter sugar cookies boil down to two primary culprits. Knowing what went wrong lets you fix it next time and still enjoy the batch you have!
The first big issue, and one you just have to learn to live with sometimes, is burning the butter. If you ended up with black, acrid residue instead of those beautiful golden-brown bits, it means your heat was too high, or you took your eye off the ball for just a second too long. If this happens, unfortunately, you have to start over with a fresh stick of butter. Next time, keep that medium heat steady and listen for the sizzle to quiet down before the solids start to stick.
The second common hurdle is cookie spread. If your beautiful sugar-rolled balls flattened out into thin, lacey discs in the oven, there are a couple of likely causes. Most often, it’s because the brown butter wasn’t cooled long enough before you creamed it with the sugar. If the butter is too warm, it acts like melted butter, which causes aggressive spreading. Alternatively, if you were rushing and decided to skip chilling the dough—though I wrote this recipe as no-chill friendly—you might see more spread. Chilling solidifies the fat, giving the dough more body to resist spreading during baking. If you need more ideas for what to do when cookies spread, check out this external resource on mastering brown butter cookie techniques.
Frequently Asked Questions About Brown Butter Cookies
Can I skip browning the butter for this recipe?
You absolutely *can* skip it if you’re in a massive rush, but then you’re just making a very good plain sugar cookie, not these incredible **brown butter sugar cookies**. Browning the butter is the whole point! It’s what turns this into an elevated classic cookies experience by adding that deep, nutty foundation. I’m all about efficiency, but you lose the signature flavor of this easy brown butter dessert if you use regular melted butter.
Does chilling the dough matter if I’m aiming for soft and chewy cookies?
For this specific formula, chilling is optional, but I highly recommend giving it at least 30 minutes if you can manage it. Leaving the dough chilly helps the fat firm up before it hits the heat, which means less spread and a thicker, softer center for those soft and chewy cookies results. If you skip chilling, they spread more, resulting in those lovely thin, crispy edge cookies we talked about.
Can I freeze the dough balls ahead of time?
Yes, this dough freezes beautifully! Scoop the dough into balls, sugar coat them, and then place them on a tray to flash freeze. Once they are solid, transfer them to a freezer bag. You can bake right from frozen; just add about 3 to 5 extra minutes to the baking time since you’re baking them from frozen. It keeps the process efficient for later, whether you’re whipping up a quick batch or prepping for holiday cookie exchange recipes.
What is the best way to use up leftover vanilla extract?
I get it, baking means you’re always working through bottles sooner or later! Since these are rich vanilla cookies, I always advocate for using the best pure vanilla you have. If you’re looking for other simple dessert recipes in the meantime that don’t require tons of ingredients, you should look up my easy homemade naan bread recipe.
Nutritional Estimates for Your Brown Butter Sugar Cookies
Okay, let’s talk numbers. Because while these cookies are clearly a treat and not health food, I believe in transparency. As someone who optimizes every process, knowing the estimated macros is just another part of managing the ‘project.’ These details are based on the recipe yield of 24 cookies, but remember, no two home bakers measure exactly alike!
Your final nutritional profile is going to shift slightly depending on the exact brand of butter or sugar you use, so treat this like a helpful guideline rather than strict science. It’s an estimate, period. What I can tell you is that every ounce of that fat content contributes directly to that amazing melt-in-your-mouth texture we’ve worked so hard to achieve.
- Serving Size: 1 cookie
- Calories: 165
- Fat: 8g (with 5g saturated)
- Carbohydrates: 21g
- Sugar: 13g
- Protein: 2g
- Sodium: 95mg
The good news is that by using the brown butter method, we’ve added so much depth of flavor that you might find yourself satisfied with just one or two of these rich vanilla cookies, even though they are unbelievably good. Knowing the input versus the result is just good project management in the kitchen!
PrintThe Ultimate Brown Butter Sugar Cookies: Crispy Edges, Chewy Centers, and Irresistible Nutty Flavor
This recipe upgrades the classic sugar cookie by browning the butter, adding a deep, nutty flavor. You get cookies that are perfectly crispy on the edges and soft and chewy in the center. This is your go-to for bakery style cookies made easily from scratch.
- Prep Time: 20 min
- Cook Time: 11 min
- Total Time: 31 min
- Yield: 24 cookies 1x
- Category: Dessert
- Method: Baking
- Cuisine: American
- Diet: Vegetarian
Ingredients
- 1 cup (2 sticks) unsalted butter
- 1 cup granulated sugar, plus more for rolling
- 1 large egg
- 1 teaspoon vanilla extract
- 2 1/4 cups all-purpose flour
- 1 teaspoon baking soda
- 1/2 teaspoon salt
Instructions
- Place the butter in a light-colored saucepan over medium heat. Melt the butter completely, then continue cooking, stirring occasionally. The butter will foam, then subside. Watch closely as brown bits form at the bottom and the aroma becomes nutty. This takes about 5 to 8 minutes. Once the butter is amber brown and smells toasted, immediately remove it from the heat and pour it into a heatproof bowl to stop the cooking process. Let the brown butter cool for 15 minutes until it is slightly solidified but still soft.
- In a large bowl, cream the slightly cooled brown butter and 1 cup of granulated sugar together until light and fluffy, about 2 minutes.
- Beat in the egg and vanilla extract until just combined. Scrape down the sides of the bowl.
- In a separate bowl, whisk together the flour, baking soda, and salt. Gradually add the dry ingredients to the wet ingredients, mixing on low speed until just combined. Do not overmix.
- Divide the dough into 1-inch balls. Roll each ball in extra granulated sugar until fully coated.
- Place the dough balls on baking sheets lined with parchment paper, spacing them about 2 inches apart. Gently press down on each ball with the bottom of a glass to flatten slightly.
- Bake at 350°F (175°C) for 9 to 11 minutes. The edges should look set and lightly golden, but the centers should still look slightly soft.
- Let the cookies cool on the baking sheet for 5 minutes before transferring them to a wire rack to cool completely. This helps achieve the perfect soft and chewy cookies texture.
Notes
- Browning the butter is the key step for this gourmet cookie upgrade. Make sure you scrape all the browned milk solids from the bottom of the pan into your mixing bowl for maximum flavor.
- For extra crisp edges, press the dough balls flatter before baking. For a softer cookie, leave them slightly more domed.
- If you prefer a no-chill cookie recipe, chilling is optional but recommended for thicker cookies. If you skip chilling, the cookies will spread more, resulting in thinner, crispier edges.
Nutrition
- Serving Size: 1 cookie
- Calories: 165
- Sugar: 13g
- Sodium: 95mg
- Fat: 8g
- Saturated Fat: 5g
- Unsaturated Fat: 3g
- Trans Fat: 0g
- Carbohydrates: 21g
- Fiber: 0g
- Protein: 2g
- Cholesterol: 30mg