
I’m Leo, and usually around here, we talk about streamlining weeknight dinners. But let’s be real – sometimes you need a showstopper. That’s where this Hazelnut praline tart comes in. Forget chasing those fancy French bakery spots; this recipe proves you can engineer a truly sophisticated, multi-textured dessert right in your own kitchen. It’s all about breaking down the complexity. I took what looks like three separate projects—the crust, the praline, and the ganache—and organized them into simple, manageable steps so you get that perfect snap and smooth finish without the stress. You deserve that perfectly crisp, nutty dessert experience! To explore other impressive homemade sweets, check out our full collection of dessert recipes.
- Why This Hazelnut Praline Tart is Your Next Gourmet Pastry Project
- Essential Components for the Perfect Hazelnut Praline Tart
- Step-by-Step Instructions for Your Hazelnut Praline Tart
- Tips for a Foolproof Hazelnut Praline Tart
- Serving Suggestions for This Nutty Dessert
- Storage and Make-Ahead Strategy for Your Hazelnut Praline Tart
- Frequently Asked Questions About Making a French Tart
- Estimated Nutritional Snapshot for This Hazelnut Praline Tart
- Share Your Gourmet Pastry Creations
Why This Hazelnut Praline Tart is Your Next Gourmet Pastry Project
Look, I manage projects for a living, and that means eliminating unnecessary variables. This isn’t just another dessert; it’s a blueprint for success. You get professional bakery results without the headache. Here’s why this hazelnut dessert is worth your time:
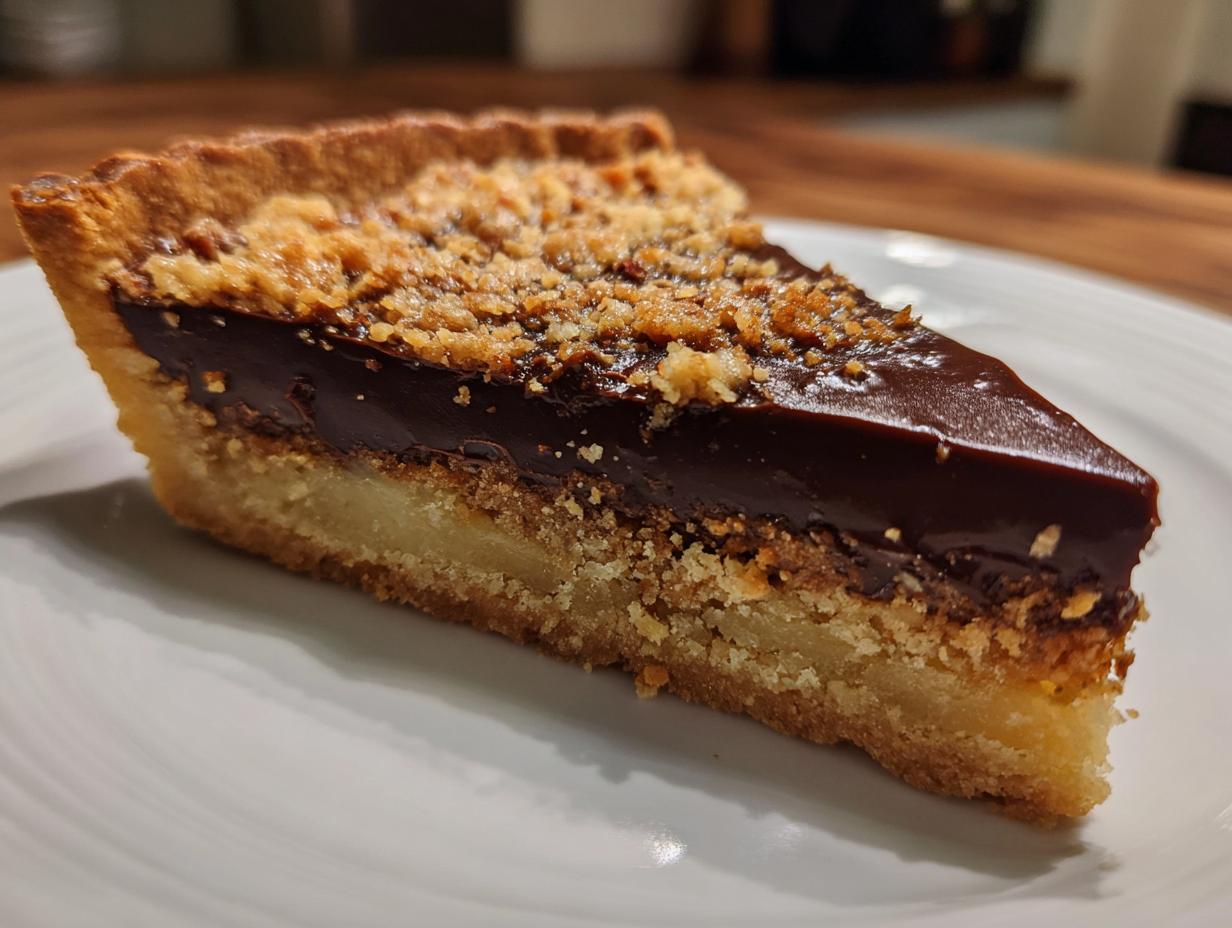
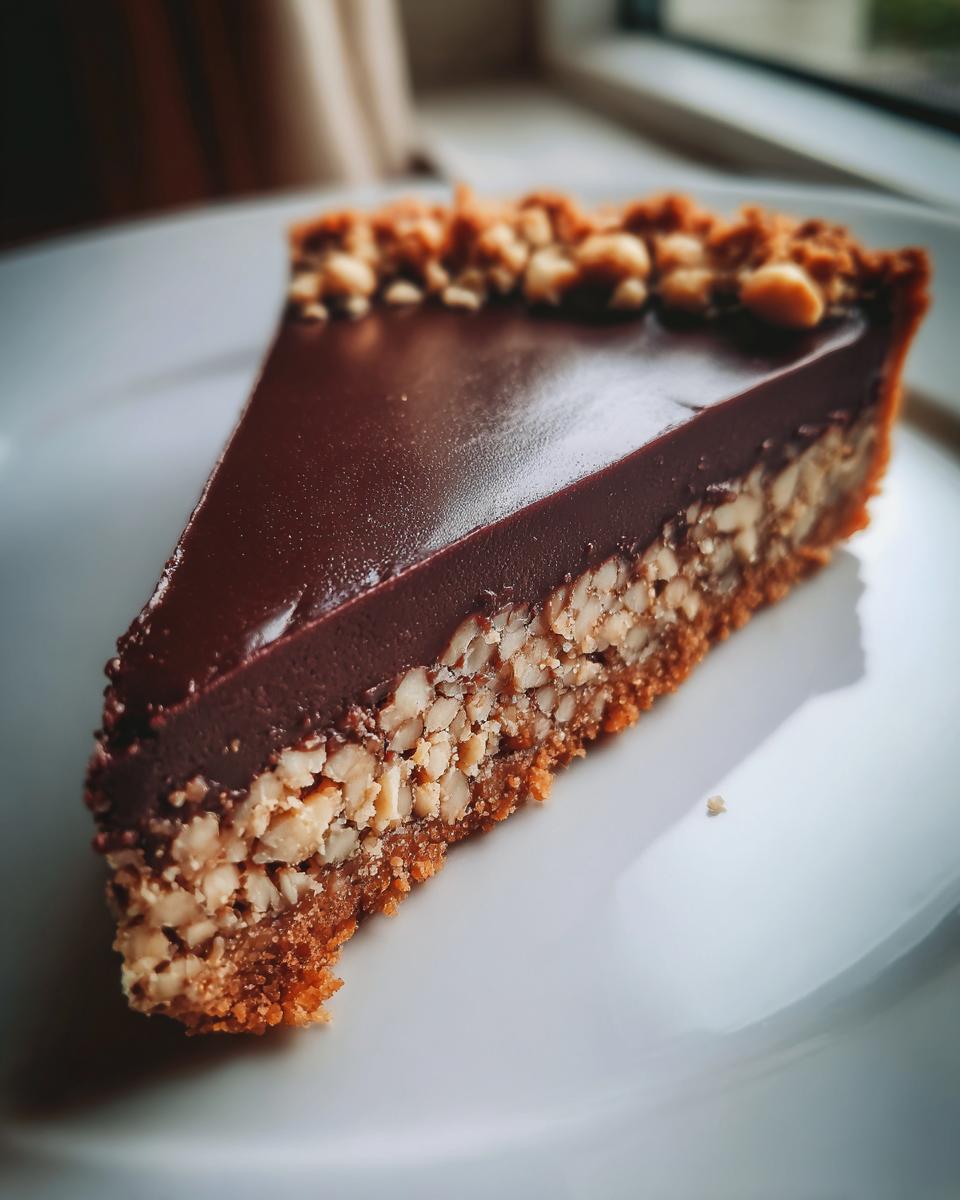
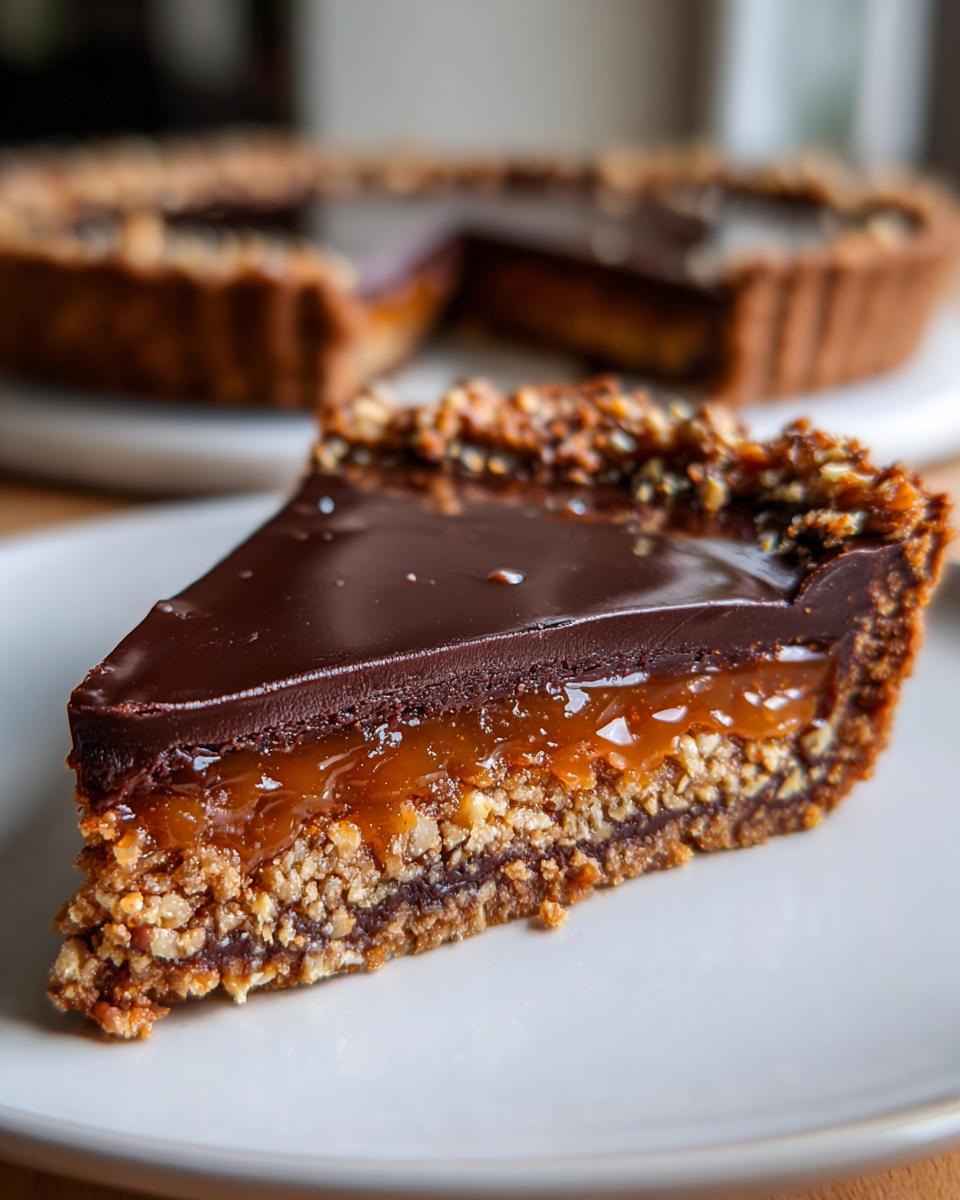
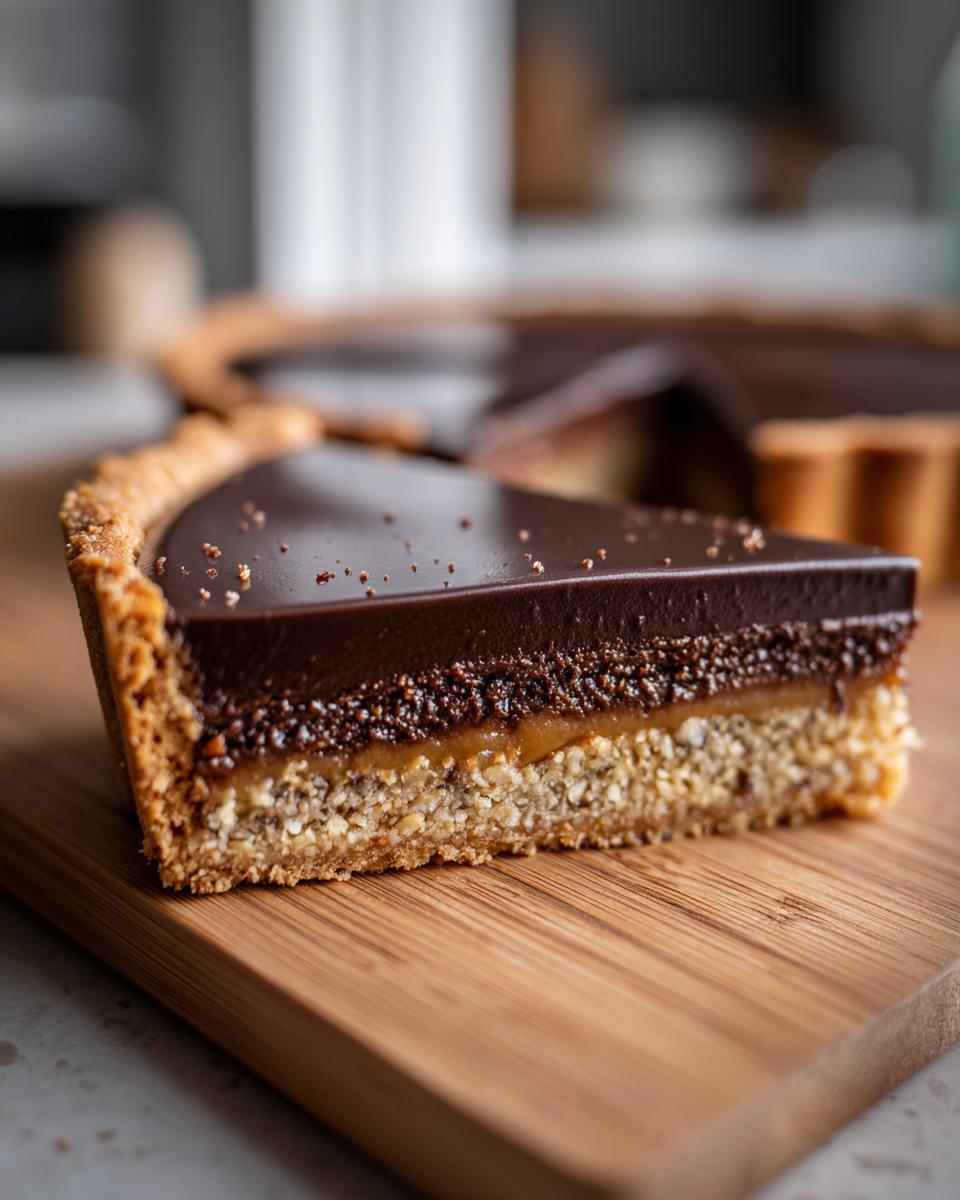
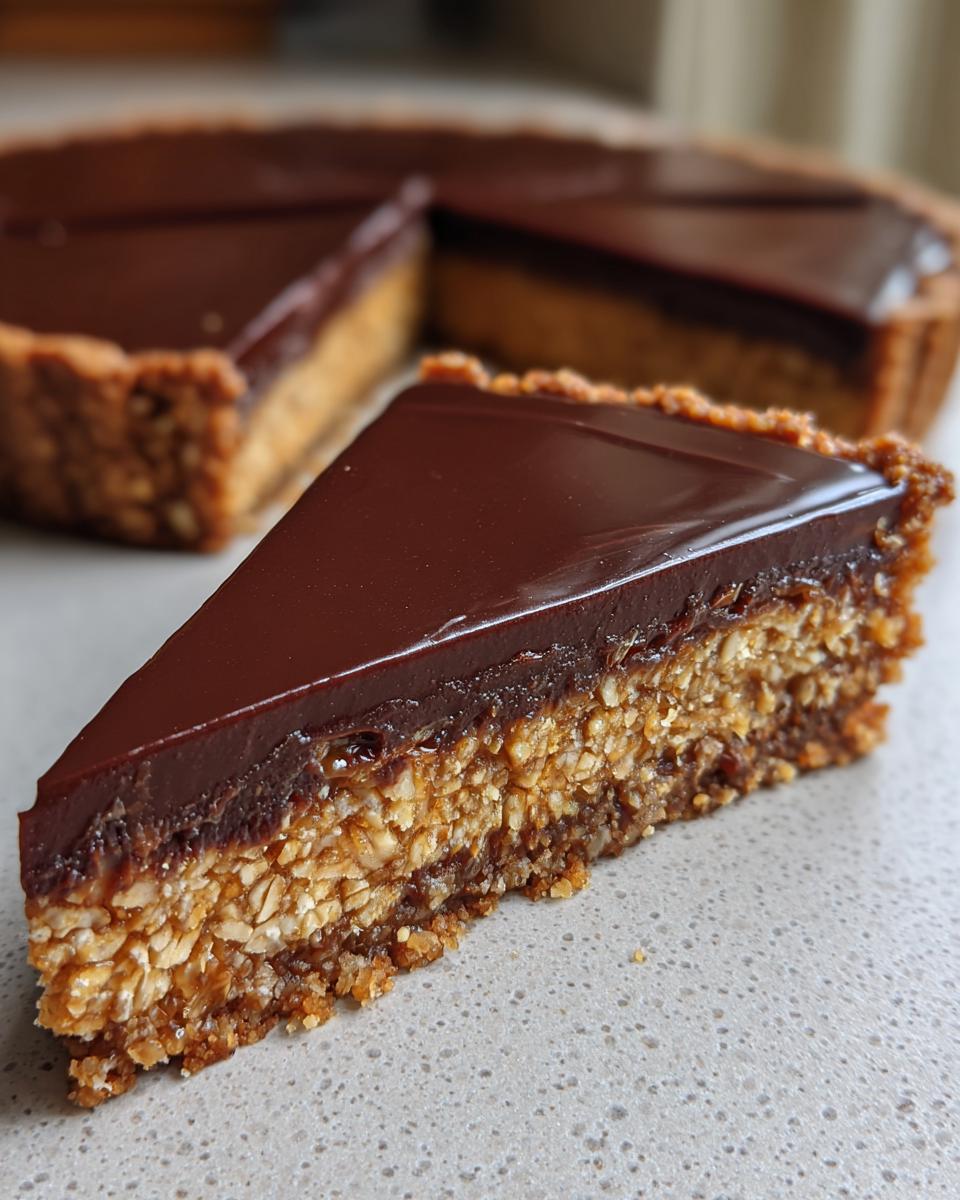
- The Texture Trinity: You get the crisp snap of the Pâte Sablée, the satisfying crunch of the homemade praline, and the luxurious silkiness of the dark chocolate ganache.
- Flavor Control: When you make things from scratch, you decide the quality. We use real toasted nuts and high cacao chocolate for a depth you can’t buy off the shelf.
- Mastering A French Tart: This recipe strips away the intimidating techniques, leaving you with straightforward steps to create a truly impressive gourmet pastry.
Essential Components for the Perfect Hazelnut Praline Tart
If you want this tart to look like it came straight from a Parisian window display, we need to treat these components as separate mini-projects needing strict adherence. Precision is key here, especially when dealing with caramel and pastry dough. Get your ingredients measured out precisely—that’s my project manager secret to avoiding mid-recipe panic. Remember, this hazelnut praline tart is built on three distinct, perfect layers, so let’s nail each one.
For the Pâte Sablée (Sweet Tart Crust)
This is our foundation, and it needs to be crisp, not chewy. That means keeping everything cold and mixing it as little as possible. You’ll need:
- 1 1/4 cups all-purpose flour
- 1/2 cup unsalted butter, cold and cubed (Keep that butter cold—I mean, *ice* cold!)
- 1/4 cup granulated sugar
- 1 large egg yolk
- 2 tablespoons ice water
When you process this, you want it to just barely come together. Overmixing the dough means gluten development, and nobody wants a tough tart shell!
For the Crunchy Hazelnut Praline Layer
This is where that fantastic nutty crunch comes from. Toasting the hazelnuts first is non-negotiable; it wakes up all that amazing flavor. Here’s what goes into the brittle portion:
- 1 cup raw hazelnuts, toasted
- 1/2 cup granulated sugar (for the caramel)
- 1/4 cup water (for the caramel)
- 2 tablespoons light corn syrup
Pay close attention when you’re cooking the sugar and water. We are looking for that beautiful, deep amber color—that’s the difference between toffee flavor and just burnt sugar. Don’t walk away from the stove for this part!
For the Dark Chocolate Ganache
The ganache has to be rich enough to stand up to the crunchy praline but smooth enough to glide over it. This contrast is exactly what defines a great nutty dessert.
- 1/2 cup heavy cream
- 4 ounces dark chocolate (preferably 70% cacao), finely chopped
- 1 tablespoon unsalted butter (added at the end for shine)
The quality of your chocolate matters enormously here! Since it’s the dominant foreground flavor after the nuts, go for that good stuff. We heat the cream until it just simmers right before we pour it over the chocolate.
Step-by-Step Instructions for Your Hazelnut Praline Tart
Okay, deep breath. This is the execution phase. As a project manager, I can tell you that sticking precisely to the sequence here is what separates a great tart from a good one. We are layering textures, so we have to complete one phase entirely before starting the next. Trust the process; we’ll get you that perfect, high-end result. If you need some inspiration for quicker meals after all this hard work, take a look at our guide on quick, easy dinners!
Preparing and Blind Baking the Tart Shell
First up, the pastry. We use the food processor because it distributes the cold butter evenly, which is crucial. Pulse your dry ingredients, then add the yolk and ice water until it just clumps. Don’t let it turn into a smooth ball in the machine—that’s overmixing! Form that disk, wrap it tight, and get that mandatory 30-minute chill time in. No skipping that step; it relaxes the gluten.
Next, roll it out to fit your 9-inch pan and press it in. Another 15 minutes of chilling in the pan, then we dock it (poke holes) and line it with parchment and weights. Bake at 375°F (190°C) for 15 minutes with the weights. Pull those weights out and bake for just another 5 to 7 minutes until it’s barely golden. Let it cool completely on a rack. We need zero residual heat before we add the fillings.
Creating the Crunchy Hazelnut Praline Base
This is the candy-making portion, so pay attention to temperature. In a saucepan, dissolve the sugar and water, *then* stop stirring. Seriously, the moment it dissolves, just let it bubble away until it hits a deep amber—that deep, nutty color. Once it’s there (around 330°F if you’re using a thermometer), immediately pull it off the heat.
Work fast now! Stir in your toasted hazelnuts and the corn syrup right away. Pour that screaming hot mixture onto a silicone mat or a baking sheet that you’ve already oiled slightly. It needs to harden completely. If it’s still gooey when you try to move it, the whole step fails. Be deliberate, be quick, and be safe!
Processing the Praline and Layering
Once that praline slab is rock hard—let it cool for maybe an hour until you can’t bend it at all—we break it up. Put the shards into your food processor. You are going to process this until it looks coarse and sandy. If you process it any longer, it turns into nut butter, and we lose that amazing crunch we worked so hard for!
Take that sandy, crunchy praline and spread it out in an even layer right across the bottom of your completely cooled tart shell. This forms a perfect moisture barrier between the future ganache and the crust.
Making the Smooth Dark Chocolate Ganache
This step must be smooth for that professional look. Place your finely chopped dark chocolate into a heatproof bowl. Heat up your heavy cream and that final tablespoon of butter in a small pan until it’s just simmering—you don’t want a rolling boil, just those tell-tale tiny bubbles around the edge.
Now, pour that hot cream mixture *over* the chocolate. Do not touch it for five full minutes. This is essential for melting the chocolate evenly using residual heat. After the five minutes, gently whisk it, starting from the center and working your way out until it’s glossy, smooth, and totally emulsified. No streaks allowed!
Assembling and Setting the Hazelnut Praline Tart
With your ganache ready and still a little warm, pour it slowly over your praline layer in the tart shell. Gently tilt the pan to let the ganache settle and cover every bit of hazelnut underneath. This is the final structural step before packaging it up for chilling.
If you try to slice this now, the ganache will run everywhere. You must chill this hazelnut praline tart for a minimum of three hours. Overnight is even better. Chilling allows the ganache to set firmly so that when you slice it, you get clean pieces showing off those incredible layers. Carefully remove the outer ring of the pan right before serving.
Tips for a Foolproof Hazelnut Praline Tart
Even with a great plan, sometimes things go rogue in the kitchen. That’s normal! But for a layered showstopper like this praline tart, a little preemptive strategy goes a long way. I want you to succeed in creating this true gourmet pastry masterpiece, so let’s talk quality control and fixes. If you’re looking for something simpler to snack on while this tart chills, check out some great options in our appetizers and snacks section.
Ingredient Notes and Substitutions for Your Hazelnut Dessert
You can absolutely make substitutions, but you need to know what changes. The cocoa content is non-negotiable for the ganache; anything less than 70% cacao means you’re essentially making a chocolate pudding layer, not a structured ganache. If you don’t have hazelnuts, walnuts or pecans work, but it instantly changes the character of the hazelnut dessert. Toasting the nuts is key—if you’re short on time, you can use a dry skillet over medium heat, stirring constantly for about 7 minutes until fragrant. This releases the oils and deepens that nutty flavor profile.
Also, use professional-grade vanilla extract if you can; it brightens up the crust. Avoid using margarine or oil in the crust; butter is what creates those flaky, short pockets we need for that perfect contrast against the filling.
Troubleshooting Common Praline Tart Issues
Every cook faces hiccups. Here are the fixes I rely on:
- Crust Shrinkage: If your shell shrinks in the oven, it means your dough was too warm when it went in the oven, or you didn’t chill it long enough after lining the pan. Cold dough contracts less violently. Next time, make sure it’s rock solid when it hits the heat.
- Caramel Crystallization: If your sugar syrup starts forming little grainy bits while it melts, don’t panic—it’s called seeding. To prevent this entirely, make sure your saucepan sides are perfectly clean before you start. If crystals do form, gently brush the sides of the pan down with a clean pastry brush dipped in water. This washes the rogue crystals back into the syrup where they dissolve.
- Ganache Splitting: If your ganache looks oily or slightly separated after whisking, it means you added the hot cream too fast or the chocolate wasn’t chopped finely enough. Fix it easily by adding one small ice cube to the bowl, then whisk gently again. The slight temperature shock often forces the mixture back into an emulsion.
Serving Suggestions for This Nutty Dessert
Because this nutty dessert is already so rich—we have butter, dark chocolate, and intensely flavored nuts—the key to serving it well is contrast. You don’t want heavy, sugary sides here. Keep it light and bright to cut through that richness. This is what I aim for when plating up this beautiful French tart for guests.
My absolute favorite pairing is a simple dollop of slightly sweetened, high-quality crème fraîche. It’s less tangy than sour cream and adds a beautiful, cool texture that balances the hard praline. If crème fraîche isn’t available, just take some heavy whipping cream, whip it until soft peaks form, and add just a tiny pinch of powdered sugar.
For something fruitier, stick to sharp contrasts. Think about a light, homemade raspberry coulis. The tartness of the raspberry is the perfect foil for the intense dark chocolate and deep hazelnut notes. You don’t need much—just a small streak across the plate.
And, of course, the beverage matters! Since this is a sophisticated pastry, skip the coffee. I pair this best with a robust, slightly earthy port wine, or if you’re keeping it non-alcoholic, a simple, strong, cold-brewed espresso works wonders. Remember, you put a ton of effort in creating this masterpiece, so the presentation and the accompaniments need to match the quality of the tart itself. Before you dig in, if you need some lighter fare for earlier in the day, don’t forget my optimized recipes over on my appetizers and snacks page!
Storage and Make-Ahead Strategy for Your Hazelnut Praline Tart
This is one area where planning ahead pays off hugely. Because we have three very different textures—a potentially crisp crust, a hard praline layer, and a soft ganache—storage isn’t just about keeping it fresh; it’s about texture management. I treat this like a logistics puzzle.
You absolutely must keep the finished tart refrigerated because of the heavy cream in the ganache. Store the whole thing covered tightly in an airtight container or very well-wrapped plastic wrap. This prevents the chocolate from absorbing any weird smells from the fridge.
Here’s the critical part: to maintain that beautiful crispness of the crust, you want to serve this tart slightly chilled, but not straight-from-the-deep-freeze cold. If it’s fridge-cold, the ganache will be too firm and you won’t taste the hazelnut properly.
My sweet spot—my perfected serving temperature—is letting the tart sit out on the counter for about 20 to 30 minutes before you plan to slice it. That short warm-up softens the ganache back to that perfect, velvety texture while the praline layer stays firm enough to give you that rewarding snap. It’s all about finding that middle ground!
You can safely keep this tart in the fridge for up to four days. After day four, the moisture migration starts, and the crust might begin to soften a little too much against the ganache. If you are making this much ahead of time, I recommend preparing the crust (blind bake it) and storing it in an airtight container at room temperature for up to two days. You can make the praline and the ganache separately and store them in the fridge too. Then, assemble the whole thing the day you plan to serve it!
Frequently Asked Questions About Making a French Tart
Listen, I know that tackling a multi-component project like this means you might have questions brewing. That’s okay! The Dishicious philosophy is built on making sure the process is transparent and repeatable. If you’ve gone to the trouble of making a truly fantastic hazelnut dessert, you shouldn’t have to guess about the final steps. Here are some things people often ask when they tackle a complex French tart like this one.
Can I make the crust ahead of time for the praline tart?
Yes, and I highly recommend it! That’s part of the optimization strategy right there. Once you blind bake the crust, let it cool completely, and then wrap it tight—I mean *really* tight—in plastic wrap. You can store that baked shell at cool room temperature for a full day, maybe even two, as long as your kitchen isn’t super humid. When you are ready to assemble, you can add the praline and ganache right into that pre-baked shell. Just remember you don’t need to bake it again!
What is the best way to store leftover hazelnut dessert?
Because this has that beautiful, set dark chocolate ganache, refrigeration is a must for safety and structure. Once it’s sliced, try to keep the remaining pieces in an airtight container. Try not to stack them unless you put a small piece of parchment paper between any layers touching the filling. As I mentioned before, the secret to enjoying leftovers is remembering to pull the slices out about 20 or 30 minutes before you eat them. That slight warming dramatically improves the texture of both the crust and the ganache, giving you a way better experience than eating it ice-cold from the fridge.
Is it necessary to use a tart pan with a removable bottom?
If your goal is that perfect, professional presentation—and I assume it is if you’re making a praline tart—then yes, this piece of equipment is absolutely necessary. When you slide that collar up from the bottom, you get a clean, intact edge all the way around without having to risk cracking the shell trying to pry it out of a fixed pan. Since the entire beauty of a gourmet pastry is in that clean slice, consider this pan your best tool for achieving that flawless look.
Estimated Nutritional Snapshot for This Hazelnut Praline Tart
I always include nutrition estimates because, frankly, I like knowing what I’m getting into when I tackle a rich dessert like this! We are working with sugar, butter, and dark chocolate, so it’s certainly a treat, not a health food. But knowledge is power, right?
Keep in mind, this is based on using exactly the ingredients listed and dividing it into 8 even slices. If you cut larger portions (and I won’t blame you if you do!), these numbers will jump up. Treat these figures as a guideline for your hazelnut dessert.
- Serving Size: 1 slice
- Calories: 410
- Sugar: 30g
- Fat: 28g
- Saturated Fat: 11g
- Carbohydrates: 38g
- Protein: 7g
I always add the disclaimer that these figures are calculated based on standard ingredient density and preparation methods. If you swap out the 70% dark chocolate for 85%, or if your butter was slightly heavier, the numbers shift just a bit. But this gives you a solid baseline for planning your meal!
Share Your Gourmet Pastry Creations
You’ve done the project management, you’ve nailed the precision, and now you have this absolutely stunning Hazelnut praline tart sitting on your counter. Seriously, take a moment to admire that work! That’s the kind of gourmet pastry that deserves praise.
I live for seeing these transformations. If you followed my steps—from chilling the dough to getting that perfect amber caramel—I need to see the results! Head over to our social channels and tag us in a picture. Seeing your perfectly layered slices really validates all the streamlining we did back in the planning phase.
Don’t be shy about leaving a rating, either. If this recipe delivered the crunch and flavor you were looking for, let other home cooks know it’s a winner. Your feedback helps me know which methods are truly the most foolproof for the community. If you’re curious about my background and why I approach cooking this way, you can always check out my story right here on the About page. Happy baking, and I can’t wait to see your amazing work!
PrintHazelnut Praline Tart with Dark Chocolate Ganache

Create a sophisticated, layered hazelnut praline tart featuring a crisp crust, crunchy praline filling, and smooth dark chocolate ganache for a gourmet pastry result.
- Prep Time: 45 min
- Cook Time: 25 min
- Total Time: 70 min
- Yield: 8 servings 1x
- Category: Dessert
- Method: Baking and Chilling
- Cuisine: French
- Diet: Vegetarian
Ingredients
- 1 1/4 cups all-purpose flour
- 1/2 cup unsalted butter, cold and cubed
- 1/4 cup granulated sugar
- 1 large egg yolk
- 2 tablespoons ice water
- 1 cup raw hazelnuts, toasted
- 1/2 cup granulated sugar (for praline)
- 1/4 cup water (for praline)
- 2 tablespoons light corn syrup
- 1/2 cup heavy cream
- 4 ounces dark chocolate (70% cacao), finely chopped
- 1 tablespoon unsalted butter (for ganache)
Instructions
- Prepare the Tart Shell: In a food processor, pulse the flour and cold butter until the mixture resembles coarse crumbs. Add the 1/4 cup sugar and pulse once. Add the egg yolk and ice water; pulse just until the dough comes together. Do not overmix. Form the dough into a disk, wrap it, and chill for 30 minutes.
- Roll and Blind Bake: On a lightly floured surface, roll the chilled dough to fit a 9-inch tart pan with a removable bottom. Press the dough into the pan, trim the edges, and chill for another 15 minutes. Preheat your oven to 375°F (190°C). Line the shell with parchment paper and pie weights. Bake for 15 minutes. Remove the weights and paper and bake for another 5-7 minutes until lightly golden. Cool completely.
- Make the Hazelnut Praline: Combine the 1/2 cup sugar and 1/4 cup water in a small saucepan over medium heat. Stir until the sugar dissolves, then stop stirring. Cook until the syrup reaches a deep amber color (about 330°F). Remove from heat. Stir in the toasted hazelnuts and corn syrup quickly. Pour the mixture onto a silicone mat or oiled baking sheet and let it cool completely until hard.
- Process the Praline: Break the cooled praline into pieces. Place the pieces in a food processor and process until a coarse, sandy texture forms. This is your crunchy praline layer. Spread this praline evenly over the bottom of the cooled tart shell.
- Prepare the Ganache: Place the chopped dark chocolate in a heatproof bowl. Heat the heavy cream and 1 tablespoon butter in a small saucepan until simmering. Pour the hot cream mixture over the chocolate. Let it sit for 5 minutes, then whisk gently until smooth and glossy.
- Assemble the Tart: Pour the warm ganache over the praline layer in the tart shell. Gently tilt the tart to spread the ganache evenly. Chill the tart for at least 3 hours, or until the ganache is set.
- Serve: Carefully remove the tart from the pan before slicing.
Notes
- For the best texture, ensure your hazelnuts are fully toasted before making the praline.
- Use high-quality dark chocolate for a richer ganache flavor.
- If you do not have a food processor, you can crush the cooled praline using a rolling pin inside a sturdy plastic bag.
Nutrition
- Serving Size: 1 slice
- Calories: 410
- Sugar: 30g
- Sodium: 35mg
- Fat: 28g
- Saturated Fat: 11g
- Unsaturated Fat: 17g
- Trans Fat: 0g
- Carbohydrates: 38g
- Fiber: 3g
- Protein: 7g
- Cholesterol: 55mg