
There is just something about pouring a rich, thick sauce over dinner that says, “This meal is finished, and it’s going to be great.” Forget those salty packets forever. I designed this Ultimate Homemade Brown Gravy: Rich & Velvety, No Drippings Required because I needed a foolproof way to hit that savory, comforting flavor profile without waiting around for roast drippings. As someone who approaches cooking like a project manager, efficiency is key. This method focuses only on the essential steps—butter, flour, broth, spices—to get you the best homemade brown gravy, fast. Trust me, this stovetop gravy is my go-to for making quick dinner sides feel like a five-star event.
- Why This Homemade Brown Gravy Recipe Works Every Time
- Gathering Ingredients for Your Homemade Brown Gravy
- How to Make Gravy From Scratch: Step-by-Step Instructions for Homemade Brown Gravy
- Expert Tips for the Best Homemade Brown Gravy
- Storing and Reheating Your Homemade Brown Gravy
- Serving Suggestions: What Pairs Well with Homemade Brown Gravy
- Frequently Asked Questions About Homemade Brown Gravy
- Nutritional Snapshot of This Homemade Brown Gravy Recipe
- Share Your Perfect Homemade Brown Gravy Experience
Why This Homemade Brown Gravy Recipe Works Every Time
My main goal when engineering this recipe was simple: deliver maximum comfort flavor with minimal kitchen downtime. My project manager brain says if you can avoid a messy cleanup and still get elite results, you’ve won the evening. That’s why this is the best brown gravy recipe that skips the pan drippings entirely. No roasting required!
- It’s an easy gravy recipe that relies 100% on pantry staples we always have on hand.
- You get that deep, rich color and flavor without needing any leftover roast juices—true gravy without drippings magic.
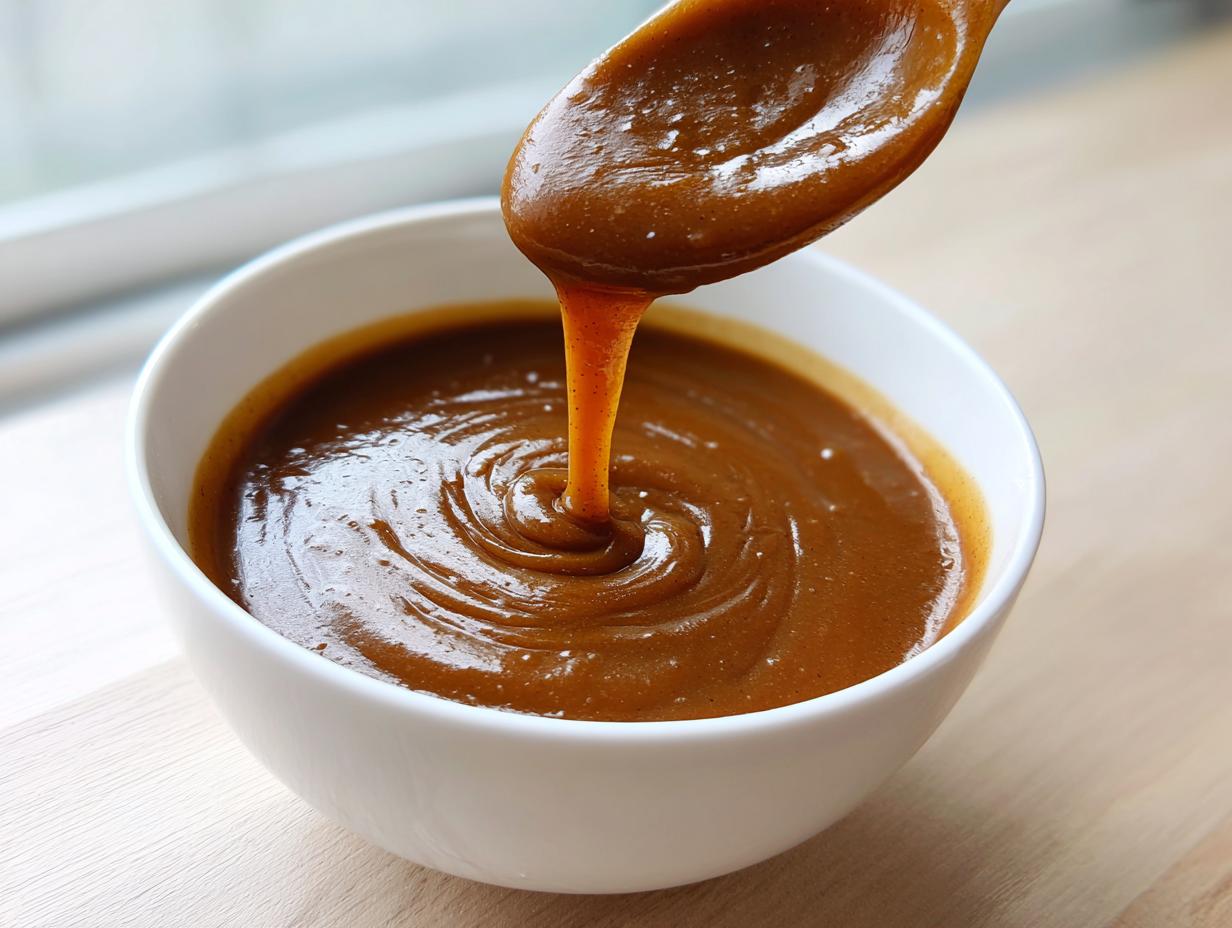
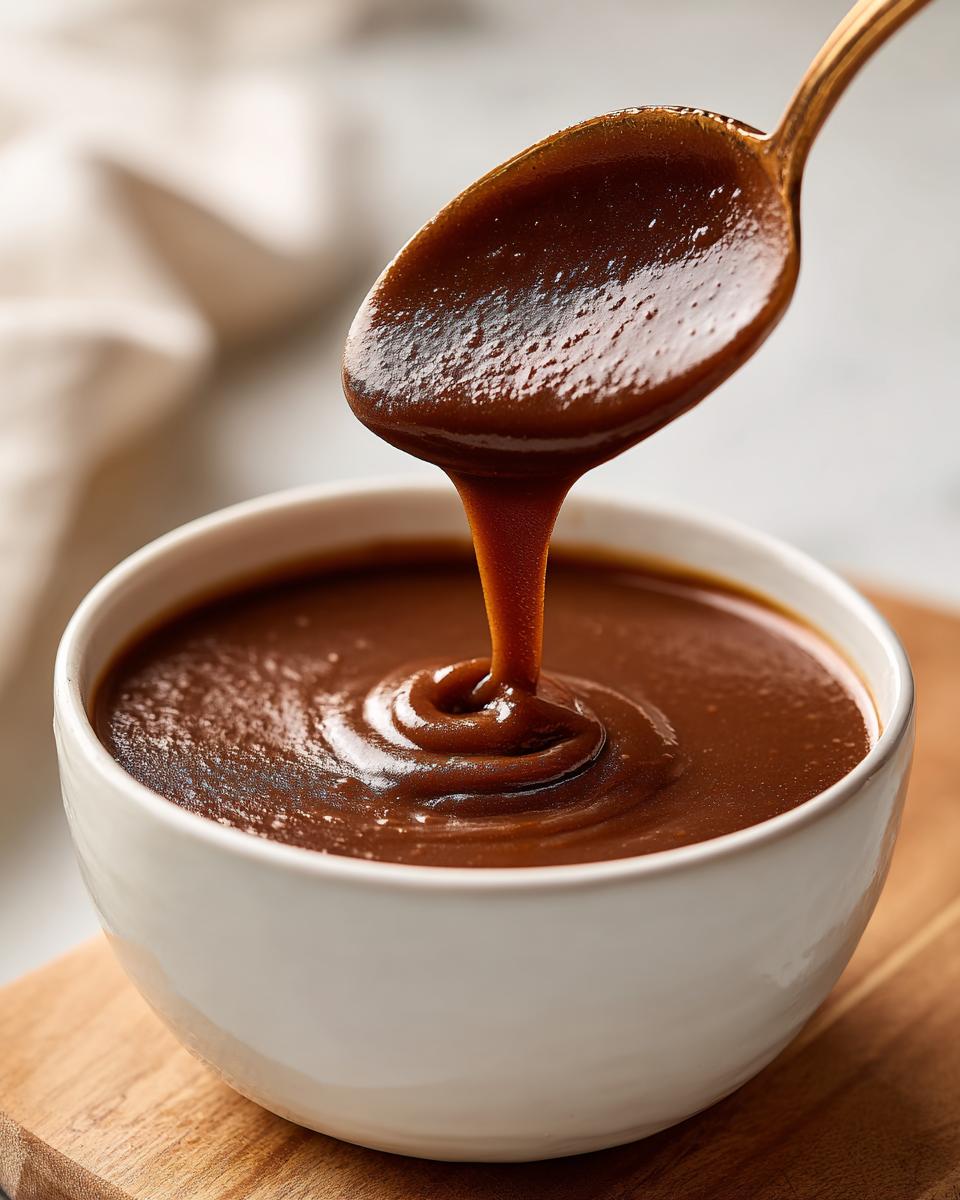
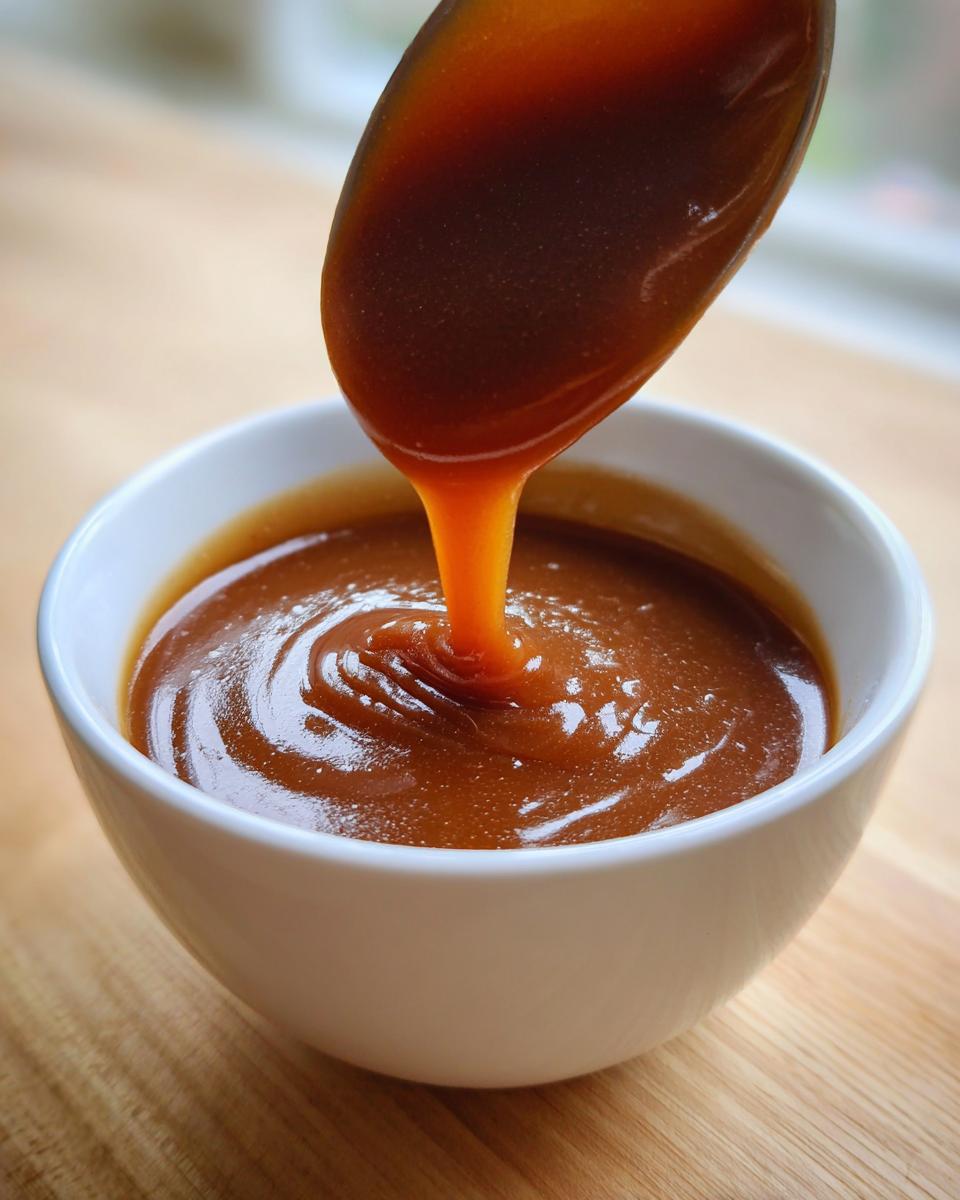
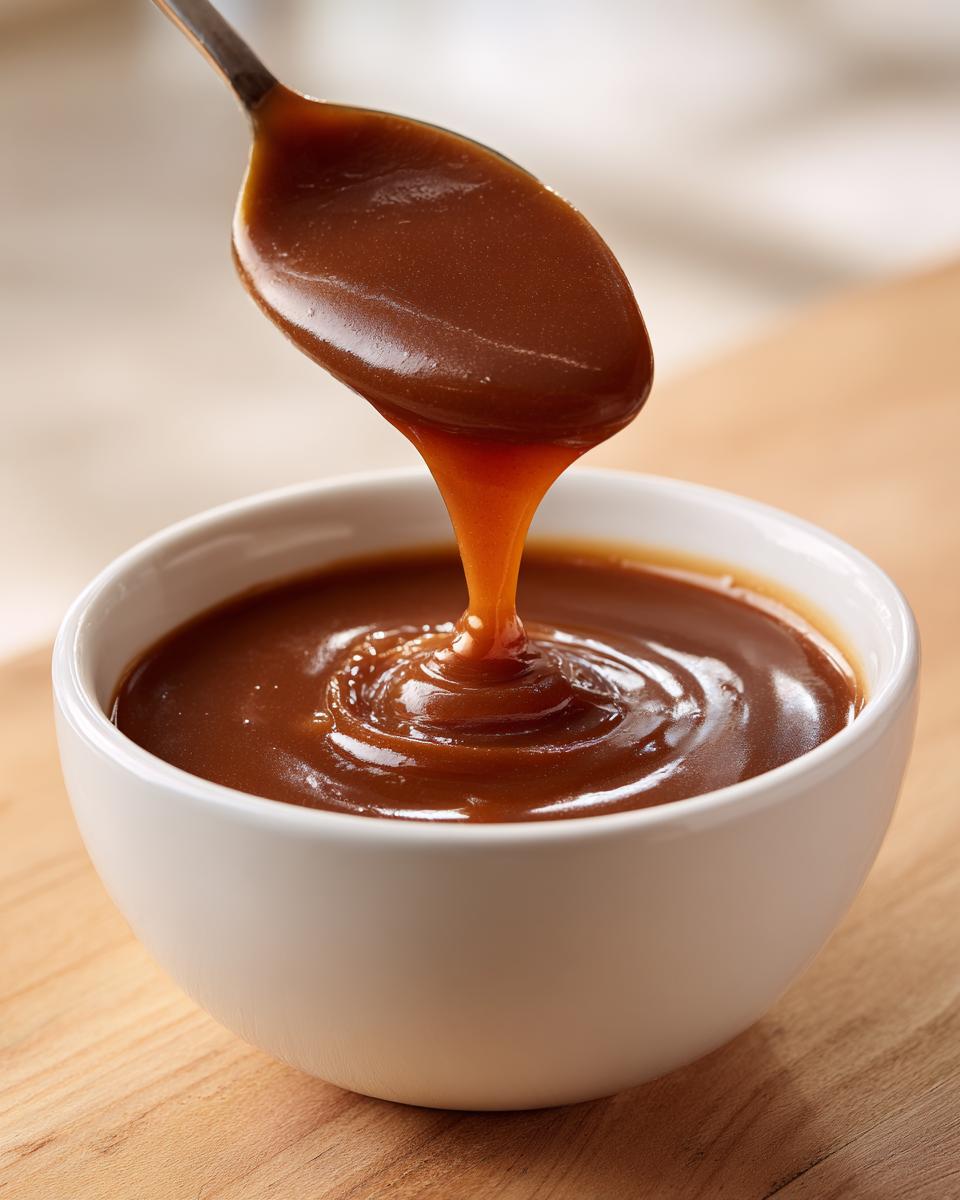
- The resulting texture is perfectly velvety and smooth, ready to drape beautifully over anything.
The Power of the Roux in Homemade Brown Gravy
Okay, listen up, because this is where we establish expertise. We aren’t just dumping flour into hot liquid; we’re making a roux. By melting the butter and cooking the flour together for a few minutes, we toast out that chalky, raw flour taste. This step is non-negotiable! Cooking it just until it’s lightly golden gives us complex flavor and guarantees that beautiful, thick consistency without any lumps. It’s the foundation of a truly professional-tasting homemade brown gravy.
Gathering Ingredients for Your Homemade Brown Gravy
When you’re aiming for a reliable, quick dinner side, you need ingredients you can always count on. That’s the beauty of this homemade brown gravy—it’s built entirely from pantry staples. Forget rushing to the store; you likely have everything you need right now. We’re sticking to the basics for our Six-Base Method: butter, flour, broth, and a few key seasonings to nail that savory depth every single time.
Ingredient Notes and Substitutions for Savory Meat Gravy
While beef broth is the champion if you’re aiming for the best beef gravy, don’t panic if you only have other containers open. You can totally make gravy with broth using chicken or even rich vegetable broth if you need a vegetarian option. The flavor will be a little lighter, which is fine! I always add a splash of Worcestershire sauce; it’s optional, but it really deepens the color and adds a fantastic background savoriness to the whole sauce.
How to Make Gravy From Scratch: Step-by-Step Instructions for Homemade Brown Gravy
Now we move into the execution phase—the most satisfying part of creating homemade brown gravy. Remember, this is all about controlled addition and constant movement. In a medium saucepot, melt your butter over medium heat. Once it’s fully melted, whisk in that flour we measured out. You need to cook this roux mixture for a solid 2 to 3 minutes, stirring constantly. This cooks off the raw taste, which is essential for a great stovetop gravy.
When the roux is lightly browned, slowly, I mean slowly, start whisking in the room-temperature beef broth, just a cup at a time. Don’t even think about pouring it all in at once, or you’ll get lumps, which means starting over! Once all the broth is incorporated smoothly, bring the heat up slightly until it just begins to bubble—a gentle simmer. Now is the time to add those seasonings: onion powder, garlic powder, thyme, salt, and pepper. Give it a good stir.
Achieving the Perfect Velvety Brown Sauce Consistency
This is where patience pays off. After you add your seasonings, lower the heat back to low. You need to let this classic comfort food sauce simmer gently for about 5 to 10 minutes. The magic happens as the roux thickens the broth into that beautiful, glossy sauce. You’ll notice it coating the back of a spoon eventually. Don’t walk away completely, though; give it a good whisk every minute or so to stop any spots from scorching on the bottom.
If, after 10 minutes, you feel the gravy is still too thin—like soup, not like coating—just keep simmering gently. It will thicken! If you accidentally let it go too long and it turns into actual paste, don’t panic. Just whisk in a spoonful of extra hot water or broth until you restore that ideal velvety brown sauce consistency. Taste it right before you pull it off the heat; that’s your last chance to adjust for saltiness!
Expert Tips for the Best Homemade Brown Gravy
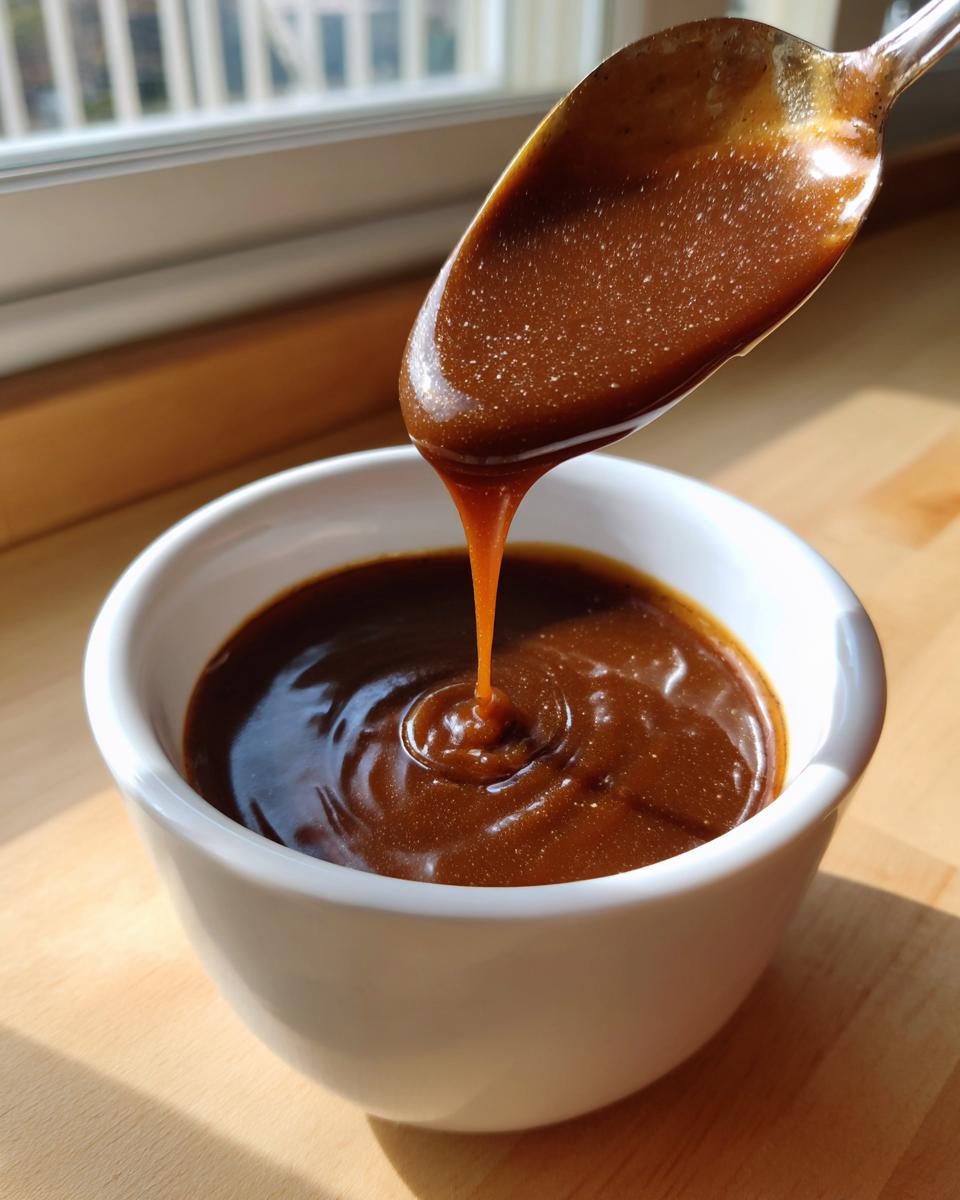
I love sharing these little project hacks that turn a good recipe into a great one. When it comes to achieving that deep, rich flavor profile, a few tweaks make all the difference in your homemade brown gravy. For instance, if you are aiming for that gorgeous, almost mahogany color—that true homemade dark gravy look—you need to let that initial roux cook for an extra minute or two until it hits a medium brown. Just be disciplined and keep stirring; burnt flour tastes terrible!
If you decide you want to make this a savory meat gravy by adding drippings later, remember to pull back on the added salt in the recipe, since drippings can be salty. But what if you rush the simmering stage and your gravy ends up too thin? Don’t sweat it. That’s when we deploy the cornstarch slurry. Mix one tablespoon of cornstarch with two tablespoons of cold water until it’s totally smooth. Whisk that liquid into your simmering gravy. It’ll thicken up beautifully in about 60 seconds. That’s how you manage your process!
Storing and Reheating Your Homemade Brown Gravy
Because this recipe relies on simple ingredients, treating your leftover gravy right is key to keeping it reliable. You can store this pantry staple gravy in an airtight container in the fridge for up to four days. When you pull it out later, it will likely look stiff—that’s totally normal!
Don’t sweat that stiffness when reheating. Just put it back on the stovetop over medium-low heat and whisk constantly. If it seems too stiff or has separated a little, splash in a tablespoon of warm water or extra broth until it loosens up back into that signature velvety texture. Seriously, a little whisking brings this sauce right back to life!
Serving Suggestions: What Pairs Well with Homemade Brown Gravy
This is the final flourish! The whole point of mastering your homemade brown gravy is having it ready for the main event. Obviously, it’s phenomenal spooned liberally over fluffy mashed potatoes, but don’t stop there!
This rich sauce is the perfect companion for slices of roast beef or drizzled over a hearty meatloaf. If you’re having a lazy Sunday, try pouring a generous amount over biscuits—it’s surprisingly good. Honestly, it elevates simple fried chicken too. It’s versatile, so use it anywhere you need that deep, savory topping!
Frequently Asked Questions About Homemade Brown Gravy
When you’re cooking something as fundamental as gravy, questions always pop up. That’s totally normal! My goal is to make this the most reliable brown gravy recipe you ever try, and that means addressing all those little concerns right here. Think of this as our final troubleshooting session before you ladle it over dinner!
Can I make this easy gravy recipe using chicken broth instead of beef?
Absolutely, yes, you can! If you need a slightly lighter flavor profile or just don’t have beef broth handy, chicken broth works perfectly fine in this easy gravy recipe. Keep in mind the final product will taste less intensely beefy, but you’ll still get that wonderful, savory topping with the same beautiful, thick texture.
How do I make a homemade gravy mix alternative for later use?
That’s a smart storage move! You don’t need a packet when you have the real deal ready to go. Just scroll back up to the recipe Notes section, and you’ll see I explained how to combine all the dry ingredients—the flour, salt, pepper, onion and garlic powders, and thyme—and store them in an airtight jar. When you’re ready for gravy, you just melt the required amount of butter and whisk in your pre-mixed dry ingredients!
How can I make this a savory meat gravy if I have some drippings?
If you happen to have drippings, use them to elevate your savory meat gravy! Instead of using the full six tablespoons of butter, use just four tablespoons of butter and substitute the remaining two tablespoons with your reserved, strained meat drippings. Since drippings are often seasoned already, pull back on the added salt in the recipe slightly, taste halfway through, and then adjust at the end. That’s how you get the best of both worlds!
Nutritional Snapshot of This Homemade Brown Gravy Recipe
Now, since we are talking about a homemade gravy made with butter and broth, not drippings, you need to have a general idea of what you are serving up. Remember, these values are just estimates, okay? I calculated these rough numbers based on the recipe yielding exactly four generous servings.
If you are monitoring macros or just trying to eat smarter, here is the quick breakdown for one 1/2 cup serving of this amazing sauce:
- Calories: 155
- Total Fat: 11g
- Carbohydrates: 11g
- Protein: 3g
It’s rich, sure, thanks to that beautiful butter base, but it’s also a fantastic, low-effort way to add massive flavor to your potatoes or meatloaf without overloading on sugar. See? Efficiency and flavor optimization go hand-in-hand in my kitchen!
Share Your Perfect Homemade Brown Gravy Experience
So there you have it—the blueprint for a truly foolproof homemade brown gravy that even a busy weeknight can handle. No more settling for thin, watery, or bland sauces!
I truly believe this method delivers on flavor and texture every single time, and I want to see what you served it with! Did you pour it over roast beef? Did it make your mashed potatoes sing? Let me know below!
If my project management approach to cooking saved your dinner tonight, please take a second to rate this recipe five stars right below the instructions! Your feedback helps other busy cooks find reliable recipes just like this one. Drop your thoughts in the comments; I read every single one!
PrintUltimate Homemade Brown Gravy: Rich & Velvety, No Drippings Required
Make rich, savory brown gravy from scratch using only pantry staples. This easy stovetop gravy recipe delivers a velvety texture perfect for mashed potatoes, roast beef, or meatloaf without needing meat drippings.
- Prep Time: 5 min
- Cook Time: 15 min
- Total Time: 20 min
- Yield: 4 servings 1x
- Category: Side Dish
- Method: Stovetop
- Cuisine: American
- Diet: Vegetarian
Ingredients
- 6 tablespoons unsalted butter
- 6 tablespoons all-purpose flour
- 4 cups beef broth (low sodium preferred)
- 1 teaspoon onion powder
- 1/2 teaspoon garlic powder
- 1/4 teaspoon dried thyme
- 1/2 teaspoon salt (or to taste)
- 1/4 teaspoon black pepper (or to taste)
- 1 teaspoon Worcestershire sauce (optional, for deeper color/flavor)
Instructions
- In a medium saucepan, melt the butter over medium heat.
- Whisk the flour into the melted butter. Cook this roux, stirring constantly, for 2 to 3 minutes until it reaches a light brown color. This step cooks out the raw flour taste.
- Slowly whisk in the beef broth, one cup at a time, ensuring no lumps form before adding the next addition.
- Bring the mixture to a simmer, stirring frequently. The gravy will begin to thicken as it heats.
- Once simmering, reduce the heat to low. Stir in the onion powder, garlic powder, thyme, salt, and pepper. Add Worcestershire sauce if you are using it.
- Continue to simmer gently for 5 to 10 minutes, stirring occasionally, until the gravy reaches your desired thickness. If it becomes too thick, whisk in a small amount of extra broth or water.
- Taste the gravy and adjust salt and pepper as needed before serving hot over your favorite comfort food.
Notes
- For a darker color, cook the roux for an extra 2 minutes until it is a medium brown, but watch carefully to prevent burning.
- If you need a thicker gravy, mix 1 tablespoon of cornstarch with 2 tablespoons of cold water in a small bowl, then whisk this slurry into the simmering gravy until thickened.
- This recipe makes a great base for a homemade gravy mix alternative; simply combine the dry ingredients (flour, onion powder, garlic powder, thyme, salt, pepper) and store in an airtight container.
Nutrition
- Serving Size: 1/2 cup
- Calories: 155
- Sugar: 1
- Sodium: 450
- Fat: 11
- Saturated Fat: 7
- Unsaturated Fat: 4
- Trans Fat: 0
- Carbohydrates: 11
- Fiber: 0
- Protein: 3
- Cholesterol: 28