
Listen, I know what you’re thinking. Lemon Meringue Pie? Too much trouble. The filling is probably going to be runny, and ten minutes after it comes out of the oven, that glorious meringue topping is going to start sweating and shrinking. That stops today. As a home cook who lives by efficiency, I’ve engineered the absolute best, No-Fail Lemon Meringue Pie From Scratch. Forget the stress; this recipe for lemon meringue pie is built on reliable processes, not guesswork. My background as a project manager taught me that everything needs a solid framework, and that’s exactly what we’re doing here. We’re creating a showstopper that won’t fall apart before you even serve it.
- Why This is the Best Lemon Meringue Pie Recipe You Will Make
- Ingredients for Your Homemade Lemon Meringue Pie From Scratch
- Step-by-Step Instructions for Classic Lemon Meringue Pie
- Tips for Success with Your Lemon Meringue Pie From Scratch
- Serving Suggestions for This Showstopping Dessert
- Storage and Reheating Instructions for Lemon Meringue Pie
- Frequently Asked Questions About Lemon Meringue Pie
- Estimated Nutritional Information for Lemon Meringue Pie
- Share Your Perfect Lemon Meringue Pie Experience
Why This is the Best Lemon Meringue Pie Recipe You Will Make
I designed this recipe around your biggest fears: weeping meringue and a runny filling. Trust me, I’ve thrown out enough attempts to know exactly where the classic lemon meringue pie breaks down. What makes this method reliable is treating the whole process like a project timeline. We manage temperatures and ingredient purity meticulously. When you follow this framework, you get the ultimate showstopping dessert that looks perfect and tastes intensely bright, which is the hallmark of a great classic lemon meringue pie.
My approach here, learned from streamlining complex systems, ensures that every layer—from the crust up—is optimized for texture and stability. We don’t rely on luck; we rely on proven steps. If you want to ensure your custard is flawless, check out my guide on how to achieve a flawless custard pie before you even start!
Achieving That Mile High Meringue Topping
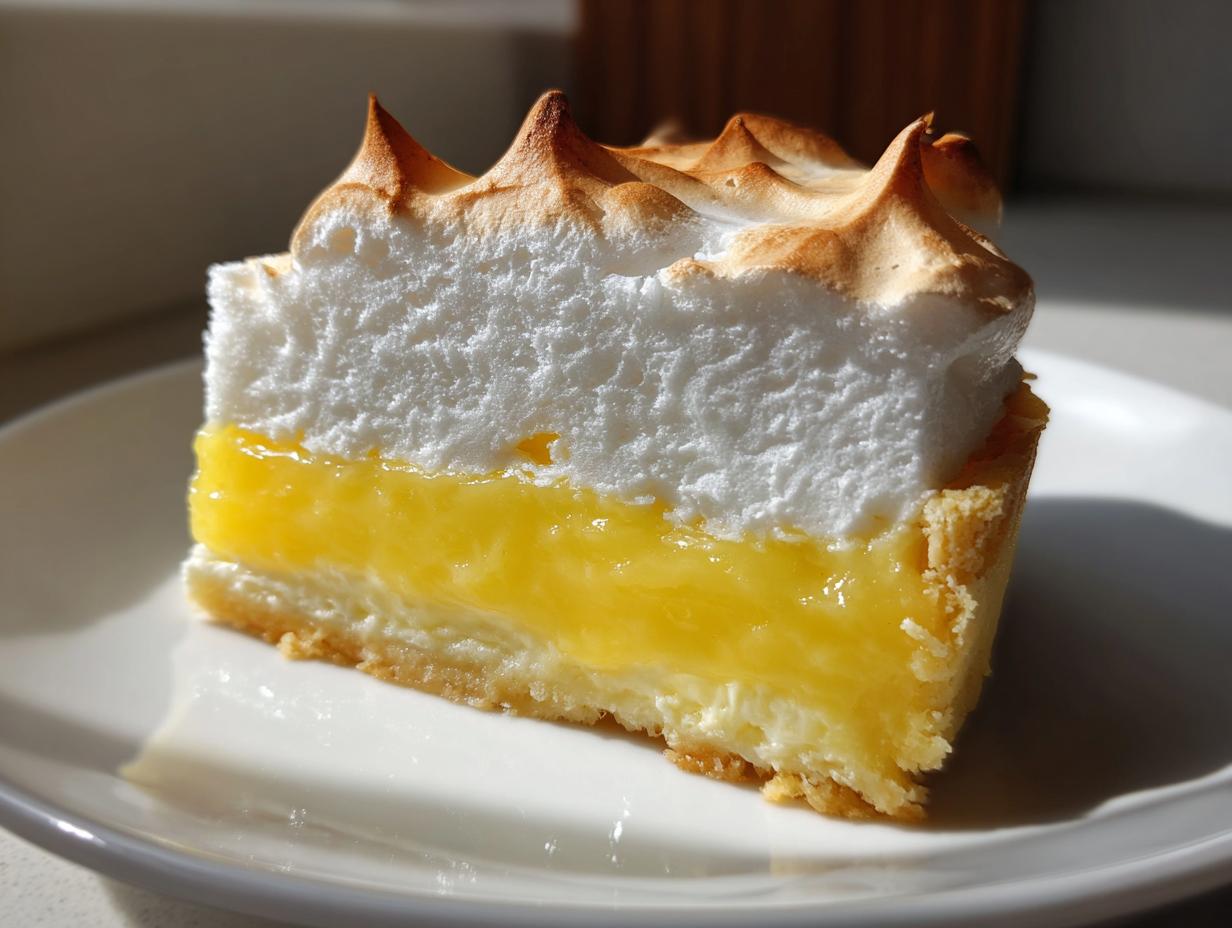
If you’ve ever been scared of meringue, this is where we conquer it. We are promising you a no weep lemon meringue pie topping. The height comes from using room-temperature egg whites and whipping them to stiff peaks *before* slowly introducing the sugar. This builds structure that holds up under heat and cooling. We avoid the soggy mess or the sad shrinkage by getting those peaks toasted quickly in the oven. It stays lofty, I promise.
The Secret to a Zesty Lemon Filling
Nobody wants a bland, yellow goo. This filling delivers serious punch. We use both fresh lemon juice *and* zest because we need those fragrant oils for real flavor. The key to the texture—smooth, thick, and never grainy—is managing the cornstarch correctly and, crucially, tempering those egg yolks perfectly before they go back into the pot. This technique creates the perfect tangy custard pie base you need to support that giant meringue.
Ingredients for Your Homemade Lemon Meringue Pie From Scratch
Alright, let’s get organized. When you’re baking from scratch, structure matters. Having your ingredients prepped and measured means you can move quickly when things heat up, especially when dealing with egg whites. If you’re ready to tackle a fully homemade project, you’ll want my guide for the crust, linked below. Here is everything you need, broken down by the three main components of this pie.
For the Buttery Pie Crust Recipe
We start with the foundation. Remember, this crust should be partially baked (blind-baked) before we add the filling.
- 1 (9-inch) pie crust, unbaked. (If you need my foolproof recipe for that flaky texture, check out my thoughts on making homemade mayonnaise from scratch—the binding concepts are similar, and the crust comes out amazing!)
For the Tangy Lemon Filling
This is where the intense citrus flavor comes from, so fresh is best here. No concentrates!
- 1 1/2 cups granulated sugar
- 1/3 cup cornstarch
- 1/4 teaspoon salt
- 1 1/2 cups cold water
- 3 large egg yolks, lightly beaten
- 2 tablespoons butter
- 1/2 cup fresh lemon juice (this is crucial for that zesty lemon filling)
- 1 tablespoon lemon zest
For the Fluffy Meringue Topping
For the ultimate lift and stability, make sure these egg whites are totally free of grease and are completely at room temperature—it makes a huge difference in whipping volume.
- 6 large egg whites, at room temperature
- 1/2 teaspoon cream of tartar
- 6 tablespoons granulated sugar (for the meringue structure)
Step-by-Step Instructions for Classic Lemon Meringue Pie
Okay, now that you have all your elements organized, this is where the engineering comes in. Getting a stable structure means moving with purpose, especially with the filling being hot when the meringue hits it. It’s a race against time, but a controlled one! This entire framework ensures you nail that perfect lemon meringue pie every single time. If you’re new to making everything totally from scratch, remember that preparation is everything. You can review my general thoughts on baking from scratch for an efficiency overview.
Preparing the Crust and Lemon Filling Base
First things first: grab that pie crust you’ve already partially baked until it’s just lightly golden. Let it cool down somewhere safe on a wire rack. While that’s chilling out a bit, we build the base. In a medium saucepan—make sure it’s clean!—whisk your 1 1/2 cups of sugar, the cornstarch, and the salt together. Now, *slowly* stream in that cold water while you whisk constantly until it’s totally smooth. You are aiming for zero lumps. Put this over medium heat and stir, stir, stir until it gets thick and starts bubbling. Once it bubbles, keep cooking for just one more minute. See? Smooth texture achieved.
Tempering Yolks and Finishing the Zesty Lemon Filling
This next part is critical for avoiding scrambled eggs. Take those beaten egg yolks off the heat and whisk about half a cup of that hot sugar mixture into the yolks *very* slowly. We temper them—meaning we slowly raise their temperature so they don’t seize up. Once they’re introduced, pour that tempered yolk mix right back into the saucepan. Put it back on medium heat and cook, stirring constantly, until it thickens up again and just starts to threaten a big boil. Pull it immediately off the heat. Now, incorporate the two tablespoons of butter, the fresh lemon juice, and the zest. Stir until that butter melts completely into your zesty lemon filling.
Making the Tall Meringue Pie Recipe Topping
Time for the volume! This is key to a tall meringue pie recipe. Make absolutely certain your bowl is spotless—grease is the enemy of high peaks. Throw your 6 room-temperature egg whites and the cream of tartar into that clean mixer bowl. Beat on medium until they look a little foamy and form soft peaks. Now, slow down the addition of the 6 tablespoons of sugar; add it just one tablespoon at a time while the mixer runs. Once it’s all in, kick the speed up to high and whip until you have stiff, unbelievably glossy peaks. That’s your structure!
Baking and Cooling Your Lemon Meringue Pie
Quick action time! Pour that hot lemon filling into your cooled crust. Then, immediately take that massive meringue topping and spread it all over the filling. Seriously, make sure that meringue touches the crust edge everywhere; that seal prevents shrinking. Create some dramatic peaks with the back of your spoon—this is your visual payoff! Slide the whole thing into a 350°F oven for about 12 to 15 minutes, just until those tips turn a lovely pale gold. After baking, resist the urge to rush! You must let the lemon meringue pie cool completely on the counter at room temperature for at least four hours. This slow, controlled cool-down is your main weapon for a no weep lemon meringue pie. If you’re curious about other classic recipes, check out Grandma’s famous version for comparison!
Tips for Success with Your Lemon Meringue Pie From Scratch
Look, even with a reliable process, baking introduces variables. That’s why I always build in safeguards. You’ve made a massive investment in this gorgeous lemon meringue pie, so let’s lock in that perfection. The secret to making this an absolute winner every time rests in two very specific areas: keeping that egg white structure intact and ensuring the crust doesn’t sabotage your efforts.
Preventing Meringue Shrinkage and Weeping
Weeping happens when the hot custard moisture separates from the sugar in the meringue as it cools. To stop this weeping, you must use room-temperature egg whites—cold whites just won’t whip up properly and stabilize. Secondly, remember Step 11? You have to seal the edge immediately. When you spread that meringue, make sure it glues itself securely to the crust rim all the way around. This traps the heat inside the filling while the sugar structure sets the meringue. For more deep dives into egg white magic, I’ve gathered my best advice on baking tips for meringue.
Achieving a Flaky Pie Crust Recipe
A soggy bottom is the villain of any great pie. Since the lemon filling is so wet, you have to pre-bake—or blind-bake—your crust fully enough so it has color. Keep your fat (butter or shortening) ice-cold when you make the dough initially. Cold fat creates steam pockets during the initial bake, setting up those flaky layers. If your recipe calls for it, lining the crust with parchment and pie weights during the first bake is non-negotiable for preventing shrinkage.
If you want to see how another top recipe tackles stability, I really respect the method laid out by the folks at Feast Follower for their scratch version!
Serving Suggestions for This Showstopping Dessert
This pie is intense—positively vibrant! Because the lemon filling carries such a strong, zesty punch, you don’t want competing flavors. I usually serve a slice simply crowned with a dollop of unsweetened, freshly whipped cream. The cream cuts through the tartness perfectly. Honestly, this dessert sings loudest when paired with a strong, hot cup of coffee or maybe a nice, clean black tea. It needs nothing else to shine! If you’re looking for a fun, slightly spicy beverage pairing for your next gathering, I’ve got a fantastic apple cider Moscow Mule recipe that works well on the side.
Storage and Reheating Instructions for Lemon Meringue Pie
This is where many meticulously crafted pies meet their end, so listen up because cooling and storage are just as important as whipping those egg whites right. Because this is a homemade lemon dessert, designed to be fresh and bright, it doesn’t love being tucked away in the fridge for too long. You need to let that pie reach room temperature slowly first, remember? That controlled cooling period is crucial for stability.
Once it’s totally cool—and I mean fully cooled down, maybe 4 to 6 hours on the counter—you can move it to storage. I always advise covering the pie loosely. Don’t wrap it tightly in plastic wrap! That traps moisture right against that beautiful meringue, and we all know what that causes: weeping! Use a clean pie dome or just place a large, overturned serving bowl over the top. You still need some airflow.
Keep it in the refrigerator, but try not to store it near anything strong-smelling, like onions or leftover garlic dip, because the meringue likes to absorb odors. You’re looking at about two, maybe three days maximum for the best texture. After that, the filling can start to break down, and the meringue just deflates some. And please, don’t even think about freezing this beauty. Freezing and thawing will completely ruin the structure of the meringue—it just turns into a watery sad mess. Serve it chilled or let it sit out for about an hour before you plan to slice it up.
Frequently Asked Questions About Lemon Meringue Pie
It’s totally fine if you still have some lingering questions. When you’re aiming for that spectacular, high-quality bake, details matter! I took the most common stumbling blocks I see people encounter when aiming for an amazing lemon meringue pie from scratch and broke down the answers below. Think of this as troubleshooting support for your project.
Why does my meringue weep and shrink after baking?
This is the number one failure point! Weeping is usually caused by two things: either your egg whites weren’t beaten long enough to fully incorporate the sugar, or you chilled the pie too fast. Remember, the slow cooling on the counter is essential for letting the moisture stabilize. A little bit of minor weeping can sometimes happen, but a massive puddle means the temperature shock was too severe, or there was grease in the bowl preventing proper structure formation. Check out my tips on storage; it covers cooling!
Can I use an “easy lemon meringue pie” version with pre-made crusts?
Of course you can! If you’re short on time, using a quality store-bought crust works fine for the base. The real magic—and where the flavor payoff is—is in that zesty lemon filling and the meringue. Just make sure you blind-bake that store-bought crust until it’s crisp and golden brown before adding the hot filling. A raw bottom crust will never fully cook underneath all that moisture.
Should I add the meringue to hot or cold filling?
For a truly stable, showstopping dessert like this, the filling absolutely must be hot when the meringue goes on. That heat helps to immediately set the bottom layer of the meringue, essentially bonding it to the filling. If you wait until the filling cools, you risk creating a layer of moisture between the two components, leading straight to that dreaded weeping later on. For more great advice on that crucial step, take a look at the detailed instructions from Bitty Recipes.
Estimated Nutritional Information for Lemon Meringue Pie
Since we are engineering this recipe for optimum flavor and structural success, I always track the output, even nutritionally. Knowing what’s in the final product is just part of being a smart cook. Remember, this calculation is based on using the scratch components listed above, specifically one slice of the resulting pie.
It’s important to treat these numbers as a good baseline estimate. If you use a store-bought crust or substitute sweeteners, your results will obviously vary. This gives you a solid idea of what you are consuming in one generous slice of this amazing dessert.
- Serving Size: 1 slice
- Calories: 380
- Sugar: 45g
- Sodium: 150mg
- Fat: 18g
- Saturated Fat: 9g
- Unsaturated Fat: 9g
- Trans Fat: 0g
- Carbohydrates: 52g
- Fiber: 1g
- Protein: 6g
- Cholesterol: 95mg
Disclaimers are just good project management! These values are estimates based on the ingredients called for in this specific batch. Enjoy this spectacular dessert with confidence!
Share Your Perfect Lemon Meringue Pie Experience
So, you’ve managed the timeline, wrestled with the egg whites, and pulled a truly spectacular, sky-high, showstopping dessert out of your oven. That’s what I call mission accomplished! This is why I run Dishicious—to see people conquer baking complexity and end up with something delicious and reliable.
Now that you have this blueprint for a perfect lemon meringue pie, I really want to hear about it. Did you finally achieve that fluffy meringue topping that bakers dream about? Were you able to slice it cleanly after letting it cool slowly? Drop a comment below and rate this recipe for me. Knowing that this lemon meringue pie from scratch worked perfectly for your busy schedule is the entire point of simplifying the process.
If you want to learn more about the method behind the madness and see other efficient solutions for everyday cooking, feel free to check out my story on what drives the Dishicious philosophy. Happy baking, and enjoy every single tart, sweet slice!
Best in the kitchen,
Leo Grant
PrintNo-Fail Lemon Meringue Pie From Scratch

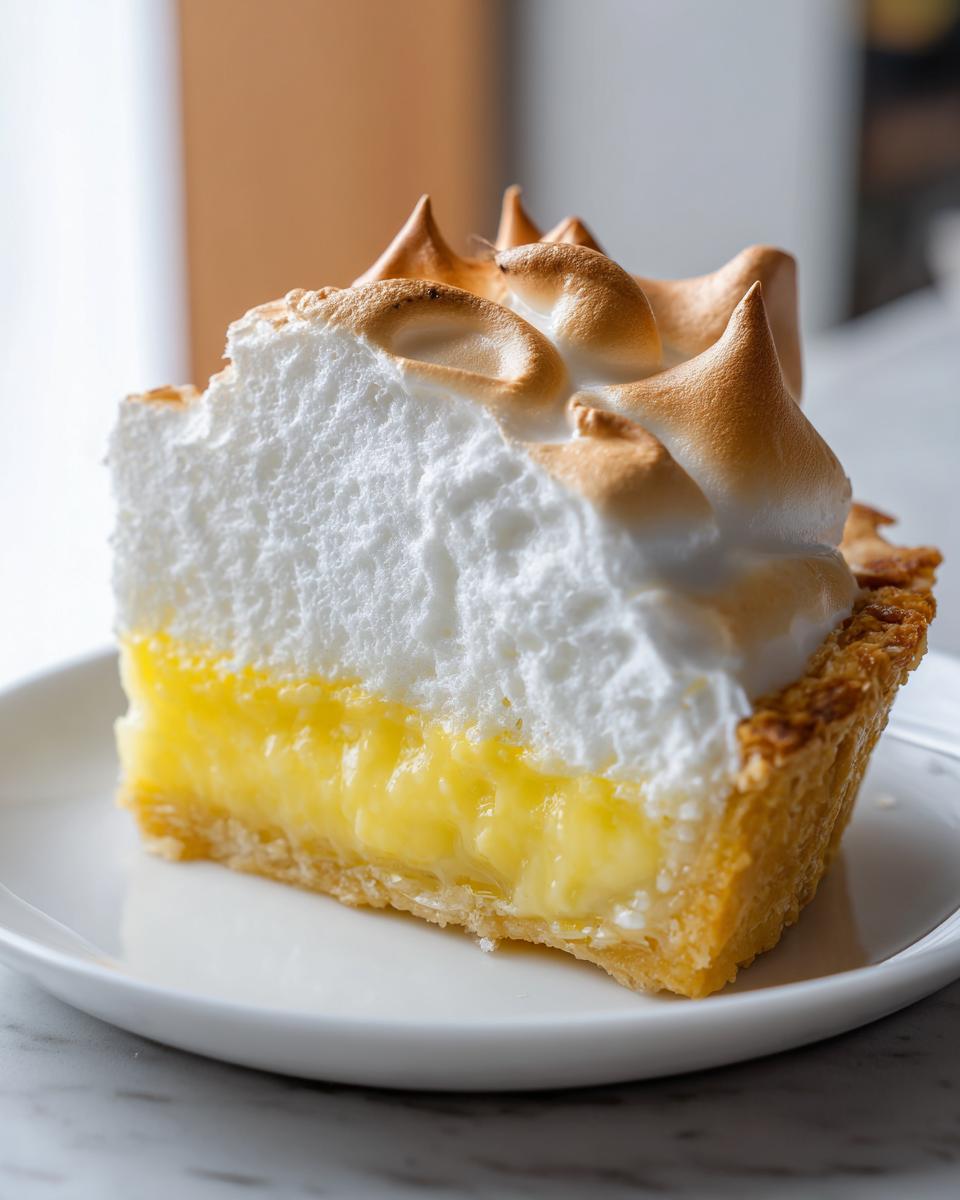
Make a classic, showstopping lemon meringue pie with a flaky crust, intensely tangy lemon filling, and a tall, stable, weep-proof meringue topping.
- Prep Time: 30 min
- Cook Time: 35 min
- Total Time: 70 min
- Yield: 8 servings 1x
- Category: Dessert
- Method: Baking
- Cuisine: American
- Diet: Vegetarian
Ingredients
- 1 (9-inch) unbaked pie crust (buttery pie crust recipe recommended)
- 1 1/2 cups granulated sugar
- 1/3 cup cornstarch
- 1/4 teaspoon salt
- 1 1/2 cups cold water
- 3 large egg yolks, lightly beaten
- 2 tablespoons butter
- 1/2 cup fresh lemon juice (zesty lemon filling)
- 1 tablespoon lemon zest
- 6 large egg whites, at room temperature
- 1/2 teaspoon cream of tartar
- 6 tablespoons granulated sugar (for meringue)
Instructions
- Prepare and partially bake your 9-inch pie crust according to your preferred method until lightly golden. Let it cool.
- For the lemon filling, whisk together 1 1/2 cups sugar, cornstarch, and salt in a medium saucepan. Gradually whisk in the cold water until smooth.
- Cook the mixture over medium heat, stirring constantly, until it thickens significantly and bubbles. Cook for one minute more.
- Remove the saucepan from the heat. In a small bowl, whisk the egg yolks. Slowly temper the yolks by whisking in about 1/2 cup of the hot sugar mixture. Then, pour the tempered yolk mixture back into the saucepan, whisking constantly.
- Return the saucepan to medium heat and cook, stirring constantly, until the filling thickens again and just begins to bubble. Do not boil vigorously. Remove from heat.
- Stir in the butter, lemon juice, and lemon zest until the butter is melted and incorporated. This creates your tangy custard pie base.
- Pour the hot lemon filling into the cooled, partially baked crust.
- For the meringue topping (mile high meringue), place the 6 room-temperature egg whites and cream of tartar in a clean, grease-free mixing bowl. Beat with an electric mixer on medium speed until soft peaks form.
- Gradually add the 6 tablespoons of sugar, one tablespoon at a time, while beating continuously. Increase the speed to high and beat until stiff, glossy peaks form. This step is key for a no weep lemon meringue pie.
- Immediately spread the meringue over the hot lemon filling, making sure the meringue touches the edge of the crust all the way around to prevent shrinking. Create decorative peaks.
- Bake at 350°F (175°C) for 12 to 15 minutes, or until the meringue peaks are lightly golden brown.
- Cool the pie completely on a wire rack at room temperature for at least 4 hours before slicing. Do not refrigerate immediately, as rapid cooling can cause weeping.
Notes
- To prevent weeping, ensure your mixing bowl for the meringue is completely clean and free of any grease or egg yolk.
- For the tallest, fluffiest meringue, use room-temperature egg whites and add the sugar slowly while beating.
- Baking the meringue while the filling is still hot helps set the meringue and reduces the chance of shrinkage.
Nutrition
- Serving Size: 1 slice
- Calories: 380
- Sugar: 45g
- Sodium: 150mg
- Fat: 18g
- Saturated Fat: 9g
- Unsaturated Fat: 9g
- Trans Fat: 0g
- Carbohydrates: 52g
- Fiber: 1g
- Protein: 6g
- Cholesterol: 95mg