
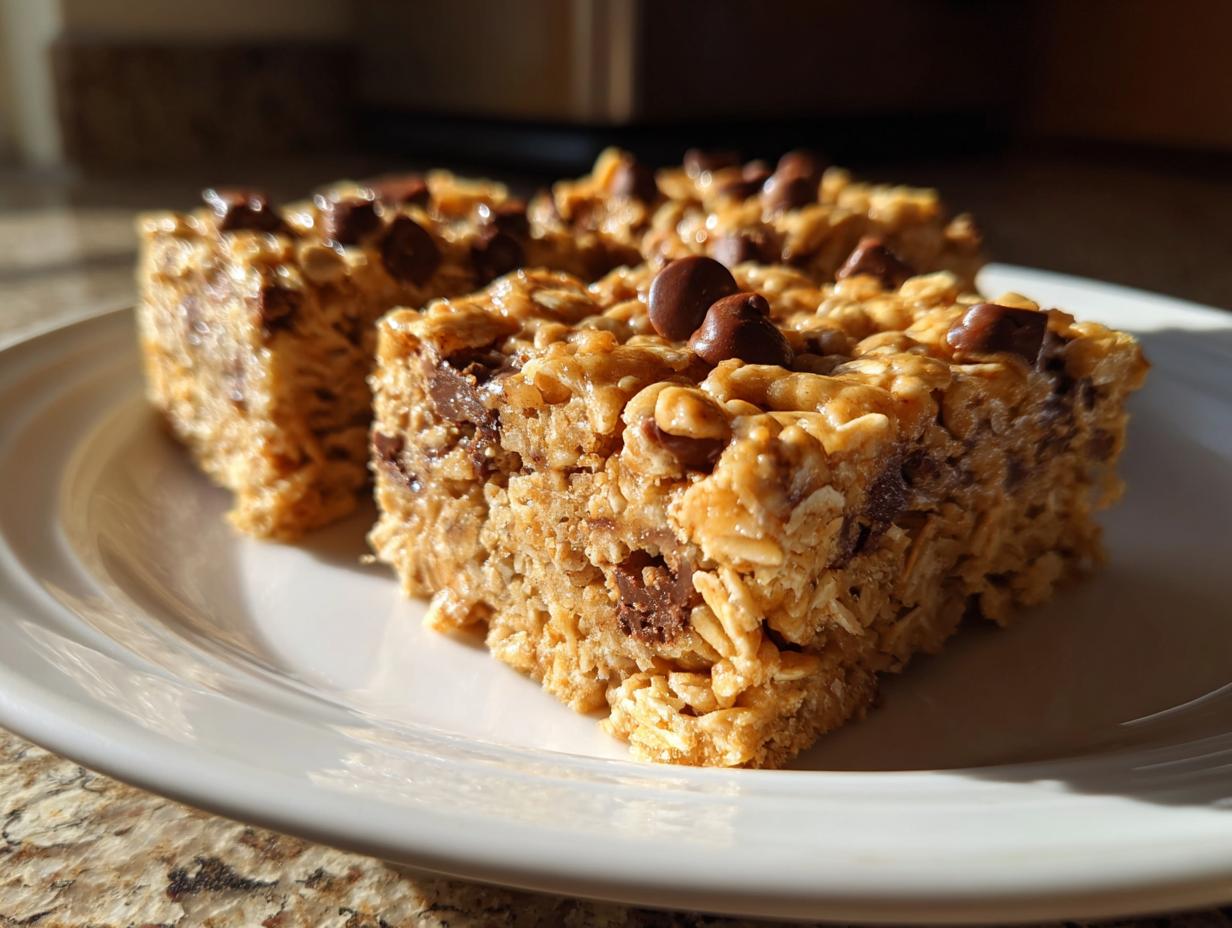
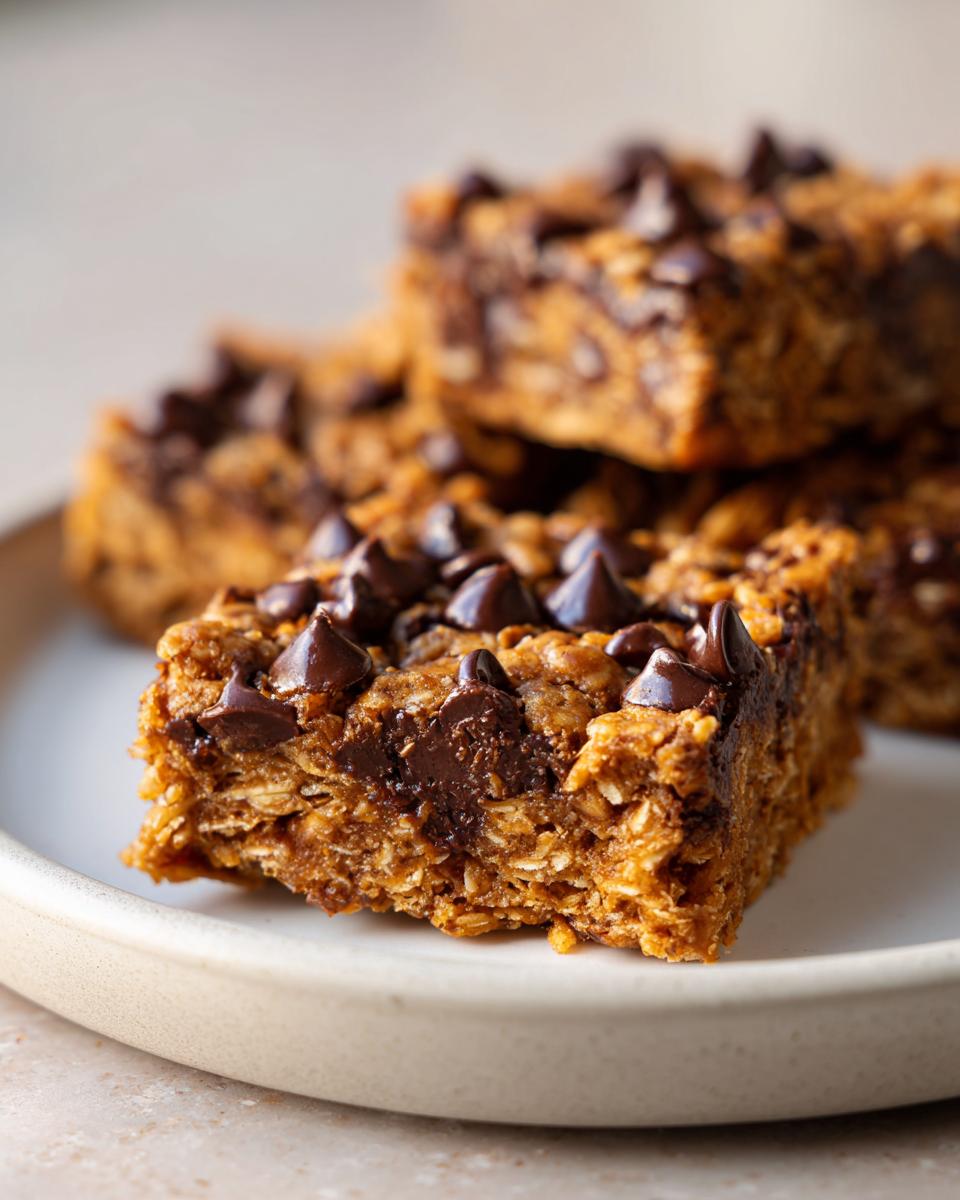
When that specific craving hits—the one that demands something perfectly balanced between salty, sweet, hearty, and chocolatey—you need a guaranteed win. Forget complicated layers; we’re diving straight into the ultimate game-changer: the oatmeal chocolate chip peanut butter bars. As someone who approaches the kitchen like a project manager, I engineered this recipe to hit maximum flavor payoff in minimum time. These aren’t delicate cookies; we are aiming for thick, chewy perfection. Trust me, these oatmeal chocolate chip peanut butter bars are streamlined, easy to throw together in one pan, and deliver that rich, comforting experience every single time.
- Why These oatmeal chocolate chip peanut butter bars Are a Kitchen Staple
- Essential Ingredients for Perfect oatmeal chocolate chip peanut butter bars
- Step-by-Step Guide to Making Your oatmeal chocolate chip peanut butter bars
- Expert Tips for the Best peanut butter oatmeal bars recipe Results
- Ingredient Notes and Substitutions for your oatmeal chocolate chip peanut butter bars
- Make Ahead Dessert Bars Storage and Reheating
- Variations on the Chocolate Chip Oat Bars
- Frequently Asked Questions About oatmeal chocolate chip peanut butter bars
- Share Your Simple Oatmeal Dessert Recipe Creations
Why These oatmeal chocolate chip peanut butter bars Are a Kitchen Staple
When I design a recipe, I cut out anything that adds unnecessary steps or stress. These bars are the perfect example of efficiency meeting ultimate satisfaction. Seriously, what’s not to love when you get this kind of texture with this little fuss?
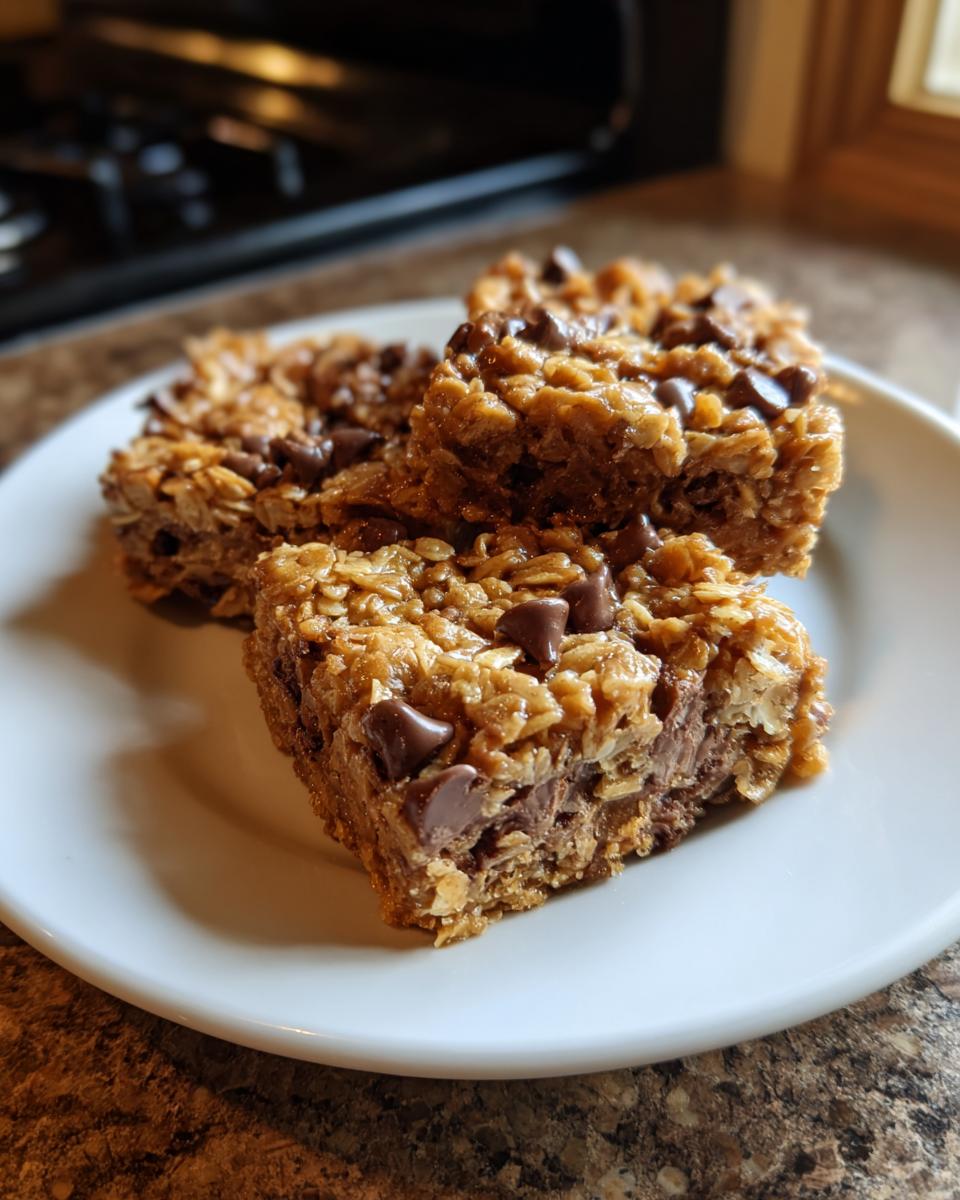
- These are genuinely Thick Chewy Oatmeal Bars. We aren’t dealing with thin, crumbly squares here; these hold their shape!
- They deliver maximum impact as a One Pan Dessert Bar—cleanup is practically non-existent.
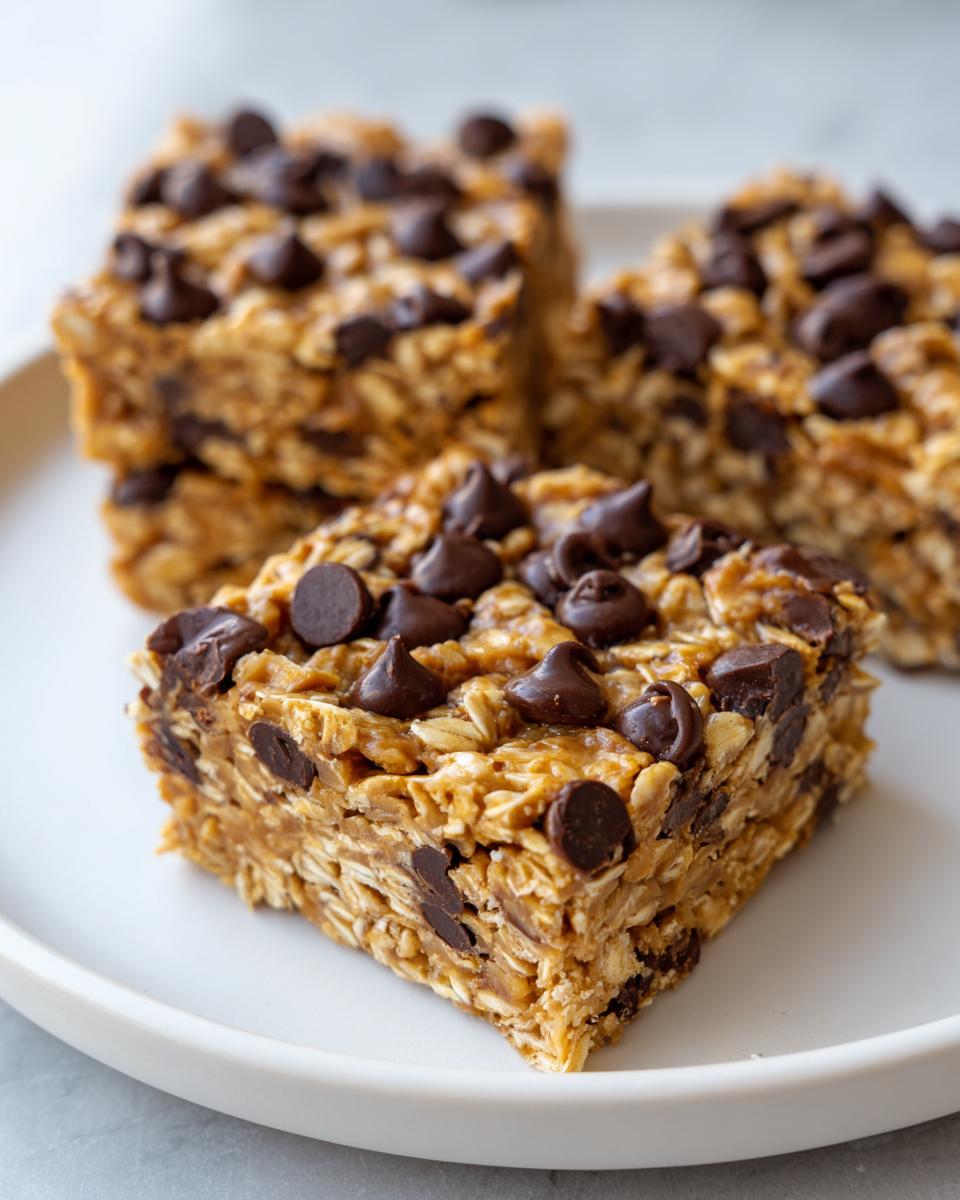
- The balance is incredible: the creamy peanut butter cuts through the sweetness of the chocolate chips perfectly.
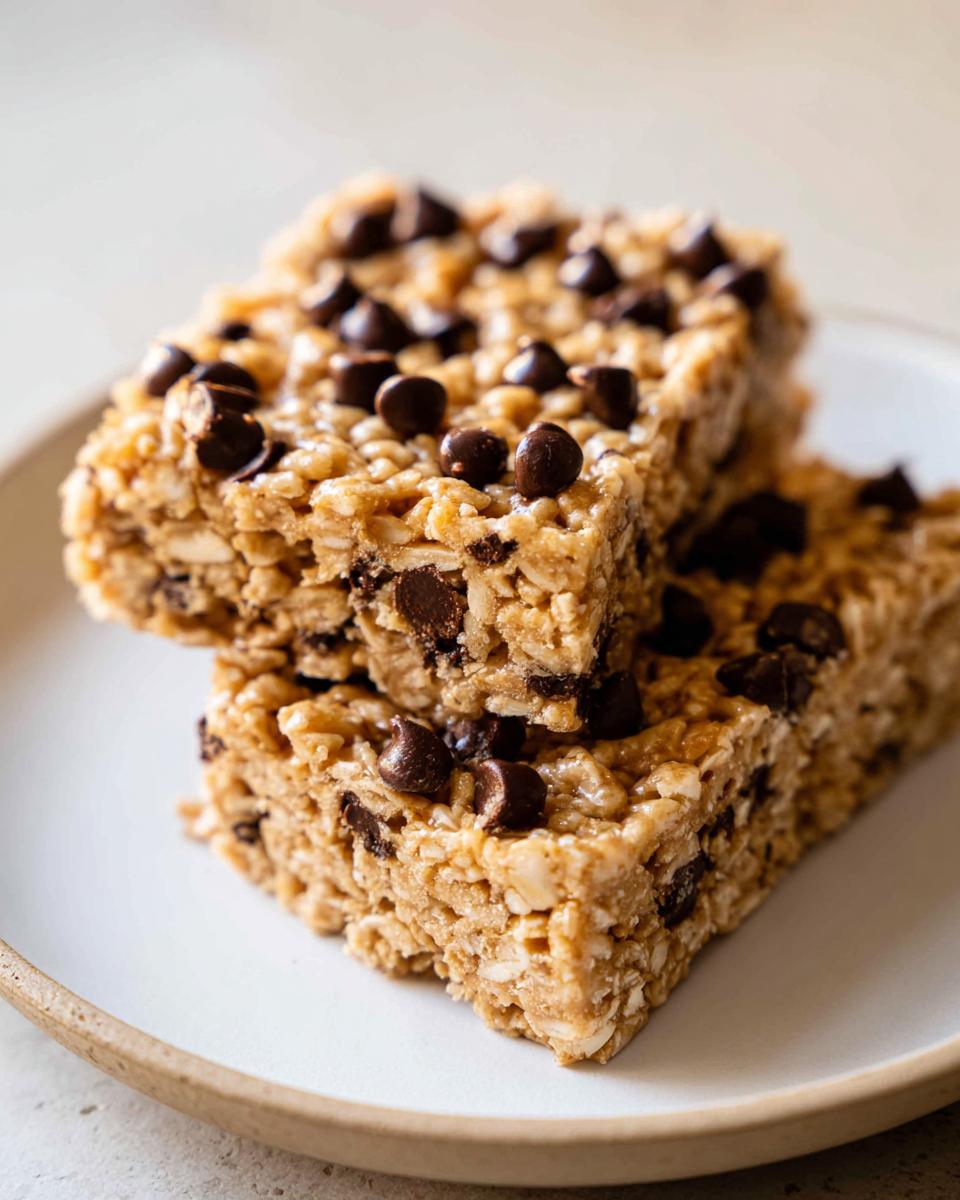
- They freeze like a dream! Perfect for batch cooking and keeping treats on hand when the craving strikes.
- Your house will smell amazing while these are baking—that mix of toasted oats and melted chocolate is unbeatable.
- They appeal to almost everyone, making them a safe bet for potlucks or serving company.
Project Management in Baking: Efficiency First
If you’ve spent any time reading my work here at Dishicious, you know I hate wasted motion in the kitchen. This recipe is proof that complex flavor doesn’t need complex technique. We cream butter and sugar, add the basics, and fold in the heavy hitters. There’s no chilling involved, no complicated layering—just straightforward steps that get you to that delicious result faster. It’s smart cooking, plain and simple.
Essential Ingredients for Perfect oatmeal chocolate chip peanut butter bars
Okay, let’s talk what goes into these beauties. Since these bars are so straightforward, the quality and type of your ingredients matter a ton. I’ve listed everything exactly as I use it to guarantee that thick, chewy texture we want. Don’t try to cheat on the oats here; old-fashioned rolled oats give you the structural integrity these bars need!
When you look at this list, notice the balance: good fat from the butter and PB, richness from the brown sugar, and plenty of body from the oats and flour. If you want some more ideas on fast, foolproof peanut butter treats, check out my no-bake peanut butter bars—though that’s a different project entirely!
- 1 cup unsalted butter, softened
- 1 cup packed light brown sugar
- 1/2 cup granulated sugar
- 1 cup creamy peanut butter
- 2 large eggs
- 1 teaspoon vanilla extract
- 2 1/4 cups all-purpose flour
- 1 teaspoon baking soda
- 1/2 teaspoon salt
- 3 cups old-fashioned rolled oats
- 1 cup semi-sweet chocolate chips
Step-by-Step Guide to Making Your oatmeal chocolate chip peanut butter bars
This is where the project management mindset really pays off! A well-organized sequence means you spend less time hovering and more time anticipating that first bite. We break this down into four easy phases to ensure we get that perfect structure, especially preventing any dry edges or cracked tops. For more tips on achieving that ideal texture in oat-based baking, take a peek at my guide for the ultimate soft and chewy oatmeal cookies; the principles are similar.
Preparing the Pan and Oven
First things first: get your environment optimized. Preheat that oven to 350 degrees Fahrenheit right away. Then, grab your 9×13 baking pan. Here’s a crucial setup step: line it with parchment paper, but make sure you leave an overhang—say, a couple of inches spilling over the sides. This overhang is your handle! We’ll grease that paper just a little bit so nothing decides to stick onto the pan itself.
Combining Wet and Dry Components for the oatmeal chocolate chip peanut butter bars Dough
Time to mix! In the big bowl, cream the softened butter with both brown and white sugars until it’s fluffy—you’re looking for that lighter, airy texture. Beat in your peanut butter until it blends smoothly, then add the eggs one by one, mixing after each. Finally, gently beat in the vanilla. In a separate bowl, you already whisked your flour, baking soda, and salt. Now, add those dry ingredients to the wet mix slowly, on low speed. Stop mixing the moment you see the last streak of flour disappear. Seriously, stop! Overmixing dough like this is the fastest way to tough bars.
Folding in Oats and Chocolate Chips
The mixer is done now. Grab a sturdy spoon or spatula. This is where you fold in your 3 cups of rolled oats and the cup of chocolate chips by hand. You want to distribute everything evenly, making sure every scoop has some PB dough, some oats, and some chocolate treasure. The dough will feel thick here—that’s exactly what we want!
Baking and Cooling for Perfect Texture
Press that thick dough evenly into your prepared pan. Pop it into the 350°F oven for about 22 to 25 minutes. You’re looking for lightly golden edges, but the center should still look mostly set. Do not, under any circumstances, try to cut these hot! They look done, but they are structurally weak. You absolutely must let these amazing oatmeal chocolate chip peanut butter bars cool completely in the pan on a rack. Once they are totally cool, use those parchment paper handles to lift the whole slab out, then slice neatly into squares.
Expert Tips for the Best peanut butter oatmeal bars recipe Results
I’ve probably made this recipe thirty times now, tweaking things just a tiny bit to see if I could improve on perfection. The core structure is sound, but if you want to push these even further—maybe you want them richer or you’re dealing with a slightly different oven—here are the little nuggets of wisdom I’ve gathered about making the absolute best peanut butter oatmeal bars recipe.
Achieving Fudgy Oatmeal Bars Texture
We are aiming for chewy, but sometimes you just wake up craving that deep, soft, almost under-baked center. If that’s your mission, pull these out about two minutes early. The recipe calls for 22 to 25 minutes, but if you’re gunning for truly fudgy oatmeal bars, pull them when the timer hits 20 or 21 minutes. The edges will look set, but the middle will still look slightly soft when you wiggle the pan. Don’t panic! Letting them cool completely on the counter is what finishes the cooking process and sets that glorious, decadent center.
Peanut Butter Selection for Structure
This is where I see people run into trouble! We need structure here, right? We’re pressing a thick dough into a pan and baking it, so we don’t want anything too runny undermining our base. Stick strictly to creamy peanut butter. I mean the kind you grew up on—the shelf-stable stuff where the oil doesn’t separate. Natural peanut butter often has too much liquid oil, and if you use that, your bars might spread too thin or end up greasy instead of sturdy. Trust me on this one; the shelf-stable stuff is your structural engineer here.
If you love that peanut butter hit but want to elevate the whole experience, you might want to check out my recipe for the classic Lunch Lady Peanut Butter Bars next. They use a slightly different technique but hit that same sweet spot!
Ingredient Notes and Substitutions for your oatmeal chocolate chip peanut butter bars
One of the best things about this recipe being my go-to is that it’s pretty forgiving, provided you respect the foundations. Since we are relying on the precise 3 cups of oats, you can’t just swap them out without consequence, but there are a couple of small tweaks you can make without ruining the whole project. I believe in giving people options, as long as those options are smart ones.
If you wanted to make a slight dietary adjustment, you could try using a gluten-free all-purpose flour blend, provided it has binding agents like xanthan gum included. Always check the package on those blends, though, because some are better for cakes and others are better for structure like this!
Swapping Out the Oats
The recipe calls for old-fashioned rolled oats, and I stand by that choice. They give us that hearty chewiness we’re aiming for. Now, if you only have quick oats on hand, you *can* substitute them 1-for-1 in a pinch. However, you need to know what you’re trading: quick oats will absorb moisture faster and result in a slightly softer, almost cake-like bar rather than a truly thick, chewy square. If you go this route, maybe drop the bake time by just one minute!
Getting Creative with the Chocolate
Semi-sweet chocolate chips are the classic pairing because they offer a nice dark sweetness against the peanut butter’s saltiness. But aren’t you allowed to have fun? If you prefer milk chocolate, go for it! Just be aware that milk chocolate melts smoother and sweeter, so your bar might feel a little less intensely chocolatey. For a real flavor kick, try using dark chocolate chunks or even tossing in a handful of peanut butter chips along with the chocolate chips. That doubles down on the flavor without messing with the dry-to-wet ratios, which is a win in my book!
Make Ahead Dessert Bars Storage and Reheating
This is one of my favorite aspects of this recipe: they are fantastic make ahead dessert bars. Seriously, planning ahead is half the battle when it comes to satisfying a serious sweet tooth during a busy week. The good news is that these bars actually *improve* after setting for a day, allowing those flavors to fully meld together.
Once they are completely cooled down out of the pan, you want to store them properly. Cutting them first makes storage much easier. Slide them into an airtight container. If you stack them, put a small piece of wax paper or parchment paper between the layers. This prevents them from sticking together, especially since they are so chewy.
Room temperature is usually the best place for them—I keep mine in a cool, dry pantry. At room temperature, they should stay perfectly fresh and chewy for a solid three to four days. If your kitchen runs hot, or if you know you need them to last longer, you can absolutely move them into the refrigerator. Just know that the cold temperature will stiffen the peanut butter and make them a bit firmer initially. For make-ahead tasks, I always suggest slicing them after they’ve cooled, storing them, and then bringing them out thirty minutes before serving if they were chilled!
On reheating? It’s not strictly necessary, but sometimes you just want that gooey, just-baked feel. If you want to recapture that moment, take an individual bar and microwave it for about 10 to 15 seconds. It releases those chocolate chips instantly. If you are serious about planning ahead, you can check out my full guide dedicated to make ahead dessert bars for tips on long-term storage solutions!
Variations on the Chocolate Chip Oat Bars
The base recipe for these oatmeal chocolate chip peanut butter bars is rock solid, which is what I love about it—it’s the perfect foundation ready for a little creative tweaking. You’ve got your peanut butter/oat/chocolate trifecta locked down, but maybe you want to switch the vibe for the next time you bake them. Since we aren’t messing with the wet-to-dry ratio, these swaps are easy ways to keep things interesting without needing a whole new process.
If you like to experiment with flavors, try one of these simple adjustments next time you whip up a batch of these chocolate chip oat bars. You don’t even need to adjust the baking time!
- Go Nutty: Along with the chocolate chips, toss in about 3/4 cup of chopped nuts. Pecans offer a great earthy crunch that pairs wonderfully with peanut butter. Walnuts work too, but pecans are my personal favorite lift for this dessert.
- Spice it Up: Before you mix in the oats and chips, grab your spice rack. A teaspoon of ground cinnamon, or even half a teaspoon of nutmeg, introduces a warmer, almost fall-like complexity that elevates the whole bar. It’s a tiny addition that makes a huge difference in the aroma.
- PB Swaps: If you have a friend who can’t do peanut butter, or you just want a different flavor profile, you can substitute the peanut butter cup-for-cup with any other creamy nut butter that’s not super runny—almond butter or cashew butter work well here. If you swap to sunflower seed butter, just be aware the color will change dramatically.
For a totally different texture that leans into fruitiness, sometimes I look at my other recipes for inspiration. For example, if you loved the cranberry-orange pairing in my cranberry orange cookies, you could swap out the chocolate chips entirely and use dried cranberries and orange zest for a brighter bar! See? Smart substitutions keep baking fun.
Frequently Asked Questions About oatmeal chocolate chip peanut butter bars
I know that when you run a recipe, questions always pop up about tweaking it or making sure it turns out exactly right. That’s totally normal! Since my goal here is always efficiency and reliability, I’ve collected the most common things people ask about when they are making these oatmeal chocolate chip peanut butter bars so you can bake with total confidence the first time around. For more fantastic tips on streamlined dessert prep, check out my guide on easy baked oatmeal bars!
Can I make these Peanut Butter Loaded Oat Squares without flour?
That’s a great question because some people prefer a totally flourless treat! For this specific Peanut Butter Loaded Oat Squares recipe, the 2 1/4 cups of all-purpose flour are absolutely crucial for binding everything together with the fats and eggs when baked. If you leave the flour out, you’ll end up with a gooey, oily puddle rather than a cohesive, thick bar.
If you *need* a flourless version, you’d need a different recipe base entirely—usually one that relies on a higher ratio of nut butter or perhaps even almond flour substitute. For these bars designed for a 9×13 pan, though, keep the flour in, or skip them and look for a recipe specifically labeled “flourless” for best results!
How long do these Easy Baked Oatmeal Bars last?
These are fantastic because they are, as advertised, Easy Baked Oatmeal Bars that keep well! Since they are dairy-based and contain a lot of sugar and fat, they hold up nicely. If you keep them stored in an airtight container at cool room temperature, they’ll stay wonderfully fresh and chewy for about four days. Seriously, they often taste even better on day two!
If you need them to last longer, or if your kitchen tends to run warm, pop that airtight container into the refrigerator. They will last easily up to ten days that way, though you might want to let them sit on the counter for 15 minutes before serving so they soften up just a little bit.
What is the difference between using quick oats vs. rolled oats?
I specifically call for old-fashioned rolled oats because they keep their shape during baking, giving you that satisfying, hearty chewiness we love in these bars. If you use quick oats, which are smaller and partially broken down, the final texture will be much softer and slightly more cake-like. They still taste great, but you lose that signature substantial bite. It’s an easy swap if you’re in a pinch, but for the absolute best texture, stick to the rolled oats!
Can I freeze these Make Ahead Dessert Bars?
Absolutely! These are perfect candidates for the freezer, which is why I highlighted them as great make ahead dessert bars. Once the bars are completely cooled and cut into squares, layer them in a freezer-safe, airtight container. Remember to use wax paper or parchment squares between the layers to prevent sticking. They freeze beautifully for up to three months. When you want one, just pull it out of the freezer and let it sit on the counter for about 20 minutes, and it’s ready to go!
Can I use natural peanut butter instead of creamy?
I strongly recommend against it for this recipe! While I love natural peanut butter in many applications, here we need the structure provided by the stabilizers in conventional creamy peanut butter. Natural peanut butter tends to separate and is much runnier. Using it will result in a greasier texture and might cause the bars to spread out too much during baking. For maximum structural integrity, use the creamy kind!
Share Your Simple Oatmeal Dessert Recipe Creations
Look, I put a lot of effort into engineering these oatmeal chocolate chip peanut butter bars to be the most straightforward, reliable, and delicious dessert you can whip up on a weeknight. But the best part of this whole process is hearing from you! Did you try them? Did you add a fun variation, like a sprinkle of sea salt on top right before baking? I want to know!
Dishicious is all about building a community of smart, efficient home cooks who believe good food shouldn’t be complicated. So, I encourage you to jump down to the comments section below.
- Let me know how many squares you managed to restrain yourself from eating straight from the pan!
- Rate this recipe out of five stars so other busy cooks know it’s a winner.
- Share any substitutions you made that worked out well for you.
Your feedback helps me keep refining and perfecting these streamlined recipes. If you enjoyed this peek into my kitchen, feel free to click over to the About Page to learn more about my project-management approach to cooking. Now go enjoy those incredible bars!
PrintOatmeal Chocolate Chip Peanut Butter Bars
Make these thick, chewy peanut butter oatmeal bars loaded with chocolate chips. This easy baked dessert requires minimal effort and delivers rich, satisfying flavor.
- Prep Time: 15 min
- Cook Time: 25 min
- Total Time: 40 min
- Yield: 24 bars 1x
- Category: Dessert
- Method: Baking
- Cuisine: American
- Diet: Vegetarian
Ingredients
- 1 cup unsalted butter, softened
- 1 cup packed light brown sugar
- 1/2 cup granulated sugar
- 1 cup creamy peanut butter
- 2 large eggs
- 1 teaspoon vanilla extract
- 2 1/4 cups all-purpose flour
- 1 teaspoon baking soda
- 1/2 teaspoon salt
- 3 cups old-fashioned rolled oats
- 1 cup semi-sweet chocolate chips
Instructions
- Preheat your oven to 350 degrees Fahrenheit. Line a 9×13 inch baking pan with parchment paper, leaving an overhang on the sides for easy removal. Lightly grease the paper.
- In a large bowl, cream together the softened butter, brown sugar, and granulated sugar until light and fluffy.
- Beat in the peanut butter until combined. Add the eggs one at a time, mixing well after each addition. Stir in the vanilla extract.
- In a separate medium bowl, whisk together the flour, baking soda, and salt.
- Gradually add the dry ingredients to the wet ingredients, mixing on low speed until just combined. Do not overmix.
- Stir in the rolled oats and chocolate chips by hand until evenly distributed throughout the dough.
- Press the dough evenly into the prepared baking pan.
- Bake for 22 to 25 minutes, or until the edges are lightly golden brown and the center is set.
- Let the bars cool completely in the pan on a wire rack before lifting them out using the parchment paper overhang.
- Cut into squares and serve.
Notes
- For a fudgier texture, slightly reduce the baking time to 20 minutes.
- You can substitute quick oats for rolled oats, but the texture will be softer.
- Use creamy peanut butter for the best bar structure.
Nutrition
- Serving Size: 1 bar
- Calories: 230
- Sugar: 18g
- Sodium: 110mg
- Fat: 13g
- Saturated Fat: 5g
- Unsaturated Fat: 8g
- Trans Fat: 0g
- Carbohydrates: 27g
- Fiber: 1g
- Protein: 5g
- Cholesterol: 30mg