
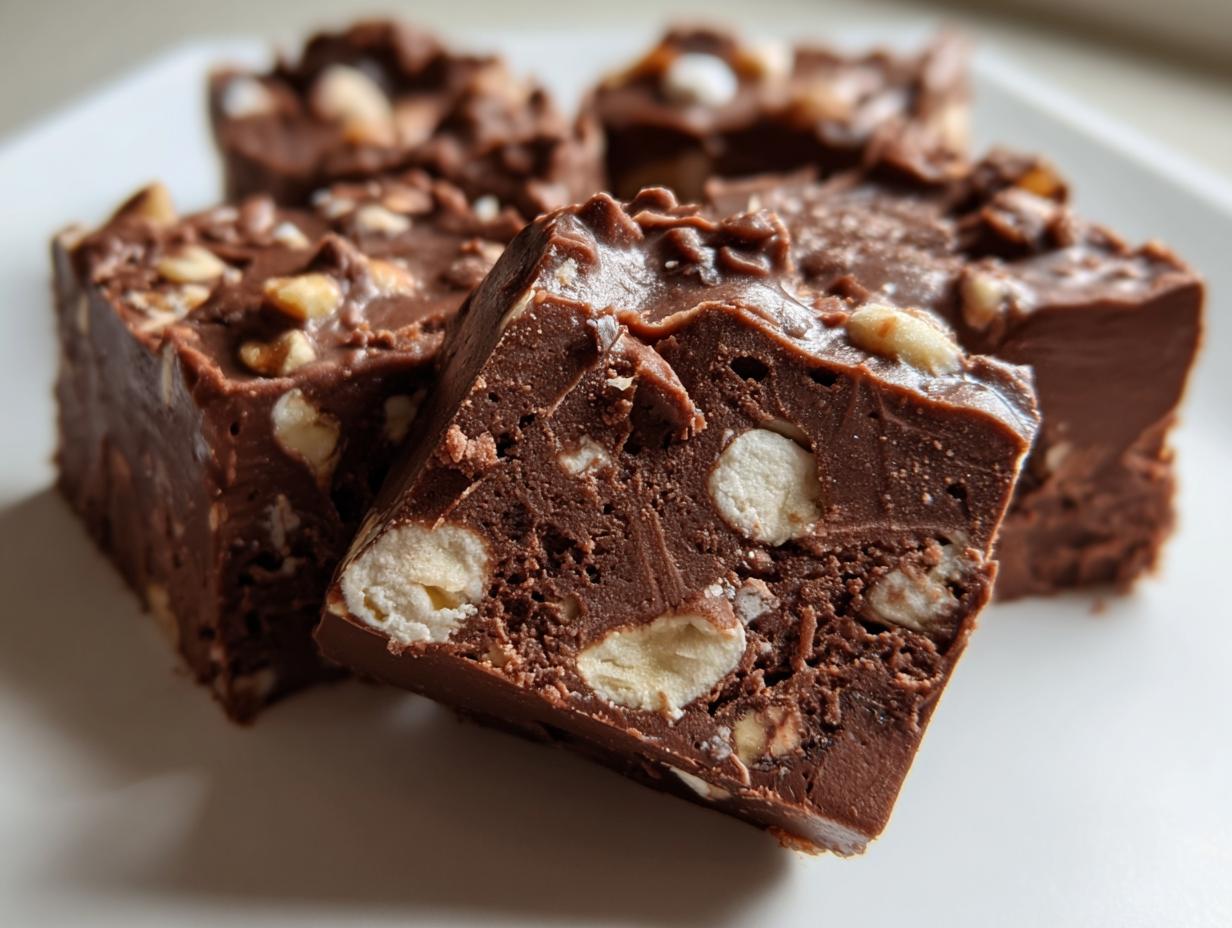
The holidays are amazing, but let’s be honest, the baking to-do list can feel completely overwhelming, right? You want those show-stopping, decadent chocolate treats, but who has hours to spend stirring pots? When I came up against this exact problem in my Chicago kitchen, I knew we needed a system change, not just a recipe change. That’s why I engineered this Ultra Easy No-Bake Rocky Road Fudge. It’s fast, it’s foolproof, and honestly, it’s the best fudge recipe for gifting because it requires zero fuss. We are taking complex candy making and turning it into a 10-minute project that yields the ultimate chocolate marshmallow nut candy.
- Why This No Bake Rocky Road Fudge is Your New Holiday Candy Go-To
- Gathering Ingredients for Your Simple Fudge Squares
- Step-by-Step Instructions for Microwave Rocky Road Fudge
- Tips for Success with Your Decadent Chocolate Treat
- Storage and Gifting Your Homemade Fudge
- Frequently Asked Questions About This Easy Fudge Recipe
- Estimated Nutritional Snapshot for Rocky Road Fudge
Why This No Bake Rocky Road Fudge is Your New Holiday Candy Go-To
Look, if a dessert takes more hands-on time than I have to drink my morning coffee, it’s probably not making the holiday cut. That’s the philosophy I bring to the table, and this fudge follows it perfectly. It delivers massive flavor payoff without any of the temperature babysitting required for traditional stovetop methods.
- It’s a genuine quick dessert—prep takes less than 15 minutes, seriously!
- It is the definition of a fuss free dessert because there’s no oven involvement, ever.
- The cleanup? Minimal. That’s a win in my book, especially when I’m trying to get a huge batch ready for fudge for gifting.
Speed and Simplicity: The Project Manager’s Approach to Rocky Road Fudge
When I analyze any recipe, I look for bottlenecks. The biggest time-suck during the holidays is always the oven time. By going hands-off with this no bake fudge, we eliminate that entirely. You literally spend about 10 minutes combining ingredients, stirring them smoothly, and pouring them into the pan. Everything else is hands-off chilling time. It’s efficient engineering turned into homemade fudge that actually tastes decadent.
Gathering Ingredients for Your Simple Fudge Squares
When we talk about making this truly easy fudge recipe, we are keeping the ingredient count low and the quality high. If you show up with these five things, you are ready to go. There’s no need for powdered sugar, butter on the side, or strange binding agents. We stick to the essentials that give you that ultimate dark chocolate punch.
Essential Components for Perfect Rocky Road Fudge
Seriously, just these five items stand between you and a batch of incredible simple fudge squares. Remember, precision matters here for that perfect texture!
- 1 (14 ounce) can sweetened condensed milk (This is your structure!)
- 2 cups semi-sweet chocolate chips (Use a brand you actually like eating plain.)
- 1 teaspoon vanilla extract
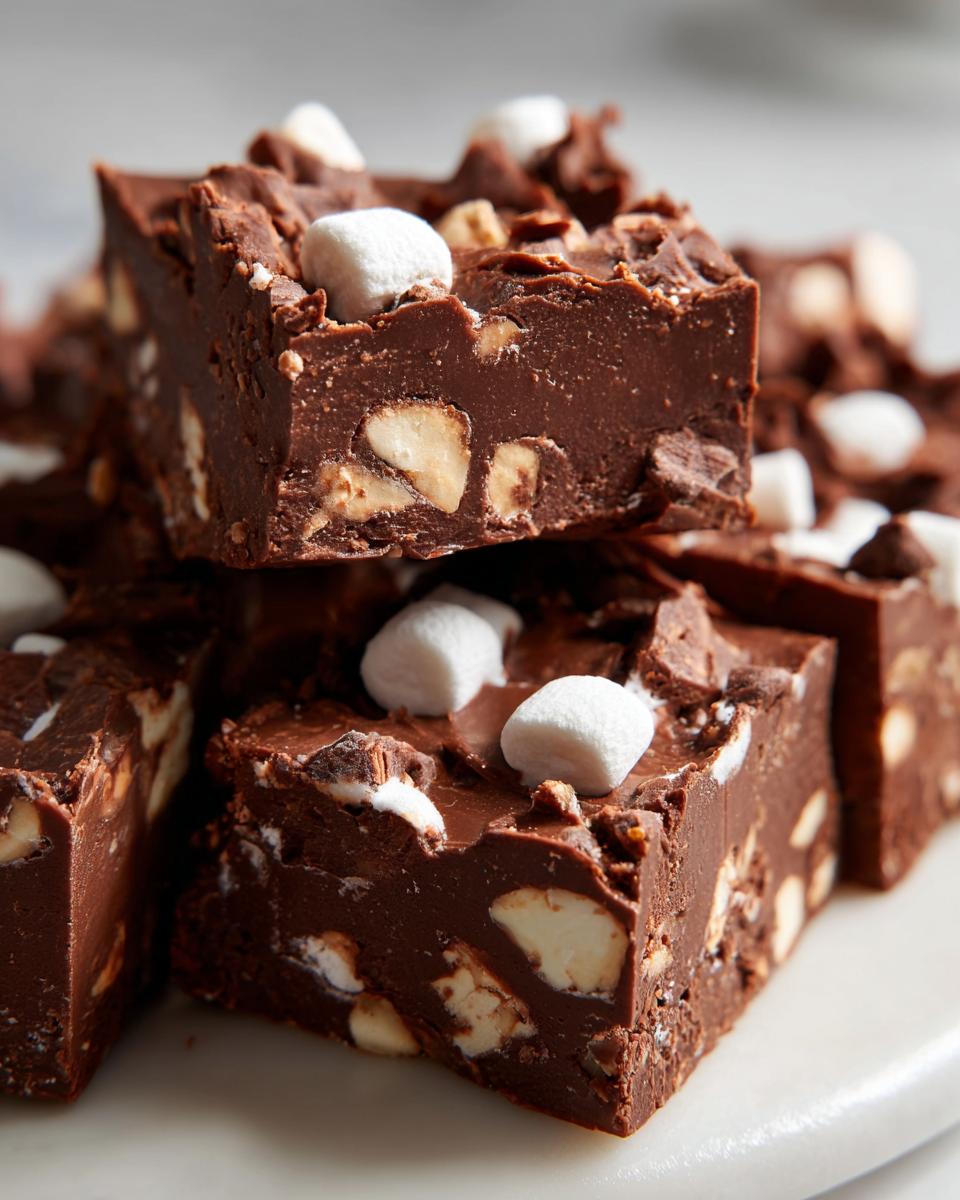
- 1 cup miniature marshmallows (Don’t try to substitute these with the big ones, trust me.)
- 1 cup chopped walnuts or pecans (Your choice on the crunch factor.)
Step-by-Step Instructions for Microwave Rocky Road Fudge
This is where the efficiency kicks in! We aren’t dealing with thermometers or tricky hot water baths here. This entire process moves at the speed of your microwave. We need a smooth foundation before we add the goodies, so pay close attention to the melting stage—that’s where most people rush and end up with grainy fudge.
Preparing the Pan and Melting the Chocolate Base
First thing, get that 8×8 pan ready. Don’t skip the parchment paper here, and make sure you leave an overhang on the sides. That overhang becomes your handles later for lifting the entire block of no bake fudge out cleanly. Next up: the microwave. Combine your sweetened condensed milk and chocolate chips in a bowl. Zap it on high for 30-second bursts, stirring really well after every single one. It usually takes about 90 seconds total, but only hit it for 30 seconds at a time. I always prefer to stop just before it looks fully melted—maybe 80% there—and just stir it until the residual heat finishes the job. That ensures zero scorching!
Folding in Marshmallows and Nuts for the Rocky Road Fudge
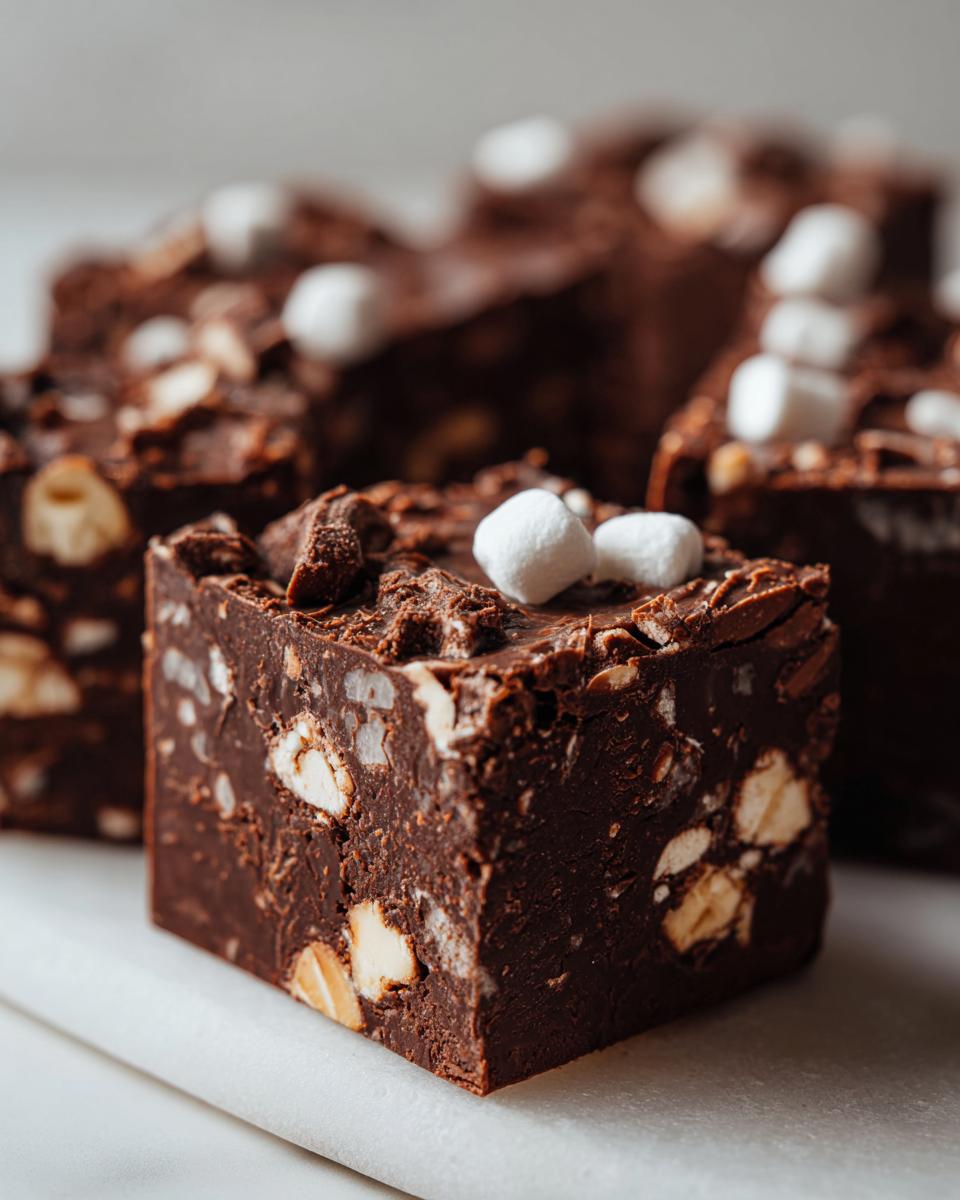
Once you have that beautiful, glossy, ultra-smooth chocolate base—and I mean *smooth*, no lumps allowed—you stir in the vanilla extract. Now for the fun part! You need to gently fold in the marshmallows and the chopped nuts. I use the word gently for a reason. If you beat these ingredients in, you will crush those marshmallows into sad little crumbs, and you won’t get the satisfying chew you need in your rocky road fudge. Fold them just until they look distributed evenly. Then, pour that mixture into your prepared pan and smooth the top. It needs to chill for at least two hours before you can even think about cutting it into simple fudge squares.
Tips for Success with Your Decadent Chocolate Treat
Even though this recipe is designed to be incredibly simple, a few professional tweaks can turn a good batch of rocky road fudge into the ultimate chocolate dessert. My whole philosophy here is maximizing impact while minimizing effort. If you’re avoiding the microwave for some reason, no problem—we can pivot to a double boiler setup, but you still need to be patient while melting. You can check out my method for chocolate fudge cake if you want another guaranteed win.
Ingredient Quality for the Best Rocky Road Fudge
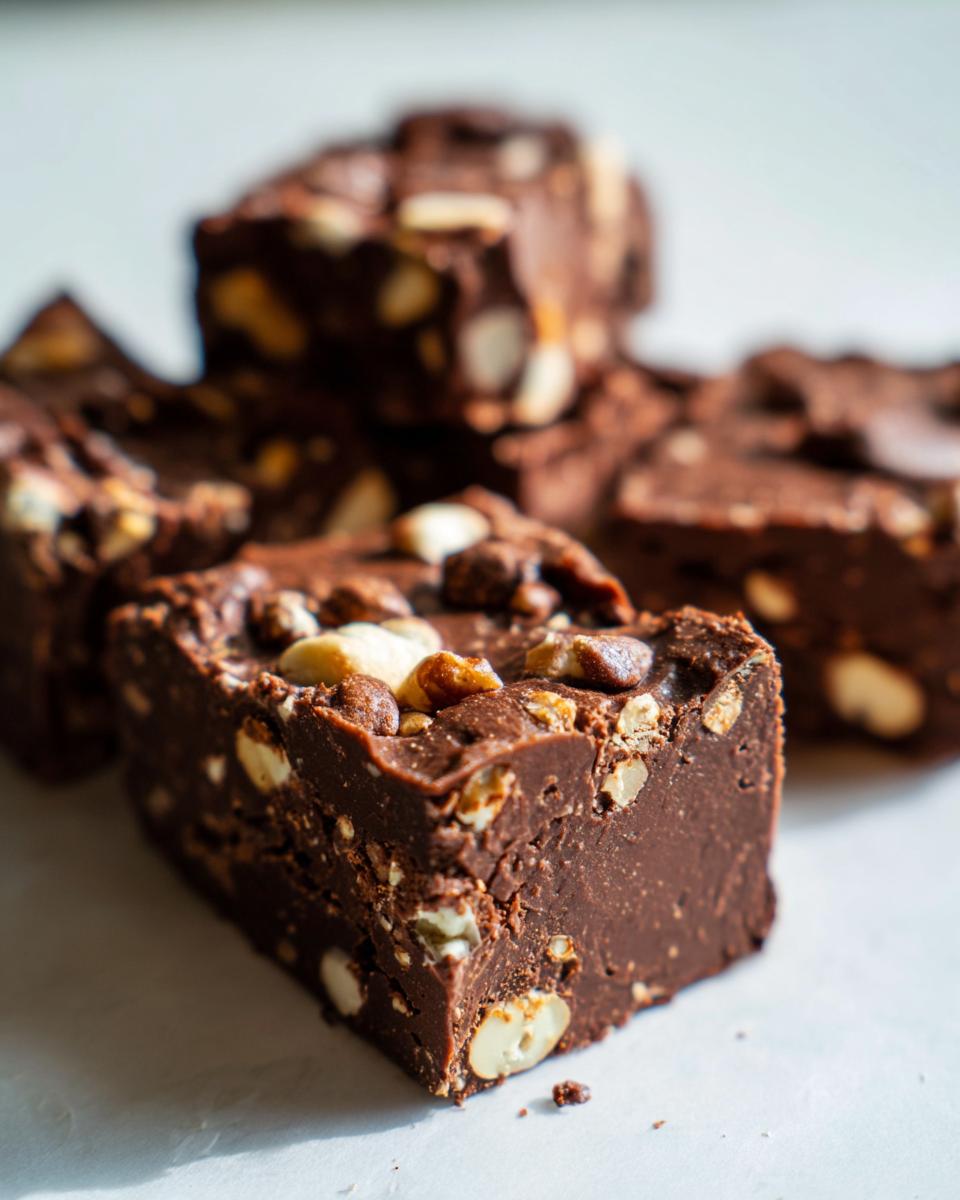
When you only have five ingredients, quality really matters, right? Don’t skimp on the chocolate chips. If you use cheap, waxy chips, they won’t melt smoothly with the condensed milk, and you’ll end up with a grainy, disappointing texture. Splurge a little on good semi-sweet chips because they form the entire backbone of this treat. Also, chopping your own nuts fresh releases a bit more oil and flavor than grabbing pre-chopped bags, which can sometimes taste stale.
Storage and Gifting Your Homemade Fudge
So you’ve got this beautiful, firm block of homemade Rocky Road Fudge! Now, the critical part: keeping it amazing until you decide to devour it, or get it ready for gifting. Since this is a no-bake recipe, our storage method is super straightforward. You absolutely want to pop this into an airtight container immediately after cutting it into those perfect simple fudge squares.
For best results, keep this candy refrigerated. It will stay firm and delicious for up to two weeks tucked away in the fridge. I often make massive batches right after Halloween, get everything cut and wrapped, and store them in the coldest part of the fridge until closer to Christmas. It stays fresh because there’s no dairy other than the condensed milk, which is heavily preserved.
When it comes to packaging this holiday candy up for friends or neighbors, presentation matters! Because the fudge is firm, you can wrap individual squares in festive cellophane or place them inside small decorative tins. Seriously, this recipe is a lifesaver when you need to fill up those big holiday candy platters quickly but still want something that looks totally luxurious. Nobody will ever guess it took you less than 15 minutes of active work!
Frequently Asked Questions About This Easy Fudge Recipe
I know when you’re making a new easy fudge recipe, questions always pop up. Since this rocky road fudge is designed to be so quick, people often wonder if they can swap ingredients around, or how to keep their no bake fudge perfect for days. Here are the answers to the things I get asked most often!
Can I use different nuts in my rocky road fudge?
Absolutely, you can customize the nuts! Walnuts and pecans are what I use because they offer that perfect crunchy resistance against the creamy chocolate. You can definitely try slivered almonds—they work wonderfully. However, I caution you on softer nuts like cashews if you aren’t planning on eating the fudge right away. Softer nuts can sometimes get a little too yielding once they soak up moisture from the fudge base, throwing off that satisfying crunch you want in the final product.
How long does this no bake fudge last?
This is where the magic of using sweetened condensed milk really shows itself. Because it’s so dense and low in other volatile ingredients, this simple fudge squares recipe lasts quite well! If you keep the fudge stored in a truly airtight container, you can expect it to stay fresh and delicious in the refrigerator for up to two full weeks. If you’re planning ahead for Christmas, this is a huge advantage because you can knock out your holiday candy weeks ahead of time and not worry about staleness.
Estimated Nutritional Snapshot for Rocky Road Fudge
When I put together recipes for Dishicious, I always try to give you the full picture—that includes knowing what you’re getting into nutrient-wise. Since this is a decadent treat loaded with chocolate and nuts, it’s best enjoyed in moderation (and trust me, these sweet potato pound cake recipes are also rich, so you know I like flavor!).
Here is the estimated breakdown for one small square of this rocky road fudge:
- Serving Size: 1 square
- Calories: 150
- Sugar: 18g
- Sodium: 35mg
- Fat: 8g
- Saturated Fat: 4g
- Carbohydrates: 19g
- Protein: 2g
Now, I always like to add a quick disclaimer, because I manage projects, not manufacturing plants! These figures are based on standardized ingredient calculations, especially using average semi-sweet chocolate chips and walnuts. If you substitute milk chocolate or use a heavily processed brand of sweetened condensed milk, those numbers can shift a bit. Consider this your reliable roadmap, but understand that using premium ingredients might tweak the final count slightly. It’s still a fantastic, quick dessert, no matter what!
PrintUltra Easy No-Bake Rocky Road Fudge: Quick Holiday Candy

Make this ultra easy, no-bake Rocky Road Fudge in minutes. This simple fudge recipe is loaded with chocolate, marshmallows, and nuts, making it a perfect fuss-free dessert or homemade gift for the holidays.
- Prep Time: 10 min
- Cook Time: 0 min
- Total Time: 2 hours 10 min
- Yield: 36 small squares 1x
- Category: Dessert
- Method: No-Bake
- Cuisine: American
- Diet: Vegetarian
Ingredients
- 1 (14 ounce) can sweetened condensed milk
- 2 cups semi-sweet chocolate chips
- 1 teaspoon vanilla extract
- 1 cup miniature marshmallows
- 1 cup chopped walnuts or pecans
Instructions
- Line an 8×8 inch baking pan with parchment paper, leaving an overhang on the sides for easy removal.
- Combine the sweetened condensed milk and chocolate chips in a microwave-safe bowl.
- Microwave on high in 30-second intervals, stirring well after each interval, until the chocolate is completely melted and the mixture is smooth. This usually takes 1 to 1.5 minutes total.
- Stir in the vanilla extract.
- Gently fold in the miniature marshmallows and chopped nuts until they are evenly distributed throughout the chocolate mixture.
- Pour the mixture into the prepared baking pan and spread it evenly using a spatula.
- Refrigerate for at least 2 hours, or until the fudge is firm enough to cut.
- Use the parchment overhang to lift the fudge out of the pan. Cut into small squares before serving or packaging for gifting.
Notes
- For a richer flavor, use high-quality chocolate chips.
- If you do not have a microwave, melt the chocolate and milk over a double boiler on the stovetop.
- This simple fudge squares recipe is excellent for making ahead of time for holiday candy platters.
Nutrition
- Serving Size: 1 square
- Calories: 150
- Sugar: 18
- Sodium: 35
- Fat: 8
- Saturated Fat: 4
- Unsaturated Fat: 4
- Trans Fat: 0
- Carbohydrates: 19
- Fiber: 1
- Protein: 2
- Cholesterol: 10