
It’s World Baking Day, which honestly just means it’s another perfect excuse to get something warm and delicious bubbling out of the oven, regardless of what the calendar says! If you’re like me, you need dessert recipes that deliver maximum comfort without taking up your entire afternoon. That’s exactly why I streamlined this Traditional Cherry Cobbler. When I approach baking, I treat it like any other project—we isolate the essential steps and ditch the fluff. This means you get an incredibly rustic, wonderfully bubbly result with minimal fuss. Forget fussy pie crusts; we’re dropping spoonfuls of batter right on top of those gorgeous early stone fruit recipes. The end goal? A homemade cobbler that looks perfectly imperfect, just begging to be served warm for a Sunday family gathering. Trust me, this recipe just works.
- Why This Traditional Cherry Cobbler is Your New Go-To Dessert
- Ingredients for the Perfect Traditional Cherry Cobbler
- Equipment Needed for Your Traditional Cherry Cobbler
- Step-by-Step Instructions: Making the Traditional Cherry Cobbler
- Tips for the Best Traditional Cherry Cobbler Results
- Ingredient Notes and Substitutions for Your Traditional Cherry Cobbler
- Serving Suggestions for Your Homemade Cobbler
- Storage and Reheating Instructions for Traditional Cherry Cobbler
- Frequently Asked Questions About This Easy Fruit Dessert
- Share Your Traditional Cherry Cobbler Success
Why This Traditional Cherry Cobbler is Your New Go-To Dessert
As a home cook who values efficiency, I built this recipe to solve common baking headaches. It’s about reliability when you need that handmade comfort fast. This cobbler delivers on visuals and flavor without the cleanup fuss.
- Foolproof Simplicity: The topping is a quick drop-biscuit style; no rolling or cutting required.
- Speed to Table: Prep takes under 15 minutes, making it a perfect easy fruit dessert for impromptu gatherings.
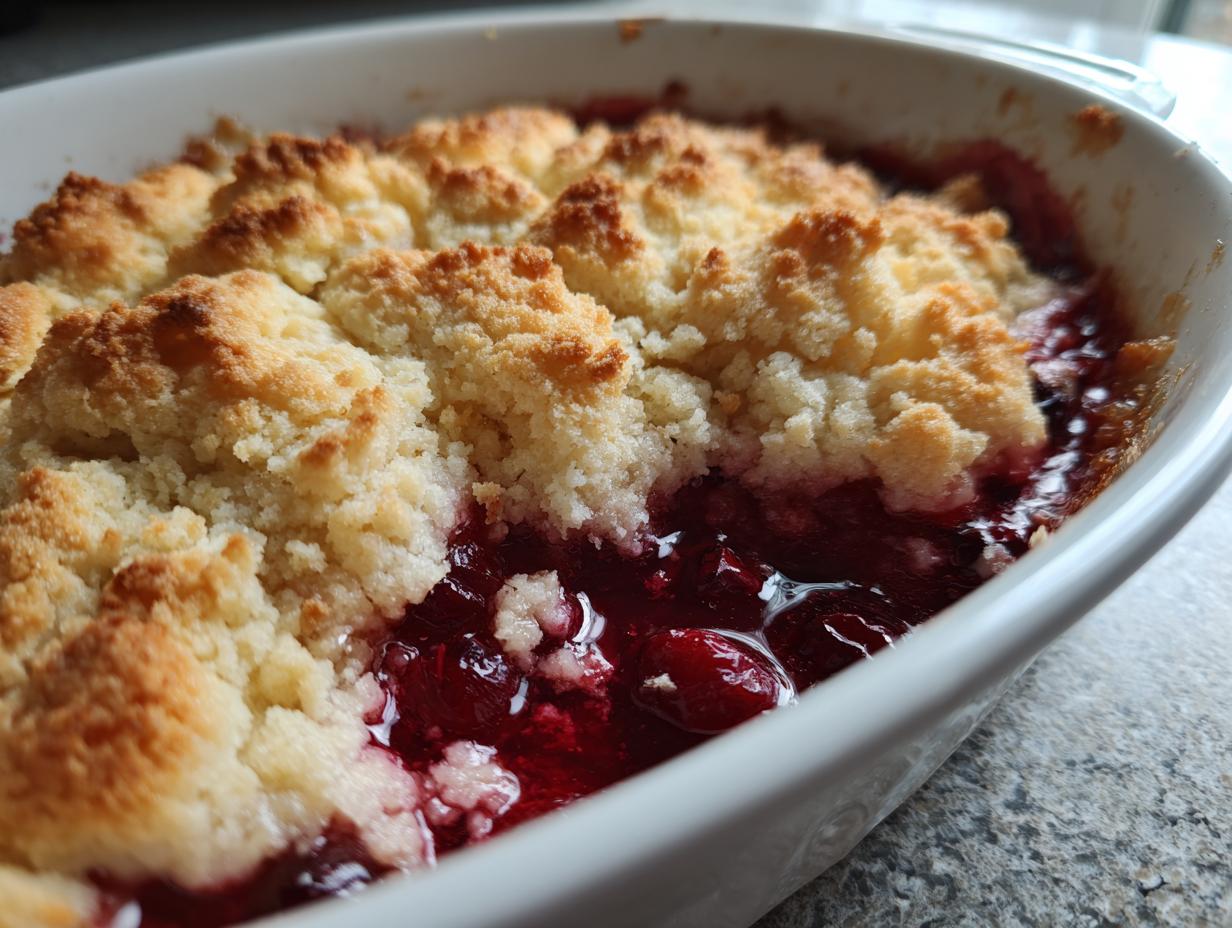
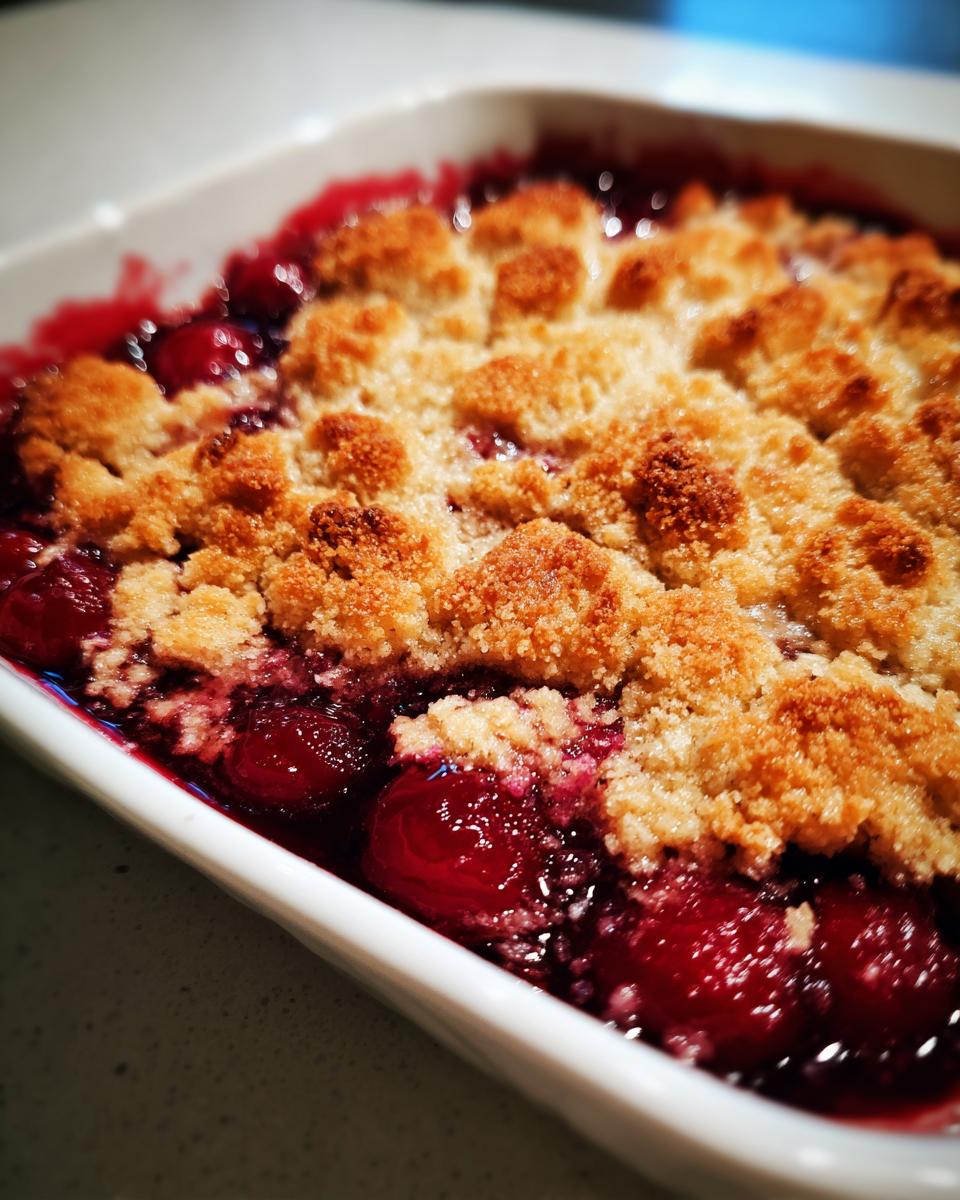
- That Perfect Look: You get that gorgeous, bubbly cherry filling peeking through the golden-brown topping—exactly the rustic visual you want for your dessert recipes collection.
Ingredients for the Perfect Traditional Cherry Cobbler
When you streamline a project, the quality of your components matters a lot. We’re keeping this list short, but make sure your butter is cold—that’s non-negotiable for the topping texture. I always taste my cherries first; if they are super tart, bump up that sugar just a touch. This is your control panel for flavor!
For the filling, you’ll need:
- 6 cups fresh or frozen pitted cherries (If you use frozen, don’t thaw them! Just toss them straight in with the dry ingredients. It works beautifully.)
- 1/2 cup granulated sugar (and remember to adjust this for your fruit!)
- 2 tablespoons cornstarch (This is crucial for getting that thick, bubbly sauce.)
- 1 teaspoon lemon juice
- 1/4 teaspoon almond extract (This little secret really wakes up the cherry flavor. Don’t skip it.)
For the rustic topping, gather these:
- 1 cup all-purpose flour
- 1/2 cup granulated sugar
- 1 1/2 teaspoons baking powder
- 1/4 teaspoon salt
- 1/2 cup cold unsalted butter, cut into small pieces
- 1/2 cup milk
- 1 large egg, lightly beaten (For the wash later)
- 1 tablespoon coarse sugar for topping
If you want to dive deeper into making cherry fillings from scratch, I have a whole post dedicated to that technique, though for this cobbler, the frozen fruit works just as well. Check out my tips on perfect cherry pie filling if you’re curious!
Equipment Needed for Your Traditional Cherry Cobbler
Since this is an efficiency project, we don’t need a ton of specialized gadgets. You want reliable tools that handle the mixing without adding complexity. Keep it simple; this is about results, not drawer clutter.
Here is the essential gear I always pull out for this cherry cobbler recipe:
- One 8×8 inch baking dish. This size ensures the fruit fills up nicely without spreading too thin.
- Two decent-sized mixing bowls—one for the fruit and one for the topping batter.
- A whisk for the dry ingredients.
- A fork or, even better, a pastry blender for cutting in the cold butter. If you don’t own one, don’t panic; your fingers work just fine, but be quick so the butter stays cold!
- Measuring cups and spoons, because even on a streamlined project, precision keeps things from getting soupy.
Step-by-Step Instructions: Making the Traditional Cherry Cobbler
This is where we put the plan into action. Remember, efficiency is key, but we can’t rush the results—especially when we want that perfect, bubbly top layer. Follow these steps exactly, and you’ll have a beautiful, rustic-looking homemade cobbler ready for Sunday dinner.
Preparing the Cherry Filling Base
First things first: get your oven cranked up to 375 degrees F and grease that 8×8 dish. In a bowl, mix the cherries, the first 1/2 cup of sugar, the cornstarch, lemon juice, and that secret almond extract. You just want to stir gently here. We aren’t trying to mash the fruit; just coat everything evenly. Pour this glorious mixture right into your prepared baking dish. That’s the base layer done—quick, right?
Mixing the Rustic Cobbler Topping
In a second, separate bowl, whisk together all your dry topping ingredients: flour, the remaining 1/2 cup sugar, baking powder, and salt. Now, here’s the project management focus: cut in that cold butter until you’ve got coarse crumbs, maybe like peas or sand. Don’t let it melt! Once the butter is incorporated, pour in the milk and stir *just* until the liquid disappears. Seriously, stop mixing the second you stop seeing white streaks. Overmixing this batter is what creates tough spots instead of that preferred crumbly texture.
Assembly and Baking for Bubbly Perfection
Take big spoonfuls of that topping batter and drop them randomly over the cherry filling. Don’t worry about making it neat; those little gaps are where the cherry sauce will bubble up beautifully. Brush the tops of the batter clumps with the beaten egg and then dust them generously with the coarse sugar for crunch. Pop it into the oven for about 40 to 45 minutes. You know it’s done when the topping is golden brown and you can hear and see the filling actively bubbling underneath. After you pull this easy fruit dessert out, you absolutely must let it rest for 20 minutes. That time allows the filling to set up properly so you don’t end up with soup on your plate!
Tips for the Best Traditional Cherry Cobbler Results
Getting that perfect rustic look is really about controlling temperature and embracing imperfection. The biggest mistake people make when tackling this summer baking project is letting the butter warm up when cutting it into the topping. Keep that butter cold! When you cut it in properly, you create pockets of steam that give the cobbler its lift and tender crumb.
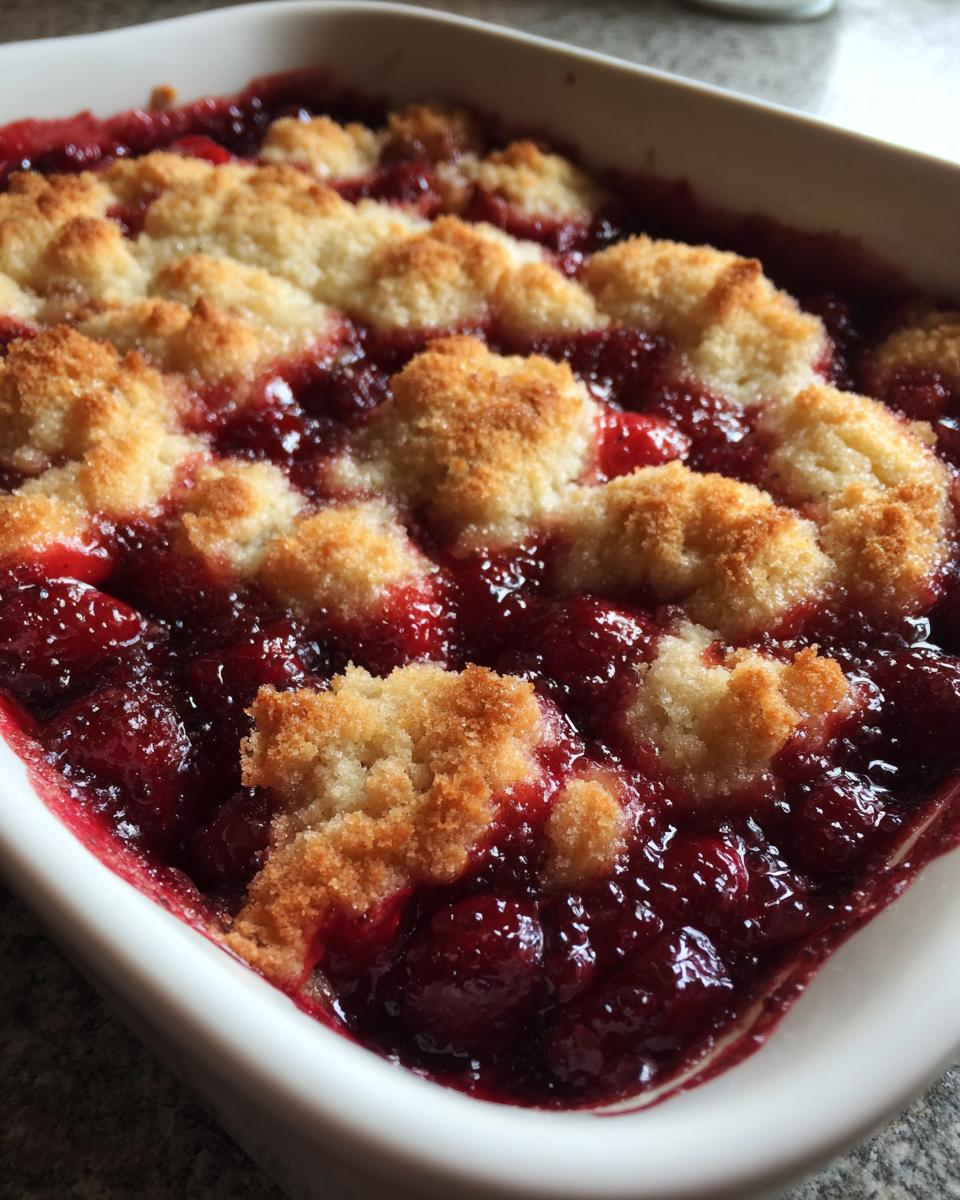
Also, remember my note on assembly: don’t try to cover every inch of cherry filling with the topping batter. Those gaps are intentional! They aren’t flaws; they’re windows for that thick, bubbly cherry sauce to escape and show off. It’s what separates a stiff ‘cake’ from a true, comforting summer baking sensation. Leave the gaps, trust the process, and you get the visual reward.
Ingredient Notes and Substitutions for Your Traditional Cherry Cobbler
When you’re trying to streamline a recipe for weeknight enjoyment, substitutions can either save the day or ruin the project timeline. For this traditional cherry cobbler recipe, I’ve tested a few deviations that keep the core integrity intact. The fruit is the star here, so focus your attention there.
If you can’t find fresh cherries, frozen are totally fine, and honestly, sometimes easier since you don’t have to worry about pitting a massive haul! Remember my key instruction: don’t thaw them first. Adding them straight from the freezer into the sugar mixture is perfect because the sugar and cornstarch cling better to the chilly fruit.
Regarding the flour, I mentioned using half whole wheat flour for a richer taste, but if you are trying to keep it light, stick to all-purpose flour. You could swap out the milk for buttermilk if you have some hanging around, but you might need to add just a splash more, as buttermilk is thicker. It adds a wonderful tang that complements these classic stone fruit recipes exceptionally well. Basically, don’t sweat minor ingredient swaps unless you change the main structure of the thickening agent or the butter!
Serving Suggestions for Your Homemade Cobbler
Okay, the baking countdown is over, and that glorious, bubbly smell is filling your kitchen. Now, the final optimization: serving this homemade cobbler for maximum enjoyment! I’m firm believer that the right pairing elevates even simple comfort food to something special. You simply cannot let this hot, fruity masterpiece cool completely before serving.
The absolute classic combination—and the one I insist upon for Sunday gatherings—is a scoop (or two!) of really good vanilla bean ice cream. As it melts down into those warm cherry rivers, it creates the perfect creamy bite. If ice cream feels too formal, a dollop of freshly whipped cream works just as well—just sweeten the cream ever so lightly; the filling is sweet enough already.
If you manage to have leftovers (which, let’s be honest, is rare), this cobbler is almost better the next day. You can find more context on how to keep these simple desserts perfect on my homemade cobbler guide.
Storage and Reheating Instructions for Traditional Cherry Cobbler
We optimized this recipe for speed, so let’s optimize cleanup and leftovers too! Once cooled slightly, cover your dish tightly with foil or transfer leftovers into an airtight container. This cherry cobbler recipe keeps well at room temperature for about a day if your house isn’t too warm, but I usually move mine to the fridge afterwards.
If you want to bring back that beautiful, bubbly performance, don’t reach for the microwave! The microwave makes the topping soggy. Instead, reheat individual servings right in the oven or toaster oven at 350 degrees F until the fruit is hot again. That keeps the topping crisp.
Frequently Asked Questions About This Easy Fruit Dessert
When you streamline a recipe, you might have questions about deviations or troubleshooting. That’s why I pulled together the most common queries I get about this very reliable cherry cobbler recipe. If you followed the steps, you should be golden, but just in case you run into a snag, here are my standard fixes for this fantastic easy fruit dessert.
Can I use other types of berries in this Traditional Cherry Cobbler?
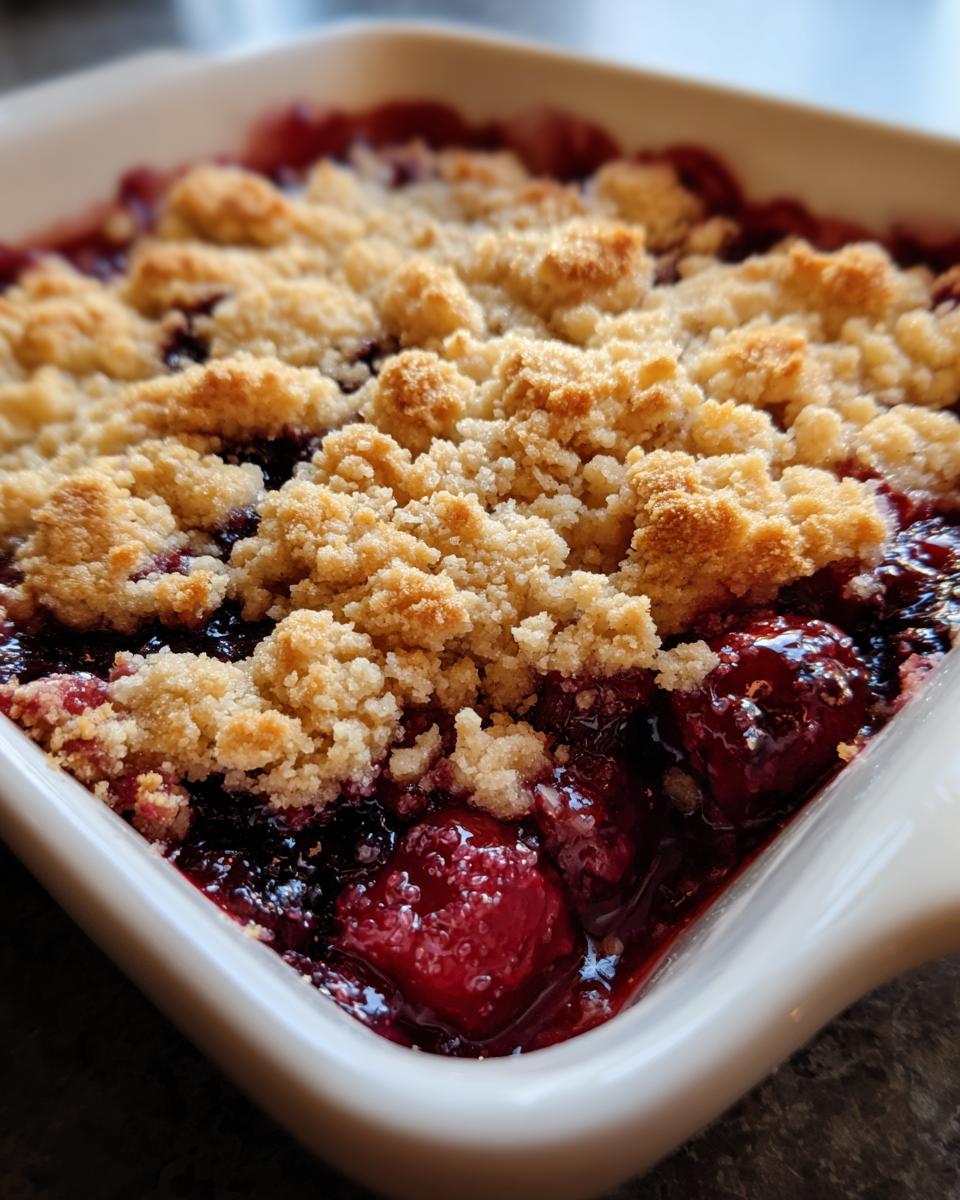
Absolutely, you can! This recipe is built around the fruit volume (six cups), so as long as you stick to roughly that amount, you are good to go. Peaches work brilliantly, especially when mixed with blueberries. If you use fruits that release much more liquid than cherries—think blackberries—you might want to bump up the cornstarch in the filling to 3 tablespoons just to ensure that thick, bubbly consistency we are aiming for.
How do I prevent the bottom crust from getting soggy?
This is critical if you’re aiming for that perfect structural integrity! The cornstarch in the filling mixture is your main defense, so double-check you used the full two tablespoons. But my number one pro-tip for preventing a soggy bottom on any cobbler or dump cake is to use a metal or glass 8×8 pan, NOT ceramic if possible, and ensure your oven temp is accurate. Too low, and the filling simmers instead of baking, leading to a soupy layer. Also, letting it rest for the full 20 minutes after baking is essential. That time lets the filling set up properly on the bottom layer.
What is the best way to achieve a bubbly filling?
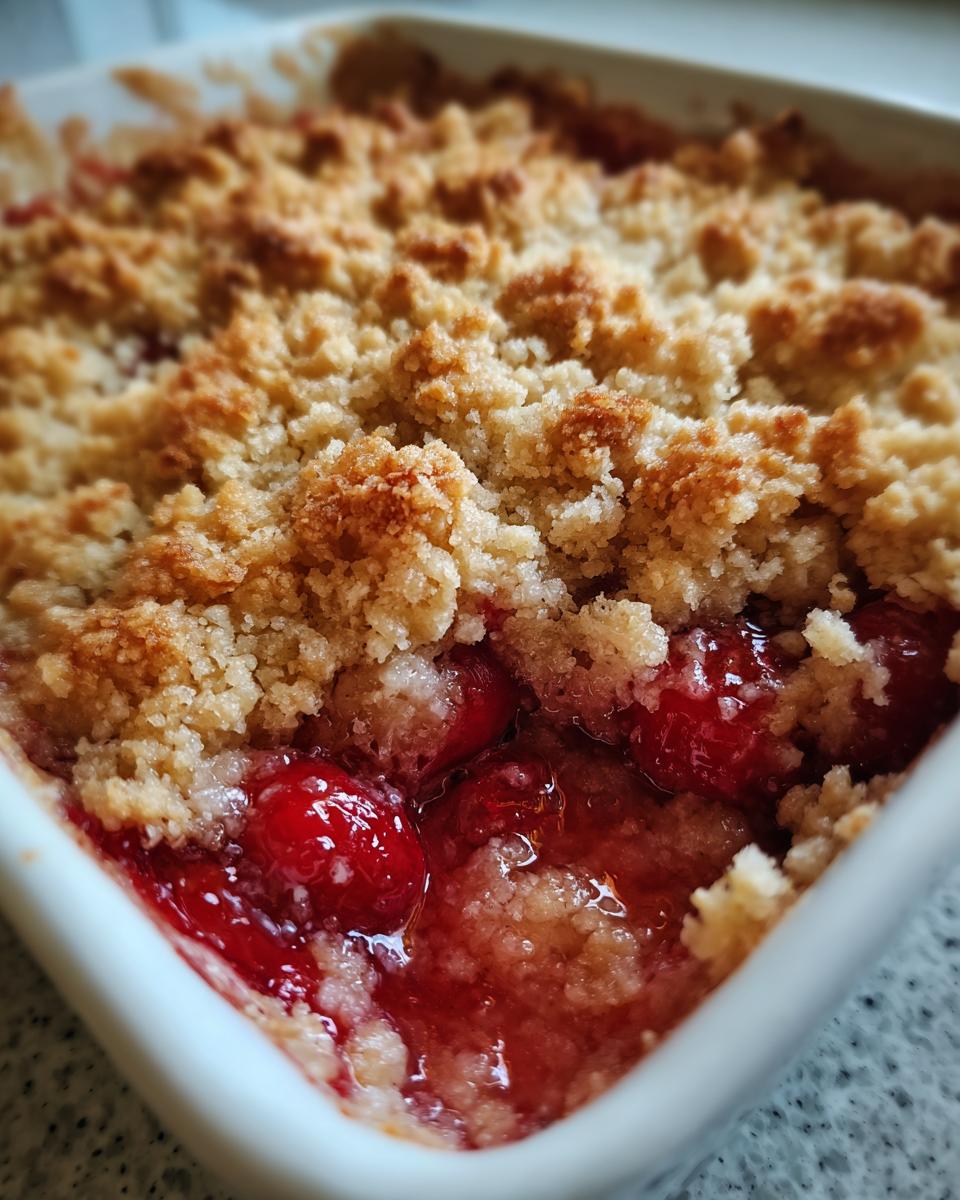
The bubbles are the visual indicator that this rustic dessert is ready, and they come down to one simple interaction: sugar feeding the cherries, and the cornstarch reacting to the heat. Make sure you used the correct amount of sugar and cornstarch listed for the filling, and don’t skip the lemon juice! The acid helps activate the starch and brightens the cherry flavor. When you see those thick, slow-moving bubbles breaking through the baked topping, you’ve hit peak performance on your traditional cherry cobbler.
If you want even more insight into the science behind fruit desserts, check out my take on cherry cobbler recipes in general.
Share Your Traditional Cherry Cobbler Success
My goal with every recipe here is to give you a straightforward project that cooks well and tastes amazing, especially when celebrating seasonal fruit like this traditional cherry cobbler. I really want to know how it turned out for your family gathering!
Did you top it with ice cream? Did the topping get perfectly golden? Don’t keep that success story to yourself! Leave a quick rating below so I know this easy fruit dessert made it onto your rotation. If you ran into an issue, shoot me a quick message through the contact page, and we can troubleshoot the project together. Happy baking!
PrintTraditional Cherry Cobbler: Simple Stone Fruit Dessert
Make this easy fruit dessert for a bubbly, comforting homemade cobbler that celebrates the early stone fruit harvest.
- Prep Time: 15 min
- Cook Time: 45 min
- Total Time: 60 min
- Yield: 6 servings 1x
- Category: Dessert
- Method: Baking
- Cuisine: American
- Diet: Vegetarian
Ingredients
- 6 cups fresh or frozen pitted cherries
- 1/2 cup granulated sugar (adjust to cherry sweetness)
- 2 tablespoons cornstarch
- 1 teaspoon lemon juice
- 1/4 teaspoon almond extract
- 1 cup all-purpose flour
- 1/2 cup granulated sugar
- 1 1/2 teaspoons baking powder
- 1/4 teaspoon salt
- 1/2 cup cold unsalted butter, cut into small pieces
- 1/2 cup milk
- 1 large egg, lightly beaten
- 1 tablespoon coarse sugar for topping
Instructions
- Preheat your oven to 375 degrees F. Lightly grease an 8×8 inch baking dish.
- In a medium bowl, combine the cherries, 1/2 cup sugar, cornstarch, lemon juice, and almond extract. Stir gently to coat. Pour this cherry mixture into the prepared baking dish.
- In a separate bowl, whisk together the flour, 1/2 cup sugar, baking powder, and salt for the topping.
- Cut in the cold butter using a pastry blender or your fingertips until the mixture resembles coarse crumbs.
- Stir in the milk until just combined; do not overmix the batter.
- Drop spoonfuls of the batter evenly over the cherry filling. It does not need to cover the fruit completely; gaps are fine for a rustic look.
- Brush the top of the batter lightly with the beaten egg and sprinkle with coarse sugar.
- Bake for 40 to 45 minutes, or until the topping is golden brown and the cherry filling is bubbly.
- Let the cherry cobbler cool on a wire rack for at least 20 minutes before serving.
Notes
- If using frozen cherries, do not thaw them before mixing with the sugar and cornstarch.
- For a richer flavor, substitute half of the all-purpose flour with whole wheat flour.
- Serve warm with vanilla ice cream for a classic summer baking treat.
Nutrition
- Serving Size: 1 serving
- Calories: 350
- Sugar: 35
- Sodium: 150
- Fat: 15
- Saturated Fat: 9
- Unsaturated Fat: 6
- Trans Fat: 0
- Carbohydrates: 52
- Fiber: 3
- Protein: 5
- Cholesterol: 45