

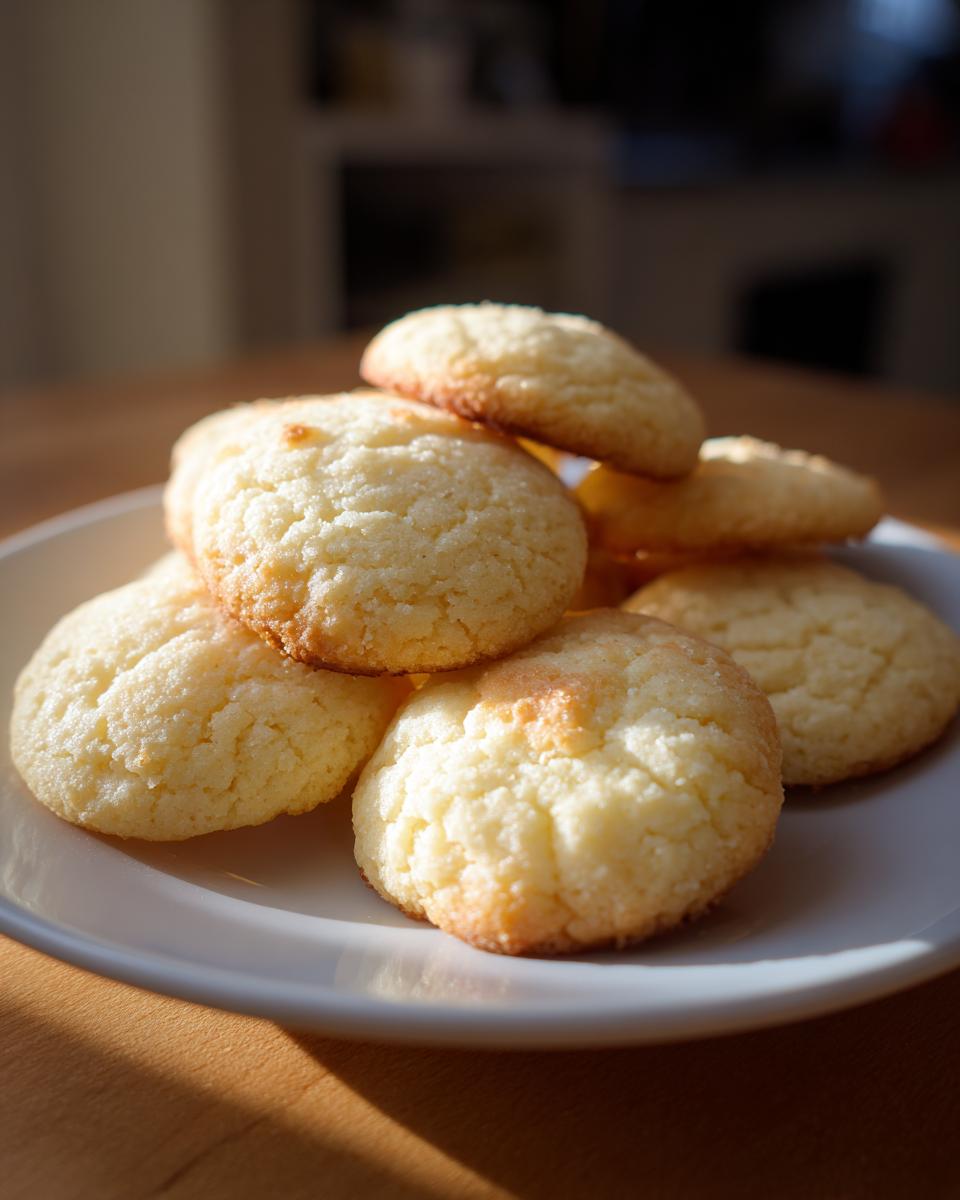
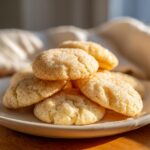
If I could give you one cookie right now, it would be this one. I’m talking about that dreamy texture—the kind where the edges look slightly crisp but the center immediately dissolves on your tongue. Forget fussy steps; this is the ultimate butter cookie recipe you’ve been searching for, designed to deliver gourmet results using just basic pantry staples. It perfectly embodies Leo Grant’s philosophy here at Dishicious: we take complex flavors and distill them into simple, incredibly reliable methods. You are just a few straightforward steps away from the best homemade butter cookies.
- Why This Classic Butter Cookie Recipe Works Every Time
- Gathering Your Ingredients for Perfectly Buttery Treats
- Step-by-Step Instructions for the Best Butter Cookies
- Tips for Success Making Your Butter Cookie Batch
- Variations on This Classic Butter Cookie Recipe
- Storing and Keeping Your Homemade Butter Cookies Fresh
- Serving Suggestions for Your Perfectly Buttery Treats
- Frequently Asked Questions About the Butter Cookie Recipe
- Estimated Nutritional Information for This Butter Cookie
- Share Your Favorite Butter Cookie Creations
Why This Classic Butter Cookie Recipe Works Every Time
I know you’ve tried recipes that promise magic and deliver flat, sad discs. Not this time! What makes this butter cookie recipe superior is its sheer simplicity combined with perfect execution. We don’t call for any fancy stabilizers or obscure extracts here; this is about honoring the butter itself. This recipe sticks right to our Dishicious promise: delicious results that are entirely reliable, making it one of the best Simple Cookie Recipes you’ll ever use.
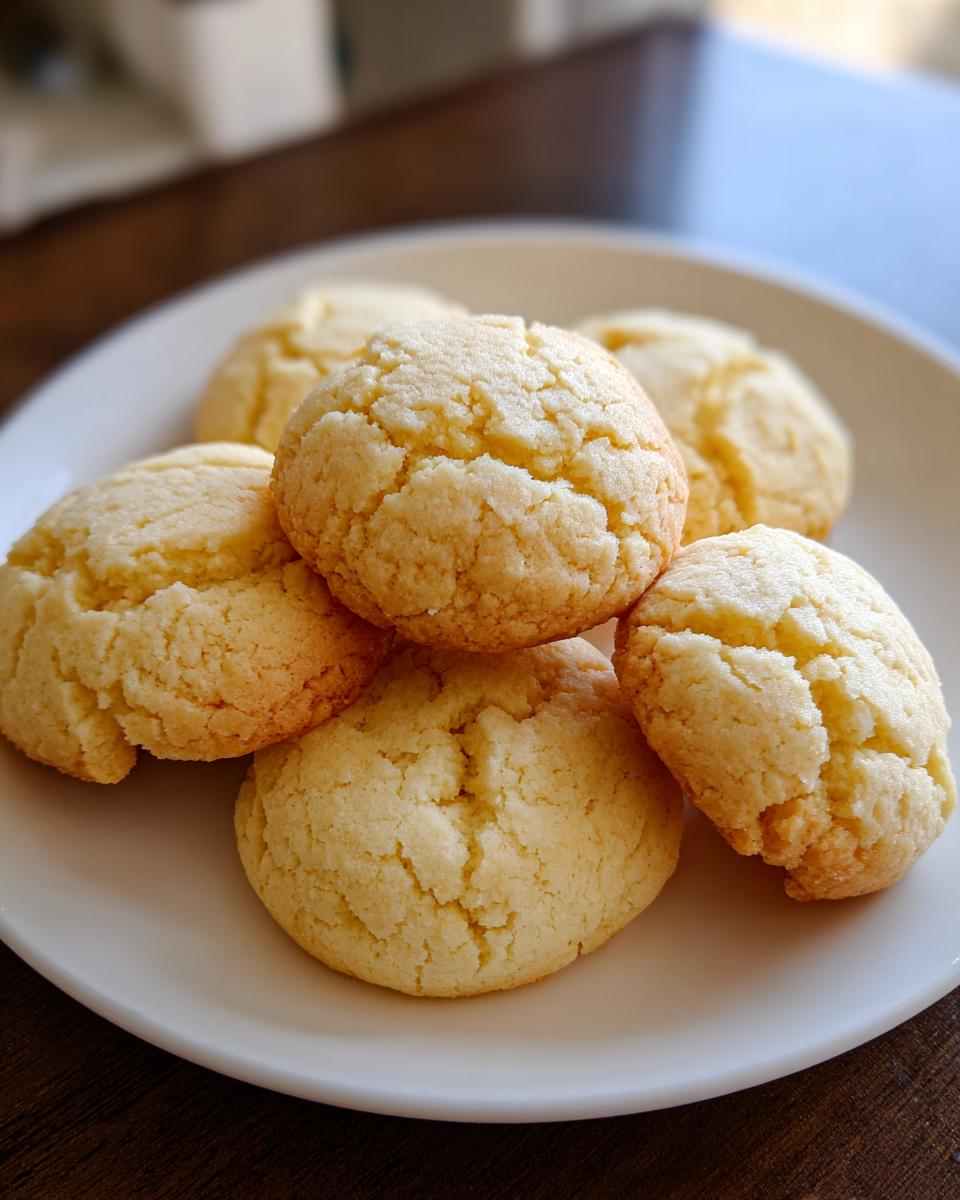
Achieving That Perfect Melt in Your Mouth Cookies Texture
The secret to those glorious Melt in Your Mouth Cookies is twofold: first, we insist on using fully softened, but not melted, butter. This allows us to cream it properly, incorporating the air that gives the finished butter cookie its lift. Second? You absolutely must chill the dough. That rest time solidifies the fat again, ensuring the cookies hold their shape beautifully while baking, rather than spreading out into lace.
Essential Basic Cookie Ingredients for Homemade Butter Cookies
When I say this is easy, I mean it. You likely have everything you need sitting in your pantry right now. We are relying on standard Basic Cookie Ingredients: flour, sugar, butter, one egg yolk for richness, salt for balance, and vanilla for that perfect aroma. There’s no complicated chemistry involved in making these Homemade Butter Cookies; it’s just about treating those few items with respect.
Gathering Your Ingredients for Perfectly Buttery Treats
Okay, time to get organized! Before we even think about turning on the mixer, we need to make sure our ingredients are ready to go. This recipe is so simple, but prep is everything. Trust me, having everything measured out beforehand turns a potentially chaotic moment into a smooth process where the dough comes together perfectly. Grab your measuring cups and let’s list exactly what you need for about three dozen of these incredible butter cookies.
Here is the lineup for your batch. Remember, we are using unsalted butter here because we control the salt addition exactly!
- 1 cup (2 sticks) unsalted butter, softened
- 1 cup granulated sugar
- 1 large egg yolk
- 1 teaspoon vanilla extract
- 3 cups all-purpose flour
- 1/2 teaspoon salt
If you see something soft, like the butter, make sure it’s truly just soft—you should be able to press into it easily, but it shouldn’t look greasy or melted at all. That’s key for the structure of these perfectly buttery treats!
Step-by-Step Instructions for the Best Butter Cookies
Okay, this is where the magic happens! Making these wonderful butter cookies is super satisfying because you see that beautiful dough form right before your eyes. Just follow these steps exactly, and you are totally golden. Remember, we are aiming for that “melt-in-your-mouth” texture, so patience during the mixing and chilling phases is your best friend here.
Mixing the Butter Cookie Dough
First up, we need to get that butter and sugar creamed together until it’s light and fluffy—honestly, keep going until it looks visibly paler. Once that’s perfect, beat in your single egg yolk and the vanilla extract. Just mix until it’s blended in. Now, take your dry ingredients—the flour and salt—and add them slowly to the wet mixture. I mean it: add them gradually while the mixer is on low speed. Once you see just a few flour streaks left, STOP! Seriously, an overmixed butter cookie dough is tough, and we want tender cookies, not hockey pucks!
Chilling and Shaping Your Butter Cookie Dough
This part is non-negotiable if you want those perfect shapes. Wrap your soft dough tightly in plastic wrap—you can form it into a couple of uniform logs, or just keep it as a big ball—and get it into the fridge. You need at least thirty minutes in the cold there. This chilling time is what stops the cookies from spreading when they hit the heat. If you want to go full-on bakery style and make yourself some Danish Butter Cookies Recipe shapes, this is when you pull out your cookie press and fit it with whatever disc looks prettiest!
Baking and Cooling the Butter Cookie
While that dough is getting nice and cold, go ahead and get your oven preheated to 350°F (175°C). Line your baking sheets with parchment paper—it helps keep things clean! Now, if you made logs, slice them about a quarter-inch thick. If you used the press, pipe them out. They only need about 10 to 12 minutes in there. You’re looking for just the tiniest hint of golden brown around the edges; we don’t want them dark! Let them sit right on that hot pan for five minutes before you gently move them to a wire rack to finish cooling. That first rest lets them firm up so they don’t crumble while you move them. This whole sweet process guarantees you the Best Butter Cookies!
Tips for Success Making Your Butter Cookie Batch
I want every batch of these butter cookies to be perfect for you, so here are the three things I watch like a hawk. First, remember the butter temperature—soft, but cool. If it feels oily when you touch it, stick the whole bowl in the fridge for ten minutes before you start creaming! Second, when you add the flour, mix on the absolute lowest speed your mixer has. We are just trying to *incorporate* the flour here, not develop gluten, or your cookies won’t be that amazing, tender texture you see in those beautiful pictures over at Christmas Butter Cookies.
Finally, aim for that pale, fluffy color when creaming the butter and sugar. If you stop too soon, the cookie won’t have that classic light look. Keep mixing until you see a real change in volume and appearance! That little bit of extra time ensures you end up with truly Perfectly Buttery Treats instead of just okay ones.
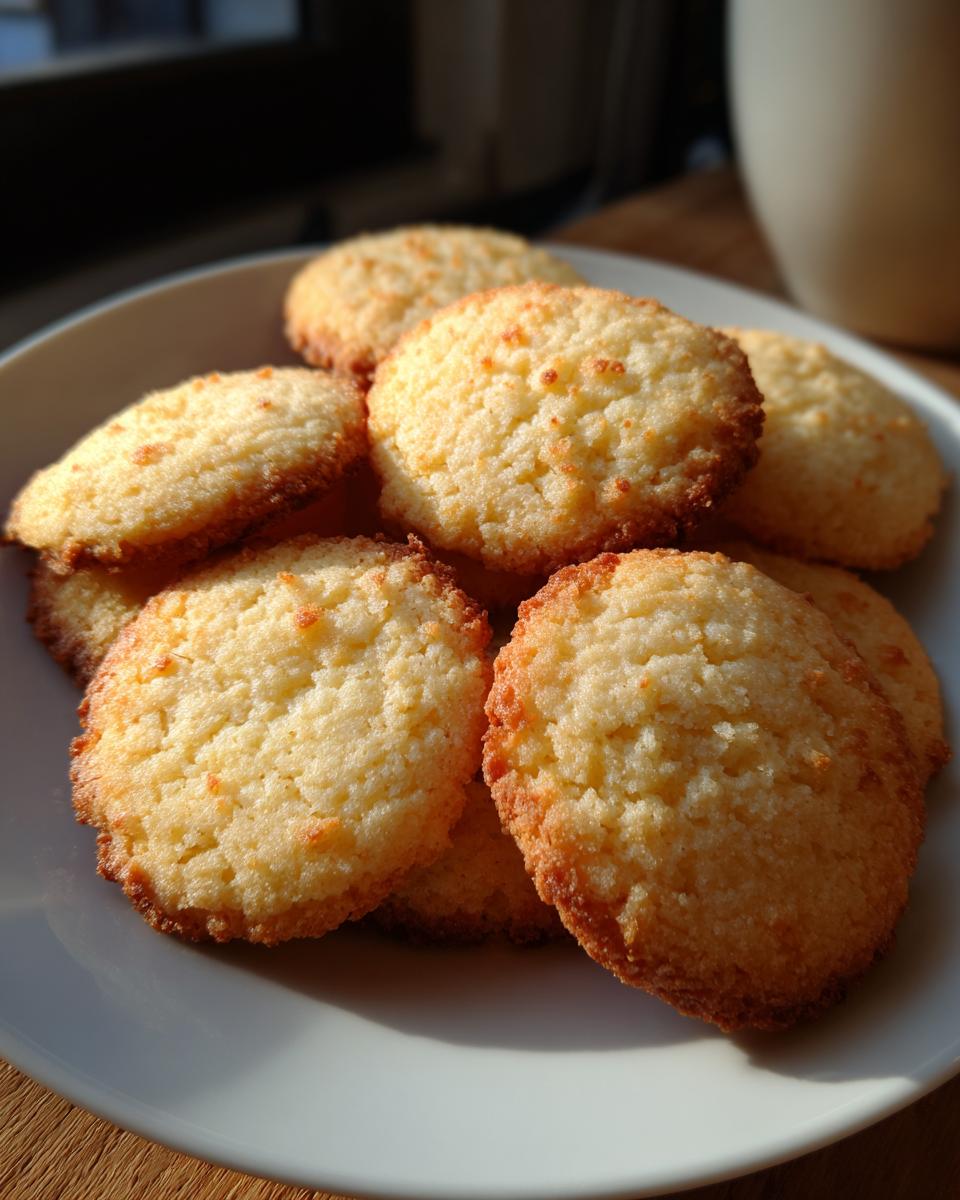
Variations on This Classic Butter Cookie Recipe
While I think this basic recipe delivers the Best Butter Cookies imaginable—rich, simple, and just buttery enough—I know sometimes you want to spice things up! Once you master the base, twisting it is fun, and you don’t have to start from scratch. We have a few amazing ways to change up this wonderful formula.
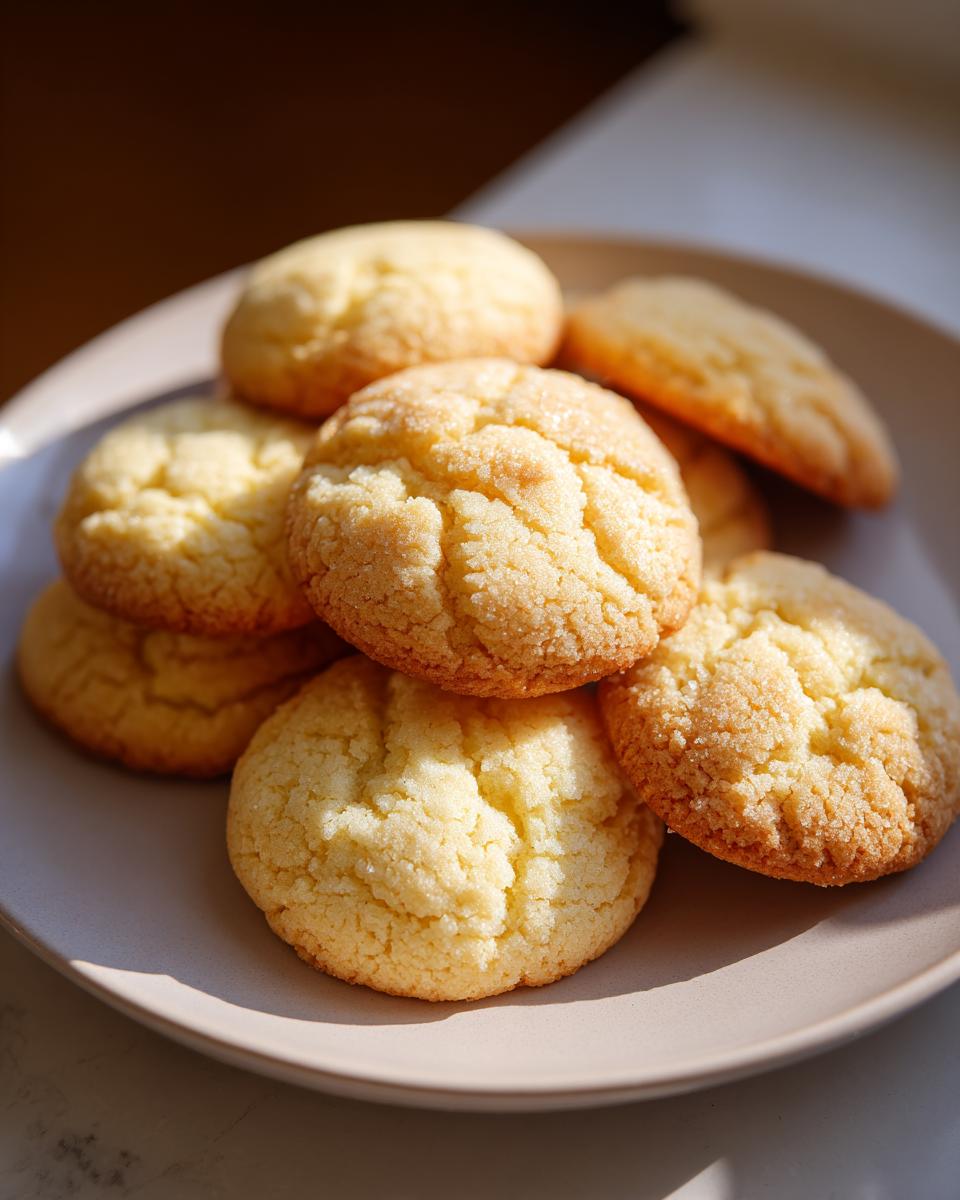
For instance, if you want that classic Tivoli look—you know, the ones you see in all the tins—you need to lean into the shaping. That’s where our Danish Butter Cookies Recipe variation comes in. Instead of the quick 30-minute chill, make sure that dough sits in the fridge for a full hour. This makes the dough firmer, which is essential for putting it through a cookie press without it squishing out of shape. You get those beautiful, detailed spritz cookies that look professional!
If you aren’t into pressing shapes, let’s talk flavor swaps! These are fantastic, simple ways to elevate your butter cookie game without changing the core structure. Try swapping out that vanilla extract: use one teaspoon of almond extract instead, and suddenly you have a completely different experience. Or, if you are feeling bright and zesty, replace half the vanilla with a teaspoon of finely grated lemon or orange zest. The citrus oils mingle beautifully with the butter. If you’re looking for deeper caramel notes, you might want to try browning your butter first, which brings a nutty depth that is just unbelievable in a shortbread-style cookie, kind of like the ones you see in White Chocolate Macadamia Nut Cookies (even though that’s a different recipe, the brown butter vibe is there!).
Storing and Keeping Your Homemade Butter Cookies Fresh
I’m happy to report that these butter cookies are excellent for making ahead! If you wrap the logs of dough tightly in plastic wrap, they keep beautifully in the refrigerator for several days before you bake them. Once they are completely cooled after baking, the key is containment.
Store your baked batches in an airtight food container at room temperature. If you pack them snugly but gently, they stay fresh and just as tender for up to a full week. If you want to make a huge batch for Holiday Cookie Baking, this structure makes your life so much easier!
Serving Suggestions for Your Perfectly Buttery Treats
The beauty of these simple, rich cookies is how easily they fit into any occasion! They are fantastic on their own—so wonderfully buttery you barely need anything else. But, if you’re hosting or just enjoying a quiet afternoon, I have a few favorite ways to serve them up.
First off, you can never go wrong pairing them with a hot beverage. They are absolutely perfect alongside a strong black coffee or a simple cup of Earl Grey tea. The clean bitterness of the drink really lets that pure butter flavor shine through. They are small, so you can have two and feel perfectly satisfied, which is always a win in my book.
For something a little more fun, especially if you have kids (or just a major chocolate craving like me!), try a quick dip! Once your cookies are totally cooled, gently dip one edge into some melted chocolate. If you want to make a rich, pourable chocolate topping to go along with these, check out my recipe for Best Quick & Easy Chocolate Frosting—use it as a dip instead of spreading it on! It sets up nicely and adds the perfect decadent crunch to the edge. These truly feel gourmet with so little added effort.
Frequently Asked Questions About the Butter Cookie Recipe
I always get a few questions when people first try this recipe, usually centered around making substitutions or skipping steps. Listen, these Classic Butter Cookies are designed to be reliable, but I get it—sometimes you run out of something, or you’re impatient! Here are the answers to the main things folks ask me about to ensure you get those perfect Melt in Your Mouth Cookies every time.
Can I use salted butter instead of unsalted butter?
You absolutely can, but you need to adjust. Since we called for salt in the recipe, if you swap to salted butter, skip adding that extra 1/2 teaspoon of salt completely. I usually suggest using unsalted so you control the exact salt level, but if salted butter is all you have on hand for these Easy Butter Cookie Recipes, just skip the added salt and you’ll be fine! Don’t worry about it!
Is chilling the dough really necessary for these Homemade Butter Cookies?
Yes, yes, and emphatically yes! My number one rule for achieving that crisp edge/tender center is chilling. If you skip the mandatory 30 minutes, I can’t promise the result, honestly. Butter needs to firm up so it doesn’t melt too fast in the oven, causing the dough to spread way too much. Chilling is the non-negotiable secret to getting beautiful, well-shaped Vanilla Butter Cookies!
What if I don’t own a cookie press for the shapes?
Don’t sweat it if you don’t have a press or don’t want to use one! You have a couple of great options for making Perfectly Buttery Treats without special tools. The easiest is rolling the dough into little balls, placing them on the sheet, and then gently flattening them slightly with the bottom of a drinking glass. Another fantastic option is shaping the dough into logs and slicing them into rounds before baking—that gives you a lovely shortbread look.
These look like they would be great for Christmas Cookie Baking—can they be decorated?
They are truly stellar for Christmas Butter Cookies! Because the flavor is so rich and simple, they hold up to decoration really well. You can dust them with powdered sugar right when they come out of the oven, or wait until they are completely cool and dust them with a fine layer of confectioners’ sugar. If you want to get fancy, you can drizzle them lightly with melted chocolate or a thin royal icing—check out this recipe for easy cookie icing that hardens beautifully!
Estimated Nutritional Information for This Butter Cookie
Alright, folks, let’s talk numbers for a second. I am not a certified nutritionist—I’m just a home cook who loves butter—so please take this information as a general guide! Because we are using simple, high-quality ingredients like real butter and sugar, these cookies are certainly a treat, not an everyday health food, but isn’t that okay sometimes?
This breakdown is an estimate calculated based on the standard ingredients in my recipe, yielding about three dozen cookies. If you change the portion size, the numbers change, obviously! It’s just good practice to know what you’re working with when you decide to indulge in one of these perfectly buttery treats.
- Serving Size: 1 cookie
- Calories: 120
- Fat: 7g (including 4g saturated fat)
- Carbohydrates: 13g
- Sugar: 7g
- Protein: 1g
- Sodium: 45mg
See? A nice, manageable indulgence! They are low in protein, as expected for a simple baked good, and the fat content is high because, well, we used a whole cup of butter, and trust me, you wouldn’t want it any other way!
Share Your Favorite Butter Cookie Creations
Now, the best part is over for me—I’ve made the cookies! But I truly want to hear from you because watching people succeed with these simple recipes is why I spend all this time testing them. Did you manage to get that perfect crisp edge? Did you try the almond extract variation? I absolutely live for hearing your bake reports!
If you loved these and they truly lived up to the hype of being the Classic Butter Cookies you’ve always wanted, please take a moment to leave a rating right here on the page. A five-star review helps other bakers who are hesitant take the plunge and try this recipe next. It lets me know that this simplified, reliable method works for you, too!
And seriously, pull out your phone and snap a picture! I get so excited seeing these buttery beauties lined up on cooling racks or packed into gift tins. You can share those visual triumphs and any notes you might have over on our contact page—I promise to read every single one. Head over to contact me directly and tell me how your batch of this Easy Butter Cookie Recipe turned out!
PrintClassic Melt-in-Your-Mouth Butter Cookies
Make rich, buttery cookies that melt in your mouth using basic ingredients. This simple recipe is perfect for everyday baking or holiday gifts.
- Prep Time: 20 min
- Cook Time: 12 min
- Total Time: 1 hour 32 min
- Yield: 3 dozen 1x
- Category: Dessert
- Method: Baking
- Cuisine: American
- Diet: Vegetarian
Ingredients
- 1 cup (2 sticks) unsalted butter, softened
- 1 cup granulated sugar
- 1 large egg yolk
- 1 teaspoon vanilla extract
- 3 cups all-purpose flour
- 1/2 teaspoon salt
Instructions
- In a large bowl, cream the softened butter and sugar together until light and fluffy.
- Beat in the egg yolk and vanilla extract until combined.
- In a separate bowl, whisk together the flour and salt.
- Gradually add the dry ingredients to the wet ingredients, mixing on low speed until just combined into a soft dough. Do not overmix.
- Shape the dough into logs or balls, or place it into a cookie press fitted with your desired shape.
- Wrap the dough logs tightly in plastic wrap and chill in the refrigerator for at least 30 minutes.
- Preheat your oven to 350°F (175°C). Line baking sheets with parchment paper.
- Slice chilled dough logs into 1/4-inch thick rounds, or press dough onto the prepared sheets.
- Bake for 10 to 12 minutes, or until the edges are lightly golden brown.
- Let the cookies cool on the baking sheet for 5 minutes before transferring them to a wire rack to cool completely.
Notes
- For a Danish variation, chill the dough for 1 hour and use a cookie press to create traditional shapes.
- You can add 1/4 teaspoon almond extract with the vanilla for a different flavor profile.
- Store cooled cookies in an airtight container at room temperature for up to one week.
Nutrition
- Serving Size: 1 cookie
- Calories: 120
- Sugar: 7g
- Sodium: 45mg
- Fat: 7g
- Saturated Fat: 4g
- Unsaturated Fat: 3g
- Trans Fat: 0g
- Carbohydrates: 13g
- Fiber: 0g
- Protein: 1g
- Cholesterol: 25mg