
Putting together a party spread can feel like managing a full-scale logistical operation, right? You’re juggling timing, dietary needs, and, most importantly, the pressure to serve something people actually remember. Forget the stress; I learned early on that foolproof party food is all about smart engineering, not endless hours in the kitchen. That’s where the classic Hanky Panky recipe truly shines. This isn’t just another appetizer; it’s a structured solution. By treating this savory, cheesy mixture like a project—optimizing the steps and materials—we guarantee a reliable, crowd-pleasing snack that always disappears first. It’s the ultimate payoff for minimal effort.
- Why This Classic Hanky Panky Recipe Works Every Time
- Gathering Ingredients for the Perfect Hanky Panky Recipe
- Step-by-Step Instructions for Your Hanky Panky Recipe
- Tips for Success with This Party Food Ideas Hanky Panky Recipe
- Make Ahead Appetizers: Storing Your Hanky Panky Recipe Components
- Serving Suggestions for Your Game Day Appetizers
- Storage and Reheating Instructions for Leftover Hanky Panky
- Frequently Asked Questions About the Hanky Panky Recipe
- Estimated Nutritional Data for This Classic Party Snack
Why This Classic Hanky Panky Recipe Works Every Time
Look, my entire approach here at Dishicious is about efficiency without sacrificing flavor. This hanky panky recipe is the poster child for that philosophy. It requires less than 15 minutes of active assembly time, yet it delivers massive payoff at any event. You want crowd pleasing snacks that don’t stress you out? This is it. We’ve streamlined this process so thoroughly that it fits perfectly into any busy schedule, like our quick and easy dinners.
- It’s incredibly forgiving—hard to mess up once the meat is drained!
- The simplicity makes it a dependable easy appetizer recipe for last-minute needs.
- It scales up easily for those huge weekend gatherings.
Quick Prep for Your Hanky Panky Recipe
When I say quick, I mean minimal oversight. With only 10 minutes of prep time, you can get this assembled while the oven is just warming up. That speed is why these are the ultimate simple finger foods. You don’t need complex steps; just mix and spread.
Retro Appetizer Recipe Nostalgia
Part of this recipe’s lasting power is its familiarity. It’s a genuine retro appetizer recipe that brings back great memories for people. When guests see this on the table, they immediately remember holidays or celebrations from years past. It taps right into that cozy, comforting feeling that the best party food provides.
Gathering Ingredients for the Perfect Hanky Panky Recipe
When we break down recipes here, we focus only on what’s essential for the final result. For this hanky panky recipe, you don’t need a pantry full of specialty items. It’s about quality basics executed properly. You’ll need exactly what’s listed—no more, no less—to achieve that classic flavor profile. The ingredient list is short, which is perfect for minimizing your grocery run.
Here is what you need right in front of you before you even start cooking:
- 1 pound bulk pork sausage (or ground beef, your choice!)
- 1 (8 ounce) package cream cheese, which absolutely MUST be softened.
- 1 cup shredded sharp cheddar cheese (or Velveeta if you prefer that specific texture).
- 1 teaspoon Worcestershire sauce
- 1/2 teaspoon onion powder
- 1/4 teaspoon garlic powder
- A small pinch of black pepper
- 1 loaf pumpernickel or rye bread, cut into those perfect little squares.
Ingredient Notes and Substitutions for Your Cheesy Meat Bites
Now, let’s talk about cheese options because this is where people sometimes falter. If you want that super-smooth, almost decadent texture reminiscent of a thick sausage and cheese dip base, you have to go with Velveeta. It melts beautifully without separating. However, if you prefer a sharper flavor that cuts through the richness, use sharp cheddar, which I usually do.
For the meat, I almost always default to pork sausage; it has the best fat content for flavor. If you use ground beef, make sure it’s not too lean, or your topping will end up dry! And remember, draining the grease after cooking is Non-Negotiable. Trust me on this; excess grease makes the topping runny, and we want solid, spreadable cheesy meat bites.
Step-by-Step Instructions for Your Hanky Panky Recipe
Okay, now that you have your carefully vetted ingredients, let’s execute this project. As a kitchen strategist, I break this down into two main phases: the topping prep and the final assembly/bake. Stick to the sequence, and you eliminate 90% of potential mistakes right here. Make sure your baking sheet is ready and the oven is hitting that 350 degrees F mark before you even start melting cheese. This efficiency keeps everything moving smoothly, much like when we optimize recipes for our easy homemade bread bowls recipe.
Preparing the Cheesy Meat Topping for the Hanky Panky Recipe
First, you must cook the sausage or beef over medium heat. While it browns, use a spatula to break it down vigorously—we want small pieces, not big clumps. The critical step here is the drain: tilt the skillet and use a spoon or paper towels to blot away absolutely *every* drop of excess grease. If you skip this, I promise you’ll end up with a soupy mess, not a sturdy topping!
Once drained, transfer that meat to a bowl. Add your softened cream cheese first, then the shredded cheddar, Worcestershire, and seasonings. Mix aggressively. You aren’t gently folding here; you need to beat it until the cream cheese completely disappears, providing the smooth, creamy binder for all those cheesy meat bites.
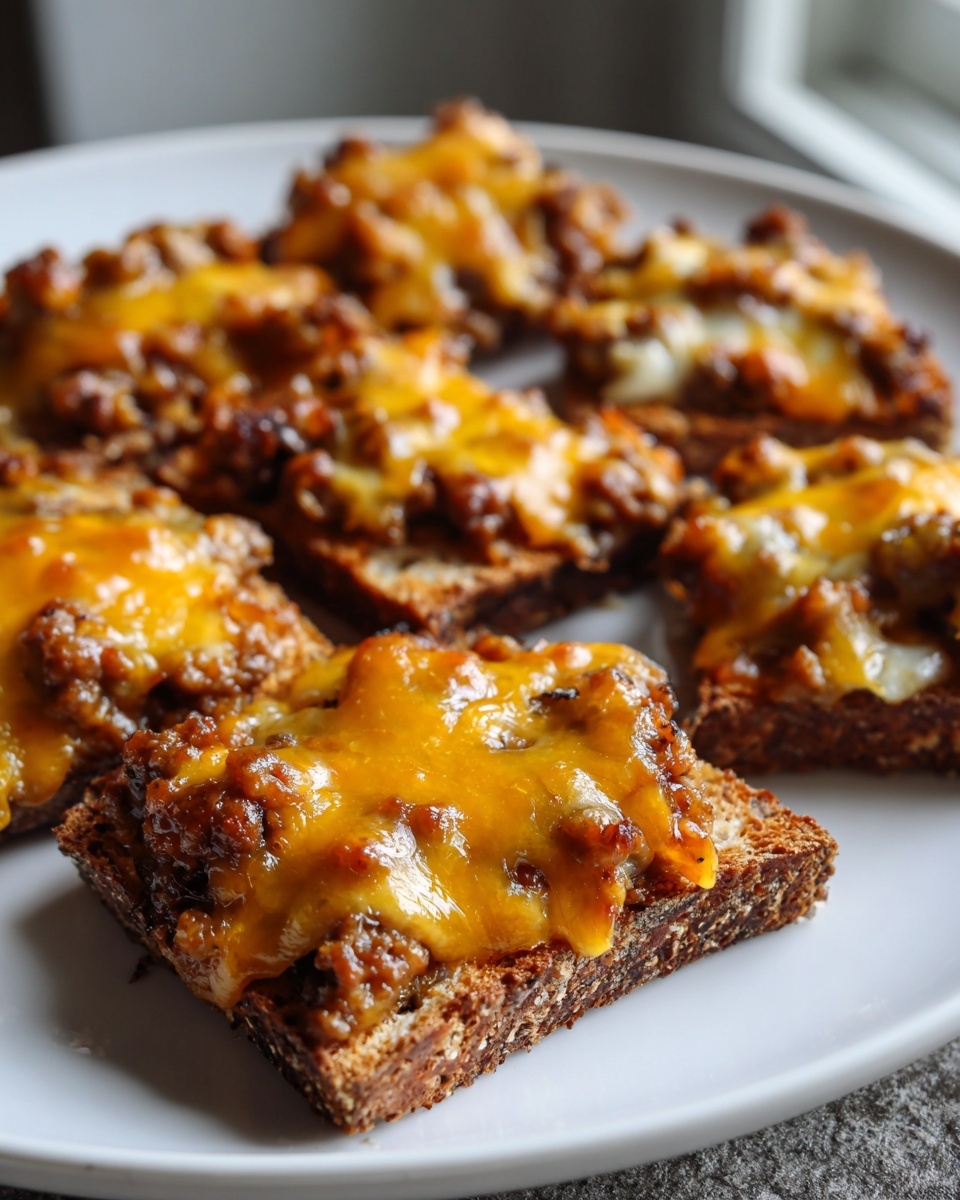
Assembly and Baking of the Pumpernickel Bread Appetizer
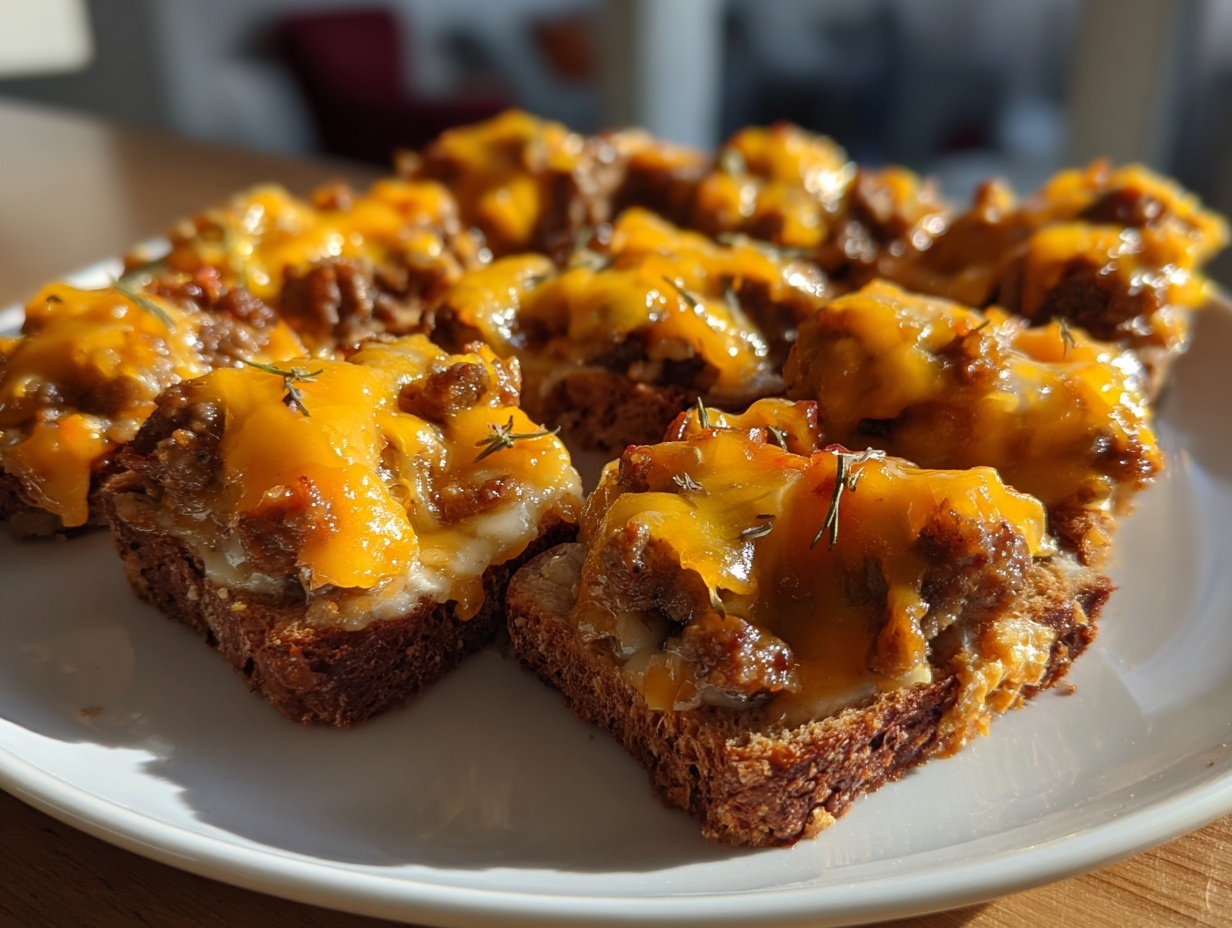
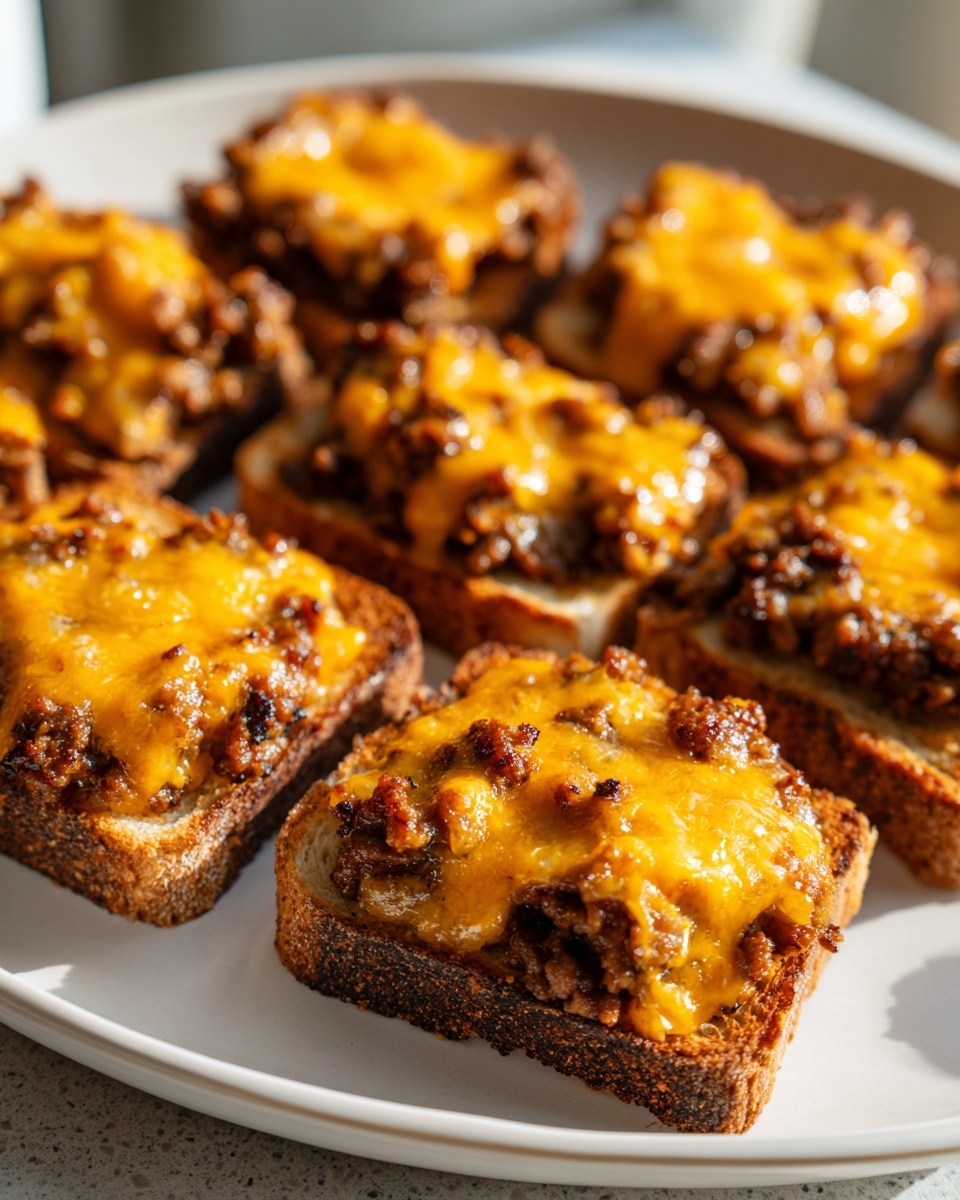
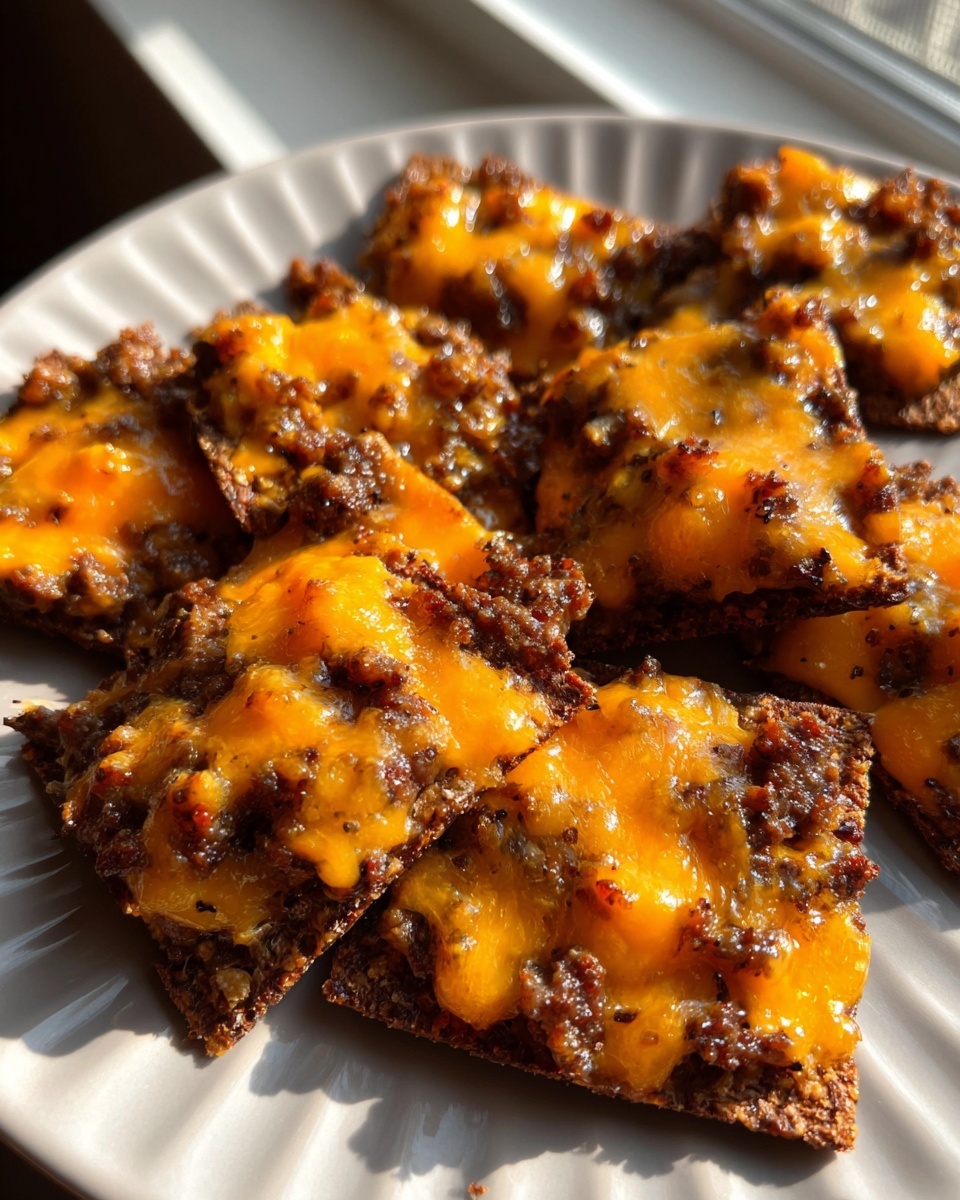
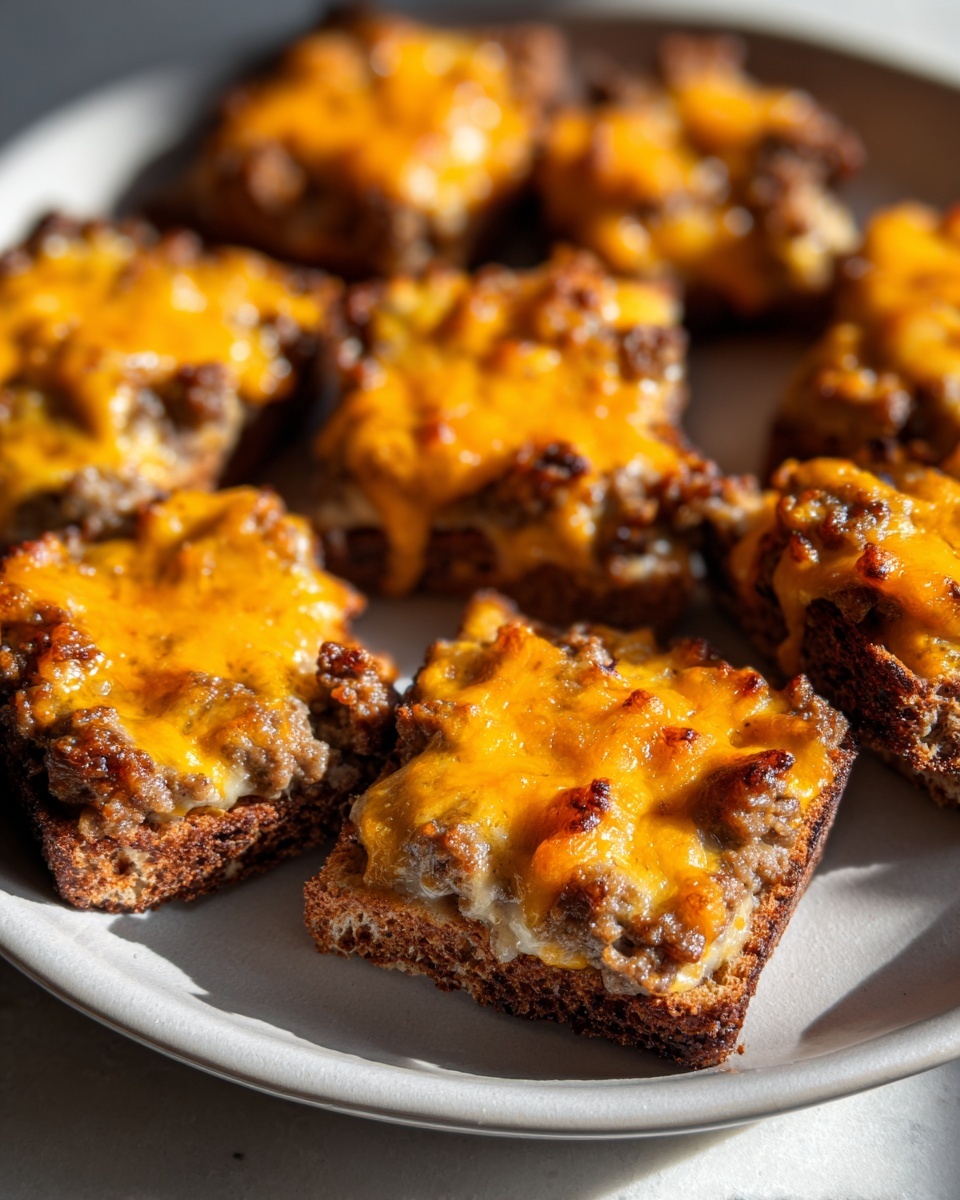
Now, for the foundation. We are layering this topping onto the prepared bread pieces—whether you cut rectangles or little toast points. Don’t be shy; spread a generous, even layer over the bread. If it looks thin, just add more. We’re aiming for a substantial layer that promises flavor in every bite of this pumpernickel bread appetizer.
Get them onto that light greased baking sheet and slide them into the preheated 350°F oven. Bake them for 10 to 12 minutes. You are looking for the topping to be bubbly hot all the way through and, ideally, just starting to brown gently on the edges. Pull them out right away; no need for complicated cooling!
Tips for Success with This Party Food Ideas Hanky Panky Recipe
When you’re managing a party spread that needs to perform flawlessly, eliminating variables is key. My biggest stumbling block early on was rushing the grease drain. I remember one time I thought I’d blotted enough, but when the mixture hit the heat, it just slumped into an oily puddle on the pumpernickel. That’s why you must aggressively drain!
Also, the cream cheese temperature is crucial. If it’s fridge-cold, you’ll end up with clumps in your mix, making it uneven when you spread it. Let that brick sit out for at least an hour; it needs to be soft enough to mix without fighting your spoon. If you ensure the base is thick and smooth, these party food ideas will hold their shape perfectly on the bread.
For a little extra crispness on the bread base, pre-toast the pumpernickel slices for about 5 minutes before you add the topping. It helps them hold up better under that rich topping. If you want the ultimate texture, check out my tips for building simple, crisp bases in my guide to easy homemade copycat olive garden breadsticks—the principle of a sturdy foundation still applies here!
Make Ahead Appetizers: Storing Your Hanky Panky Recipe Components
When I’m planning a big event, I treat my menu like a Gantt chart; everything needs to be batched efficiently. The beauty of this classic hanky panky recipe is how well it allows for pre-staging. You absolutely can make this ahead, which is huge when you’re planning other demanding dishes. This is where we categorize it as a top-tier make ahead appetizer.
The key, though, is managing the moisture barrier. You cannot assemble the entire thing ahead of time and stick it in the fridge. The pumpernickel bread will get sad and soggy—we want crisp, toasted edges, not soft sponges!
Here is the smart breakdown for staging:
- The Meat Mixture: Cook your meat, drain it perfectly (remember the grease lesson!), and mix it thoroughly with the cheeses and seasonings. Once combined, scrape that mixture into an airtight container. It holds up beautifully in the refrigerator for up to two days. This is your biggest time-saving step!
- The Bread Base: Keep the pumpernickel or rye slices sealed in their original bag until the day you plan to bake. Do not slice it until just before assembly if you can manage it.
When it’s party time, just pull the topping out of the fridge about 30 minutes early to let it soften slightly. Then, you just assemble and bake right before guests arrive. It’s fast, it’s fresh, and it keeps you from scrambling right before the doorbell rings. For more reliable recipes designed to fit into a busy schedule, check out my full roundup of make ahead appetizers for stress-free entertaining.
Serving Suggestions for Your Game Day Appetizers
Since these Hanky Panky bites are wonderfully rich—they’ve got meat, they’ve got cheese, they are comfort food gold—you need some lighter foils on your table to balance things out. You don’t want everyone hitting a wall after just three pieces! When I’m planning my spread for a big watch party, I like to categorize my food into “Heavy Hitters” (which this falls perfectly under) and “Palate Cleansers.”
For the cleanser slot, skip other heavy meat trays. Go for something acidic or vegetal. A big, simple Greek-style salad—lots of cucumber, Kalamata olives, and maybe some lemon vinaigrette—is fantastic. It gives everyone a break before they dive back into more of these game day appetizers.
If you want another dip, make sure it contrasts the texture. Since the Hanky Panky is baked and dense, I pair it with a slow-cooker dip that stays looser, like a good queso or maybe even my favorite Reuben Dip. The contrast between the crispy pumpernickel base and the warm, scoopable dip is just brilliant.
Honestly, these are great for holidays too, not just the big sports weekends. Because they are so easy to make in massive batches, they are perfect for Christmas parties or New Year’s Eve gatherings where people are grazing for hours. Just remember the strategy: heavy, flavorful hits balanced by something light and bright!
Storage and Reheating Instructions for Leftover Hanky Panky
Look, these simple finger foods usually don’t last long, but if you manage to have any leftovers, you need a concrete plan for leftovers. Storing these correctly is crucial if you want that pumpernickel bread to retain any semblance of its original toastiness. Do not just toss them in a plastic container and call it a day; that’s a recipe for mush.
First, you must let the baked Hanky Panky cool completely on a wire rack. Once cool, put them in a single layer or use wax paper between layers inside an airtight container. They’ll last about three days in the fridge, max. When you are ready to revive them, skip the microwave! Seriously, it turns the bread instantly soft. For the best results, pop them onto a small baking sheet in a toaster oven or regular oven at 350°F for about 5 to 7 minutes. That little blast of dry heat crisps up the bread again beautifully.
Frequently Asked Questions About the Hanky Panky Recipe
I get a lot of questions about maximizing these recipes when I put them in the project management playbook. It makes sense—you want to eliminate any potential failure points before the big game or holiday dinner, right? These are some of the most common logistical questions I field about making this hanky panky recipe the star of the show for any easy appetizer recipe spread.
Can I use crackers instead of pumpernickel bread in this hanky panky recipe?
Yes, you absolutely can, especially if you are looking for smaller, more delicate bites. However, you have to adjust your baking timing significantly. Pumpernickel bread is sturdy; standard crackers are paper thin! If you use Ritz or similar crackers, the topping will be fully hot and bubbly well before the cracker itself starts to burn. I’d dial that oven time down to about 7 minutes, maybe 8, and watch them like a hawk. You want the topping hot, not the cracker incinerated!
How do I ensure my cheesy meat bites stay crisp after baking?
This usually comes down to how you handle them post-bake. The minute they come out of the oven, transfer those cheesy meat bites to a cooling rack, not a plate. A plate traps residual heat and steam, which is the enemy of crispness. The absolute best method for crispness, even when reheating, is using a toaster oven or a quick blast in the oven—skip the microwave entirely. If you reheat them on a baking sheet for just 5 minutes at 350°F, they come right back to life!
Is this recipe too heavy to be considered a good holiday appetizer recipe?
Honestly, Hanky Panky are definitely on the richer side, making them perfect for your initial gathering fuel! They are wonderful holiday appetizer recipes because they feel substantial. To balance them out for a long party, I just make sure to serve them alongside fresh crudités or maybe a shrimp cocktail. You want that hot, cheesy sausage balanced by something cold and crisp. It’s all about smart pairing on the buffet table!
Estimated Nutritional Data for This Classic Party Snack
So, we’ve established that these are pure, unadulterated comfort food—they are definitely not low-cal, and that’s totally fine when you’re planning party food ideas for a holiday or game day! But since I approach everything like a project manager, I always like to have the baseline specs documented. When you’re serving these classic party snacks, it helps to know what’s in them, even if we aren’t worrying too much about counting calories at the get-together.
Remember, this data is based on the standard recipe—using pork sausage and cheddar cheese, cut into about 30 pieces. If you swap to leaner meat or use low-fat cheese, the numbers will shift, but this gives you a good benchmark for planning your overall menu. For more information on balancing richer meals with some healthier options, you can always check out my thoughts on healthy lunch ideas for the rest of the week!
Here is the estimated breakdown per piece:
- Serving Size: 1 piece
- Calories: 120
- Fat: 9g
- Saturated Fat: 4g
- Carbohydrates: 4g
- Protein: 6g
- Sodium: 350mg
Just a quick note: because we are using processed meat and cheese, the sodium content is naturally higher here. That’s why I always stress balancing this out with fresh sides, as we talked about earlier. But honestly, when you see how fast these disappear, you realize nobody is counting macros when the hanky panky recipe hits the table!
If you want to compare ingredient lists or see how others have tweaked these flavors, you can always check out aggregated recipe data on sites like this one for comparison: Amazing Hanky Panky Appetizers.
PrintClassic Hanky Panky Appetizer Recipe

Make this classic, cheesy meat appetizer that uses simple ingredients for your next party or game day gathering. This recipe is straightforward and delivers reliable flavor.
- Prep Time: 10 min
- Cook Time: 12 min
- Total Time: 22 min
- Yield: About 30 pieces 1x
- Category: Appetizer
- Method: Baking
- Cuisine: American
- Diet: Vegetarian
Ingredients
- 1 pound bulk pork sausage or ground beef
- 1 (8 ounce) package cream cheese, softened
- 1 cup shredded sharp cheddar cheese (or Velveeta for a creamier texture)
- 1 teaspoon Worcestershire sauce
- 1/2 teaspoon onion powder
- 1/4 teaspoon garlic powder
- Pinch of black pepper
- 1 loaf pumpernickel or rye bread, sliced into small squares or toast points
Instructions
- Preheat your oven to 350 degrees F. Lightly grease a baking sheet.
- In a large skillet over medium heat, cook the sausage or ground beef, breaking it apart as it cooks. Drain off all excess grease completely.
- Transfer the cooked meat to a medium mixing bowl.
- Add the softened cream cheese, shredded cheddar cheese, Worcestershire sauce, onion powder, garlic powder, and black pepper to the bowl with the meat.
- Mix all ingredients thoroughly until the mixture is uniform and well combined. This is your base for these cheesy meat bites.
- Spread a generous layer of the meat and cheese mixture onto each slice of pumpernickel bread or toast point.
- Arrange the topped bread pieces on the prepared baking sheet.
- Bake for 10 to 12 minutes, or until the topping is hot and bubbly and the edges of the bread are lightly toasted.
- Serve these easy appetizer recipes immediately while warm.
Notes
- For a make-ahead option, prepare the meat and cheese mixture and store it in the refrigerator for up to two days. Assemble and bake just before serving.
- If you prefer a smoother texture, use Velveeta cheese instead of cheddar.
- This recipe is excellent for game day appetizers and is a true retro appetizer recipe.
Nutrition
- Serving Size: 1 piece
- Calories: 120
- Sugar: 1
- Sodium: 350
- Fat: 9
- Saturated Fat: 4
- Unsaturated Fat: 5
- Trans Fat: 0
- Carbohydrates: 4
- Fiber: 0
- Protein: 6
- Cholesterol: 30