
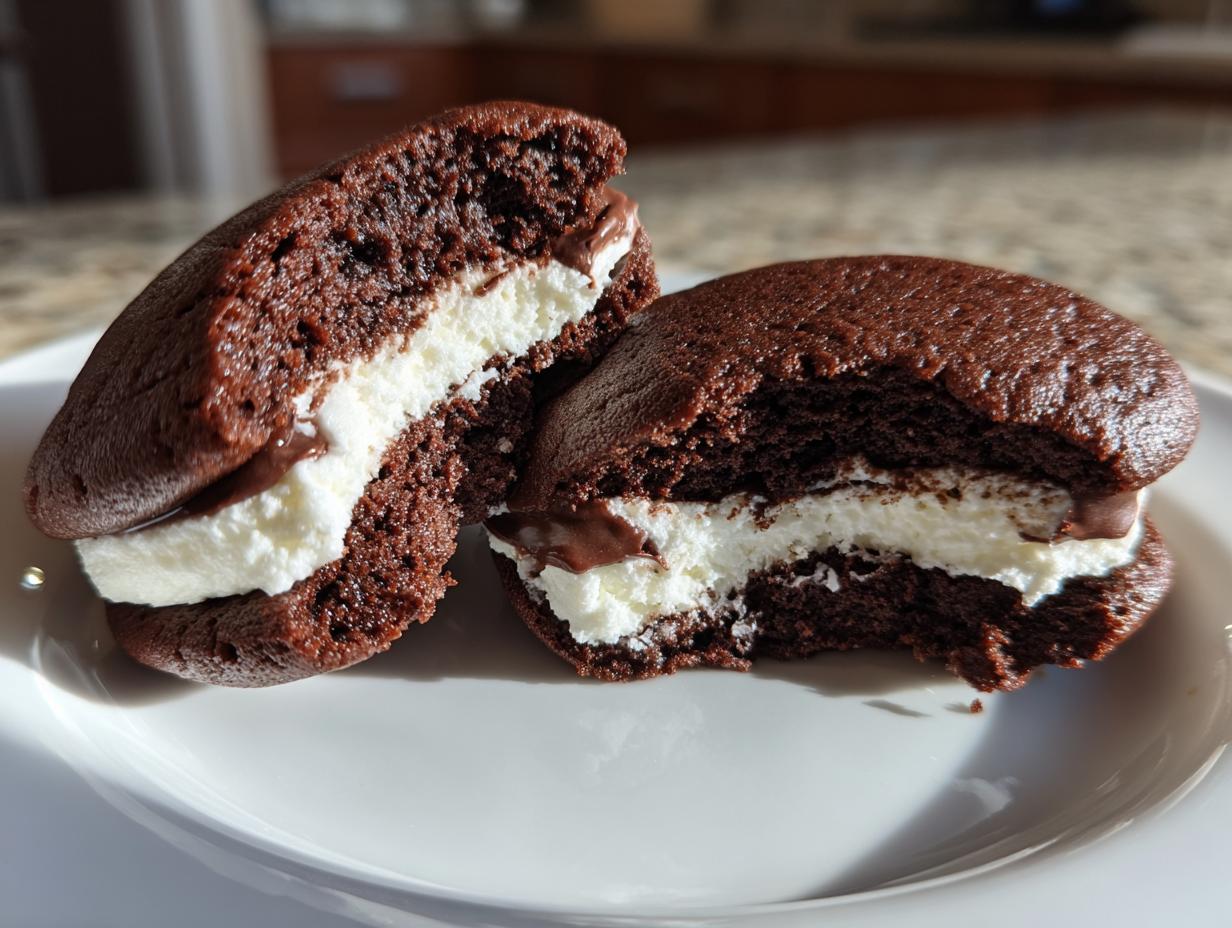
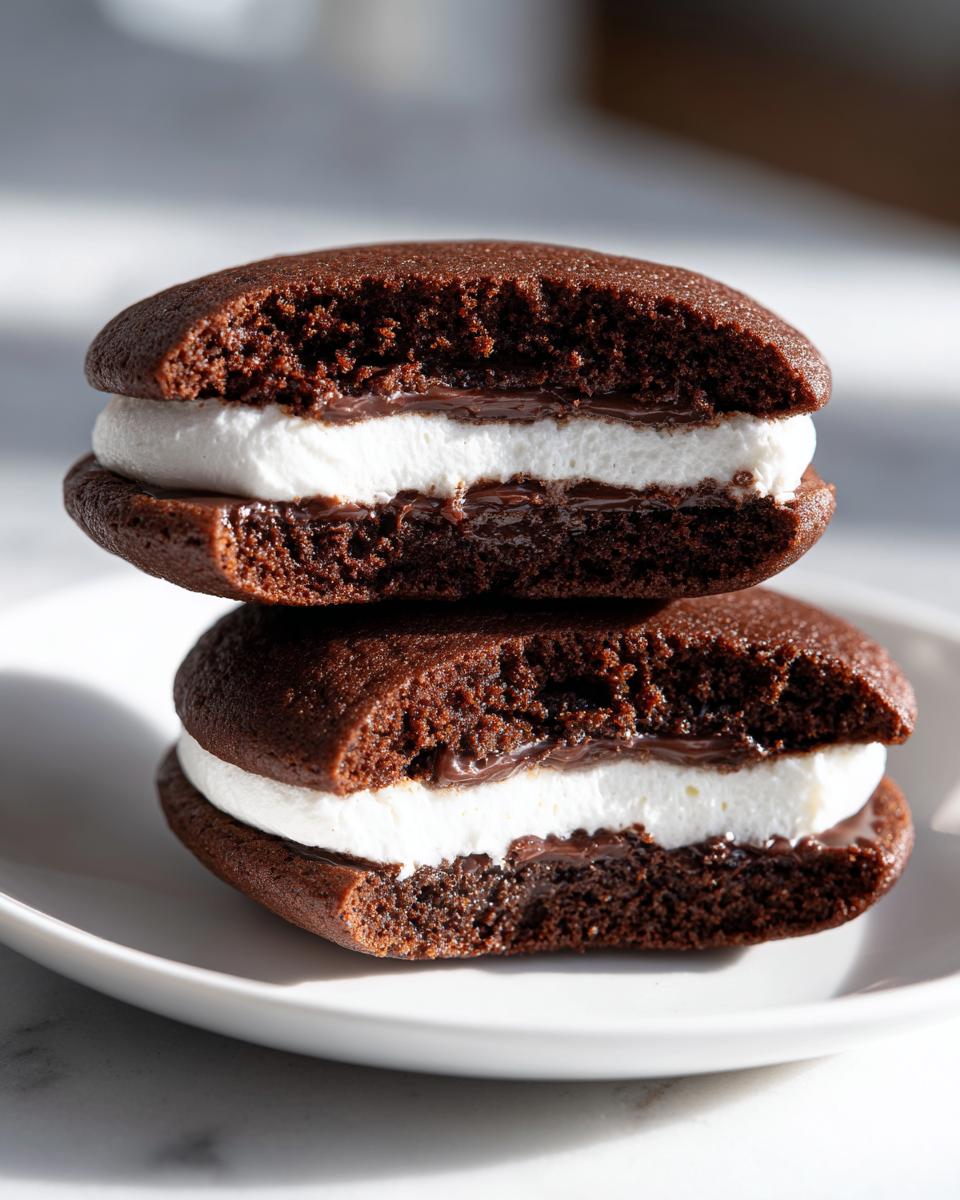
When an evening calls for pure, unadulterated nostalgia, what do you reach for? Not some fussy torte, but something soft, dark, and perfectly handheld. We’re talking about classic chocolate whoopie pies. For me, these aren’t just desserts; they are optimized comfort food. I’ve taken this classic treat and streamlined the process—we’re aiming for that incredible, bakery-style standard, but without wasting an extra second on complexity. This optimized approach to homemade whoopie pies delivers maximum fluff and chocolate flavor where it counts, making it the perfect efficient project for any weeknight.
- Why Our Classic Chocolate Whoopie Pies Recipe Works (Efficiency Focus)
- Essential Ingredients for Homemade Whoopie Pies
- Step-by-Step Instructions for Easy Whoopie Pies
- Ingredient Notes and Filling Variations for Whoopie Pies
- Tips for Achieving Bakery Style Whoopie Pies
- Storage and Make-Ahead Tips for Your Whoopie Pies
- Nostalgic Variations on Classic Whoopie Pies
- Frequently Asked Questions About Whoopie Pies
- Estimated Nutritional Snapshot for Whoopie Pies
- Share Your Homemade Whoopie Pies Success
Why Our Classic Chocolate Whoopie Pies Recipe Works (Efficiency Focus)
When I engineer a recipe here at Dishicious, I cut out anything that doesn’t directly boost flavor or stability. That’s why this is the best whoopie pie recipe you’ll find—it skips the fussy steps you see in older versions but keeps 100% of the payoff. We’re using tried-and-true ratios, ensuring big, soft rounds every time, which is essential when you’re using them to sandwich a creamy filling. No need for complicated techniques; this is about efficient deployment of deliciousness.
If you enjoyed optimizing your baking with my easy sugar cookie bars recipe, you’ll appreciate the streamlined methodology here.
The Soft Cake Texture of Perfect Whoopie Pies
The signature of a great whoopie pie is that unbelievable dual quality: cakey yet tender. We achieve this critical texture using two keys. First, we make sure to thoroughly cream the butter and both sugars—that stage builds the necessary microscopic air pockets. Second, buttermilk is mandatory. That slight acidity reacts perfectly with the baking soda to give us lift, resulting in those wonderfully soft chocolate rounds that define amazing whoopie pies.

Essential Ingredients for Homemade Whoopie Pies
When following a proven whoopie pies recipe, sticking to the ingredient list is paramount. Think of this as your quality control checklist before we start the mixing phase. We don’t want any late-stage drama where we realize we’re missing that one critical component. Knowing exactly what you need ensures this project stays on schedule and results in the perfect soft sandwich cookies we’re aiming for.
If you’re planning your grocery run now, check out this great resource on general whoopie pie preparation to make sure you have all the staples.
For the Chocolate Cake Rounds
For the dark, cakey shells, here is the exact breakdown you need. These components are split simply into the dry mix and the fats/liquids:
- Dry: 1 3/4 cups all-purpose flour, 3/4 cup unsweetened cocoa powder, 1 teaspoon baking soda, 1/2 teaspoon baking powder, and 1/2 teaspoon salt.
- Wet/Sweeteners: 1 cup granulated sugar, 1/2 cup packed light brown sugar, 1/2 cup unsalted butter (must be softened!), 2 large eggs, 1 teaspoon vanilla extract, and 1 cup buttermilk.
For the Fluffy Marshmallow Filling for Whoopie Pies
This recipe leans into speed, so we often grab the easiest option for that classic sugary sweetness. For an incredibly quick marshmallow filling for whoopie pies, grab 1 cup of marshmallow fluff. That’s it! However, if you are taking the extra step for homemade filling, you’ll need 1 cup of softened butter beaten along with 3 cups of powdered sugar, 1 teaspoon of vanilla extract, and 1/4 cup of milk or cream until it achieves that dreamy, fluffy texture.
Step-by-Step Instructions for Easy Whoopie Pies
Let’s get these whoopie pies recipe components together. Remember, my goal is efficiency, so we move quickly through the steps, but we don’t rush the preparation. First things first, project setup: You need to preheat your oven to 350°F (175°C) and get those baking sheets lined with parchment paper. Don’t skip the parchment; it makes cleanup a breeze, which is critical for an easy whoopie pies workflow.
Once your station is prepped, we move to mixing. If you want those tender shells, focus on the creaming stage. This is non-negotiable for that perfect, bakery-style texture.
Mixing the Cake Batter for Soft Whoopie Pies
Start by combining all your dry ingredients in one bowl—flour, cocoa, soda, powder, salt. Whisk them lightly and set them aside. Now, in the big bowl, cream that softened butter with both the granulated and brown sugars until it looks genuinely light and fluffy, which should take about three minutes. Beat in your eggs one at a time. Now for the critical part where technique solidifies those homemade whoopie pies: You must alternate adding your dry mix and the buttermilk. Always start and end with the dry. Mix on low, just until the streaks disappear. Do not overmix, or you lose that soft texture!
Baking and Cooling the Chocolate Rounds
Next, drop rounded tablespoons of batter onto those lined sheets, spaced about two inches apart—we want nice, uniform rounds. Pop them into the preheated oven for 10 to 12 minutes. You’re looking for edges that look set. Once they come out, let them rest right there on the hot baking sheet for exactly five minutes. This lets them firm up just enough. Then, gently move them over to a wire rack so they can cool completely. Seriously, they must be totally cool before you even *think* about filling them!

Assembling the Classic Whoopie Pies
Once the chocolate rounds are cool, it’s time for the fun part—the sandwich moment! Take one cooled half and generously spread your chosen filling—whether it’s the quick marshmallow fluff or your homemade buttercream—onto the flat side. Then, gently top it with the second cookie half, making sure the filling squishes out just a little bit around the edges. That little bit of overflow tells you you used enough filling! Store the finished classic whoopie pies in an airtight container. You can even find great tips on faster baking projects, like my easy homemade brown gravy recipe, that follow similar efficiency principles.
If you want to see how the experts approach this, you can get great technique ideas from Handle the Heat’s method for classic whoopie pies.
Ingredient Notes and Filling Variations for Whoopie Pies
Okay, listen up, because this is where you take control of the project scope. While the classic marshmallow fluff is fast, I always want you to know your options for customizing these whoopie pies. Anticipating variations is the key to being a confident baker! If you’re looking for something tangier than pure marshmallow sweetness, we can easily pivot here.
For those needing that slightly richer, less sticky option, you’ll want to check out my guide on stable vanilla buttercream, though for this specific swap, we are keeping it simple.
Switching to Cream Cheese Filling for Whoopie Pies
If you’re heading down the tangy road, making the switch to a cream cheese filling for whoopie pies is super easy. Just grab 8 ounces of softened cream cheese—yes, softened, don’t try to rush this—and beat it until smooth. Then, mix in 1 cup of powdered sugar and about 1/2 teaspoon of vanilla extract. That’s it! It whips up fast and gives you a slightly more sophisticated flavor profile to balance the dark chocolate cakes.

Expert Tip: Enhancing Chocolate Flavor in Whoopie Pies
Here’s a quick efficiency hack for boosting the chocolate intensity without changing the process: cocoa powder selection matters. If you find the chocolate flavor isn’t deep enough for your liking, try using Dutch-processed cocoa powder instead of natural unsweetened cocoa. It’s a simple swap—just use the same amount—but it gives you a much richer, darker chocolate note in the final cake round. It makes these look and taste like they came straight from a high-end bakery!
Tips for Achieving Bakery Style Whoopie Pies
Getting those consistent, bakery-style whoopie pies requires a little project management on your part. The biggest issue people run into is spreading—you want them to puff up into little domes, not spread out into flat discs, right? That usually comes down to temperature. Make sure your butter is properly softened, not melted. If it’s too soft, the batter structure collapses upon hitting the oven heat.
For perfectly sized rounds, forget the spoon! Use an ice cream scoop—a medium cookie scoop keeps everything uniform. Uniformity is key for that professional look, and it also ensures everything bakes evenly, which is always the goal for efficient baking. If you’re looking for other tips on keeping your baked goods neat and uniform, check out my guide on soft and chewy oatmeal cookies; the scooping method is the same.
Also, don’t crowd the pans! If they’re too close, they spread into each other, and you lose that lovely height. We need breathing room. If you want to see how Martha Stewart handles her classic version, that’s a great reference point for structure: Martha Stewart Whoopie Pies Recipe.
Storage and Make-Ahead Tips for Your Whoopie Pies
One of the best things about these handheld desserts is that they are excellent candidates for prepping ahead of time. When you’re dealing with a busy schedule, making things in batches and storing them smartly is just good project management, right?
For storing assembled whoopie pies, keep them in an airtight container at room temperature. They should stay perfectly fresh and moist for two or maybe three days. If you wait longer than that, the filling can start to sweat a bit, especially if you used a cream cheese variety. I always prefer mine fresh, but if you need to store them longer, freezing is the way to go.
Here’s the trick for freezing: Make sure the chocolate rounds are completely cool, and freeze them *before* you add the filling. Lay them out single-layer on a tray and pop them in the freezer until solid—this usually takes an hour or so. Once they are fully frozen, you can stack them up safely in a heavy-duty freezer bag. They hold up great for about two months this way!
If you want to prep something else ahead that stores well, you definitely need to try my easy no-bake peanut butter bars. Same philosophy: minimal effort, maximum reward!
When you’re ready to assemble, just pull the cakes out, let them thaw for about 15 minutes on the counter, and then get that fluffy filling piped or spread on. You’ll have fresh-tasting homemade whoopie pies ready in minutes!
Nostalgic Variations on Classic Whoopie Pies
While chocolate is my go-to—because, honestly, who can resist that flavor with marshmallow filling?—I always want you to feel empowered to customize. The world of whoopie pies is huge! You absolutely should try a seasonal twist, especially pumpkin whoopie pies when fall hits, using pumpkin puree to swap out some of the fat in the cake mix.
And don’t forget the regional names; people search for Amish whoopie pies and Maine whoopie pies just as often. They often refer to the exact same concept but might use slightly different filling ratios. For a fruity change, try my strawberry cake mix cookies method adapted for a vanilla whoopie pie base!
If you’re chasing that authentic New England heritage flavor, you can check out an in-depth look at the famous coastal versions over at Cassie’s Maine Whoopie Pies Recipe.
Frequently Asked Questions About Whoopie Pies
Whenever I roll out one of my optimized recipes, I always get questions about the logistics—that’s just smart cooking! People want reliability, and I’m happy to provide the final troubleshooting steps here so your classic whoopie pies turn out perfectly every time. If you’re looking for more delicious options to try after mastering this one, my main dessert recipes index is a good place to start!
Are whoopie pies considered soft sandwich cookies or small cakes?
That is the eternal debate! I lean toward calling them small cakes. Think about it: the batter is dropped onto the sheet like a cookie, but the texture once baked is soft, airy, and tender—it bakes up like a cupcake top without the paper liner. That’s why they are often called soft sandwich cookies; they bridge the gap, but they’re definitely cake-adjacent!
What is the difference between classic and Amish whoopie pies?
Honestly, the difference is usually just in the naming, depending on where you are geographically! In New England, they call them Whoopie Pies. In Pennsylvania Dutch country, you’ll hear them called Amish whoopie pies, or sometimes Gobs. The core method—soft chocolate cakes with a creamy filling—is the same. My recipe aims for that classic, fluffy center that everyone loves, regardless of what regional name you use.
Can I make these chocolate whoopie pies without buttermilk?
Absolutely, you can pivot if you need to! If you’re pulling together an easy whoopie pies batch and realize your fridge only holds regular milk, no sweat. You can make a quick substitute: measure out one cup of regular milk and stir in one tablespoon of white vinegar or lemon juice. Let that sit for about five to ten minutes until it looks slightly curdled. That’s your buttermilk replacement, and it still gives the batter the necessary acid to react with the baking soda for a great rise!
Estimated Nutritional Snapshot for Whoopie Pies
When we talk about optimizing time, we also need to look at the final output. Because these whoopie pies are straightforward, the nutrition profile is pretty clear, too. Keep in mind that these figures are estimates based on the specific ingredients and serving sizes listed in the recipe above. If you use a different homemade filling, the numbers will shift slightly, so treat this as your baseline data point.
- Serving Size: 1 whoopie pie
- Calories: 350
- Fat: 15g
- Carbohydrates: 55g
- Sugar: 35g
- Protein: 3g
This is a rich, satisfying treat! If you are swapping out the marshmallow fluff for a buttercream or cream cheese version, remember that fat and sugar content will change, so adjust your expectations accordingly!
Share Your Homemade Whoopie Pies Success
Alright, project complete! You’ve taken the raw materials and successfully executed an optimized baking plan to yield your own batch of classic whoopie pies. Now for the next step in the Dishicious process: feedback and sharing. I genuinely want to know how this streamlined method worked for you in your kitchen setup. Did the creaming process feel faster?
Take a moment to rate this whoopie pies recipe using the stars below, and if you have time, pop over to the contact page to tell me about your results. Did you stick to the marshmallow filling, or did you go rogue with the cream cheese version? Every piece of feedback helps me keep curating recipes that offer maximum flavor with minimum fuss for everyone else following along.
Baking should be fun and reliable, and seeing your success stories is the best reward. Go ahead, share how many homemade whoopie pies you managed to make before they vanished!
PrintClassic Chocolate Whoopie Pies with Fluffy Marshmallow Filling

Make classic chocolate whoopie pies, a nostalgic treat featuring soft, cake-like chocolate rounds sandwiched with a sweet, fluffy marshmallow filling. This straightforward recipe delivers bakery-style results for your busy schedule.
- Prep Time: 20 min
- Cook Time: 12 min
- Total Time: 32 min
- Yield: 12 servings 1x
- Category: Dessert
- Method: Baking
- Cuisine: American
- Diet: Vegetarian
Ingredients
- 1 3/4 cups all-purpose flour
- 3/4 cup unsweetened cocoa powder
- 1 teaspoon baking soda
- 1/2 teaspoon baking powder
- 1/2 teaspoon salt
- 1 cup granulated sugar
- 1/2 cup packed light brown sugar
- 1/2 cup unsalted butter, softened
- 2 large eggs
- 1 teaspoon vanilla extract
- 1 cup buttermilk
- 1 cup marshmallow fluff (or homemade marshmallow filling)
Instructions
- Preheat your oven to 350°F (175°C). Line baking sheets with parchment paper.
- In a medium bowl, whisk together the flour, cocoa powder, baking soda, baking powder, and salt. Set aside.
- In a large bowl, cream together the granulated sugar, brown sugar, and softened butter until light and fluffy. This takes about 3 minutes.
- Beat in the eggs one at a time, mixing well after each addition. Stir in the vanilla extract.
- Gradually add the dry ingredients to the wet ingredients, alternating with the buttermilk, beginning and ending with the dry ingredients. Mix until just combined; do not overmix.
- Drop rounded tablespoons of batter onto the prepared baking sheets, spacing them about 2 inches apart. You should get about 24 cookies.
- Bake for 10 to 12 minutes. The edges should be set. Let the cookies cool on the baking sheet for 5 minutes before transferring them to a wire rack to cool completely.
- Prepare the filling: If using marshmallow fluff, skip to step 7. For homemade filling, beat 1 cup of softened butter, 3 cups of powdered sugar, 1 teaspoon of vanilla extract, and 1/4 cup of milk until smooth and fluffy.
- Once the chocolate cakes are completely cool, spread a generous layer of marshmallow filling onto the flat side of one cookie. Top with a second cookie to form a sandwich.
- Repeat with the remaining cookies and filling. Store assembled whoopie pies in an airtight container.
Notes
- For a richer chocolate flavor, use Dutch-processed cocoa powder.
- If you prefer a cream cheese filling, substitute the marshmallow fluff with 8 ounces of softened cream cheese beaten with 1 cup powdered sugar and 1/2 teaspoon vanilla extract.
- These homemade whoopie pies freeze well before filling. Freeze the cooled cakes on a tray, then transfer to a freezer bag.
Nutrition
- Serving Size: 1 whoopie pie
- Calories: 350
- Sugar: 35
- Sodium: 180
- Fat: 15
- Saturated Fat: 8
- Unsaturated Fat: 7
- Trans Fat: 0
- Carbohydrates: 55
- Fiber: 1
- Protein: 3
- Cholesterol: 45