
I’m always looking for ways to take something familiar—like Mom’s classic apple pie—and give it a major efficiency upgrade. That’s just how I look at recipes now, thanks to my background as a project manager; why waste time if you can streamline the process without losing the flavor payoff? That need for optimization is exactly what birthed these incredible baked apple pie rice paper rolls. Think about it: all that warm, spiced apple deliciousness, but instead of wrestling with flaky crusts, you get a light, crispy, handheld wrapper. It’s dessert engineering at its best, designed for maximum impact with minimal kitchen time. Trust me, you’re going to love how simple this fusion treat is to pull off!
- Why You Will Make These Baked Apple Pie Rice Paper Rolls
- Ingredients for the Spiced Apple Filling and Baked Apple Pie Rice Paper Rolls
- The Project Plan: How to Prepare Your Baked Apple Pie Rice Paper Rolls
- Expert Tips for Perfect Baked Apple Pie Rice Paper Rolls
- Ingredient Notes and Rice Paper Dessert Rolls Substitutions
- Serving Suggestions for Your Sweet Spring Rolls Apple Filling
- Storage and Reheating Instructions for Crispy Apple Filled Rolls
- Frequently Asked Questions About Baked Apple Pie Rice Paper Rolls
- Share Your Fusion Dessert Rolls Experience
Why You Will Make These Baked Apple Pie Rice Paper Rolls
If you’re anything like me, you want big flavor without the big fuss. These apple rolls deliver exactly that convenience. They hit all the right spots, making them irresistible for busy weeknights or unexpected guests.
- They are the ultimate handheld apple pie treats—no forks needed!
- The exterior gets wonderfully crisp when baked or air-fried.
- They offer a fantastic gluten free apple pie alternative to heavy pastry.
- Less mess, less time, but 100% apple pie flavor.
Ingredients for the Spiced Apple Filling and Baked Apple Pie Rice Paper Rolls
As with any good project, you need to start with the right materials. For these rolls to taste like genuine apple pie, we need high-quality spice distribution and the right apples. I’ve listed everything out here, but pay close attention to the apple prep—that’s important for texture!
For the filling, you’ll definitely want Granny Smith apples since they hold up well during cooking and have that perfect tartness to balance the sugar. Don’t skip the lemon juice; it keeps things bright!
- 2 large Granny Smith apples, peeled and diced small
- 1/4 cup brown sugar (I always use packed light brown for subtle molasses notes)
- 1 tablespoon lemon juice
- 1 teaspoon ground cinnamon
- 1/4 teaspoon ground nutmeg (use sparingly, it’s potent!)
- 1 tablespoon cornstarch
- 2 tablespoons water (to make the thickening slurry)
For the wraps, you’ll need 12 sheets of those standard 8.5-inch rice paper wrappers. And since the final step is crisping them up, grab your cooking spray. If you want to see how I handled a full-on apple fritter recipe, check out my deep-fried version here: apple fritter ultimate classic deep fried recipe. But for these rolls, the crisping step is key!
The Project Plan: How to Prepare Your Baked Apple Pie Rice Paper Rolls
Okay, this is where we execute the plan. Since we aren’t working with traditional dough, our wrapping technique has to be spot-on to avoid any messy blowouts. Think of this less like baking and more like efficient assembly. We cook the filling first, then we wrap, and finally, we crisp up the exterior. It’s a three-phase process, and managing the temperature transition between phases is critical for success. If you’ve used rice paper before for savory rolls, you know speed is key here! For other easy baked goods that fit the minimal effort vibe, you might want to check out my guide on easy baked brie appetizer recipe for inspiration.
Step 1: Creating the Flavorful Apple Pie Filling
First up, get those apples cooking down. Toss your diced apples, brown sugar, spices, and lemon juice into a saucepan over medium heat. Let them simmer gently until they start getting tender—about 5 to 7 minutes. Now for the binder: quickly whisk your cornstarch and water together—that’s your slurry—then pour it in. Stir until that mixture thickens up nicely. You want the filling warm when you wrap it, but absolutely not piping hot, or you’ll dissolve the wrapper immediately. Let it chill out on the counter for about 15 minutes first.
Step 2: Mastering the Rice Paper Wrapping Technique for Baked Apple Pie Rice Paper Rolls
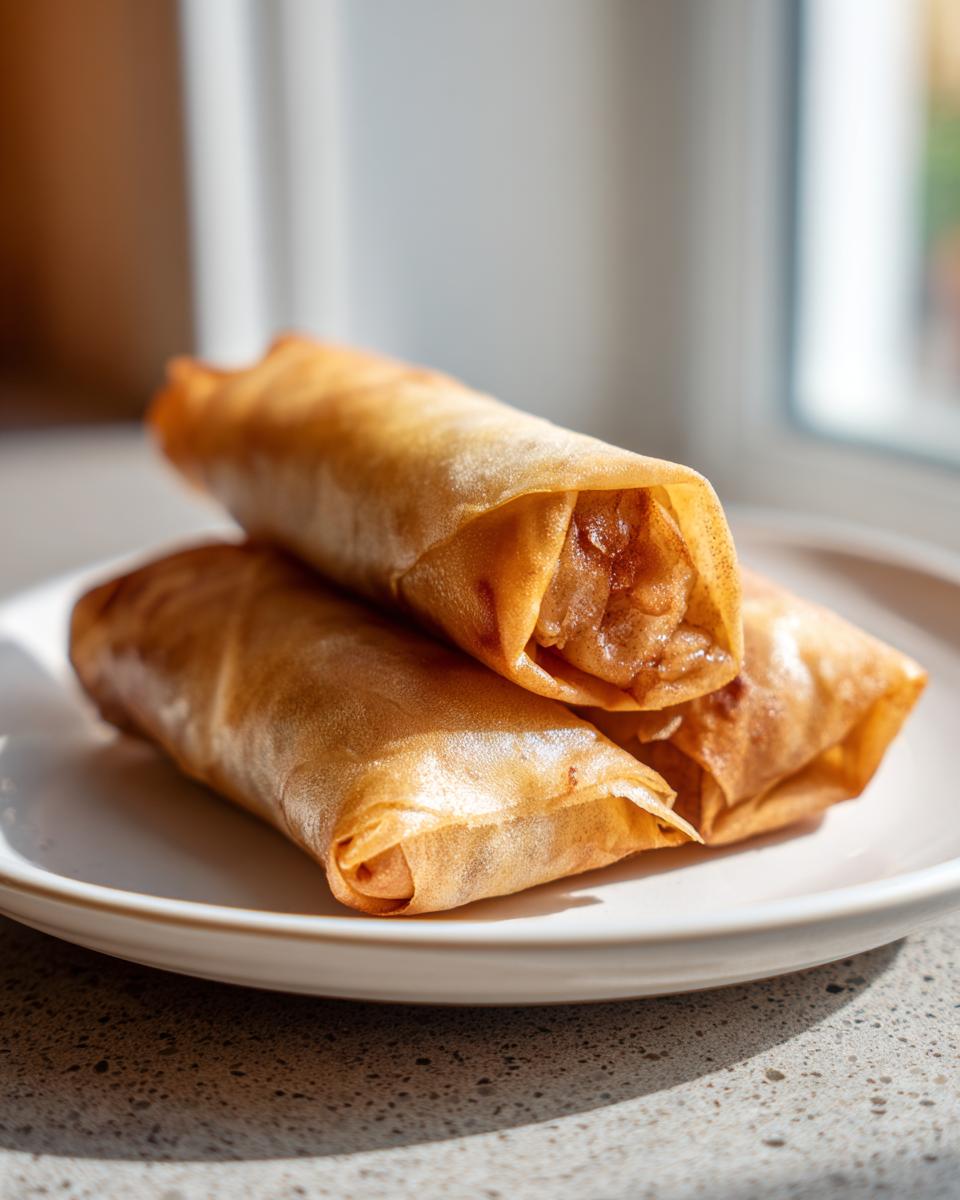
Time to get those wrappers pliable! Fill a shallow dish with warm water just big enough to dip the wrapper flat. Dip one rice paper sheet in for only about 15 to 20 seconds. Pull it out before it gets totally floppy—a little firmness is good! Lay it on your clean surface. Spoon about two tablespoons of that slightly cooled apple filling near the bottom edge. Fold those sides inward first, like you’re tucking in the ends of an envelope. Then, roll it up tightly from the bottom. This technique keeps everything snug inside your perfect little baked apple pie rice paper rolls.
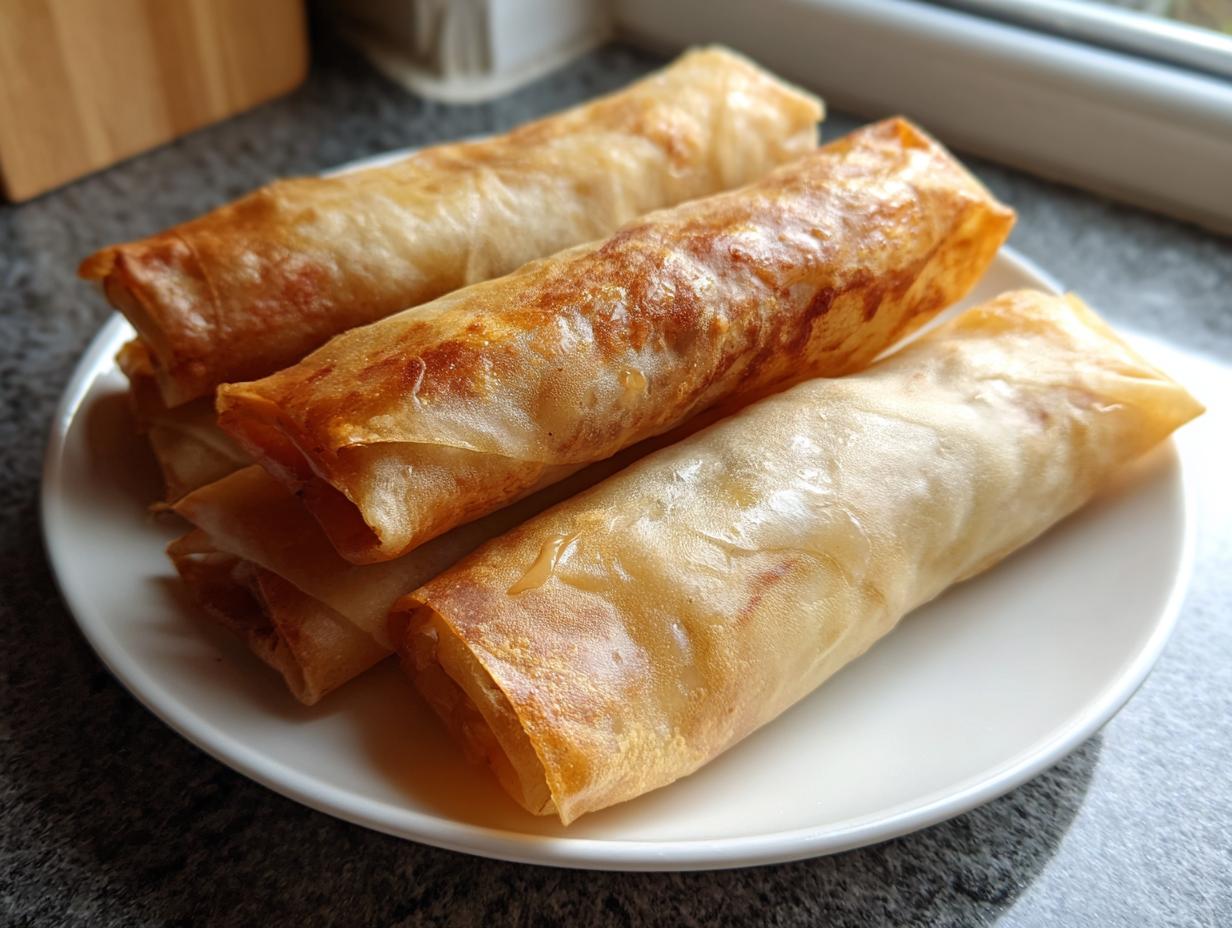
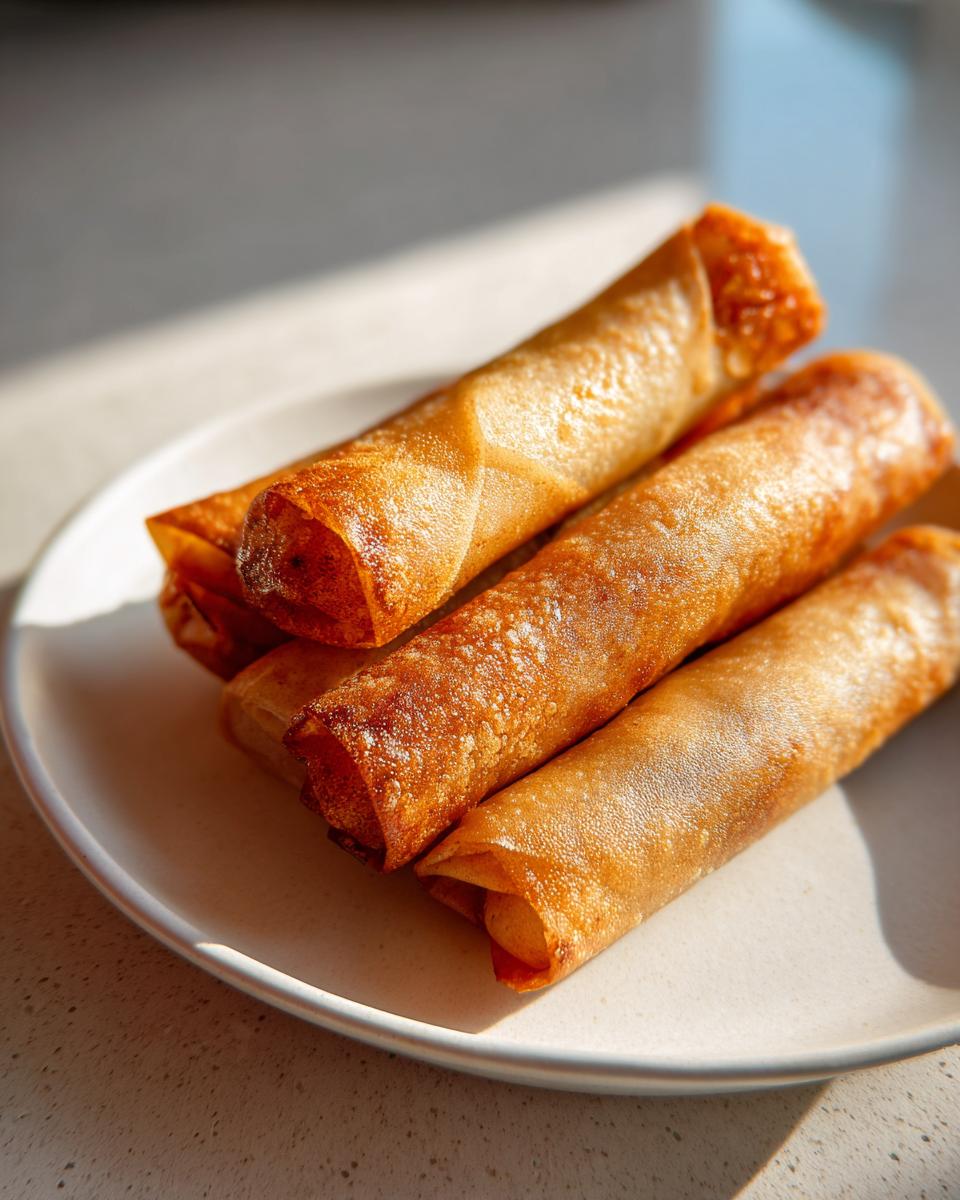
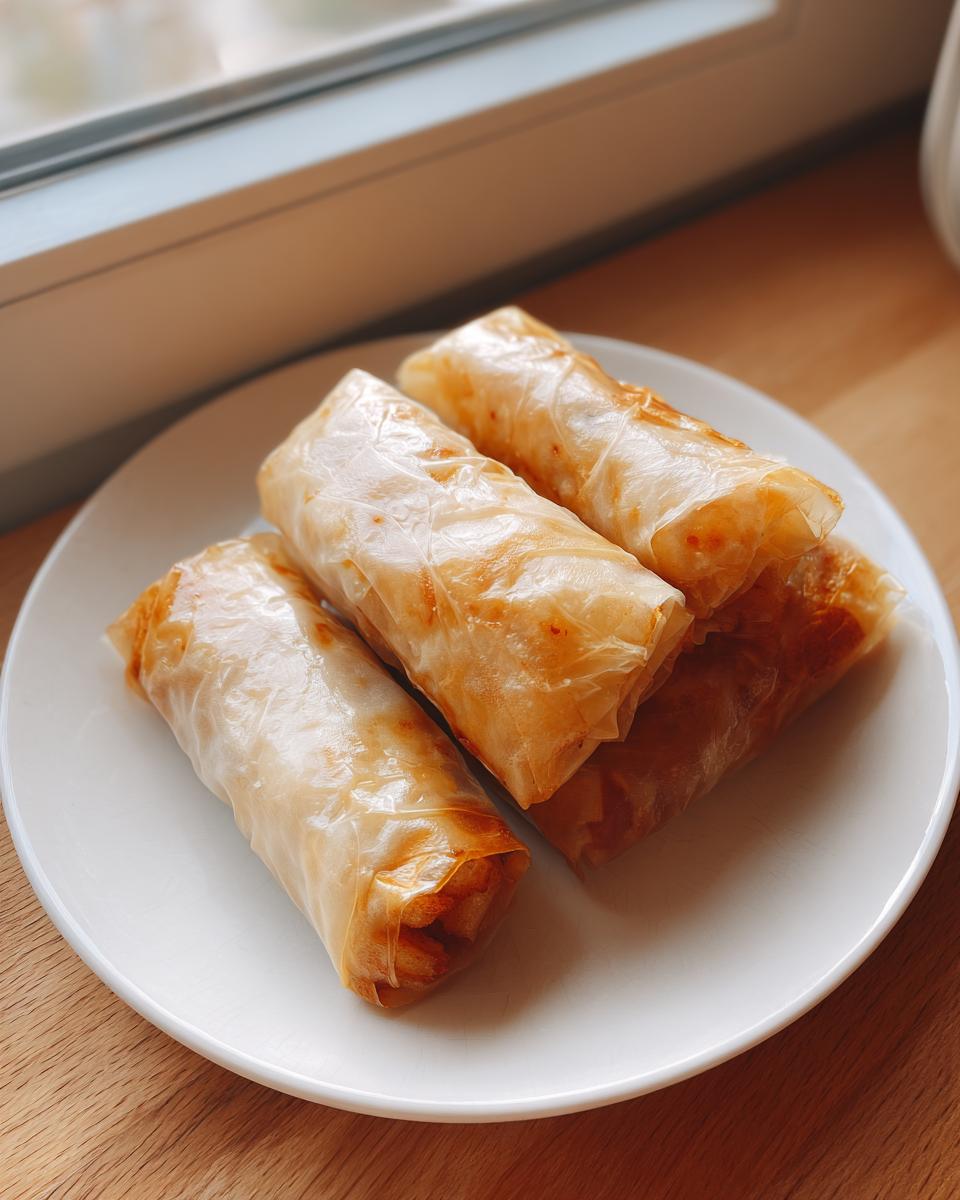
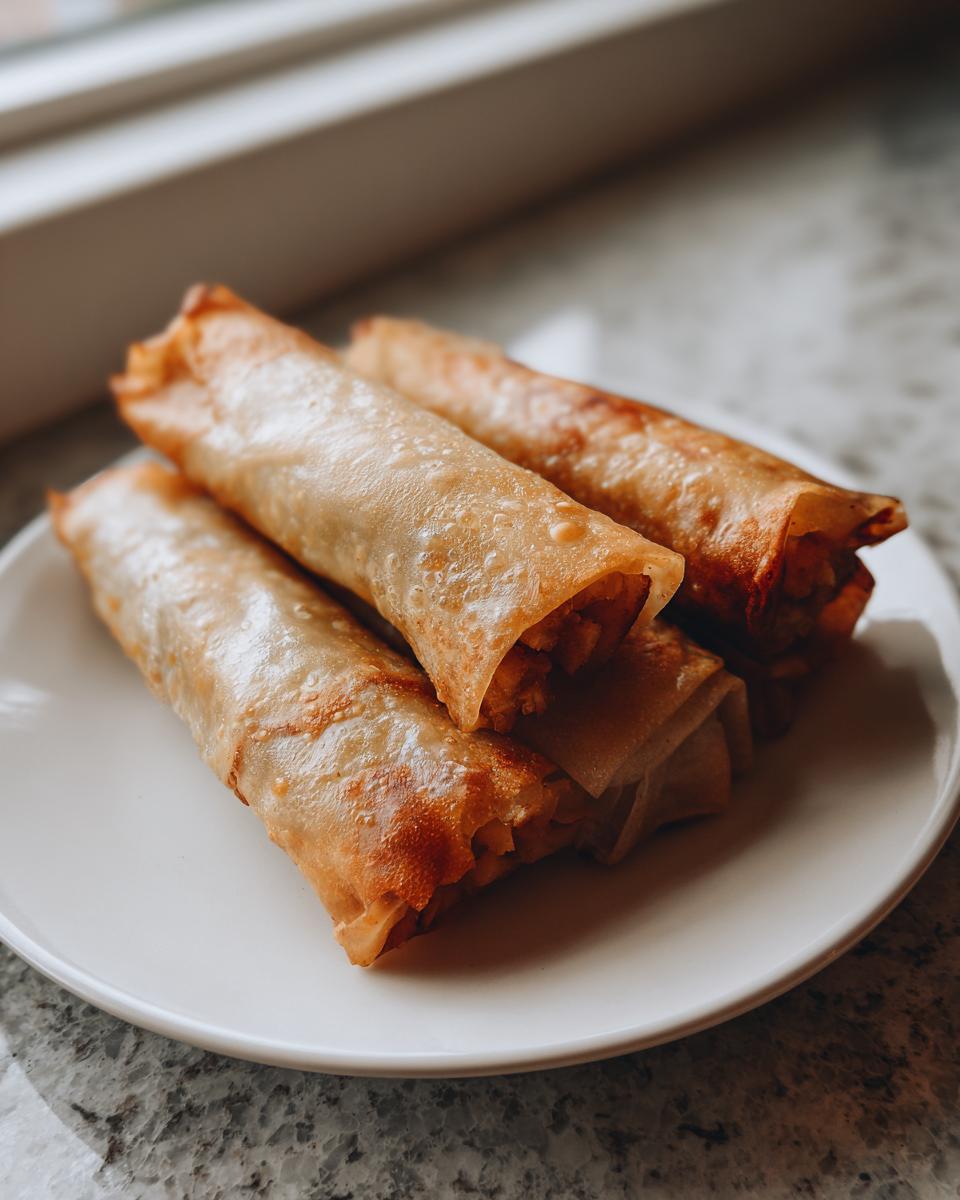
Step 3: Achieving Crispness with Baking or Air Frying Baked Apple Pie Style Rolls
This is the step that brings that ‘pie crust’ texture we all crave. After wrapping all 12 rolls, give them a light coating of spray oil or cooking spray. I usually prefer my air fryer for this because it gets things shatteringly crisp fast, so set that to 350°F (175°C) for 5 to 7 minutes. If you’re using the oven, preheat it to 375°F (190°C) and bake them on parchment for about 8 to 10 minutes. Either way, you’re looking for a light golden color on these baked apple pie style rolls!
Expert Tips for Perfect Baked Apple Pie Rice Paper Rolls
When you’re treating a recipe like a project, preventing failure points is crucial. With rice paper, the main risk is sogginess or ripping during wrapping. My biggest tip, straight from the notes section, is this: Don’t over-soak the wrapper! You want it compliant but still slightly firm when it leaves the water. It will continue softening on the counter.
Also, temperature control is everything here. Make sure that apple filling is only warm, not hot, before you start rolling. If it’s too hot, it acts like steam under the rice paper and causes instant tears. If you want to see another simple way to handle apples during baking, check out my guide on easy baked apple recipe for comparison.
Ingredient Notes and Rice Paper Dessert Rolls Substitutions
I know not everyone keeps Granny Smiths on hand, or maybe you want to tweak the spice level. That’s totally fine! When you’re optimizing a recipe, you adjust the inputs if needed. If Granny Smiths aren’t available, Honeycrisp apples work well because they manage to stay firm during cooking, too.
For the spices, if nutmeg isn’t your thing, you can skip it, though I think it adds that perfect background note. Maybe boost the cinnamon slightly. If you’re looking for another way to use apples and cinnamon that requires zero wrapping skill, try my overnight oats recipe here: apple cinnamon overnight oats. Remember, the cornstarch slurry is essential for preventing a runny mess inside these delicate rolls!
Serving Suggestions for Your Sweet Spring Rolls Apple Filling
These little handheld treats deserve an equally simple but impactful serving presentation. Since we skipped the traditional pie crust, we absolutely need a decadent dipping experience! My absolute favorite way to finish these sweet spring rolls apple filling creations is with a thick, gooey caramel sauce drizzled right over the top. It enhances that classic apple pie flavor profile.
If caramel feels like too much work, a simple vanilla glaze—just powdered sugar thinned with a little milk and vanilla—works like a charm. If you have leftovers when assembling a bigger dessert, you might want to see my caramel apple trifle recipe for using up extra sauce! Arrange them standing up on a platter so everyone can easily grab one.
Storage and Reheating Instructions for Crispy Apple Filled Rolls
We need to manage expectations here: rice paper doesn’t store like traditional pastry. If you have leftovers, wrap them loosely and keep them in an airtight container on the counter—never the fridge, or they get sticky fast. Honestly, they are best eaten the day you make them!
If you must reheat them the next day, skip the microwave entirely; it makes them rubbery. The absolute best way to bring back that crunch is to pop them back into the air fryer for just 2 minutes at 350°F. It only takes a moment to refresh that crispy texture. If you want another quick, handheld apple treat, check out my apple fritter bites recipe!
Frequently Asked Questions About Baked Apple Pie Rice Paper Rolls
When I took this recipe from concept to final product, I jotted down every snag I hit, so hopefully, these answers save you some trial and error! These baked apple pie rice paper rolls are pretty straightforward, but rice paper can be intimidating.
Can I use store-bought apple pie filling instead of making it from scratch?
You absolutely can! As a home cook focused on efficiency, I get it. Using ready-made filling cuts about 15 minutes off the prep time. Just make sure you cook that store-bought filling down slightly on the stove first, just like we did, so you can thicken it with that cornstarch slurry. Otherwise, it might leak out when you roll it up.
Why did my rice paper tear when I tried to wrap my rolls?
Nine times out of ten, the tear is because the paper got too soft in the water, or the filling was too hot. Remember, you want it pliable, not soggy—dip it quickly! Also, don’t overstuff the cinnamon apple rice paper wraps. I find that about two tablespoons of filling is the sweet spot for a tight, secure roll.
Can I make these rolls vegan or dairy-free?
Since the core filling uses naturally vegan ingredients (apples, sugar, spice), yes, this is an easy swap! Just ensure you use a dairy-free butter substitute if you incorporate any into your filling for richness, and skip any dairy-based dipping sauces. For cookie bar lovers wanting a twist, check out my easy sugar cookie bars recipe for other baking inspiration.
Are these considered a healthy dessert?
Compared to a deep-fried pastry, yes, these are much lighter! By swapping heavy crust for thin rice paper and frying for a light spray-and-bake, we cut down on unnecessary fat. They are a fantastic easy apple pie variation if you’re trying to keep things lighter.
Share Your Fusion Dessert Rolls Experience
Alright, team, the project is complete! I want to know what you thought of taking that classic pie comfort and turning it into these perfectly crisp fusion dessert rolls. Did you go for caramel, or did you mix up a vanilla glaze? Drop a comment below and let me know your favorite dipping sauce combination!
If you’re curious about the whole philosophy behind making cooking simpler and smarter, you can always read more about my journey over on the Dishicious About page. Happy cooking!
PrintBaked Apple Pie Rice Paper Rolls

Create a unique dessert by wrapping warm, spiced apple pie filling inside crispy rice paper wrappers. This recipe offers a lighter, handheld alternative to traditional pie.
- Prep Time: 20 min
- Cook Time: 15 min
- Total Time: 35 min
- Yield: 12 rolls 1x
- Category: Dessert
- Method: Baking/Air Frying
- Cuisine: Fusion
- Diet: Vegetarian
Ingredients
- 2 large Granny Smith apples, peeled and diced
- 1/4 cup brown sugar
- 1 tablespoon lemon juice
- 1 teaspoon ground cinnamon
- 1/4 teaspoon ground nutmeg
- 1 tablespoon cornstarch
- 2 tablespoons water
- 12 sheets rice paper wrappers (8.5 inch diameter)
- Cooking spray (for crisping)
- Optional Dipping Sauce: Caramel sauce or vanilla glaze
Instructions
- Prepare the Apple Filling: In a medium saucepan, combine the diced apples, brown sugar, lemon juice, cinnamon, and nutmeg. Cook over medium heat for 5 to 7 minutes, stirring occasionally, until the apples begin to soften.
- Thicken the Filling: In a small bowl, whisk together the cornstarch and water to create a slurry. Pour the slurry into the apple mixture and stir constantly until the filling thickens, about 1 minute. Remove from heat and let the filling cool slightly, about 15 minutes. The filling should be warm, not piping hot, before wrapping.
- Prepare the Wrapping Station: Fill a shallow dish slightly larger than the rice paper wrappers with warm water. Set up a clean, flat work surface.
- Wrap the Rolls: Dip one rice paper wrapper into the warm water for about 15 to 20 seconds until it is pliable but not overly soft. Lay it flat on your work surface.
- Fill the Wrapper: Place about 2 tablespoons of the cooled apple filling near the bottom third of the wrapper, leaving space on the sides.
- Fold the Roll: Fold the sides of the wrapper inward over the filling. Then, tightly roll the wrapper up from the bottom edge, similar to rolling a spring roll. Repeat with the remaining filling and wrappers.
- Crisp the Rolls: Preheat your oven to 375°F (190°C) or set your air fryer to 350°F (175°C). Lightly spray the assembled rolls with cooking spray.
- Bake or Air Fry: Place the rolls on a baking sheet lined with parchment paper or in the air fryer basket. Bake for 8 to 10 minutes, or air fry for 5 to 7 minutes, until the rice paper is lightly golden and crisp.
- Serve immediately with your choice of dipping sauce.
Notes
- Do not over-soak the rice paper; it should still have a slight firmness when you remove it from the water.
- Ensure the apple filling has cooled enough so it does not immediately tear the rice paper upon wrapping.
- For an air fryer, check the rolls frequently as they crisp quickly.
Nutrition
- Serving Size: 1 roll
- Calories: 150
- Sugar: 18g
- Sodium: 5mg
- Fat: 0.5g
- Saturated Fat: 0.1g
- Unsaturated Fat: 0.4g
- Trans Fat: 0g
- Carbohydrates: 36g
- Fiber: 1g
- Protein: 1g
- Cholesterol: 0mg