
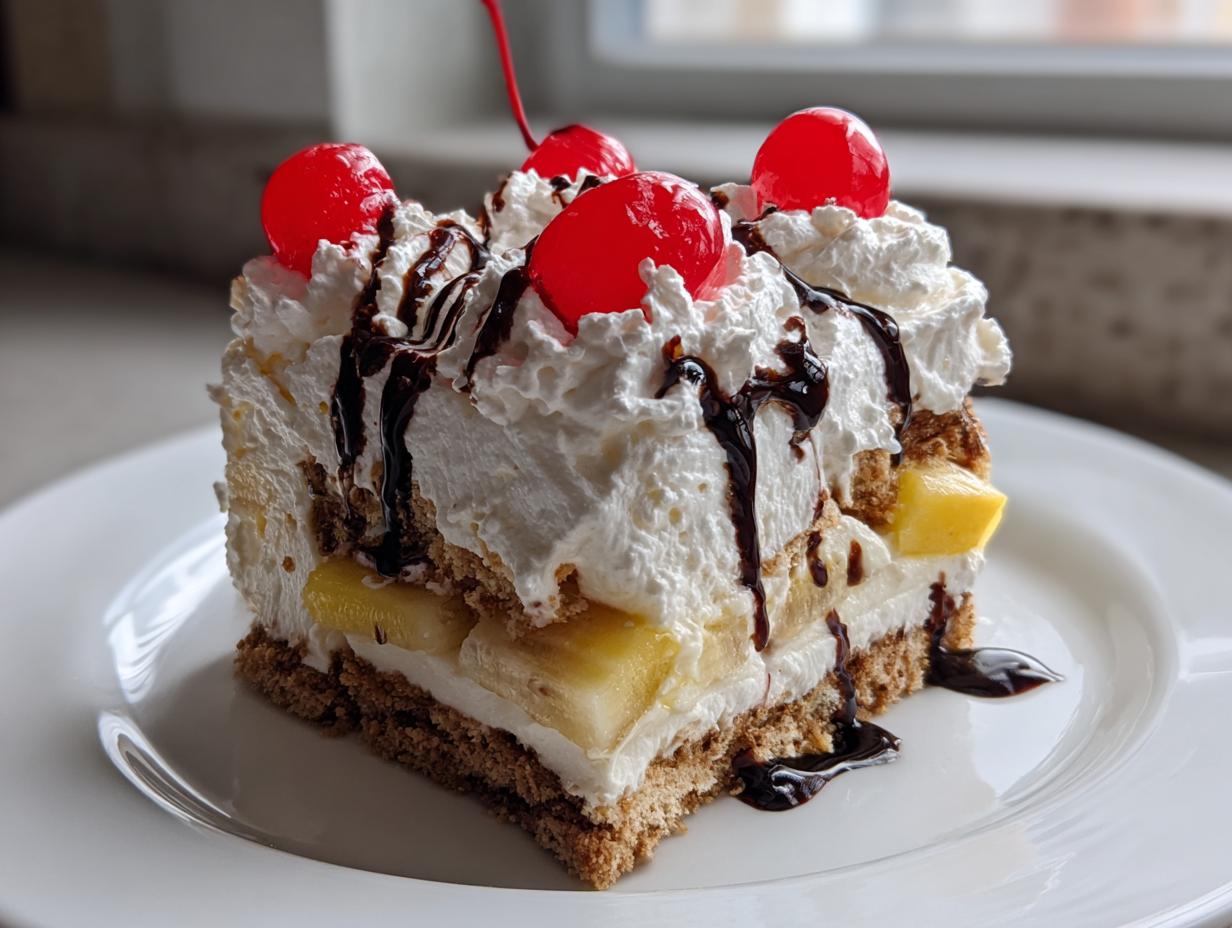
Summer nostalgia just hit different when you don’t have to sweat over a hot oven! If you’re looking for that perfect, cool, sweet treat that captures the magic of a classic ice cream parlor sundae but in cake form, you’ve landed in the right place. We are talking about the No Bake Banana Split Cake, which is genuinely the ultimate Easy Layered Dessert. As the founder here at Dishicious—and yes, I’m Leo Grant, the guy who treats recipes like projects—my goal is always efficiency without slamming the flavor door shut. This banana split cake proves you can streamline complexity into something absolutely delicious and crowd-pleasing in minutes, not hours.
- Why This No Bake Banana Split Cake Is Your New Favorite Summer Party Desserts Recipe
- Assembling Your Perfect Banana Split Cake Ingredients
- How to Prepare Your No Bake Banana Split Cake Step-by-Step
- Ingredient Notes and Substitutions for Banana Split Cake
- Tips for Success with Your Make Ahead Dessert
- Serving Suggestions for This Crowd Pleasing Desserts
- Storage and Reheating Instructions for Banana Split Cake
- Frequently Asked Questions About Banana Split Cake
- Estimated Nutritional Data for This Easy Layered Dessert
- Share Your Success with This Banana Split Cake
Why This No Bake Banana Split Cake Is Your New Favorite Summer Party Desserts Recipe
When the heat index spikes, the last thing I want is to turn on my oven. That’s why this No Bake Banana Split Cake is a total project management win for me. We’re talking about zero oven time, which automatically makes this one of the best Summer Party Desserts you can pull together. Everything stacks perfectly, chills beautifully, and tastes like pure Sunday afternoon nostalgia when you finally dig in.
Frankly, this dessert is the definition of efficiency. You assemble it in under 25 minutes, and then the refrigerator does all the heavy lifting. This level of advance prep makes it incredibly Potluck Friendly Desserts material. You make it the night before, drop it off cold, and it’s guaranteed to be demolished before the main course is done.
The Appeal of a Chilled Banana Dessert
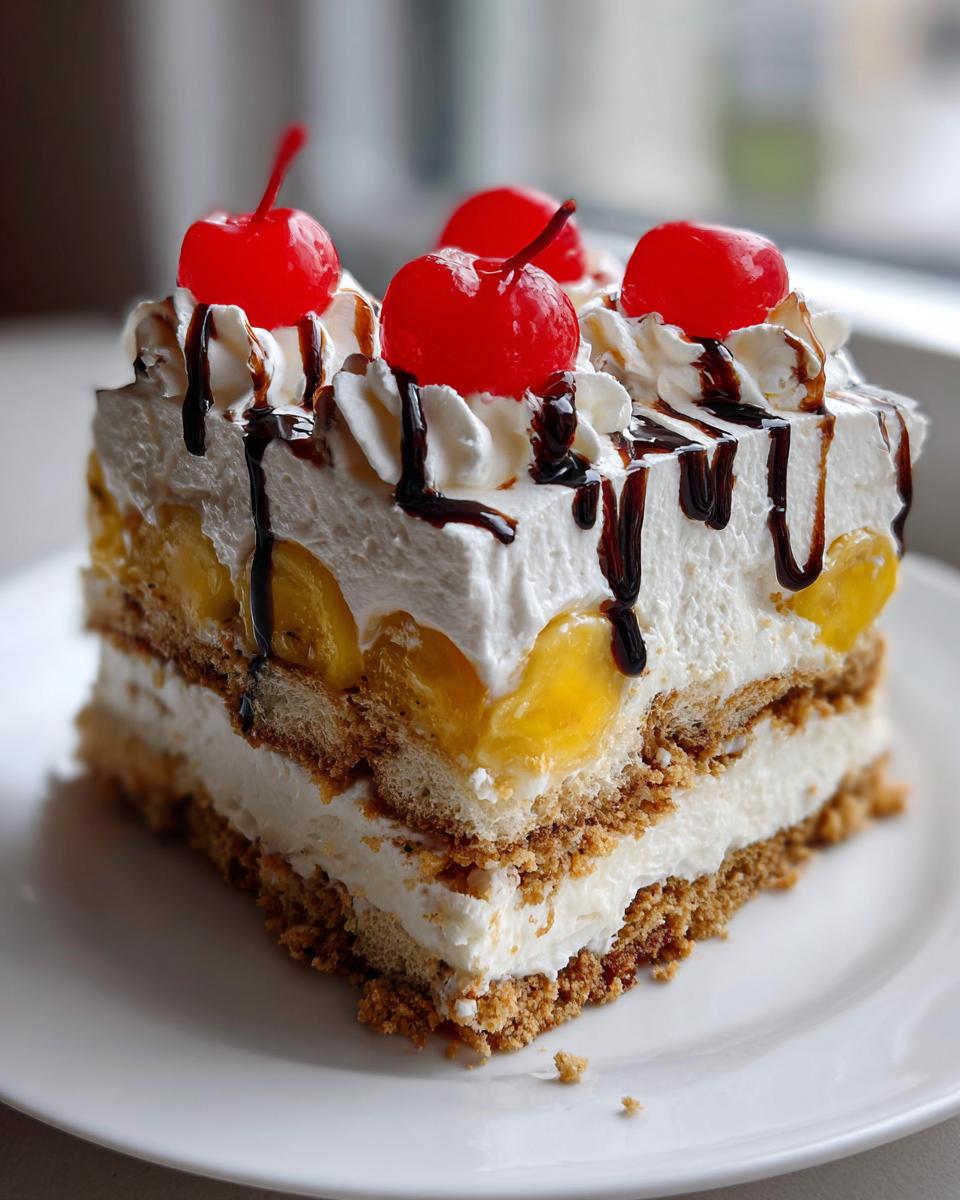
There is just something about a truly cold, creamy dessert when the weather is warm that nothing else can beat. If you love the texture of an Icebox Cake Banana Split treat, this hits that sweet spot perfectly. It’s rich but refreshing, and the chilling time is not optional—it’s necessary for structural integrity! Trust me, you’ll want this Chilled Banana Dessert sitting in your fridge ready to go.
If you’re looking for other simple, no-fuss recipes that keep the kitchen cool, you should check out my guide on easy no-bake peanut butter bars. Same principle: maximum flavor payoff for minimum kitchen effort.
Assembling Your Perfect Banana Split Cake Ingredients
Okay, now that we know this is the dessert for us—easy, no-bake, and nostalgic—let’s talk logistics. As a project manager, I know the key to success is having every component prepped and measured before you start building. We need clear specs here to guarantee that beautiful, firm slice later on. Don’t skip draining those fruits, or you’ll end up with a soupy mess instead of a stunning Cream Cheese Layer Dessert.
For the Graham Cracker Crust Cake Base
This crust is non-negotiable; it’s the sturdy platform for our whole masterpiece. Make sure that butter is fully melted so it binds everything nicely.
- 1 1/2 cups graham cracker crumbs
- 1/3 cup unsalted butter, melted
- 1/4 teaspoon salt
For the Cream Cheese Layer Dessert Filling
This is where the creamy magic happens. You absolutely must make sure that eight ounces of cream cheese is softened completely; cold cream cheese adds lumps, and we aren’t having lumps here! We are relying on that instant pudding mix for quick thickening.
- 8 ounces cream cheese, softened
- 1 cup powdered sugar
- 1 teaspoon vanilla extract
- 1/2 cup cold milk
- 1 large box (3.4 oz) instant vanilla pudding mix
Fruit and Final Toppings for Banana Split Cake
Pay close attention to the fruit, especially the pineapple. Excess juice is the enemy of a firm banana split cake. Drain it until you think it’s dry, and then drain it again!
- 1 container (8 oz) frozen whipped topping, thawed
- 3 ripe bananas, sliced
- 1 cup crushed pineapple, drained well
- 1 cup maraschino cherries, drained and halved
- 1/4 cup chopped peanuts (if you want that crunch!)
- 2 tablespoons chocolate syrup, for drizzling
If you are looking for more simple, flavorful dessert builds, you should check out my guide on making easy no-bake peanut butter bars—similar concept, major payoff.
How to Prepare Your No Bake Banana Split Cake Step-by-Step
Alright, time to execute the build plan. Since we’ve broken down the ingredients list (which is half the battle, trust me), the assembly process is straightforward—it’s all about layering correctly so that when you finally serve this masterpiece, it holds its shape beautifully. The chilling time is the only part that requires patience, but you need that firm set for that perfect, clean slice.
Step 1: Pressing the Graham Cracker Crust Cake
First things first: the base. Get that graham cracker mixture—crumbs, melted butter, salt—mixed up until it looks like wet sand. You need to press this firmly into your 9×13 dish. I mean *firmly*. Use the bottom of a measuring cup to pack it down tightly across the entire bottom. This solid foundation is what makes it a true Graham Cracker Crust Cake and not just a fruit bowl! Once it’s packed, stick that whole dish into the freezer while you focus on the filling. This quick freeze helps cement that base before we start adding any weight.
Step 2: Mixing the Creamy Layer Dessert Filling
We handle this in two controlled stages, just like any good construction project. Grab your electric mixer (save your arm!) and beat that softened cream cheese until it’s silky smooth—no lumps allowed. Then, slowly bring in the powdered sugar and vanilla. In a separate bowl, whisk your cold milk and instant pudding mix until it just starts to firm up; don’t walk away! Then, you gently fold the pudding mixture into the cream cheese blend. Keep folding until it’s uniform, but stop immediately once it’s combined. Overmixing pudding can break down the structure we need for this Layered Dessert.
Step 3: Layering the Banana Pineapple Cherry Dessert
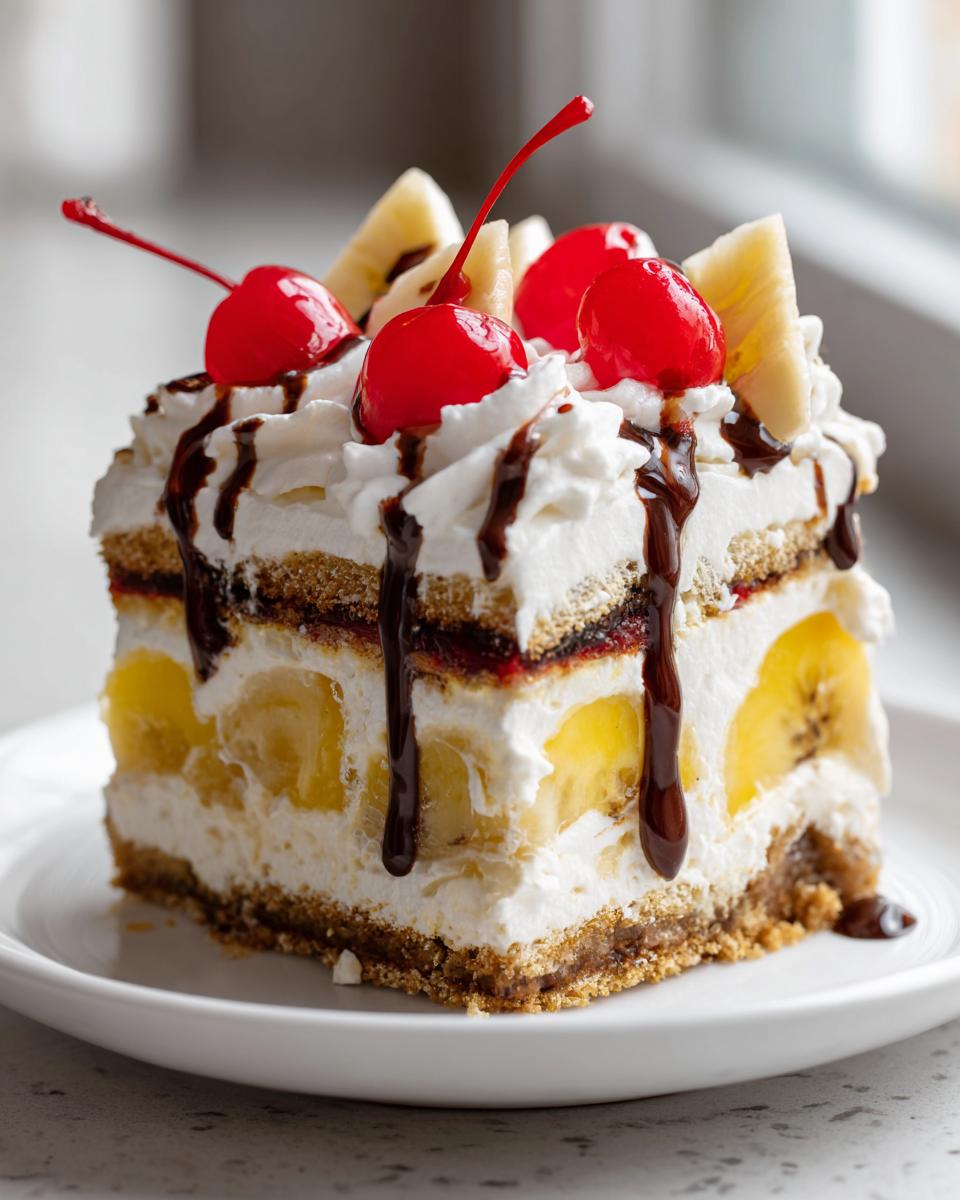
Time for altitude! Pull that chilled crust out of the freezer. Spread exactly half of your creamy cream cheese filling evenly over the top. Next, lay out your sliced bananas over that base layer. Now, calmly spread the remaining half of the filling right over the bananas. Finally, spread that well-drained, crushed pineapple evenly on top of the second filling layer. This sequence ensures the fruit is suspended nicely within the creamy layers of your banana split cake.
Step 4: Chilling and Final Assembly for the Banana Split Cake
Now, the hardest part: waiting. Cover the dish tightly with plastic wrap and get it into the refrigerator. Four hours is the absolute minimum here. Five or six is even better if you can manage the willpower! This long chill time is crucial; it firms up everything so you get a clean, structural slice of No Bake Banana Split Cake. Right before you serve—and I mean right before—spread the thawed whipped topping evenly, then artfully place those halved cherries and sprinkle on those optional peanuts. Finish it off with a zigzag of chocolate syrup. Check out the detailed setup over at Lauren’s Latest for visual confirmation!
To avoid getting stuck in the prep phase, always make sure you check my guide on easy sugar cookie bars recipe for great make-ahead tips.
Ingredient Notes and Substitutions for Banana Split Cake
So, what happens if your pantry isn’t perfectly stocked? No sweat. My approach to cooking is all about making smart swaps without demolishing the final product’s integrity. The biggest warning I have for you on this banana split cake is all about moisture control. You absolutely must drain that crushed pineapple until your arm gets tired. If you don’t, that excess juice seeps out during chilling and turns your gorgeous cream cheese filling into soup. That’s just bad project management!
If pineapple isn’t your favorite, you can totally swap it out. I’ve seen folks use sliced strawberries here, which is fantastic for that classic flavor. Also, if you are out of graham crackers, you can often mimic that crunchy base using vanilla wafer crumbs for a slightly different take on this Chilled Banana Dessert. For other fruit-focused, no-fuss treats, you might enjoy my strawberry cake mix cookies—simple chemistry, big results.
For an alternative perspective on this chilled build, check out this great guide on making an easy no-bake banana split cake for parties.
Tips for Success with Your Make Ahead Dessert
Since we’ve engineered this banana split cake to be a low-stress experience, let’s dial in a few final tactical tips for presentation and texture. As a make-ahead dessert, setting expectations for the final product is half the battle. You want firm layers, not runny chaos!
First, remember the chilling time is mandatory, not optional. If you try to rush the 4 hours minimum, the filling won’t set up properly against the graham cracker crust, and that first slice will be a disaster. This is where project planning pays off—make it the day before!
When it comes time to serve, forget about using a regular knife. A hot knife is the secret weapon for a clean presentation with any layered, chilled dessert like this. Run a long, thin knife under hot water, wipe it completely dry, and then slice straight down. Wipe and reheat between every single cut. This prevents the cool filling and whipped topping from dragging and messing up your perfect layers.
Also, for the best visual appeal, keep the chocolate syrup and peanuts for garnish until the very last minute—literally right before that knife goes in. Whipped topping tends to sweat a bit if it sits too long, and dry nuts will lose their crunch against the moisture of the fruit.
If you need a simple recipe to practice your make-ahead strategies on, I highly recommend trying my instructions for easy creamy chicken tortilla soup—it actually benefits from sitting overnight, just like our cake!
Serving Suggestions for This Crowd Pleasing Desserts
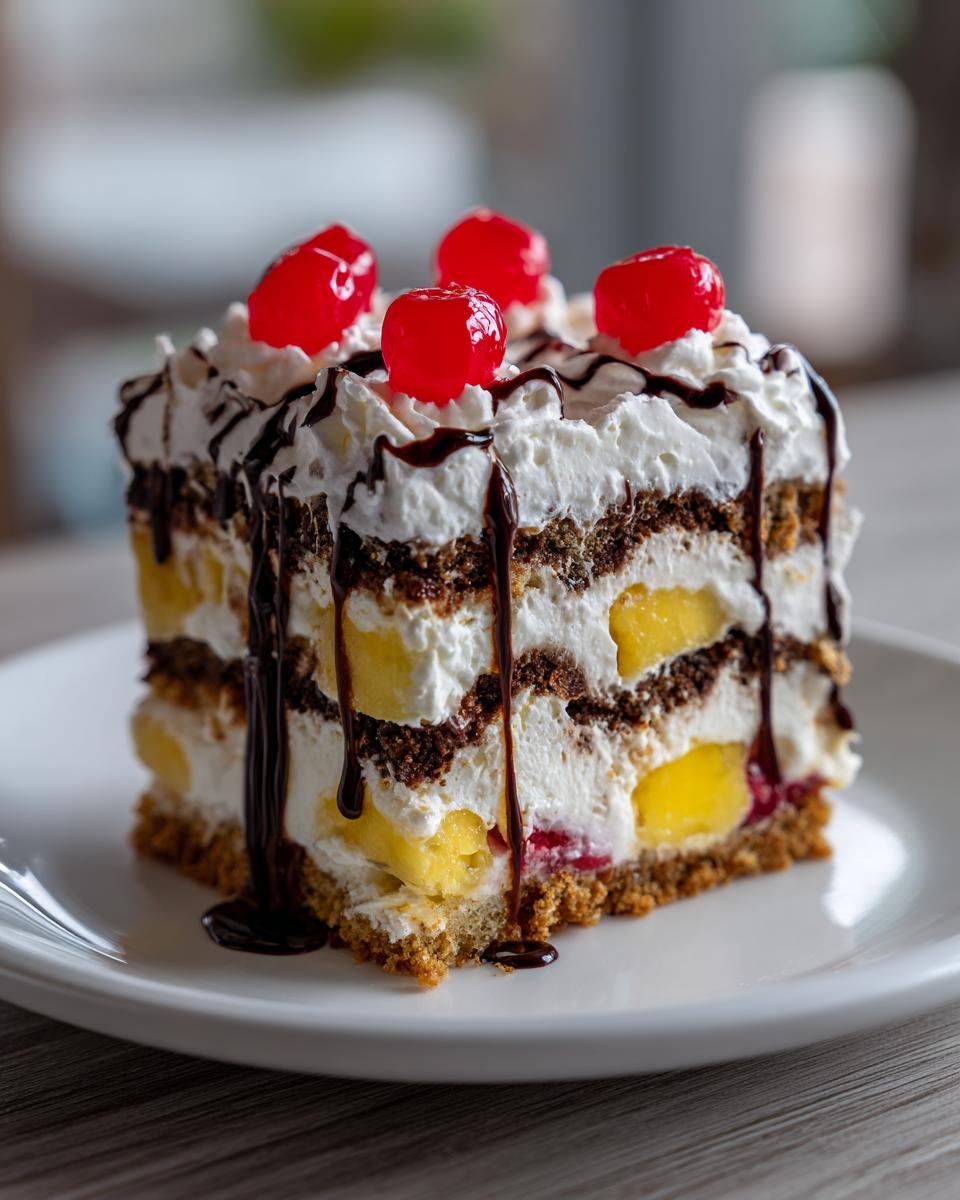
Since this banana split cake is already loaded with toppings, sometimes simplicity is best! It’s a true Retro Dessert Recipe that stands perfectly on its own. However, if you want a little extra flair when serving those big slices, I always look for complementary flavors.
A drizzle of homemade chocolate sauce elevates the whole experience beyond just the store-bought syrup, and you can find my streamlined recipe for that here: chocolate sauce recipe. If you’re serving this after a big barbecue, a small, simple side of vanilla wafer cookies works great for scooping up any stray fruit that falls off the plate!
Storage and Reheating Instructions for Banana Split Cake
This is simple project management for leftovers! Because this banana split cake relies entirely on chilling to set those creamy layers against the crust, we need to keep it cold for stability. You absolutely should not attempt to reheat this at all; it’s a frozen/chilled dessert through and through. Heat will turn that beautiful filling into a puddle, and nobody wants that sad result after all the hard work.
Once assembled and thoroughly chilled, cover the entire dish tightly with plastic wrap or use a lid if you have one that fits snugly. If you are just storing this for a few days, the refrigerator is your best friend. I find that this Icebox Cake Banana Split tastes best on Day 2 or Day 3, once the moisture from the fruit has had a chance to mingle with the pudding/cream cheese base.
Realistically, you can keep it good in the fridge for up to four days, but honestly, I doubt it’ll last that long, particularly if you have kids around! If you need to freeze it—and this is where we get strategic—you need to skip the whipped topping layer entirely before freezing. Freeze the cake (crust, filling, and fruit layers only) completely solid in an airtight container. Once you are ready to serve, thaw it overnight in the fridge, and *then* you can add your fresh whipped topping and chocolate drizzle on top just before slicing. For a closer look at how others manage their results, check out Jo Cooks’ tips on her no-bake banana split cake.
Frequently Asked Questions About Banana Split Cake
When implementing a recipe, especially a layered one, questions always pop up. That’s totally fine! My goal here is to eliminate troubleshooting before it even starts. Think of this as a final quality check before you move the cake to the fridge. Don’t worry about slight deviations—we just need to manage the variables to ensure you get that perfect, firm slice of banana split cake.
Can I make this banana split cake using fresh fruit instead of canned?
You absolutely can use fresh fruit, and sometimes fresh is the way to go! If you use fresh bananas, make sure they are perfectly ripe—not green, or they won’t have that creamy texture we want. For the pineapple? If you use fresh pineapple, you absolutely must cook it down slightly on the stovetop first, or even grill it lightly, to drive off most of the water content. Raw fresh pineapple is extremely juicy, and too much liquid will break down the vanilla pudding layer quickly. Keeping things dry is key for this specific Creamy Fruit Dessert.
Is this considered a No Oven Required Recipes option?
Yes, 100% yes! This is a core feature of the recipe, designed specifically for maximum ease and minimal time in the kitchen. This is one of the best No Oven Required Recipes you’ll find. The crust is set in the freezer, and the filling sets firm in the refrigerator. No heat required anywhere in the process, which makes it an absolute lifesaver on a hot summer day.
How long does the banana split cake last in the refrigerator?
Since this is a chilled, layered dessert, its lifespan revolves around the freshness of the bananas, which are our main weak point. If you make this perfectly, manage your fruit drainage well, and keep it covered tightly, it holds up beautifully for about 3 days in the refrigerator. After Day 3, the bananas start to get a little mushy or brown, even entombed in the filling. For optimum flavor and texture, I always aim to serve within 48 hours of assembly! If you are trying to extend that timeline, remember the freezing tip from the storage section—just avoid freezing the whipped topping!
Need a side recipe that lasts longer? I’ve got a great guide on making easy vegan banana ice cream that holds up much better in the freezer!
Estimated Nutritional Data for This Easy Layered Dessert
Now, I know we are making this for flavor and fun, not for counting macros, but I always like to provide the baseline specs just so everyone knows what they are walking into. Remember, since this recipe is so flexible—someone might use extra whip, someone else might skip the peanuts—this data is an estimate based on the full ingredient list divided into 12 equal servings. Treat this as a guideline, not gospel, okay?
When you calculate standard servings for a rich, creamy dessert like this, you are looking at a bit of sugar and fat, but it packs a punch when you need that sweet summer fix. Consider this our official ‘project specification sheet’ for dietary expectations.
- Serving Size: 1 slice
- Estimated Calories: 350
- Total Fat: 18g
- Saturated Fat: 9g
- Total Carbohydrates: 45g
- Sugars: 30g
- Protein: 4g
If you are looking to lighten things up slightly for a weeknight treat, sometimes swapping standard whipped topping for a lower-sugar option can help balance out that sugar count a little bit. If you want something a bit more protein-focused overall, you might want to check out my notes on easy blueberry protein muffins recipe for comparison, though that requires turning the oven on, obviously!
Share Your Success with This Banana Split Cake
So, that’s the plan! We’ve streamlined the process, minimized the heat, and set ourselves up for a major win in the easy dessert department. Now that you’ve successfully executed this project, I really want to know how it turned out. Did it hold up in the heat? Did your kids devour it?
Please, if you loved this banana split cake, don’t just walk away quietly! Head down to the comments and give me a solid 5-star rating. That feedback is huge for me and helps me keep engineering these great, simple recipes.
Tell me who you served it to! Was it the star of a competitive neighborhood potluck? Did you make it just for a quiet family movie night? Knowing the context helps the whole Dishicious community see how reliable these No Bake Banana Split Cake recipes really are.
And hey, if you’re looking for another ridiculously easy prep-ahead idea that’s just as comforting, you might want to check out my instructions for easy creamy chicken tortilla soup—it proves that simple planning works for dinner, too!
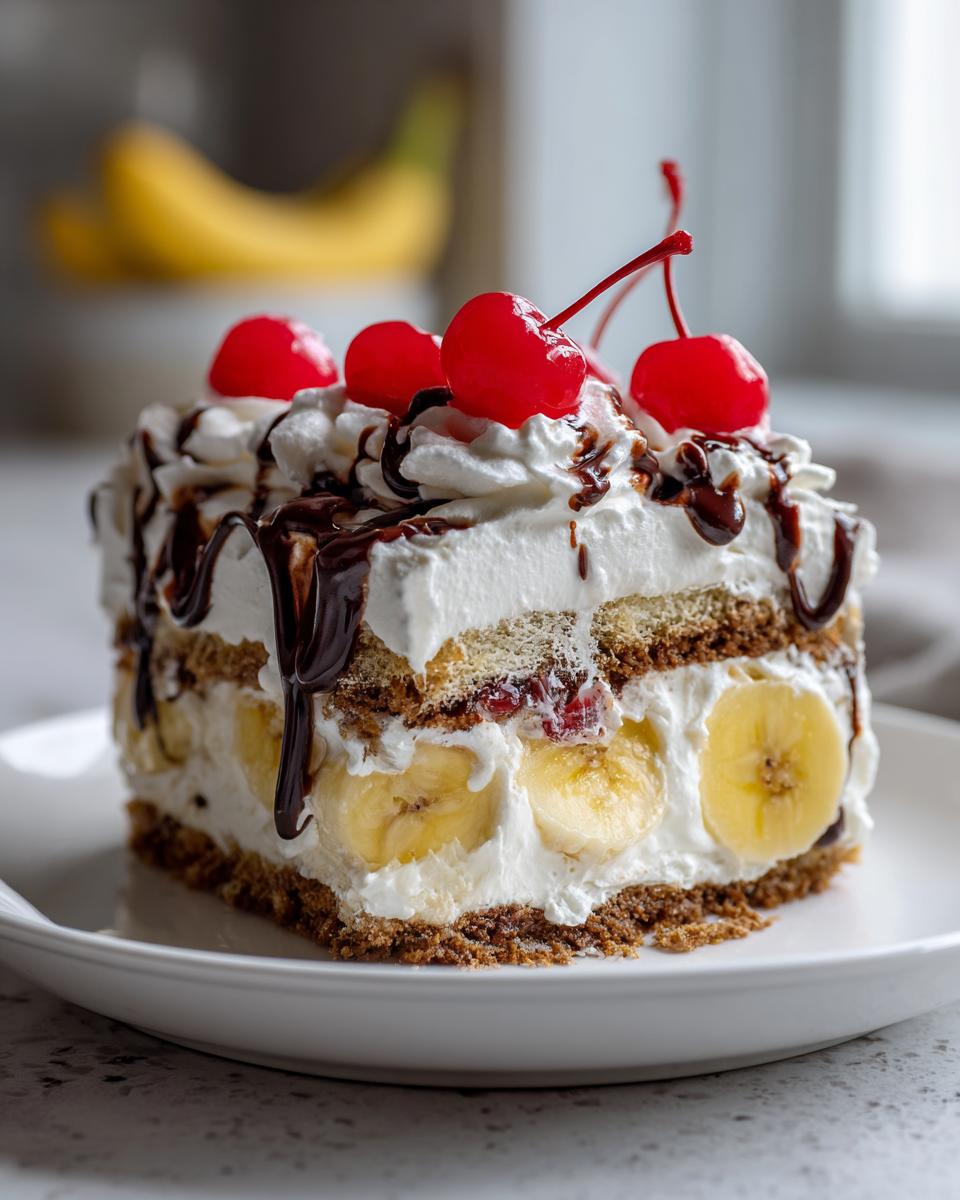
PrintNo Bake Banana Split Cake

This is an easy, layered, chilled dessert that captures the classic flavors of a banana split without using an oven. It features a graham cracker crust, a creamy filling, fresh fruit, and whipped topping.
- Prep Time: 25 min
- Cook Time: 0 min
- Total Time: 4 hr 25 min
- Yield: 12 servings 1x
- Category: Dessert
- Method: No Bake/Chilling
- Cuisine: American
- Diet: Vegetarian
Ingredients
- 1 1/2 cups graham cracker crumbs
- 1/3 cup unsalted butter, melted
- 1/4 teaspoon salt
- 8 ounces cream cheese, softened
- 1 cup powdered sugar
- 1 teaspoon vanilla extract
- 1/2 cup cold milk
- 1 large box (3.4 oz) instant vanilla pudding mix
- 1 container (8 oz) frozen whipped topping, thawed (or homemade whipped cream)
- 3 ripe bananas, sliced
- 1 cup crushed pineapple, drained well
- 1 cup maraschino cherries, drained and halved
- 1/4 cup chopped peanuts (optional)
- 2 tablespoons chocolate syrup, for drizzling
Instructions
- Prepare the crust: Mix graham cracker crumbs, melted butter, and salt in a bowl until combined. Press this mixture firmly into the bottom of a 9×13 inch baking dish. Place the crust in the freezer while you prepare the filling.
- Make the cream cheese layer: In a large bowl, beat the softened cream cheese with an electric mixer until smooth. Gradually beat in the powdered sugar and vanilla extract until fully incorporated.
- Prepare the pudding layer: In a separate medium bowl, whisk together the cold milk and instant vanilla pudding mix for two minutes until it begins to thicken.
- Combine the creamy layers: Gently fold the prepared pudding mixture into the cream cheese mixture until just combined.
- Assemble the layers: Spread half of the cream cheese/pudding mixture evenly over the chilled graham cracker crust. Arrange the sliced bananas over this layer.
- Spread the remaining cream cheese/pudding mixture over the bananas. Top this with the well-drained crushed pineapple.
- Cover the dish with plastic wrap and chill in the refrigerator for at least 4 hours, or until the filling is firm. This chilling time is essential for a clean slice.
- Before serving, spread the thawed whipped topping evenly over the chilled pineapple layer. Arrange the halved maraschino cherries over the whipped topping. Sprinkle with chopped peanuts, if using.
- Drizzle the chocolate syrup over the top just before slicing and serving your **No Bake Banana Split Cake**.
Notes
- Drain the crushed pineapple thoroughly; excess liquid will thin the filling.
- You can substitute strawberries for the pineapple or add them as an extra layer for more classic banana split flavor.
- For a firmer topping, use a stabilized whipped cream or a cream cheese frosting instead of standard whipped topping.
- This **easy layered dessert** is best made one day ahead to allow the flavors to meld and the layers to set completely.
Nutrition
- Serving Size: 1 slice
- Calories: 350
- Sugar: 30
- Sodium: 250
- Fat: 18
- Saturated Fat: 9
- Unsaturated Fat: 9
- Trans Fat: 0
- Carbohydrates: 45
- Fiber: 1
- Protein: 4
- Cholesterol: 35