
If you’re anything like me before I engineered a better way to cook, you know the sheer panic of staring at a bowl of lumpy, collapsing, or weirdly flavored vanilla buttercream frosting. It’s frustrating! Store-bought icing never cuts it, and complicated recipes waste precious time. At Dishicious, we fix that. My secret isn’t about being a classically trained chef; it’s about project management. I approached this classic American buttercream like any other complex build: strip it down to essentials, optimize the steps, and guarantee results. This is the Best Vanilla Buttercream Recipe you’ll ever try—it’s quick, reliable, and honestly, foolproof, getting you that bakery-style finish in about ten minutes flat.
- Why This is the Best Vanilla Buttercream Recipe for Your Baked Goods
- Essential Ingredients for Perfect Vanilla Buttercream Frosting
- American Buttercream Tutorial: How to Make Vanilla Buttercream Frosting
- Tips for Stable Buttercream for Piping Success
- Ingredient Notes and Substitutions for Your Creamy Vanilla Icing
- Troubleshooting Common Vanilla Buttercream Frosting Issues
- Serving Suggestions for Your Homemade Vanilla Frosting
- Storage & Reheating Instructions for Leftover Vanilla Buttercream Frosting
- Frequently Asked Questions About This Easy Buttercream Recipe
- Share Your Fluffy Vanilla Buttercream Frosting Creations
Why This is the Best Vanilla Buttercream Recipe for Your Baked Goods
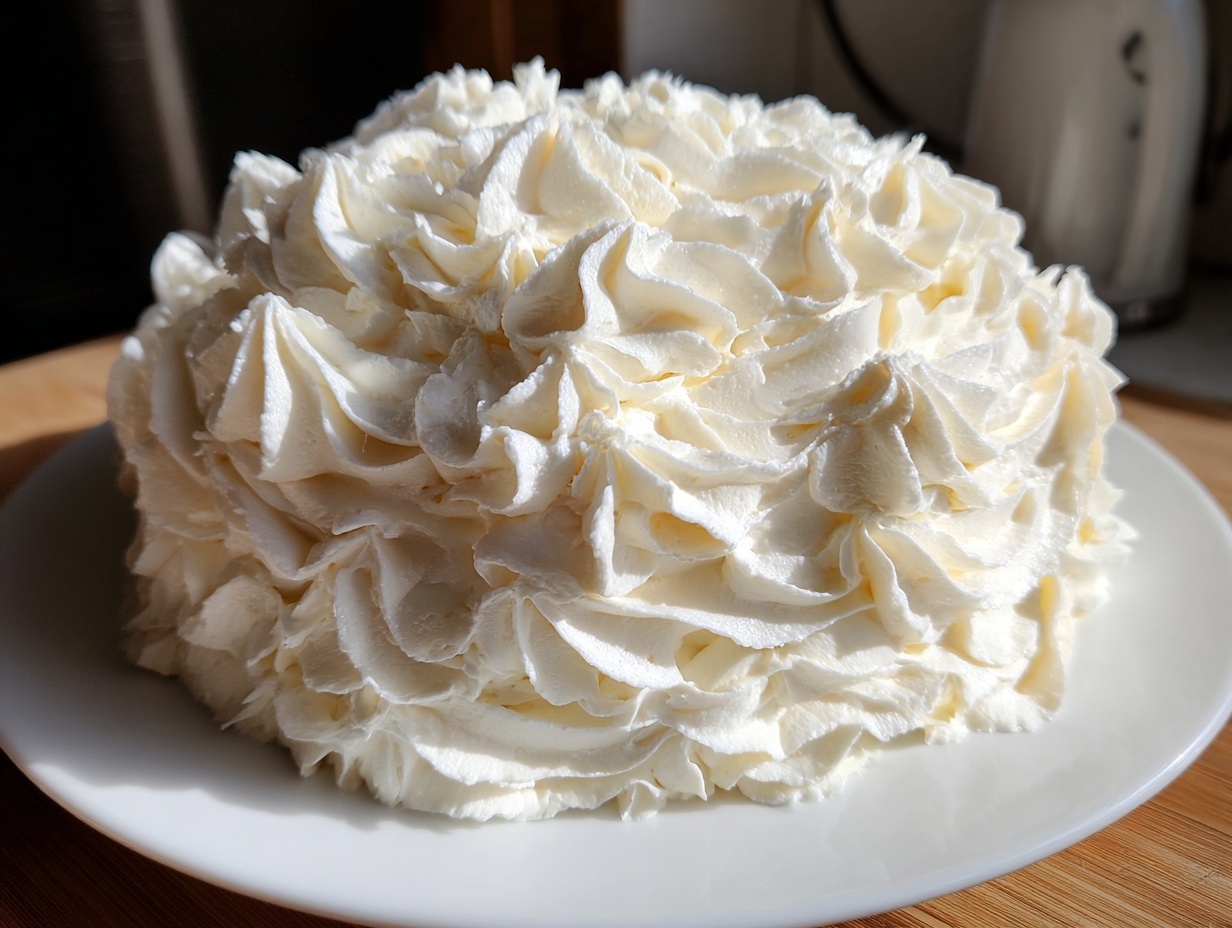
You deserve frosting that works! Too many recipes promise perfection and deliver grainy messes or icing that slides right off your cooled cake. This recipe solves those problems by focusing only on the essential steps needed for a truly Fluffy Buttercream Frosting. We guarantee a Rich Vanilla Flavor Frosting that tastes like you spent hours on it, even though it takes ten minutes.
I learned this the hard way years ago before I started optimizing my kitchen time. I was rushing to finish birthday cupcakes. My first batch of icing was stiff and tasted like pure sugar. I almost ordered backup from the store! But realizing I could approach it like a flawed project, I tweaked the ratio and beat time. Boom. What came out was the perfect, pipeable topping. You can see how these principles work when you check out my thoughts on easy sugar cookie bars recipe—it’s all about maximizing output!
Achieving That Smooth Buttercream Texture
Graininess is usually caused by undissolved sugar crystals, which is what happens when the butter isn’t quite right. My trick? Your butter needs to be truly room temperature—soft enough to press into easily, but not greasy or melted. Also, you absolutely must sift the powdered sugar. That one extra step prevents those gritty chunks from ever forming, leading to that beautiful, smooth buttercream texture you’re looking for.
Quick Frosting Recipe: Ready in Ten Minutes
When you’re wrapping up dinner and realize you need a topping fast, this is where this recipe saves the day. It’s truly a Quick Frosting Recipe. Because we aren’t cooking egg whites or tempering anything fancy, the machine does the heavy lifting in under ten minutes. You get bakery quality without the marathon baking session—that’s the Dishicious promise.
Essential Ingredients for Perfect Vanilla Buttercream Frosting
When we talk about a reliable recipe, the ingredient list has to be crystal clear. There’s no room for guesswork here, which is why I list out exactly what you need. Since this is an American buttercream, we keep things straightforward, using accessible items that deliver maximum impact. If you mess up the ingredient prep, you mess up the final product, plain and simple!
For starters, you need that butter to be perfectly softened—we’re talking room temperature, not melted sludge. That’s key for creaming smoothly. And please, please, sift your powdered sugar. If you skip that on this Creamy Vanilla Icing, you’ll end up beating air into lumps. Also, make sure you grab pure vanilla extract; it really pushes that rich flavor we want.
Here’s the rundown of what you’ll need:
- One cup (that’s two sticks) of unsalted butter—must be room temperature!
- Four cups of powdered sugar—and yes, this needs to be sifted thoroughly.
- One teaspoon of real, pure vanilla extract—don’t skimp here.
- Two to four tablespoons of heavy cream or milk; we use this to adjust consistency.
- A tiny pinch of salt to balance out that sweetness.
This list is short because we’re focusing on efficiency. You can see how we use these core components in my coconut cupcakes with moist, creamy frosting too, showing how versatile good basics are.
American Buttercream Tutorial: How to Make Vanilla Buttercream Frosting
Okay, this is the fun part—turning those simple ingredients into gorgeous, usable frosting. Since we’re aiming for speed and reliability, this quick American Buttercream Tutorial relies entirely on your electric mixer. Pay attention to the timing; that’s how we build structure and guarantee that airy texture without cooking anything!
We want this finished fast, but rushing the initial mixing stage is a rookie mistake. This method provides the best vanilla buttercream for cakes and cupcakes; trust the process, and you’ll be decorating in minutes. If you’re looking for a great base to put this on, check out my recipe for vanilla cupcakes—best recipe moist & fluffy!
Step 1: Creaming the Butter Base
Get your softened butter into the bowl of your stand mixer fitted with the paddle attachment. Start it up on medium speed and just let it churn until it is completely smooth and creamy. This usually takes about two full minutes. Don’t cheat this step! Then, turn off the mixer and scrape down the sides and bottom of the bowl well—this is the expert move that guarantees everything mixes evenly later on.
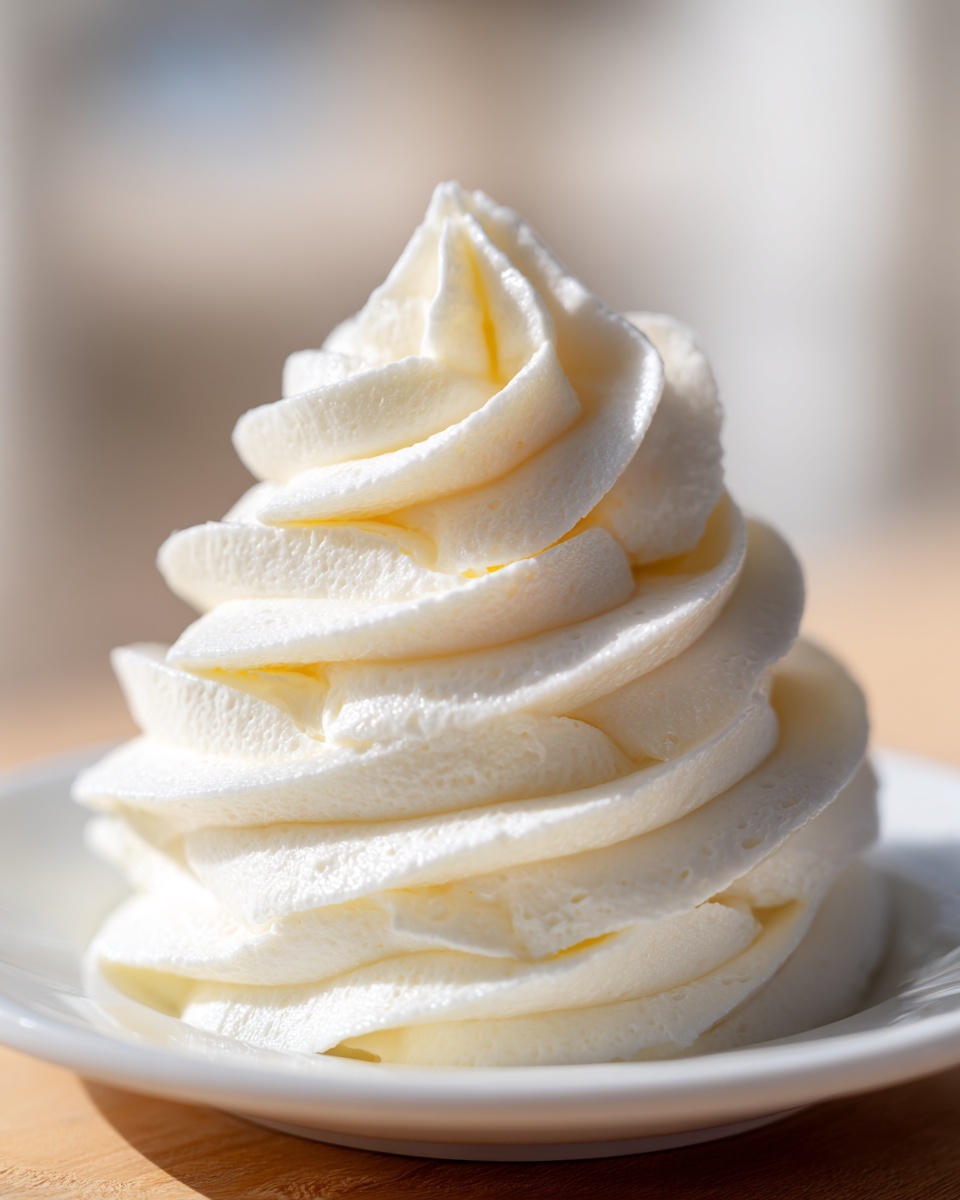
Step 2: Incorporating Sugar and Achieving Fluffy Buttercream Frosting
Now that the butter is perfect, slowly start adding that sifted powdered sugar, one cup at a time. Keep the mixer speed low so you don’t create a sugar explosion across your kitchen. Once each cup is just incorporated, bump the speed up to medium-high. Add your teaspoon of vanilla and that pinch of salt. You need to beat it hard here for a full three minutes. This whipping time introduces air and transforms the mixture into that Fluffy Buttercream Frosting.
Step 3: Adjusting Consistency for Your Vanilla Buttercream Frosting
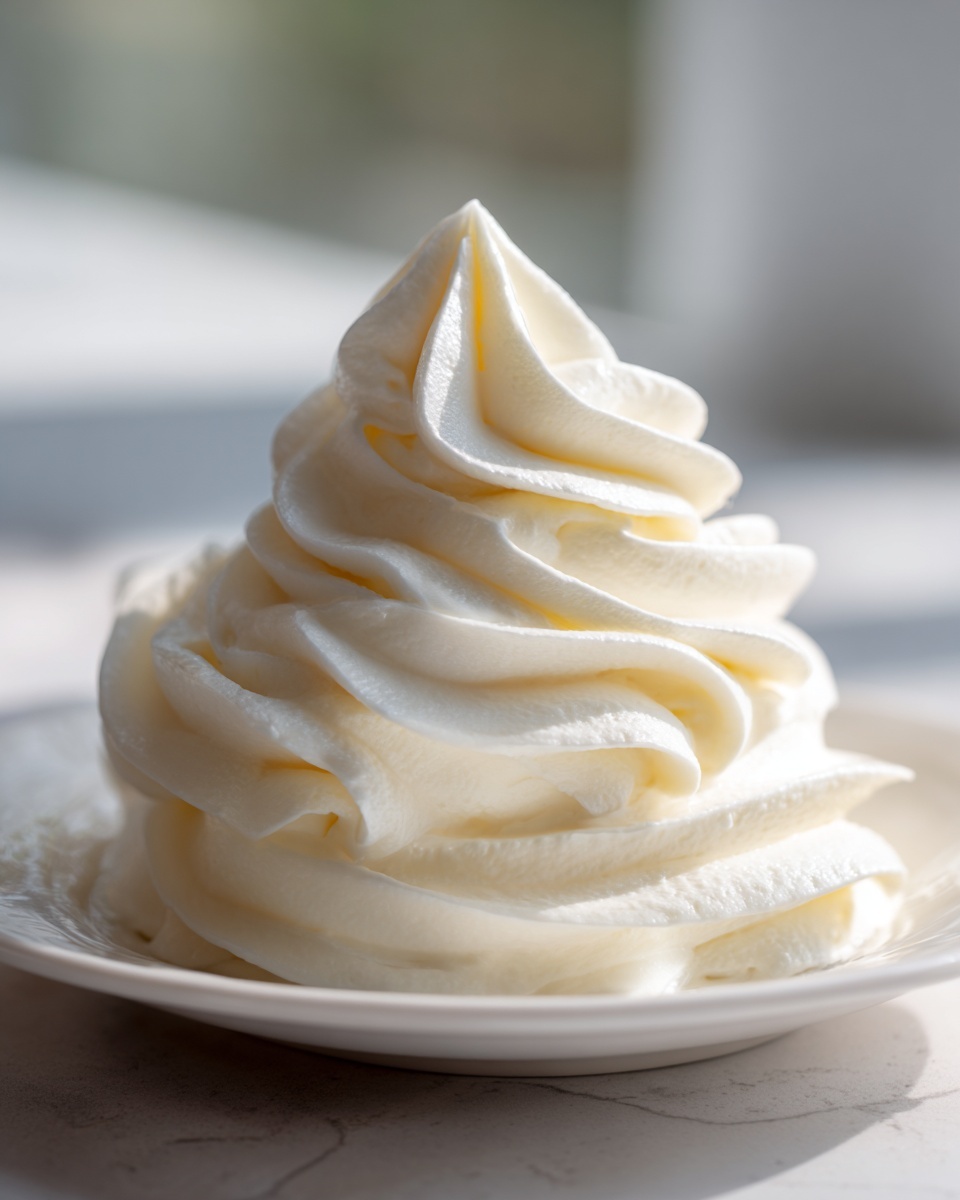
If your frosting looks dense or stiff right now, it’s totally fine! That means it’s perfect for piping intricate borders or thick swirls. We adjust for spreading next. Add two tablespoons of heavy cream (or milk) and mix it in. If you want it softer for just spreading on a layer cake, add the remaining two tablespoons, one spoon at a time, until you hit your perfect spreadable consistency. For detailed work, stop as soon as the first two tablespoons are blended in. If you want more tips on stability, look at this fantastic guide from Jade over at this link.
Tips for Stable Buttercream for Piping Success
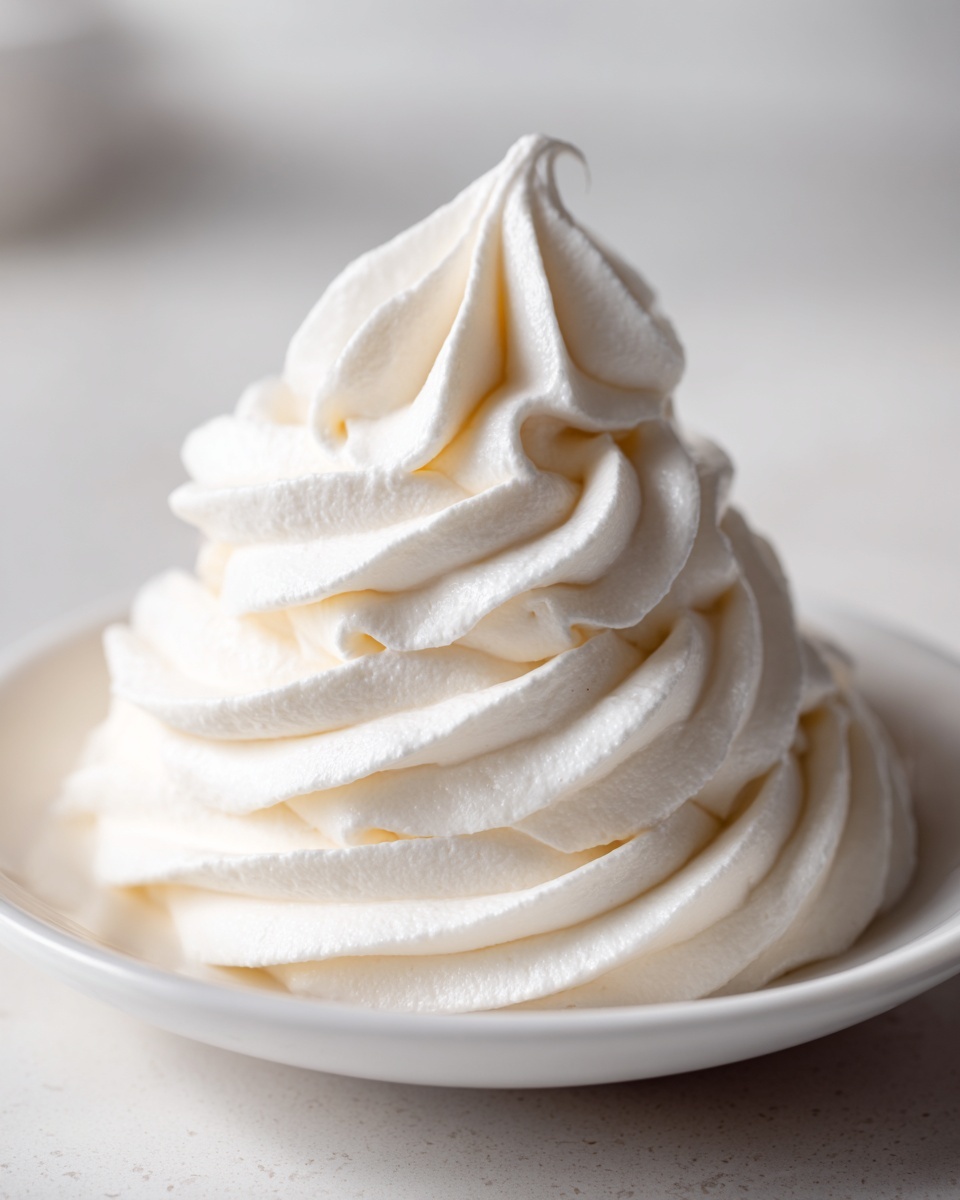
If you’re planning on making those elaborate rosettes or tall borders that look straight out of a bakery case, you need consistency that won’t quit mid-swirl. That’s why this recipe is designed to deliver Stable Buttercream for Piping right out of the bowl. The secret here isn’t adding more sugar—it’s about controlling the liquid.
For the stiffest frosting that holds sharp edges, use just the initial two tablespoons of heavy cream mentioned in Step 3. That amount provides just enough lubrication for the mixer to do its job without loosening the structure too much. If it still seems slightly too soft after that final high-speed whip, chill the bowl for about 15 minutes before trying to pipe again.
Temperature is equally critical. If your kitchen is warm, the butter softens too quickly, and your piped shapes will melt before they even look defined. Try to work in a slightly cooler room if you can, especially if you are doing a big batch of cupcakes. If you ever need a side dish inspiration for that celebration cake, check out my notes on easy creamy chicken tortilla soup—it’s easy comfort food!
Ingredient Notes and Substitutions for Your Creamy Vanilla Icing
We keep the ingredient list tight here, but I know you’ll have questions about what you can swap out or if you can elevate certain components for your Creamy Vanilla Icing. When you stick to the core recipe, you get reliability, but sometimes you have to work with what you have on hand. Just remember: any change affects the structure, so proceed with caution!
The biggest flavor impact comes from your vanilla. If you use imitation vanilla, you’ll notice the taste is flatter and sharper. For that wonderful, complex, Rich Vanilla Flavor Frosting we are aiming for, you really need to use pure vanilla extract. It makes a huge difference, I promise!
When it comes to your liquid—heavy cream versus milk—that’s where we really control stability. Heavy cream is the best choice if you need that frosting to hold stiff peaks for piping. It has higher fat content than milk, which helps keep the icing emulsified and stable, especially if your kitchen runs warm. If you use milk, you’ll get a slightly softer, more spreadable icing, but it won’t hold sharp shapes nearly as well.
If you’re out of heavy cream, regular whole milk works, but you might need to use only 2 tablespoons total to maintain a decent texture. If you end up getting it too loose with milk, don’t panic! Throw in another half cup of sifted powdered sugar, mix it in slowly, and that should tighten it right back up.
For those curious about non-dairy options, you can certainly use solid vegetable shortening in place of half the butter. It makes the frosting brighter white and much more heat-stable, though you do sacrifice a little bit of that buttery mouthfeel. I discuss making my own creamy staples in my easy homemade mayonnaise recipe from scratch guide, and stabilizing fats is a similar project management principle!
Troubleshooting Common Vanilla Buttercream Frosting Issues
Even with the most optimized approach, sometimes things go slightly sideways in the kitchen. That’s fine! When I run into a problem, my first move isn’t to throw it out; it’s to diagnose the issue efficiently and implement a fix. As a project manager, I can tell you that every issue with your vanilla buttercream frosting has a simple, targeted solution. We’re not starting over; we’re just recalibrating.
Here are the three most common hiccups I see when people work with this easy buttercream recipe, and exactly how to correct them so you can get back to decorating.
Frosting is Too Soft or Melting
This almost always means your butter was too warm when you started, or your kitchen is just plain hot. If your frosting is floppy and refuses to hold a shape even after chilling, you need to add structure back in. The fastest fix? Add more powdered sugar, one quarter cup at a time. Mix it in slowly at first, then bring the speed up to medium-high. Keep adding sugar until it firms up. If you skip this, you’ll end up with a sweet glaze instead of a sturdy topping!
Frosting is Grainy
This is the biggest betrayal when you’re aiming for that smooth buttercream texture! If you can feel grit when you rub a little between your fingers, it means the sugar didn’t dissolve properly into the fat. The fix here isn’t more sugar, it’s more heat and agitation. Turn your mixer speed to medium-high and just let it run for another three to five minutes, scraping the bowl halfway through. Often, the friction and extra mixing will dissolve those last stubborn crystals. If that fails, a teaspoon of warm milk can help dissolve things, but use that sparingly!
Frosting is Too Sweet
American buttercream, by design, is sweet. But sometimes it just screams ‘sugar!’ If yours is overpowering everything else, you need to introduce a counter-balance. The easiest way to fix overly sweet frosting is to introduce acidity or saltiness. Add another small pinch of salt, which sharpens the flavor overall. Better yet, add a tiny splash—seriously, just a quarter teaspoon to start—of lemon juice or even a bit of vanilla bean paste if you have it. That little bit of tang cuts right through the intense sweetness. It’s amazing what a bit of acid can do when you don’t want to resort to completely changing the recipe, like moving to a crusting buttercream. If you’re making bread for dipping, you know how crucial proper seasoning is in my easy homemade bread bowls recipe—baking is no different!
Serving Suggestions for Your Homemade Vanilla Frosting
Now that you have mastered the technique and perfected your Homemade Vanilla Frosting, the next step is the best part: using it! This is a versatile topping, but it really sings when paired with certain desserts. Don’t just slather it on any old thing; give your hard work the perfect stage!
Because this American buttercream is a bit on the sweeter side and it pipes beautifully, it needs a partner that can balance that sweetness out. Think recipes with a little bitterness or a lot of moisture. You want something that can handle a thick layer of rich topping without getting soggy.
For instance, this frosting is absolutely incredible on dark chocolate cake. The deep, almost bitter cocoa flavor cuts through the sugar content of the frosting perfectly. I always use it when I make my chocolate cinnamon rolls recipe and skip the heavier glaze for this fluffy alternative.
It’s also the only way I frost my sugar cookies anymore. If you make your sugar cookie base slightly thinner, you can pipe these elaborate designs, and because this buttercream holds its shape so well, the details stay sharp even after sitting out for a party. I highly recommend checking out the results others have gotten with this method over at this external baking resource for some decoration inspiration!
Here are a few pairings that just *work*:
- Classic Yellow Cake: Essential for birthdays. The simplicity lets the rich vanilla shine.
- Moist Chocolate Cupcakes: The ultimate contrast in color and flavor.
- Brownies or Blondies: A thick layer turns a simple bar into a decadent dessert.
- Fresh Fruit Tarts: If you thin the frosting slightly into a glaze, it pairs wonderfully with berries.
Storage & Reheating Instructions for Leftover Vanilla Buttercream Frosting
Nobody likes throwing away extra frosting, right? We work too hard for that! Since this is a classic American buttercream, handling leftovers is usually pretty straightforward, but you have to manage the temperature correctly to maintain that perfect texture. If you have extra after frosting your cupcakes or cake, you’ve got a couple of options depending on when you plan to use it next.
If you only have a day or two before you need it again, leaving it covered at room temperature is actually okay for short periods. But if you need to bank it for future use, refrigeration or the freezer is the way to go. This ensures your leftover frosting stays fresh until you need it as a future Vanilla Cake Topping.
Storing at Room Temperature (Short Term)
If you know you’ll need the rest of your vanilla buttercream frosting within 24 hours, you can keep it covered well at room temperature. Make sure it’s airtight to stop it from developing a weird crunchy skin on top. What ruins a frosting layer faster than anything is introducing dust or absorbing fridge smells! This works especially well if your kitchen isn’t scorching hot. Think of it as maintaining the environment for that delicate fat structure.
Refrigerating for Later Use
For anything longer than a day, always refrigerate. Place the frosting in a sealed container—an airtight Tupperware works perfectly. It’s going to feel rock hard when you pull it out, which is totally normal. Don’t even think about trying to pipe with it straight from the fridge! You risk breaking your mixer.
When you’re ready to reuse it, take the frosting out about an hour before you plan to start mixing. Let it sit on the counter until it softens up a bit. Then, put it back into your mixer bowl (paddle attachment is best) and beat it on medium speed for about 3 to 5 minutes. You’re basically re-starting the creaming process to re-aerate it. If it looks a little dull after beating, add just a tiny splash of cream (maybe a half teaspoon) and whip it again until it’s back to its original fluffy glory.
If you’re saving extra topping for a party next week, I highly suggest checking out my recipe for easy no-bake peanut butter bars—they use a similar stabilized topping structure and always freeze well!
Freezing for Long-Term Storage
Freezing is your best bet for maximum shelf life, up to about two months, in my opinion. Put the frosting into a durable, freezer-safe Ziploc bag and press out every bit of air you can before sealing it. You can flatten the bag for easy storage in the freezer door. When thawing, move the bag directly from the freezer to the refrigerator overnight. Don’t leave it on the counter first, as that uneven thawing is what separates the fat and sugar.
Once thawed in the fridge, follow the same re-whipping instructions—medium speed, scraping down the bowl, and adding a tiny splash of cream if needed. It comes back perfectly every time!
Frequently Asked Questions About This Easy Buttercream Recipe
Even when you follow a streamlined plan, you probably have a few lingering thoughts about ingredients or potential adjustments. Since my whole mission here at Dishicious is to give you that reliable, Easy Buttercream Recipe that always works, let’s handle those common curveballs right here. No question is too small when it comes to guaranteeing perfect results!
Can I use salted butter instead of unsalted butter?
I always specify unsalted butter because it lets me control the sodium level perfectly with that tiny pinch of salt we add. If you only have salted butter on hand, you absolutely can use it, but I strongly suggest you skip adding the pinch of salt we noted in the ingredients list. Taste conservatively as you go. Salted butter varies wildly in saltiness, so start with none and add a tiny pinch only if you feel the sweetness needs balancing. It’s better to undersalt initially than end up with something too briny!
How do I make this vanilla buttercream frosting less sweet?
That’s a fair question! American buttercream is inherently sweet because powdered sugar is the main structural component. To combat it, you need a counter-note. As I mentioned in the troubleshooting section, acidity is your friend here. Adding an extra quarter teaspoon of pure vanilla (if you want more flavor complexity) or a tiny splash of fresh lemon juice or cream of tartar will cut through that raw sugar taste wonderfully. You need very little—just enough to trick your palate into thinking it’s balanced.
Can I color this vanilla buttercream frosting for decorating?
Yes, and it colors beautifully because it starts off very white, especially if you use light butter. The key here is to use gel food coloring, not the liquid drops you buy at the grocery store. Liquid coloring adds extra moisture, which will break down the structure of your frosting and make it softer than you want for piping sharp details. Use a toothpick to add only tiny amounts of gel coloring, mix it in really well, and then give it one final minute of beating on medium speed to re-aerate it and bring back the fluff. For more decorating theory, take a look over at this external guide!
Why won’t my frosting get fluffy even after beating for 5 minutes?
This usually boils down to the temperature of your butter. If the butter was too cold when you started, it can’t whip up enough air to become light and airy. If it’s too warm (greasy looking), it’s already melted its structure. If you’ve beaten it for ages and it still seems dense, try chilling the entire bowl and paddle attachment for about 15 minutes, then try beating it again on medium-high speed. That brief chill firms up the fat just enough so it can trap the air bubbles when you whip it again. It’s just a quick readjustment to an environmental factor, much like fixing a temperature spike in my easy creamy chicken tortilla soup!
Share Your Fluffy Vanilla Buttercream Frosting Creations
Alright, now you have the key to making incredible, reliable vanilla buttercream frosting every single time. This isn’t just a recipe; it’s a formula for success, built on efficiency and high returns for low effort—that’s the Dishicious way!
I truly want to see what you’ve decorated! Whether you made a towering layer cake, topped a batch of cookies, or finally nailed those perfect piped borders, showing off your work helps build confidence across our cooking community. When you follow a methodical approach, success is practically guaranteed, and that’s what makes cooking joyful.
Take a moment to drop a rating below. Five stars lets me know this 10-minute method delivered the smooth, fluffy results you needed so I can keep optimizing future projects. If you have a photo of your amazing work, please tag me on social media! Show me how you used your perfect batch of Fluffy Buttercream Frosting. Maybe you paired it with my sourdough cornbread recipe for a wildly unconventional (but delicious) dessert!
Happy decorating, everyone. Let me know how this foolproof recipe worked for you!
PrintThe Best 10-Minute Fluffy Vanilla Buttercream Frosting Recipe

Follow this quick tutorial to master the **Best Vanilla Buttercream Recipe** for a creamy, smooth, and stable texture perfect for piping cakes and cookies. This is the **no-fail frosting recipe** you need for stress-free decorating.
- Prep Time: 10 min
- Cook Time: 0 min
- Total Time: 10 min
- Yield: About 4 cups 1x
- Category: Dessert Topping
- Method: Mixing
- Cuisine: American
- Diet: Vegetarian
Ingredients
- 1 cup (2 sticks) unsalted butter, softened to room temperature
- 4 cups powdered sugar, sifted
- 1 teaspoon pure vanilla extract
- 2–4 tablespoons heavy cream or milk
- Pinch of salt
Instructions
- Place the softened butter in the bowl of a stand mixer fitted with the paddle attachment. Beat the butter on medium speed until it is completely smooth and creamy, about 2 minutes. Scrape down the sides of the bowl.
- Gradually add the sifted powdered sugar, one cup at a time, mixing on low speed until just combined after each addition.
- Add the vanilla extract and salt. Increase the mixer speed to medium-high and beat for 3 minutes until the frosting is light and fluffy. Scrape down the bowl again.
- Add 2 tablespoons of heavy cream or milk. Beat on medium-high speed for another 2 minutes. If the frosting seems too stiff for spreading or piping, add the remaining cream, one tablespoon at a time, until you reach your desired consistency.
- Beat on high speed for 1 minute to incorporate air, resulting in a **fluffy buttercream frosting**. Use immediately for decorating cakes or cupcakes.
Notes
- For the smoothest texture, ensure your butter is truly room temperature, not melted.
- If you need a **stable buttercream for piping** intricate designs, use less liquid (start with 2 tablespoons of cream).
- Sifting the powdered sugar prevents lumps and helps achieve that **smooth buttercream texture**.
- This recipe yields enough to generously frost one 8-inch layer cake or about 18 standard cupcakes.
Nutrition
- Serving Size: 1/4 cup
- Calories: 380
- Sugar: 50
- Sodium: 45
- Fat: 20
- Saturated Fat: 12
- Unsaturated Fat: 8
- Trans Fat: 0
- Carbohydrates: 51
- Fiber: 0
- Protein: 1
- Cholesterol: 60