
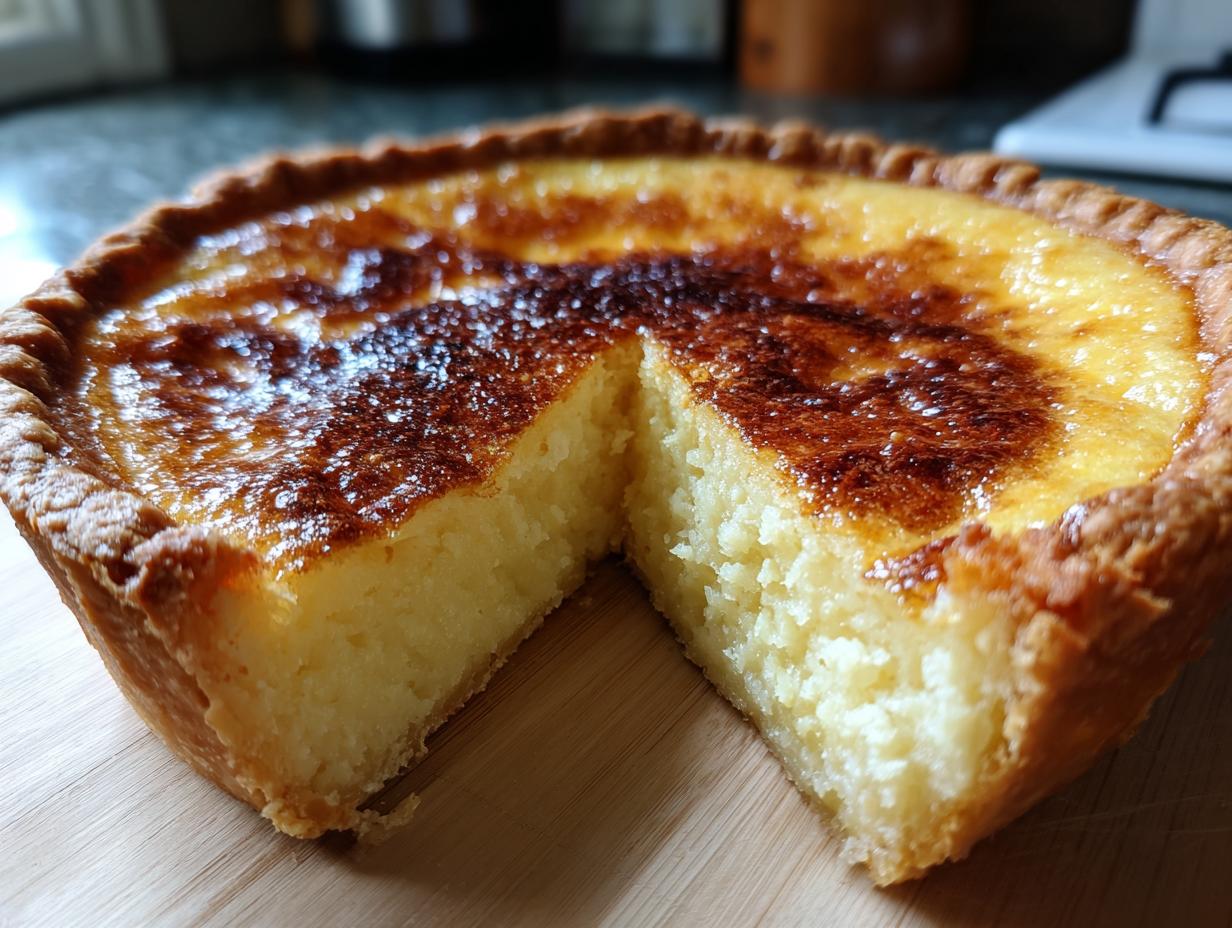
When you think about true Southern comfort food, what comes to mind? For me, it’s often something that tastes like it came straight from a cherished family cookbook, something reliably sweet, rich, and just slightly rustic. That’s exactly what this buttermilk pie is. Forget finicky pastry creams or complicated steps; this is the ultimate nostalgic dessert. It hits all those key notes—creamy, tangy, and made with ingredients you already have sitting in your pantry. As someone who approaches cooking like a project manager, I’ve engineered this specific buttermilk pie recipe for foolproof success. I took time to refine the ratios so you get that perfect set every single time. Trust me, this simple approach is genius.
- Why This Classic Southern Buttermilk Pie Recipe Works (E-E-A-T Focus)
- Ingredients for Your Old Fashioned Buttermilk Pie
- Step-by-Step Instructions for the Buttermilk Pie Recipe
- Tips for Success with Your Classic Buttermilk Pie
- Serving Suggestions for This Sweet and Tangy Pie
- Storage and Reheating Instructions for Buttermilk Pie
- Frequently Asked Questions About Buttermilk Pie
- Nutritional Estimate for This Classic Buttermilk Pie
- Share Your Perfect Buttermilk Pie Experience
Why This Classic Southern Buttermilk Pie Recipe Works (E-E-A-T Focus)
When you’re looking for a reliable **Classic Southern Pie**, you need a recipe you can trust day in and day out. That’s what this isn’t just another dessert recipe; it’s a thoroughly stress-tested system. I zeroed in on the exact balance between the sugar and the acid from the buttermilk, which guarantees that signature sweet-meets-tangy flavor profile that makes this pie famous. Trust me, achieving a perfect custard is easier than you think; I talk more about getting that flawless custard pie stability in another spot.
This is absolutely a **No Fail Pie Recipe** because we manage the structure carefully. You won’t end up with a watery mess or a cracked top. It’s built for performance, meaning you get consistent, delicious results whether you’re dusting it off for a Tuesday dinner or planning out your entire holiday menu.
The Perfect Tangy Pie Filling
The buttermilk is honestly the workhorse here, giving us that bright, clean pop of flavor. That little bit of sourness cuts through the sweetness beautifully, making the **buttermilk pie** so much more interesting than a standard vanilla custard. It keeps the entire thing tasting fresh and balanced, never cloyingly sweet. This is the secret to that sought-after **Tangy Pie Filling**.
Achieving a Velvety Pie Texture
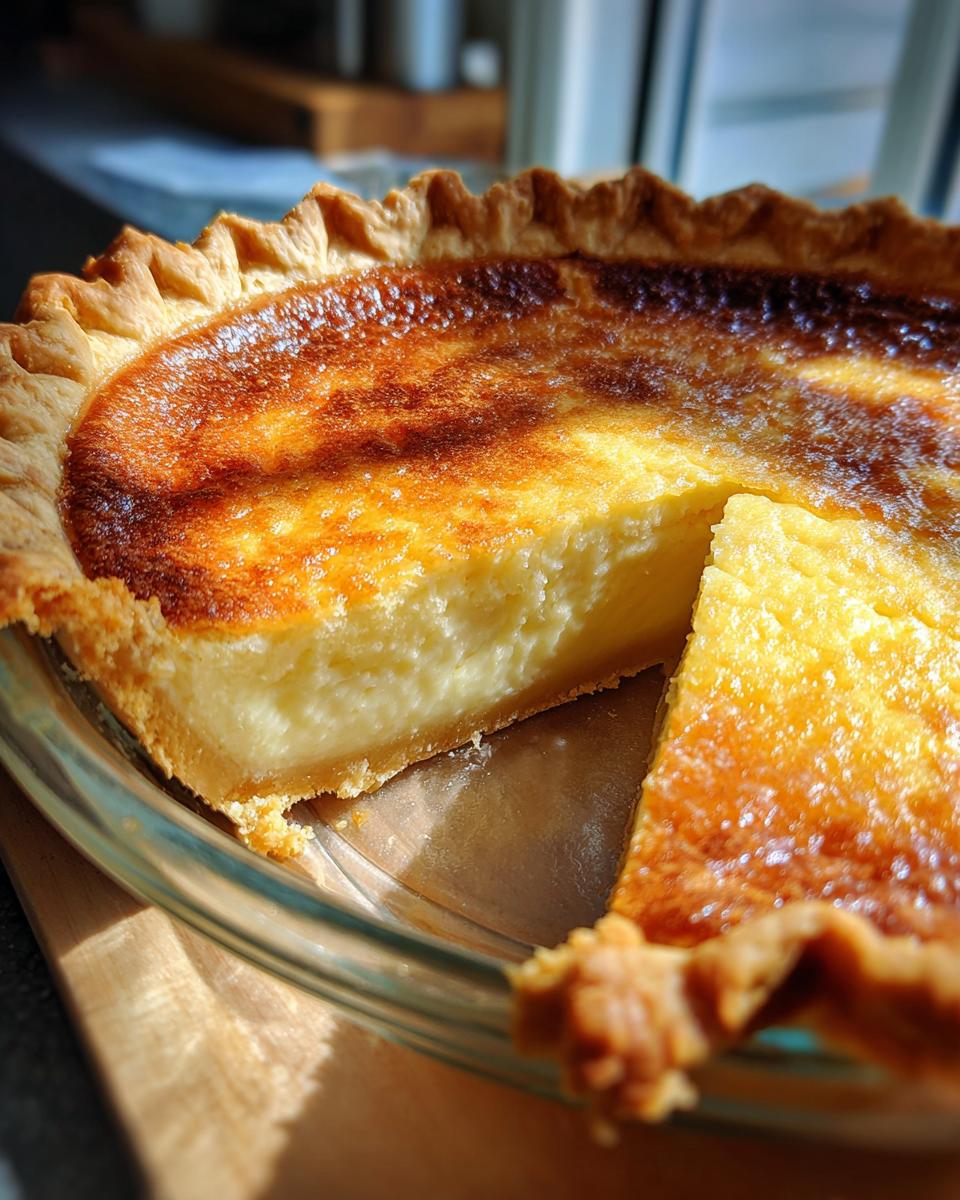
We rely on the ratio of flour and egg—not too much of either! This precision is what prevents weeping, which is when the filling separates as it cools. We bypass that entirely. The result is a **Velvety Pie Texture** that is remarkably smooth and creamy, holding its shape perfectly when you slice into it.
Ingredients for Your Old Fashioned Buttermilk Pie
When we talk about an Old Fashioned Dessert, we rely on what we already have. This recipe is great because it doesn’t require any fancy grocery store runs. Everything here is designed to be quick to gather and even quicker to mix. Precision matters, though, as we are building a custard structure here. I listed exactly what I use, including the measurement for the butter to make sure you don’t over-measure the fat, which can cause issues.
Here are the core components for your perfect buttermilk pie:
- 1 (9-inch) unbaked pie crust
- 1 1/2 cups granulated sugar
- 1/4 cup all-purpose flour
- 1/4 teaspoon salt
- 1 cup buttermilk
- 1/2 cup (1 stick) unsalted butter, melted
- 2 large eggs, lightly beaten
- 1 teaspoon vanilla extract
- 1/4 teaspoon ground nutmeg (optional, but I highly recommend it!)
If you want to make our easy homemade gravy recipe sometime, you use similar pantry staples, but for this pie, follow these notes closely.
Ingredient Notes and Substitutions for Buttermilk Pie
This is where we optimize the process! If you’ve run out of buttermilk—and trust me, that happens when you’re mid-recipe—don’t panic and run to the store. You can make a quick substitute in about five minutes. Just take 1 cup of regular whole milk and stir in 1 tablespoon of white vinegar or fresh lemon juice. Let that mixture sit on the counter for about ten minutes until it looks slightly curdled. That acidity is what we need for the **Tangy Pie Filling**!
Also, let’s talk crust. Since the filling is the star, we are keeping the crust simple. You need a good, sturdy, unbaked 9-inch pie crust. Whether you use store-bought or your favorite homemade recipe, making sure it’s chilled but ready to go sets us up for a fantastic **Flaky Crust Pie** without adding extra steps to the filling assembly.
Step-by-Step Instructions for the Buttermilk Pie Recipe
Alright, time to assemble this gorgeous thing. I designed this procedure to be methodical. If you follow these steps in order, you eliminate guesswork and make this the easiest **Easy Homemade Pie** you’ve ever tackled. We handle the dry stuff first, then integrate the wet components smoothly. It keeps everything neat! This whole process, especially mixing the filling, reminds me a bit of why I love building a great batch of sourdough cornbread—it’s about getting those proportions right early on.
Preparing the Oven and Crust
First things first: get your oven warmed up. We need it steady at 350°F (175°C). That temperature is designed to gently bake the custard without scorching it before it sets. While that’s heating, take your 9-inch pie plate with the unbaked crust already settled inside. You don’t need to ‘blind bake’ this crust at all; the filling goes right into it raw, which saves time!
Mixing the Creamy Custard Pie Filling
Grab one medium bowl—just one, see? Less cleanup! Start by gently whisking together all your dry components: the sugar, the flour, and the salt. You need them totally combined before anything else goes in. This step prevents clumps later on. Once those dry guys are friends, it’s time for the liquids. Pour in the buttermilk, the melted butter, your lightly beaten eggs, and that splash of vanilla. Whisk the whole mess slowly until it is completely smooth. Seriously, give it a good minute until you don’t see any streaks of flour or egg white. This is the secret to that perfect **Creamy Custard Pie** texture for your **buttermilk pie**. If you’re using the nutmeg, this is the final moment to fold it in gently.
Baking and Setting the Buttermilk Pie
Carefully pour that liquid filling into your crust. Don’t worry if it looks thin; that’s exactly how the **buttermilk pie** mixture should look before it goes into the heat. Slide it into the preheated oven. It needs about 45 to 55 minutes in there. The goal isn’t rock solidity yet. When you gently nudge the pan, the center should have just a slight jiggle—like Jell-O that’s almost firm. If it moves like water, give it five more minutes. Remove it from the oven right when it hits that sweet spot, ideally with a lightly golden top. Now comes the hardest part: you must let it cool completely on a wire rack. This resting period allows the custard to finalize its set. If you slice it too soon, it will definitely collapse. You can check out this buttermilk pie recipe for comparison if you like, but trust my cooling time!
Tips for Success with Your Classic Buttermilk Pie
We’ve gotten the filling mixed, and now we move into troubleshooting and optimizing. Remember, my whole philosophy here is about making sure you get reliable results—this is key for any **Classic Southern Pie**. I looked through the original notes provided with this recipe, and they have some truly smart details that save a bake when things start looking a little iffy in the oven. When you’re making a custard like this, you have to be ready for small adjustments.
Don’t worry if you feel nervous about the baking time; we have built-in safety nets for this **buttermilk pie** to ensure that custard sets exactly right. If you want to learn more about deep-fried sweet items, you can see how I streamlined that process for apple fritters, but for this pie, patience while cooling is the second most crucial step after mixing.
Variations: Making Texas Buttermilk Pie
If you love that extra zip, you can easily pivot this recipe into a bona fide Texas version. The defining difference in a **Texas Buttermilk Pie** is cranking up that tang factor just a bit more. It’s super simple: just add about 1 to 1.5 tablespoons of fresh lemon juice right into your filling mixture when you add the vanilla.
The citrus works wonders with the buttermilk to create a brighter, almost zesty finish that cuts through the richness of the eggs and sugar. It’s a fantastic way to keep things interesting if you plan on making this for a crowd multiple times throughout the year. For a slightly different take on Southern classics, go read up on what makes a buttermilk pie recipe classic and old-fashioned.
Preventing Crust Browning on Your Buttermilk Pie
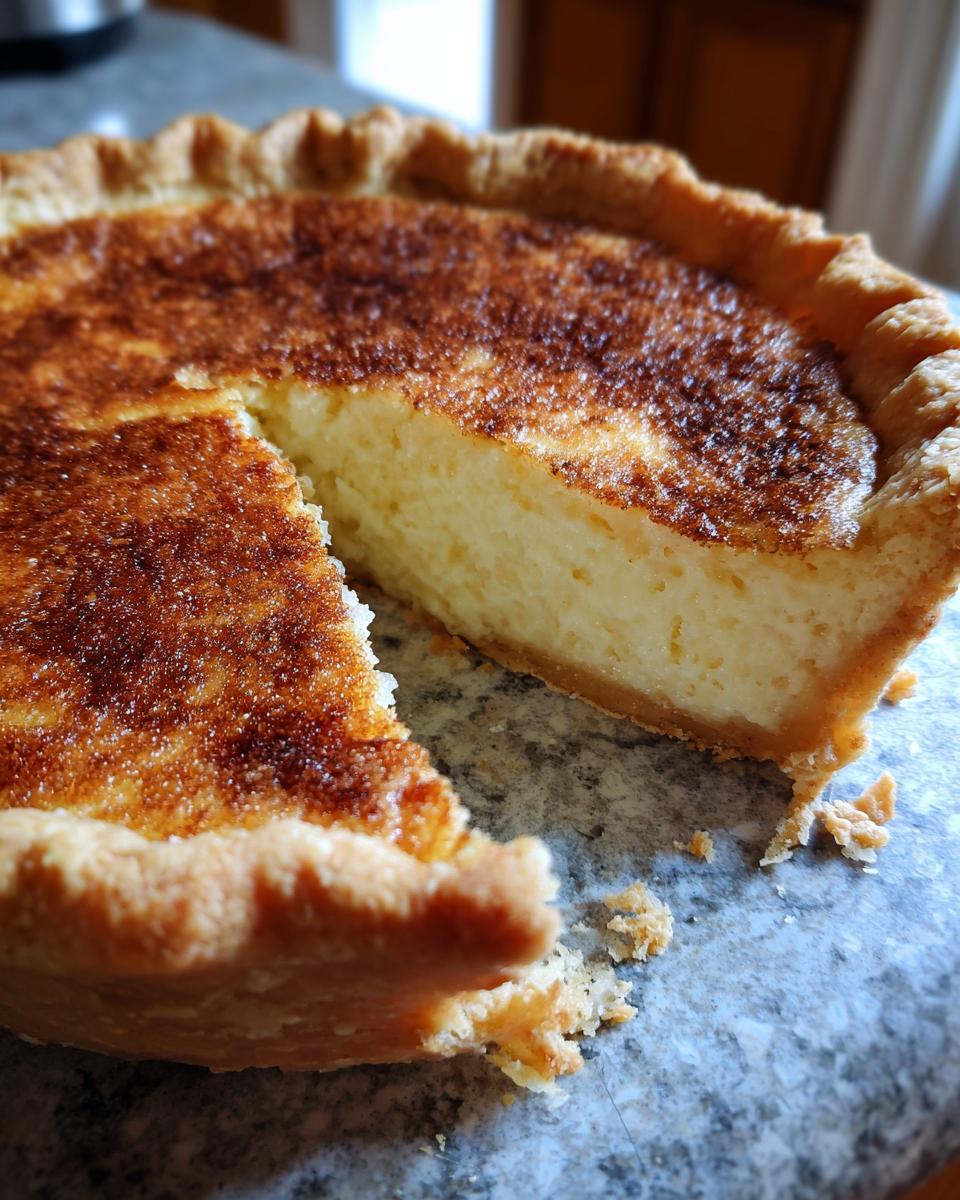
This is a perennial issue with any pie that bakes for nearly an hour: sometimes that beautiful, flaky outer crust wants to brown way faster than the custard filling needs to cook. If you notice, halfway through that 50-minute baking time, that the edges of your crust are getting a little too dark—maybe a deep mahogany instead of a light gold—you need a shield!
Take strips of aluminum cooking foil and gently crimp them around the perimeter of the pie plate only, covering the edge of the crust. You aren’t covering the center of the pie at all, just protecting those exposed edges. This stops them from burning while the middle gets its full required bake time. It truly is a game-changer for nailing that perfect **Flaky Crust Pie** presentation.
Serving Suggestions for This Sweet and Tangy Pie
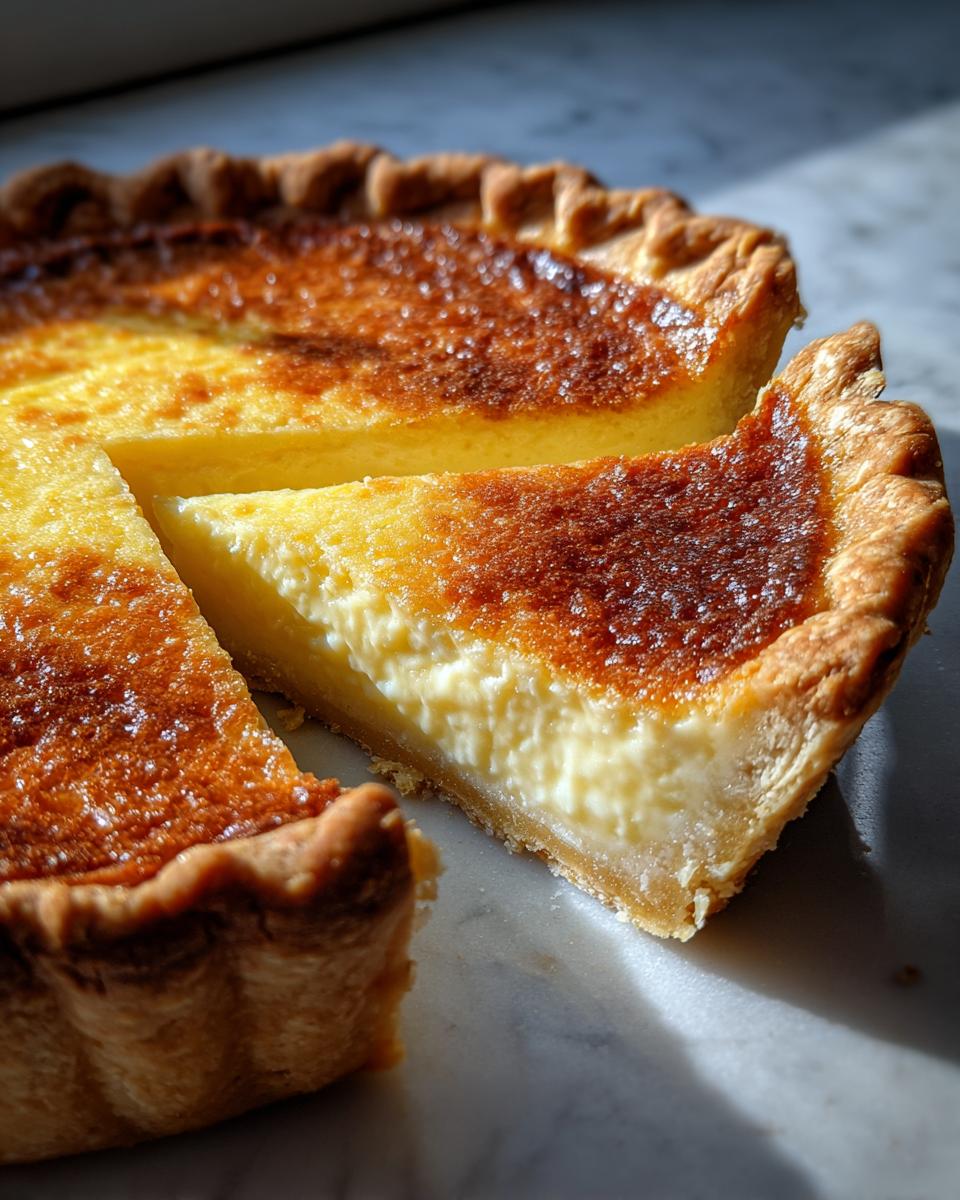
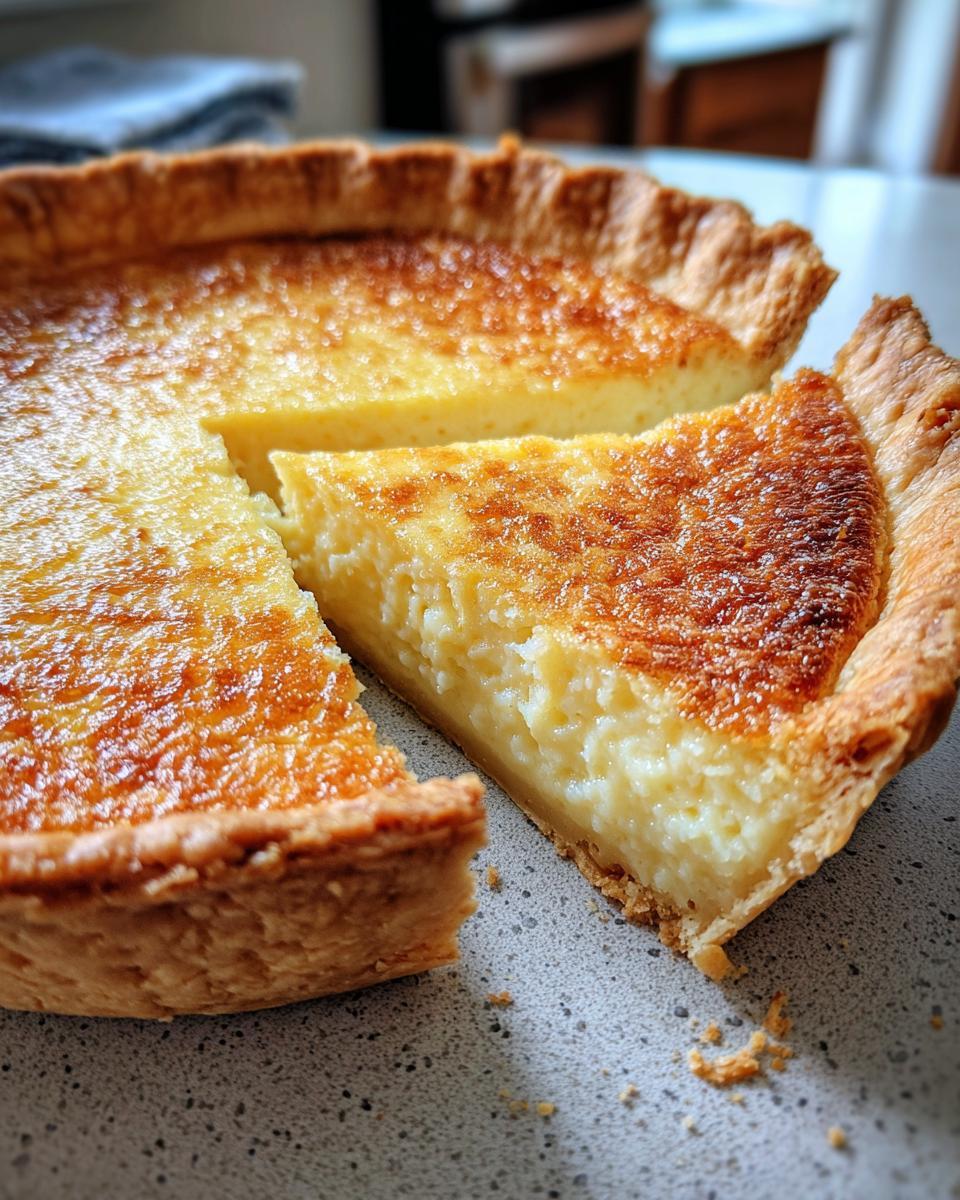
The **buttermilk pie** comes out of the oven looking humble, honestly. It’s got that lovely light golden color, but it’s frankly screaming for a little dressing up! Since this is such a fantastic **Comfort Food Dessert** and something you’ll definitely want to serve at Desserts for Family Gatherings, presentation matters. But remember, we keep it simple—no fussy meringue towers here!
My favorite, hands-down, is just a very light dusting of powdered sugar just before serving. It catches the light and makes the whole pie look instantly elegant without hiding that beautiful baked top. If you want something richer, a dollop of freshly whipped cream is perfection. Just whip heavy cream with a tiny bit of powdered sugar and a drop of vanilla; that vanilla buttercream flavoring translates beautifully.
For an extra signature Southern touch, try sprinkling just a hint of cinnamon or even a tiny grating of fresh nutmeg over the top right before slicing. It enhances the warmth of the filling without fighting that lovely **Sweet and Tangy Pie** flavor. If you are serving it warm (which I only recommend after it has cooled for at least an hour!), a spoonful of homemade caramel sauce is incredible. But honestly, if you chilled it properly, it stands up beautifully all on its own!
Storage and Reheating Instructions for Buttermilk Pie
Okay, you pulled off the perfect bake, and now it’s time to talk about saving that precious custard. Since this is a custard-based pie, you cannot leave it sitting out on the counter for hours—that’s just not an option if you want to maintain the integrity of the pie and keep everyone safe. Refrigeration is absolutely key for any genuine buttermilk pie. We need that cold air to make sure that filling stays firmly set.
Once the pie is completely cooled down to room temperature (and I mean *completely*—don’t rush this step!), you need to cover it loosely. I usually just use a tent of aluminum foil or plastic wrap, but make sure it’s not touching the top of the exposed custard, or you’ll ruin your lovely golden top!
In the fridge, this delicious **buttermilk pie** keeps remarkably well for about three to four days. That’s the beauty of having a **Classic Southern Pie** on standby!
Now for the serving temperature—this is where people sometimes make a mistake. While the pie sets up beautifully in the cold, some folks think it’s best served straight from the icebox. My advice? Pull it out of the refrigerator about 30 minutes before you plan to serve it. Letting it sit on the counter briefly allows the flavors to open up a bit and takes the chill off the filling so it’s not quite so firm. It moves from being rock-solid to perfectly sliceable and allows you to really taste that signature tang.
Frequently Asked Questions About Buttermilk Pie
I know that after you follow a recipe step-by-step, sometimes little questions still pop up right before you slice into the finished product! That’s totally normal, especially when dealing with custards. I’ve gathered the top questions I always get about this buttermilk pie so you can feel totally confident serving up this slice of Southern history. If you’re looking for something totally different but still easy and sweet, check out my recipe for easy banana ice cream for dessert later.
Can I use regular milk instead of buttermilk in this buttermilk pie recipe?
Oh, I strongly advise against cheating on the buttermilk here! You absolutely need the real thing. Regular milk just isn’t acidic enough. Buttermilk is essential because that slight acidity reacts with the eggs and the flour just right, which is how we lock in that fabulous **Tangy Pie Filling**. If you use regular milk, you end up with a flat, sweet, runny custard instead of that beautiful, slightly sharp, perfectly set pie we are aiming for. Stick to the buttermilk or use the simple substitution I mentioned earlier—it’s worth it!
Why is my buttermilk pie center still jiggly after baking?
Breathe a sigh of relief! If your **buttermilk pie** center is jiggly, you did it right! This is the number one sign that you have succeeded with this **No Fail Pie Recipe**. Remember I said the pie needs to be *mostly* set? We are aiming for that slight wobble, often called curdling around the edges but still moving softly in the very center. If it sets completely solid in the oven, it often means it overbaked, and you risk that dry, rubbery texture. The residual heat will happily finish setting that jiggle as the pie cools completely on the rack. Just walk away for a few hours, and it will be perfectly firm and sliceable.
Is this considered a Texas Buttermilk Pie or a standard Southern Baking Classics recipe?
This base recipe is definitely rooted in the traditional, **Southern Baking Classics** approach—think creamy, balanced, and comforting. The main difference when you hear about a **Texas Buttermilk Pie** is usually the addition of a strong tart element, like a full tablespoon of lemon juice or sometimes even a dash of white pepper added to the filling for a little kick. If you want that bright boost, certainly add the lemon like I mentioned in the tips section! But as written, this is the pure, traditional Southern style that my family has always relied on.
Nutritional Estimate for This Classic Buttermilk Pie
Now, I know that when we’re talking about an Old Fashioned Dessert like this gorgeous buttermilk pie, we aren’t usually worrying too much about the macros. We’re making it for the sheer joy and comfort it brings to Desserts for Family Gatherings! However, since I approach everything methodically, I’ve run the standard ingredient list through the calculator to give you a rough idea of what’s in one slice. This helps manage expectations for things like sugar content, especially when serving it alongside other rich holiday spreads.
Please remember that these numbers are just estimates based on the standard amounts listed in the recipe card. If you use a store-bought crust versus your own, or if you decide to go heavier on the butter, these numbers will shift slightly. This data assumes 8 total servings from the pie.
- Calories: Approximately 350 per slice
- Fat: Around 18g total fat
- Saturated Fat: About 10g (mostly from the butter)
- Carbohydrates: Approximately 45g
- Sugar: Near 35g (This is where the pure richness comes from in this Sweet and Tangy Pie)
- Protein: About 5g
- Cholesterol: Roughly 80mg
It’s a treat, plain and simple! It uses Simple Pantry Desserts ingredients, but those ingredients—butter, sugar, eggs—add up quickly. Enjoying this buttermilk pie is about savoring that perfect, creamy custard texture, not worrying about the breakdown. That’s the Dishicious philosophy: make it delicious, make it reliable, and enjoy it without guilt!
Share Your Perfect Buttermilk Pie Experience
Alright team, that’s the whole process for getting this buttermilk pie from pantry inventory to perfect dessert on the table. I know I’ve given you my engineered, foolproof method for that creamy custard filling and that flawless set, but baking is always a conversation, isn’t it?
Now it’s your turn to jump in! I truly want to hear how this recipe worked for your family. Did you try the lemon juice addition for that Texas kick? Perhaps you paired it with the homemade easy sugar cookie bars because you ran out of whipped cream? Don’t keep those successful experiments secret!
Please leave a rating below. Just click those stars to tell me how reliable this recipe proved for you. And if you snapped a picture of your slice—especially if it has that perfect golden top and you can see that beautiful, set custard—tag me in it! Seeing your perfectly baked **Classic Southern Pie** makes all my project management in the kitchen feel completely worthwhile. Happy baking!
PrintClassic Old-Fashioned Southern Buttermilk Pie

This recipe delivers the ultimate Southern Buttermilk Pie with a rich, creamy, and perfectly tangy custard filling set in a flaky crust. It uses simple pantry ingredients for a reliable, no-fail dessert.
- Prep Time: 15 min
- Cook Time: 50 min
- Total Time: 1 hr 5 min
- Yield: 8 servings 1x
- Category: Dessert
- Method: Baking
- Cuisine: American Southern
- Diet: Vegetarian
Ingredients
- 1 (9-inch) unbaked pie crust
- 1 1/2 cups granulated sugar
- 1/4 cup all-purpose flour
- 1/4 teaspoon salt
- 1 cup buttermilk
- 1/2 cup (1 stick) unsalted butter, melted
- 2 large eggs, lightly beaten
- 1 teaspoon vanilla extract
- 1/4 teaspoon ground nutmeg (optional)
Instructions
- Preheat your oven to 350°F (175°C). Place the unbaked pie crust into a 9-inch pie plate.
- In a medium bowl, whisk together the sugar, flour, and salt until combined.
- Add the buttermilk, melted butter, lightly beaten eggs, and vanilla extract to the dry ingredients. Whisk until the mixture is smooth and uniform.
- If using, stir in the nutmeg.
- Pour the buttermilk custard filling carefully into the unbaked pie crust.
- Bake for 45 to 55 minutes. The center should be mostly set but still have a slight jiggle when gently shaken. The top should be lightly golden brown.
- Remove the pie from the oven and let it cool completely on a wire rack. Cooling allows the custard to set fully.
- Serve slightly cooled or chilled.
Notes
- For a Texas Buttermilk Pie variation, add 1 tablespoon of lemon juice to the filling mixture for extra tang.
- If your crust edges brown too quickly during baking, cover them loosely with aluminum foil strips halfway through the cooking time.
- This pie sets best when chilled for at least 4 hours before slicing.
- Serve with a dusting of cinnamon or a dollop of fresh whipped cream.
Nutrition
- Serving Size: 1 slice
- Calories: 350
- Sugar: 35
- Sodium: 250
- Fat: 18
- Saturated Fat: 10
- Unsaturated Fat: 8
- Trans Fat: 0
- Carbohydrates: 45
- Fiber: 1
- Protein: 5
- Cholesterol: 80