

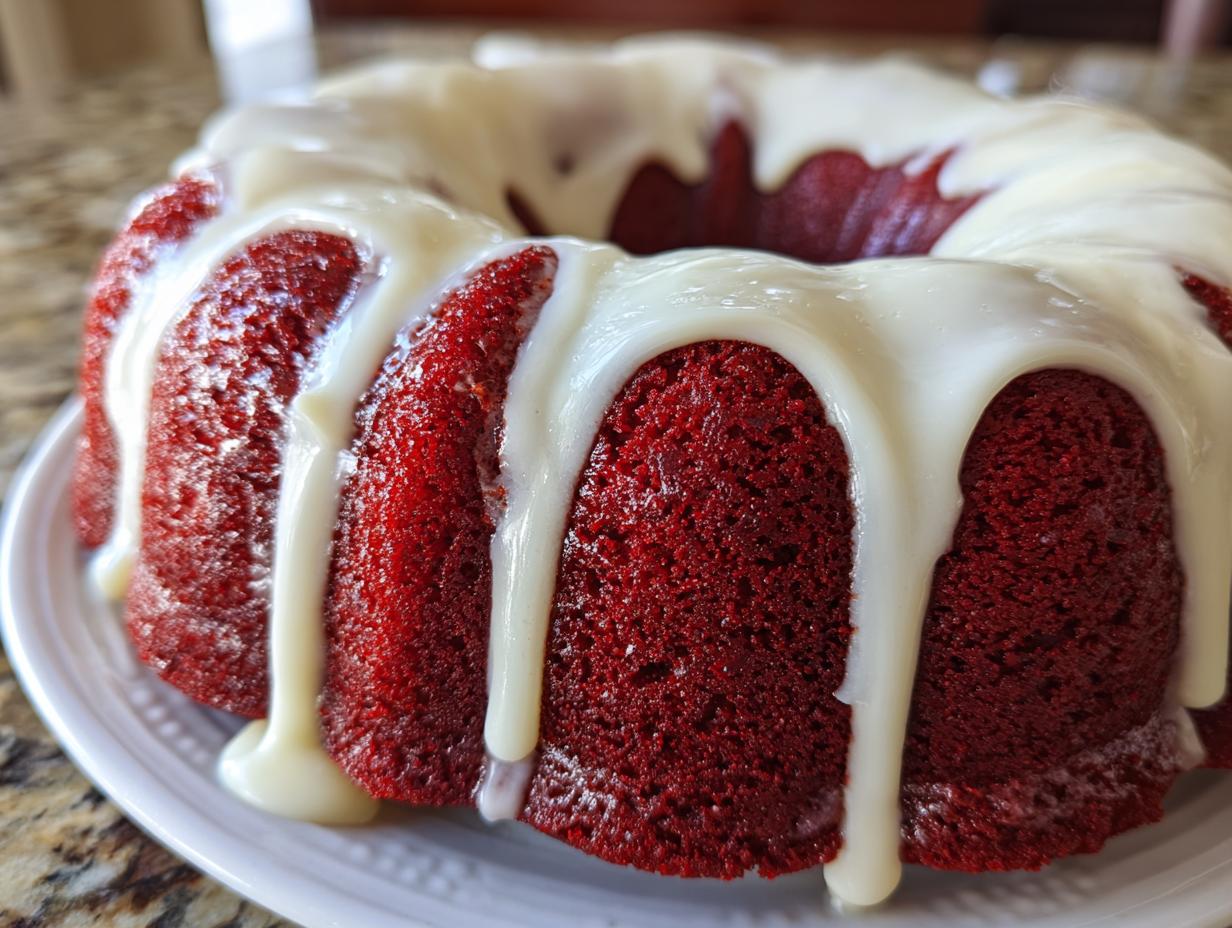
If you’ve been burned by dry cakes or recipes that promise the world but deliver a kitchen disaster, I get it. That’s why I developed this recipe. As the founder of Dishicious, I approach the kitchen like a project manager—we streamline complexity to get maximum flavor with minimum headaches. This isn’t just another **red velvet bundt cake**; it’s the ultimate, foolproof blueprint for achieving that deep, rich color and that legendary moist texture you usually only find at high-end bakeries. For a look at my classic layer cake approach, check out my best authentic red velvet cake recipe. Forget overly fussy steps; this Bundt recipe is engineered for reliability, giving you a showstopper dessert that fits perfectly into your busy life. It’s simply delicious, guaranteed.
- Why This Red Velvet Bundt Cake is Your New Go-To Recipe
- Ingredients for the Best Red Velvet Bundt Recipe
- How to Prepare Your Easy Red Velvet Bundt Cake
- Tips for a No Fail Red Velvet Bundt Cake
- Serving Suggestions for Your Classic Red Velvet Dessert
- Storage and Reheating for Your Homemade Red Velvet Bundt Cake
- Variations on the Red Velvet Bundt Cake Theme
- Frequently Asked Questions About Baking a Red Velvet Bundt Cake
- Nutritional Estimate for This Red Velvet Bundt Cake
- Share Your Festive Bundt Cake Ideas
Why This Red Velvet Bundt Cake is Your New Go-To Recipe
When you’re looking for a stunning dessert, you need reliability. This isn’t some flimsy layer cake that collapses on you; this **red velvet bundt cake** is built for show, flavor, and staying moist for days. We nail the bakery style right here at home. If you love easy flavor hacks, you should really check out my recipes for red velvet cake mix cookies, but this Bundt is pure scratch magic.
- It has that unmistakable deep cocoa flavor without tasting overly sweet.
- The structure holds beautifully, making it perfect for holidays or just impressing the neighbors.
- It comes together faster than you’d think for a scratch recipe, thanks to the straightforward method.
Achieving the Perfect Moist Red Velvet Bundt Cake Texture
My approach focuses on using oil instead of butter for the primary fat source in the cake batter, combined with that essential buttermilk. This dual approach is what locks in the moisture, giving you that amazing, truly **moist red velvet bundt cake** texture you’ve been searching for. No dryness here, trust me.
The Tangy Cream Cheese Glaze Difference
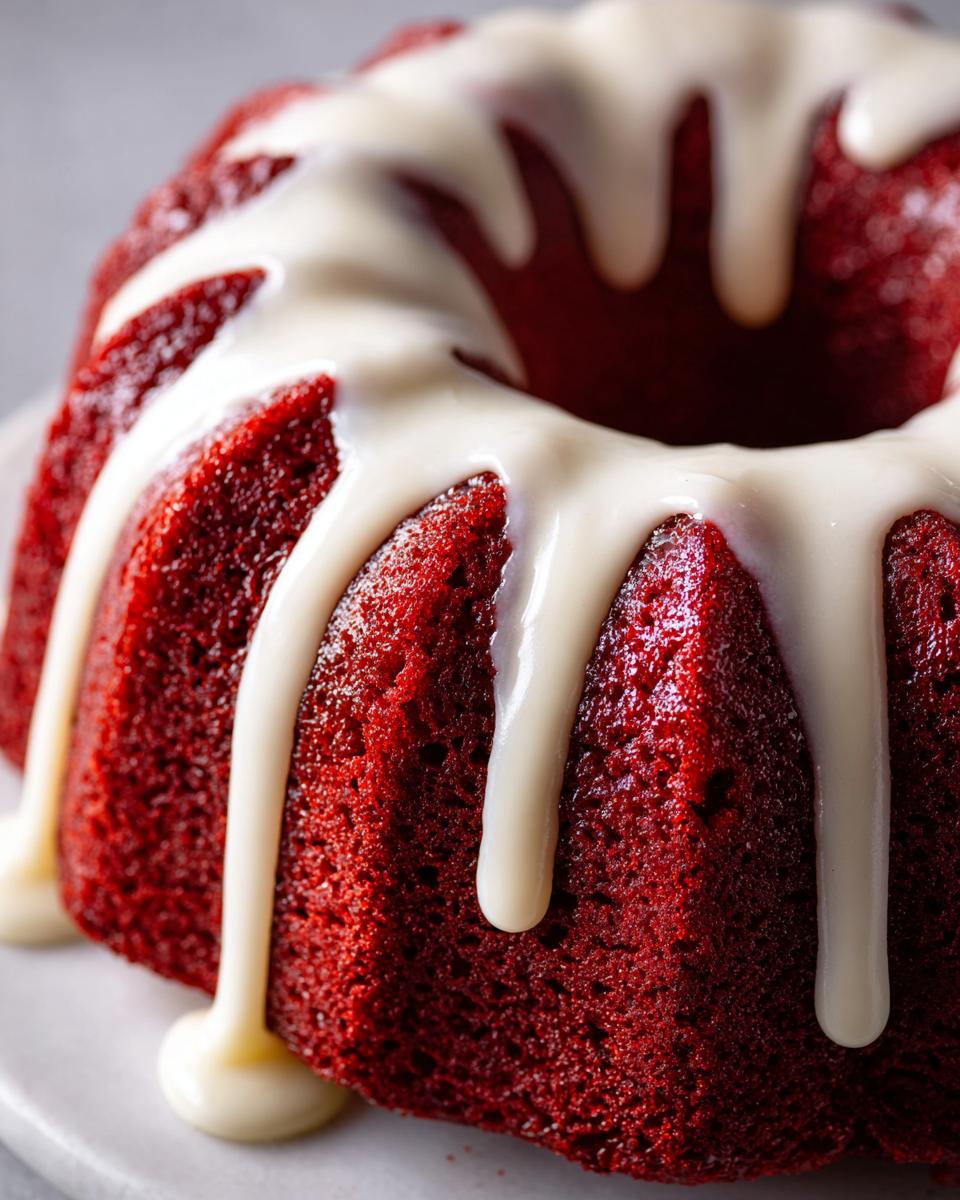
Forget thick, overly sweet frosting. We use a bright, tangy cream cheese *glaze* that just drips perfectly down the fluted sides of the Bundt. It’s the ideal sharp counterpoint to the rich cake. It’s the flavor pairing that makes this **red velvet cream cheese glaze recipe** essential.
Ingredients for the Best Red Velvet Bundt Recipe
When executing any recipe, especially one aiming for that perfect **best red velvet bundt recipe** result, ingredient quality is non-negotiable. We’re keeping this streamlined, but every component plays a role in that desired showstopper look and tender crumb. If you want the smoothest frosting possible, make sure you’re using good quality cream cheese and butter—you won’t regret the extra step of ensuring they are properly softened! For the ultimate guide to getting frosting right every time, you can always check out my smooth and easy cream cheese frosting recipe.
Cake Ingredients for Your Red Velvet Bundt Cake From Scratch
- 1 1/2 cups vegetable oil (This is the secret weapon for moisture!)
- 1 1/2 cups granulated sugar
- 2 large eggs
- 1 teaspoon vanilla extract
- 1 teaspoon baking soda
- 1 teaspoon white vinegar
- 1 cup buttermilk (Don’t substitute this; it’s vital for the texture!)
- 2 1/2 cups all-purpose flour
- 1 teaspoon salt
- 1 tablespoon unsweetened cocoa powder (Just enough for that classic depth)
- 2 tablespoons red food coloring (Use gel coloring if you can to nail that **vibrant red cake recipe** color!)
Tangy Cream Cheese Glaze Ingredients
- 8 ounces cream cheese, softened
- 1/2 cup (1 stick) unsalted butter, softened
- 3 cups powdered sugar
- 1 teaspoon vanilla extract
How to Prepare Your Easy Red Velvet Bundt Cake
Okay, this is where the magic happens! Since we’re aiming for a straightforward, high-reward bake, organization is everything. I treat this like a mini project plan—prep first, then process. If you follow these steps exactly, you’ll see why this is such a phenomenal **easy red velvet bundt cake** from scratch. For anyone tackling complex chocolate bakes, remember the non-negotiables of temperature and mixing order; it’s the same principle here to get that superior texture. If you want to compare scratch techniques, have a look at my ultimate moist chocolate cake recipe for context.
Prep Work: Pan Preparation and Oven Settings
First things first: get your environment ready. Preheat that oven to 350°F (175°C). Now, don’t skimp on the Bundt pan prep! This pan shape is gorgeous, but it *loves* to hold onto cake. Use a combination of soft butter or shortening and flour to grease every single crevice thoroughly. I mean every nook and cranny. This initial step drastically reduces stress later on and prevents any sticking, which is crucial for presentation. You can check out someone else’s successful Bundt prep over at Weekend Craft if you need visual confirmation on how important this is!
Mixing the Batter for a Tender Crumb Bundt Cake
We start wet, remember? Whisk the oil and sugar together in a big bowl until they look happy. Then incorporate those eggs one by one, followed by the vanilla. In separate little bowls, mix your dry elements (cocoa, baking soda) and then mix your liquid acid elements (vinegar into the buttermilk). Now, alternate adding the flour mix and the buttermilk mix into the main bowl. Mix on low speed! You stop as soon as the flour streaks disappear. Overmixing develops gluten and kills that **tender crumb bundt cake** we’re targeting.
Baking and Cooling the Red Velvet Bundt Cake
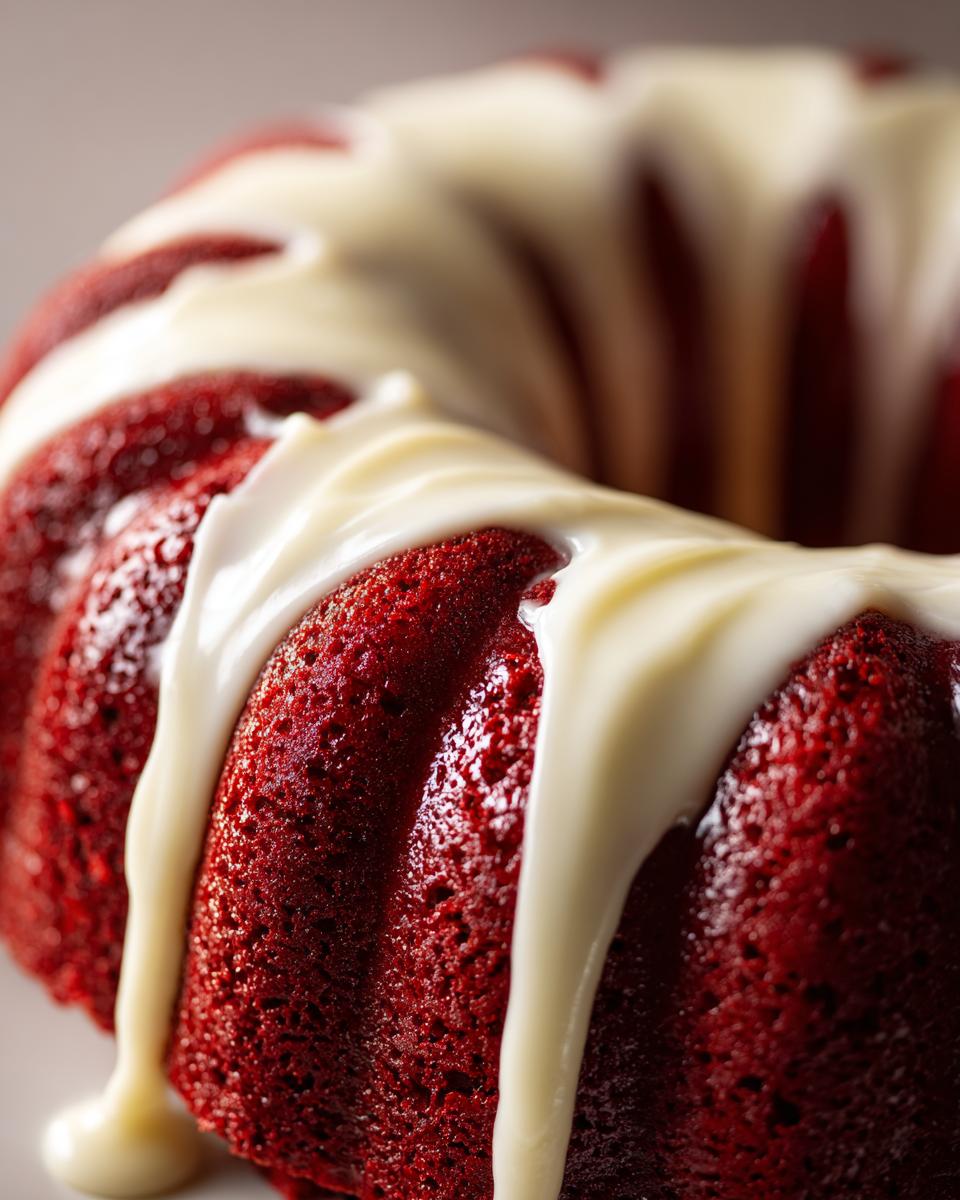
Pour that gorgeous, vibrant batter into your prepared pan and slide it in. It usually bakes up nicely in about 45 to 55 minutes. You know it’s done when a wooden pick comes out clean. Here’s a key moment: no matter how excited you are, let the cake cool *in the pan* for a full 15 minutes. This allows the structure to firm up just enough so it doesn’t tear when you invert it onto your cooling rack to finish cooling completely.
Making and Applying the Cream Cheese Glaze
While the cake is cooling down (and I mean *completely* cooled—this is key!), you whip up the glaze. Beat your softened cream cheese and butter until they’re totally smooth, then stream in the powdered sugar until everything thickens up beautifully. Stir in the vanilla. You want that glaze to be pourable, not cement-like. Once the cake is totally cool to the touch, drizzle that tangy icing all over. The contrast in temperature ensures the glaze sets up just right.
Tips for a No Fail Red Velvet Bundt Cake
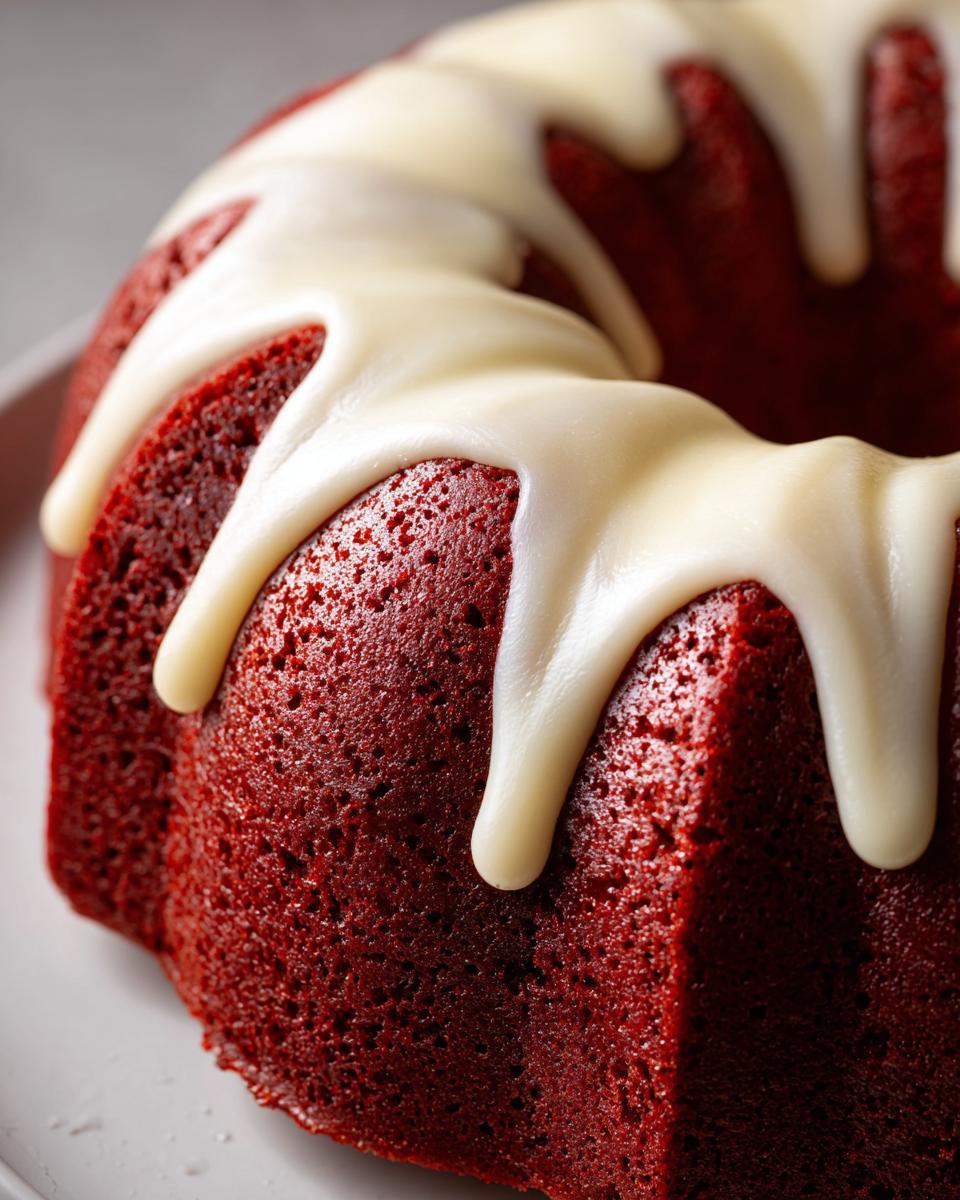
As a project manager turned home cook, my goal is zero failure rate, which means sticking to the non-negotiables—the things that absolutely make or break the final product. This is what separates a reliable recipe from a gamble. Following these reliability checks ensures you get that bakery-style result every time you make your **no fail red velvet bundt cake**.
First, let’s talk color. If you want that deep, show-stopping look, skip the standard liquid food coloring and invest in a quality gel coloring. It’s a small upgrade that delivers serious visual impact for your **festive bundt cake ideas**. You can check out some other great ingredient upgrades in my post on maple cookies with brown butter glaze to see how small swaps matter.
Second, temperature control is critical for the batter’s emulsion. Make sure your eggs and buttermilk are at room temperature before they hit the mixing bowl. Cold ingredients lead to a choppy batter, and choppy batter resists that perfectly **tender crumb bundt cake** structure we want. For more insight on ensuring moisture, take a look at the tricks Flavor Vibes uses for their holiday version over at Flavors & Vibes.
Serving Suggestions for Your Classic Red Velvet Dessert
Because this **classic red velvet dessert** is already so striking—that gorgeous red with the white glaze draping down—it really doesn’t need much extra fuss. For maximum impact, skip cutting right away! Let the glaze set up for about 30 minutes on the counter so it looks intentional and rich. I love serving slices slightly chilled, which really enhances the tanginess of the cream cheese glaze, making it feel almost cheesecake-like.
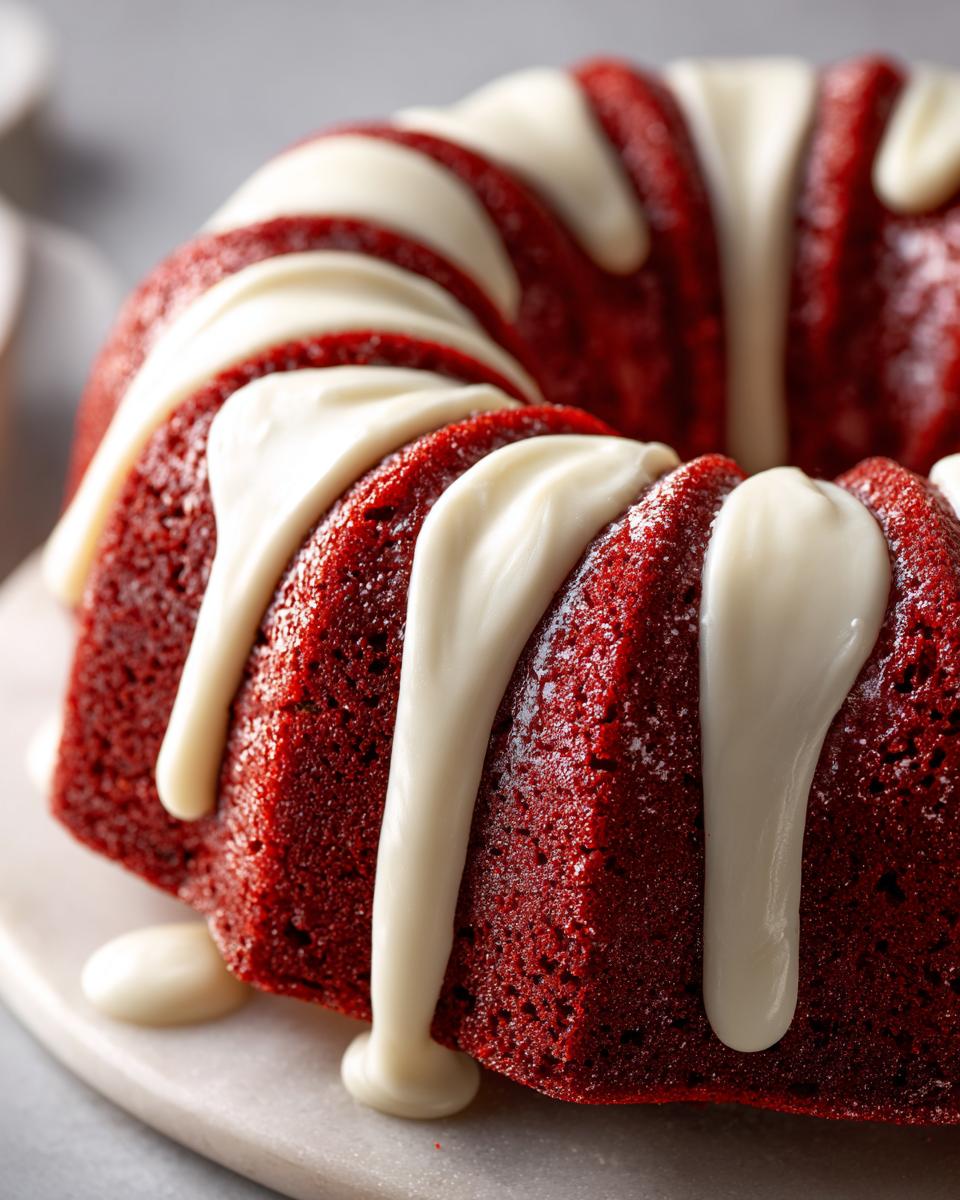
If you are building a holiday dessert spread, pair this showstopper with something light and fruity to balance the richness. For the next level of impressive celebration bakes, I highly recommend checking out my recipe for strawberry shortcake cheesecake. It’s a totally different texture profile, but it guarantees you’ll have guests asking for your secrets!
Storage and Reheating for Your Homemade Red Velvet Bundt Cake
Since this is a **homemade red velvet bundt cake**, and it’s topped with real cream cheese glaze, we have to treat leftovers right. If you don’t devour the whole thing in one day, which I honestly wouldn’t blame you for, cover it tightly at room temperature for up to two days. After that, I always move it to the fridge, especially if the weather is warm, to keep that glaze stable.
When you slice a refrigerated piece, let it sit out on the counter for about 30 minutes before eating. Cold dulls flavor and stiffens that gorgeous tender crumb! You’ll get so much more flavor and moisture back once it warms up slightly. For tips on keeping other cream cheese topped treats fresh, have a peek at my pumpkin cream cheese bread storage advice.
Variations on the Red Velvet Bundt Cake Theme
Part of the joy of having a solid base recipe, like this **red velvet bundt cake**, is adapting it! You don’t have to stick to the script if you feel like switching things up for a different crowd or occasion. If you’re really wanting to push that decadence factor, you absolutely can turn this into a **red velvet cheesecake bundt cake**.
To do that, you just prepare a small cheesecake filling—think softened cream cheese, one egg yolk, and a bit of sugar—and swirl dollops of it into the red velvet batter right before it goes into the pan. You can check out my full guide on how to nail that swirl in my general red velvet cheesecake recipe post. For something bolder on the chocolate side, just increase the cocoa powder by about 50% and call it a **chocolate red velvet bundt**! If you want a slightly different approach to cream cheese swirls, check out the idea shared by Mucha Munch here. Simple tweaks, huge reward.
Frequently Asked Questions About Baking a Red Velvet Bundt Cake
When you’re putting in the effort for a **showstopper bundt cake recipe**, it’s smart to iron out any last-minute questions. I’ve gathered the ones I get asked most often about achieving that perfect bake. Whether you are aiming for the **best red velvet bundt recipe** or just need reliability, these quick fixes should help you out. If you need to practice your baking reliability first, my copycat Olive Garden breadsticks are a great low-stakes starter!
Can I use milk instead of buttermilk in my moist red velvet bundt cake?
I strongly advise against it if you want a truly **moist red velvet bundt cake**. Buttermilk isn’t just about the slight tang; its acidity is crucial! It reacts chemically with the baking soda and vinegar we add later. That reaction creates the tiny bubbles that give the cake its signature rise and structure. Regular milk just won’t give you the same lift or texture.
How do I get that deep, vibrant red velvet cake recipe color?
This is where you need to use the good stuff. Liquid food coloring—the kind you find in the grocery store baking aisle—gets absorbed too easily and often just turns the cake muddy brown. For that deep, vibrant hue that screams ‘Red Velvet,’ you absolutely must use a high-quality gel food coloring. A little dab goes a long way!
Is this copycat bundt cake recipe better than a mix?
Oh, absolutely, yes. While a mix gets you there fast, this scratch recipe is what puts the ‘velvet’ in velvet cake. We control the fat ratios and the cocoa depth here. You get a richer, more complex flavor and that superior **tender crumb bundt cake** texture that a boxed version just can’t match. It takes only a few extra efficient steps, but the flavor gain is huge.
Nutritional Estimate for This Red Velvet Bundt Cake
When projecting nutritional information for a recipe this rich, remember that these numbers are estimates based on 12 servings as outlined in the blueprint. Since we are using oil and a full cream cheese glaze, the numbers reflect a truly indulgent, **classic red velvet dessert**. For any major dietary planning, I always recommend consulting a certified nutritionist alongside this guide. If you need a lighter option for weeknights, check out my easy one-pot enchilada pasta for a different kind of weeknight win!
- Serving Size: 1 slice
- Calories: 450
- Sugar: 55g
- Fat: 24g
- Protein: 4g
Share Your Festive Bundt Cake Ideas
Alright, that’s the blueprint for your stunning **red velvet bundt cake** covered! Now comes the best part: seeing it come to life in your kitchen. I engineered this recipe for maximum reliability, but recipes are always better when they are shared.
Don’t keep the gorgeous results to yourself! If you baked this, please drop a comment below and let me know how it turned out. Did the glaze flow perfectly? Did your family devour it? Rating the recipe helps other busy cooks like us know that this is a truly trustworthy blueprint for their own **festive bundt cake ideas**.
And if you took a picture of that amazing deep red color and the cascading cream cheese glaze, share it! Tag me on social media so I can see your finished **homemade red velvet bundt cake**. If you’re looking for another guaranteed win for your next party, have a look at my recipe for the easy creamy dill pickle dip—sometimes you need a savory showstopper, too!
PrintThe Ultimate Moist Red Velvet Bundt Cake with Tangy Cream Cheese Glaze
Bake a show-stopping, moist Red Velvet Bundt Cake from scratch that delivers rich cocoa flavor and a tender crumb. This recipe is simple to follow and results in an elegant dessert perfect for any special occasion.
- Prep Time: 20 min
- Cook Time: 50 min
- Total Time: 70 min
- Yield: 12 servings 1x
- Category: Dessert
- Method: Baking
- Cuisine: American
- Diet: Vegetarian
Ingredients
- 1 1/2 cups vegetable oil
- 1 1/2 cups granulated sugar
- 2 large eggs
- 1 teaspoon vanilla extract
- 1 tablespoon unsweetened cocoa powder
- 1 teaspoon baking soda
- 1 teaspoon white vinegar
- 1 cup buttermilk
- 2 1/2 cups all-purpose flour
- 1 teaspoon salt
- 2 tablespoons red food coloring
- 8 ounces cream cheese, softened
- 1/2 cup (1 stick) unsalted butter, softened
- 3 cups powdered sugar
- 1 teaspoon vanilla extract
Instructions
- Preheat your oven to 350°F (175°C). Grease and flour a 10-cup Bundt pan thoroughly.
- In a large bowl, whisk together the vegetable oil and granulated sugar until combined. Beat in the eggs one at a time, then stir in the vanilla extract.
- In a separate small bowl, whisk together the cocoa powder and baking soda. Add this mixture to the wet ingredients and mix until just combined.
- In another small bowl, mix the white vinegar into the buttermilk. Add the buttermilk mixture alternately with the flour and salt to the batter, mixing on low speed until just incorporated. Do not overmix.
- Stir the red food coloring into the batter until you achieve a vibrant red color.
- Pour the batter into the prepared Bundt pan. Bake for 45 to 55 minutes, or until a wooden pick inserted into the center comes out clean.
- Let the cake cool in the pan for 15 minutes before inverting it onto a wire rack to cool completely.
- To make the cream cheese glaze, beat the softened cream cheese and butter together in a medium bowl until smooth. Gradually beat in the powdered sugar until fully incorporated. Stir in the vanilla extract. Add a tablespoon of milk if the glaze is too thick.
- Drizzle the tangy cream cheese glaze over the completely cooled Red Velvet Bundt Cake before serving.
Notes
- For a truly vibrant color, use high-quality gel food coloring instead of liquid drops.
- Buttermilk is essential for the cake’s texture; do not substitute it with regular milk.
- Ensure all cold ingredients, like eggs and buttermilk, are at room temperature before mixing for a smoother batter.
Nutrition
- Serving Size: 1 slice
- Calories: 450
- Sugar: 55g
- Sodium: 300mg
- Fat: 24g
- Saturated Fat: 8g
- Unsaturated Fat: 16g
- Trans Fat: 0g
- Carbohydrates: 60g
- Fiber: 1g
- Protein: 4g
- Cholesterol: 50mg